
Welcome to our blog! If you own a car, chances are you have experienced some electrical issue at one point or another. Whether your headlights suddenly stop working or your radio won’t turn on, dealing with electrical problems can be frustrating and confusing. One common cause of these issues is a faulty fusible link. This small but essential component can be the culprit behind various electrical failures in your vehicle.

In this blog post, we will guide you on how to replace a fusible link and get your car back up and running smoothly. So whether you’re an avid DIYer looking for a new challenge or just trying to save money on expensive repairs, keep reading and learn everything there is to know about replacing a fusible link successfully.
Necessary Items
Before we dive into the process, let’s go over the necessary items you will need to replace a fusible link:
- Replacement Fusible Link (make sure it is the correct size and amperage for your vehicle)
- Wire cutters/strippers
- Electrical tape or heat shrink tubing
- Heat gun or lighter (if using heat shrink tubing)
- Protective gloves and eyewear
- Owner’s manual or vehicle wiring diagram (optional but helpful)
10 Steps on How to Replace a Fusible Link
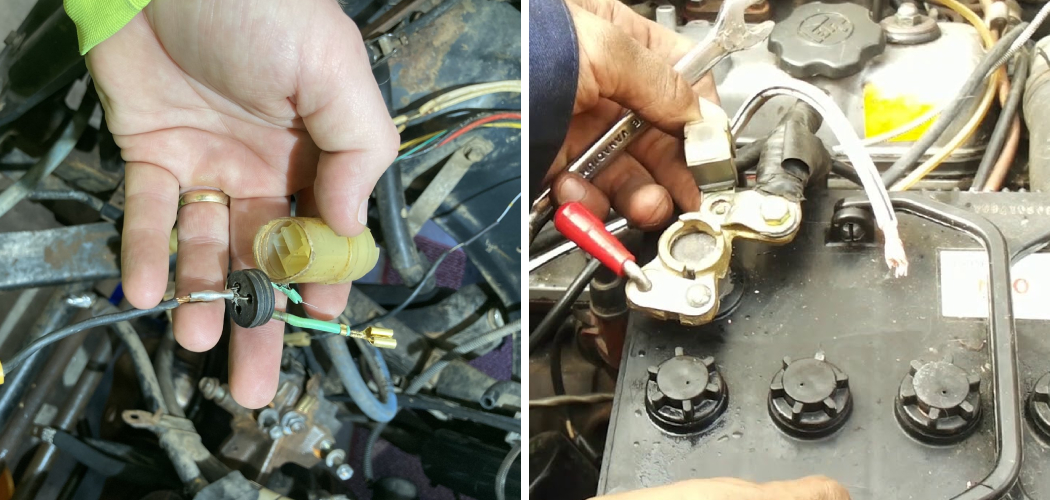
Step 1: Locate the Faulty Fusible Link
The first step is to locate the fusible link that needs to be replaced. This may require some detective work, as fusible links are usually hidden within the vehicle’s wiring harness. They are often found near the battery or in the fuse box. If you need help finding it, consult your owner’s manual or vehicle wiring diagram.
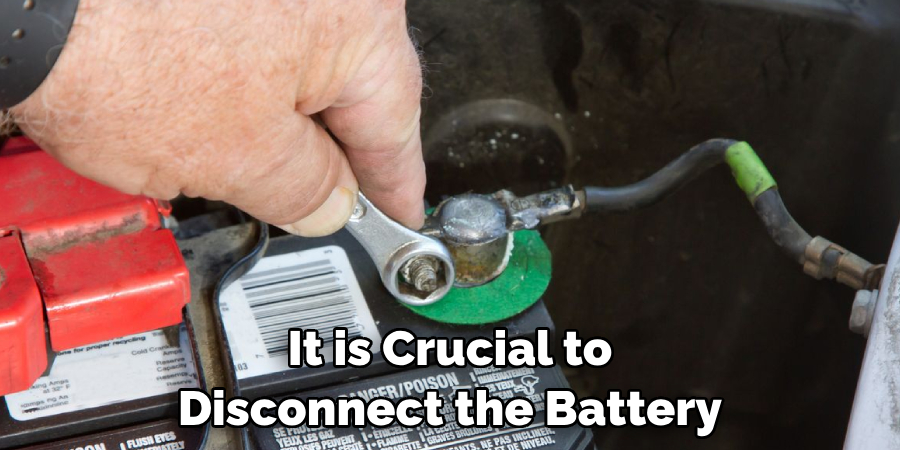
Step 2: Disconnect the Battery
Before working on any electrical component of your car, it is crucial to disconnect the battery to avoid any potential shocks or short circuits. Locate the negative terminal and use a wrench to loosen and remove the cable from the storm.
Step 3: Identify and Mark the Fusible Link Wires
Once you have located the fusible link, identify which wires are connected to it. It is essential to mark these wires before cutting them to ensure they are later reconnected correctly. You can use tape or labels for this purpose.
Step 4: Cut the Wires
Carefully cut the wires attached to either end of the faulty fusible link using wire cutters. Be sure to leave enough length on each wire for splicing later on.
Step 5: Strip and Clean the Wire Ends
After cutting the wires, strip about half an inch of insulation from the ends using wire strippers. This will expose the bare copper wire necessary for proper splicing. It is also helpful to clean the exposed cables with sandpaper or a wire brush to remove any dirt or corrosion.
Step 6: Prepare the Replacement Fusible Link
Before connecting the new fusible link, ensure it is the correct size and amperage for your vehicle. You can refer to your owner’s manual or consult a professional if you need clarification. If using heat shrink tubing, slide it onto one end of the new fusible link.
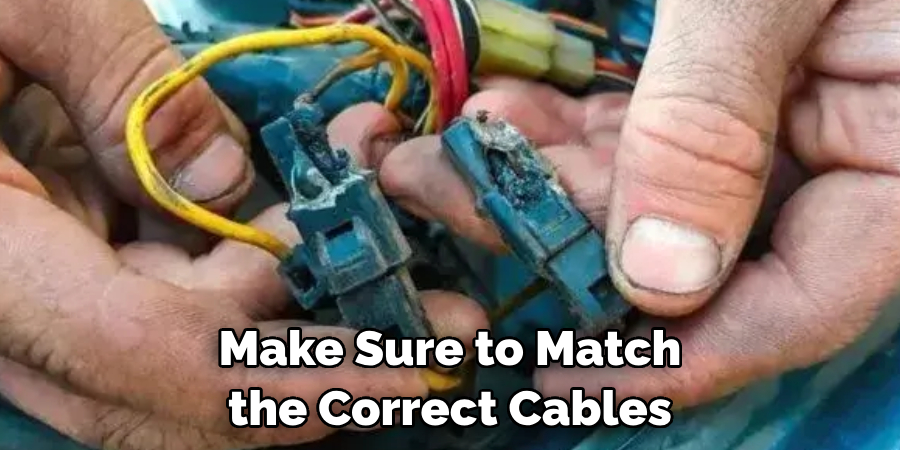
Step 7: Splice the Wires
Using wire connectors or twisting the wires together, splice the ends of each wire to one end of the new fusible link. Make sure to match the correct cables according to your markings in Step 3.
Step 8: Insulate the Connection
Cover the splice with electrical tape or slide the heat shrink tubing over it to ensure a secure and safe connection. Use a heat gun or lighter to shrink the tubing and provide added protection against water and debris.
Step 9: Connect the Fusible Link
Attach the other end of the new fusible link to its respective location, either in the wiring harness or fuse box. Again, consult your markings from Step 3 to ensure proper connection.
Step 10: Reconnect the Battery and Test
Once everything is connected and insulated, reattach the negative cable to the battery terminal and tighten it with a wrench. Now it’s time to test your newly replaced fusible link! Turn on your car and check if the electrical issue has been resolved. If everything is working correctly, congratulations! You have successfully replaced a fusible link.
Replacing a fusible link may initially seem intimidating, but it can be a straightforward and cost-effective task with the right tools and knowledge. Remember to always prioritize safety by disconnecting the battery and using protective gear. We hope this blog post has given you all the information you need to replace a fusible link confidently.
8 Things to Avoid When Replacing a Fusible Link
1. Using the Wrong Size or Amperage Fusible Link
As mentioned earlier, using the correct size and amperage fusible link for your specific vehicle is crucial. Using one that is too small or large can cause further electrical issues or damage your car’s components.
2. Not Disconnecting the Battery
Failure to disconnect the battery before working on electrical components can lead to shocks or short circuits, which can be dangerous and damaging.
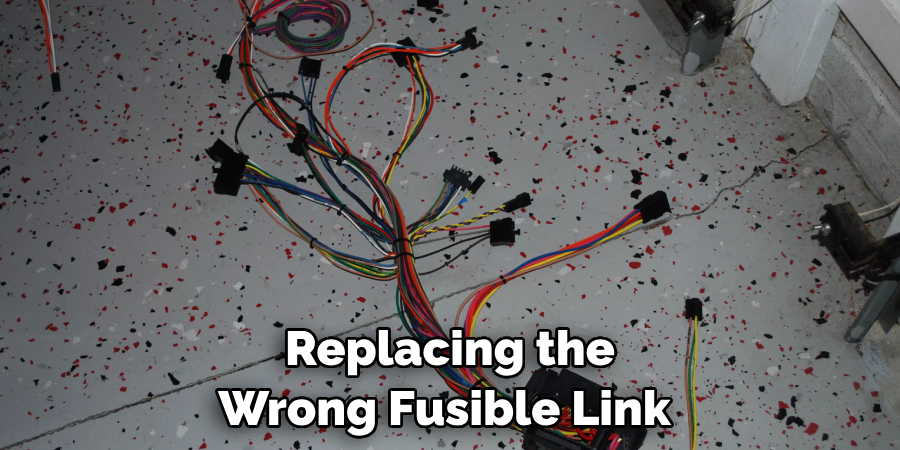
3. Not Identifying the Correct Fusible Link
Replacing the wrong fusible link will not solve the issue and can potentially cause harm to other components in your vehicle’s electrical system.
4. Cutting Wires Too Short
Always leave enough length when cutting wires to have room for splicing and connecting them to the new fusible link. Otherwise, you may end up with a faulty or loose connection.
5. Not Properly Insulating Splices
A secure and well-insulated splice is crucial for safety and preventing future electrical problems. Use electrical tape or heat shrink tubing to secure the connection properly.
6. Using Sharpened Wire Cutters
Sharp wire cutters can damage the copper wires, resulting in a poor connection. Use wire strippers instead to ensure clean cuts without damaging the cables.
7. Ignoring Signs of Overheating
If your fusible link has blown, it is essential to investigate the cause and address any potential overheating issues. This could indicate a more significant electrical problem that needs to be addressed.
8. Not Consulting a Professional
Suppose you need help with how to replace a fusible link or experiencing repeated electrical problems. In that case, it is always best to consult a professional mechanic for proper diagnosis and repair.
Not only will this skill help you in times of need, but it will also give you a sense of empowerment and independence. Plus, who doesn’t love learning something new? With these tips, you’ll impress your friends and family with your newfound knowledge of car maintenance. And if that isn’t enough motivation, think about all the money you can save in the long run by not having to pay for costly mechanic visits.
6 Additional Tips for DIY Car Maintenance
1) Keep a Car Maintenance Log to Track Repairs and Mileage
Keeping a record of repairs and maintenance can help you stay on top of your car’s needs and track any recurring issues that may need further attention.
2) Check Your Tire Pressure Regularly
Properly inflated tires can improve gas mileage, reduce tire wear, and enhance vehicle handling. Make sure to check your tire pressure at least once a month.
3) Change Your Oil and Oil Filter on Schedule
Regular oil changes are crucial for keeping your car running smoothly. Refer to your owner’s manual for the recommended oil change interval.
4) Inspect and Replace Air Filters
Dirty air filters can decrease fuel efficiency and cause engine problems. Check and replace them regularly to keep your car running at its best.
5) Monitor Your Car’s Fluid Levels
Regularly check and top off your car’s essential fluids, such as coolant, brake, and transmission. This can prevent costly damages and keep your vehicle running smoothly.
6) Keep Your Car Clean
Regularly washing and waxing your car keeps it looking good and helps protect the paint and prevent rust from forming.

Frequently Asked Questions
Can I Replace a Fusible Link Myself?
Replacing a fusible link with the right tools and knowledge can be a DIY task. However, it is always best to consult a professional mechanic if you are unsure or uncomfortable with electrical work.
How Can I Prevent My Fusible Link from Blowing?
Regular maintenance and eyeing for warning signs can help prevent your fusible link from blowing. Signs of a faulty fusible link include dimming headlights, sluggish electrical systems, or the smell of burning plastic. If you experience any of these symptoms, addressing them promptly before they worsen is best.
How Do I Know if My Fusible Link Needs to be Replaced?
The most obvious sign that your fusible link needs to be replaced is if it has blown. However, other warning signs include electrical issues such as faulty headlights or other components or a burning smell from the fuse box.
Conclusion
In conclusion, replacing a fusible link may seem daunting, but it can be done quickly and efficiently with the right tools and knowledge. By following these steps on how to replace a fusible link: identifying the faulty fusible link, disconnecting the battery, removing the old link and installing the new one, reattaching the storm, and testing the car’s electrical systems, you can save yourself time and money by avoiding a trip to the mechanic.
Don’t let fear hold you back from maintaining your car. Take charge of your vehicle’s well-being and confidently tackle any necessary repairs.