

Attention all car owners! Are you tired of getting drenched every time it rains because your sunroof leaks? Or you may have noticed mysterious puddles on your car’s interior after a storm. If that sounds familiar, this blog post is for you. Today, we’ll dive into the world of sunroof leaks and show you how to fix them once and for all. No more soggy rides or expensive trips to the mechanic.
We’re here to empower you with the knowledge and skills to tackle this problem head-on so you can enjoy a dry and comfortable driving experience every time. So, buckle up and get ready to become a sunroof leak detective – because there’s no puzzle too tricky for us to solve together!
Whether you’re a seasoned car enthusiast or a beginner DIY-er, we’ve got you covered with easy-to-follow steps on how to fix a leaking sunroof, helpful tips, and a dash of expert advice. Let’s roll up our sleeves and say goodbye to those pesky leaks once and for all!
Necessary Items
Before we jump into the step-by-step guide, let’s quickly review the items you’ll need to fix your leaking sunroof. Don’t worry; these are everyday household items or can be easily found at your local hardware store.
- A dry and sunny day (preferably)
- Clean towels
- Water spray bottle
- Silicone sealant
- Small paintbrush
- Automotive glass cleaner
- Microfiber cloth
- Screwdriver (specifically for your car)
- Clear packing tape
- Plastic sheet or tarp
Now that you have everything you need let’s start fixing that pesky leak!
10 Steps on How to Fix a Leaking Sunroof
Step 1: Identify the Source of the Leak
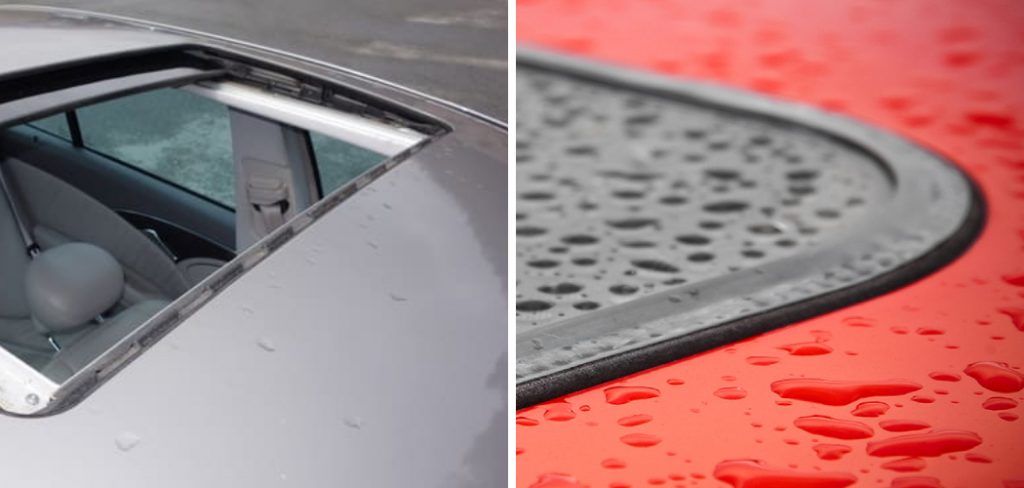
The first step in fixing any problem is to identify its source. In the case of a leaking sunroof, it’s essential to determine where the water is coming from. Is it entering through the seal around the glass, or is there damage to the actual glass itself? This will help you determine which area needs to be fixed.
Step 2: Clean and Inspect the Sunroof
Using clean towels, wipe down the sunroof and its surrounding area. Look for debris or dirt clogging the drain holes and preventing proper drainage. Also, inspect the seal around the glass for any signs of wear or damage.
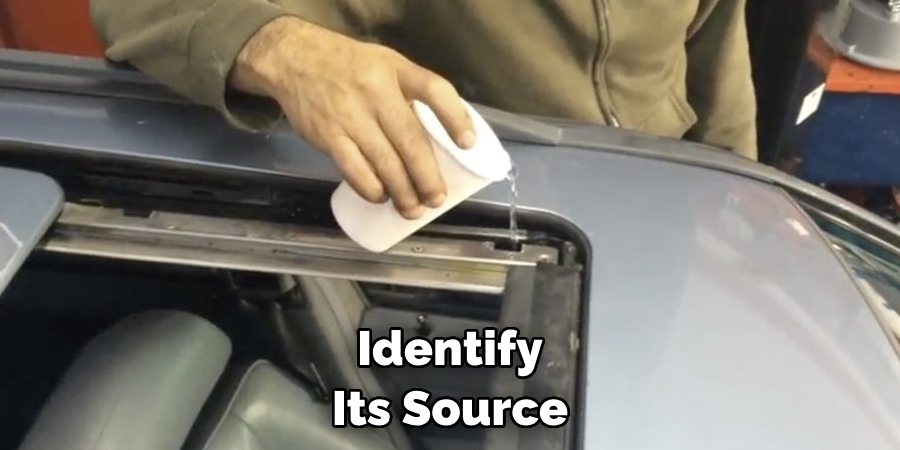
Step 3: Test for Leaks
Fill your water spray bottle and spray it on the sunroof and its surrounding area. Have someone sit inside the car and watch for any signs of water entering the vehicle. If there are no leaks, move on to step 4.
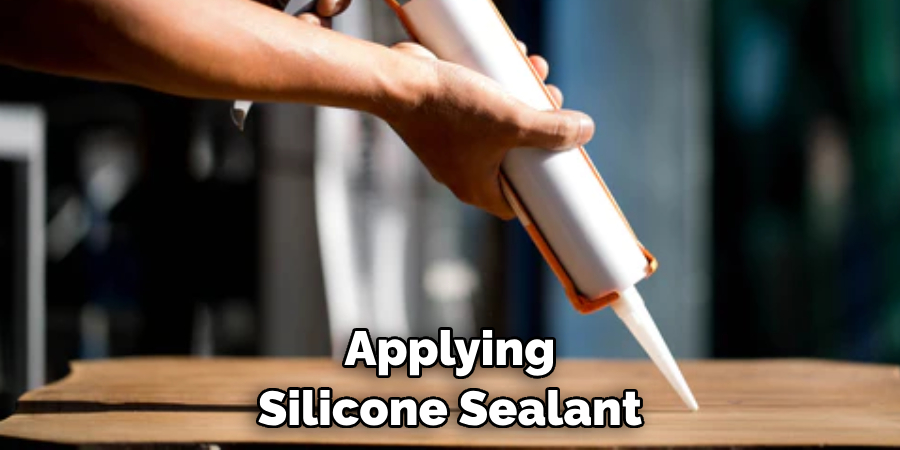
Step 4: Apply Silicone Sealant
If you’ve determined the leak is coming from the seal around the glass, it’s time to apply silicone sealant. First, use the automotive glass cleaner and microfiber cloth to clean the area thoroughly. Next, apply a thin layer of silicone sealant using the paintbrush. Make sure to cover any gaps or cracks in the seal.
Step 5: Let it Dry
Allow the silicone sealant to dry completely before moving on to step 6. This may take anywhere from 30 minutes to an hour, depending on the brand and type of glue you’re using.
Step 6: Test for Leaks Again
Repeat step 3 to ensure that the leak has been fixed. If there are still signs of water entering the vehicle, you may need to apply a second layer of silicone sealant or move on to step 7.
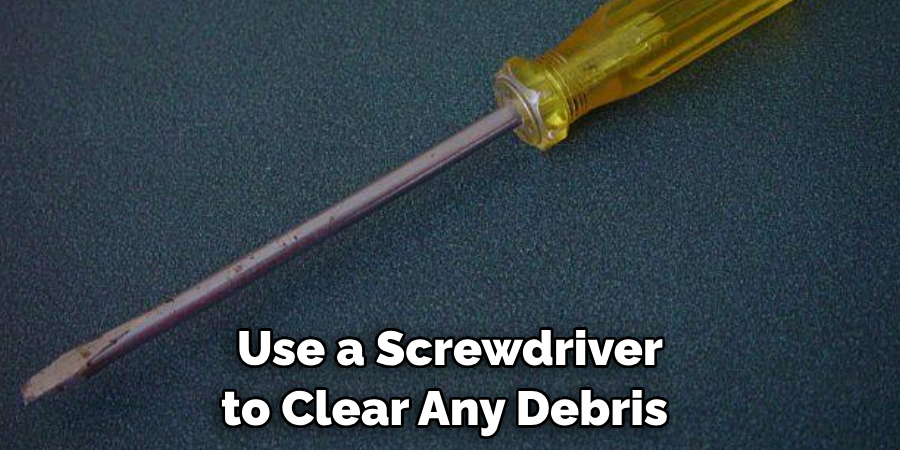
Step 7: Check the Drainage Holes
If the leak is still present, the drain holes may be clogged. Use a screwdriver to clear any debris or dirt from these holes gently. You can also use compressed air for a more thorough cleaning.
Step 8: Apply Clear Packing Tape
In some cases, the glass itself may be the source of the leak. Add clear packing tape over the affected area to temporarily seal any cracks or chips. This will prevent water from entering until you can get it professionally repaired.
Step 9: Use a Plastic Sheet or Tarp
If your sunroof has sustained significant damage and cannot be fixed immediately, cover it with a plastic sheet or tarp to prevent water from entering your vehicle. This will also protect your car’s interior until you can get it fixed.
Step 10: Visit a Professional (if needed)
If all else fails or you notice significant damage to the glass, it’s best to take your car to a professional mechanic or auto glass specialist. They have the proper tools and expertise to fix leaks or damage to your sunroof.
Fixing a leaking sunroof may seem daunting, but with the right tools and steps, you can easily tackle it at home. Remember to maintain and clean your sunroof regularly to prevent any future leaks. And if all else fails, don’t hesitate to seek professional help. Now go out there and enjoy a dry and comfortable ride, no matter the weather! Keep up with regular maintenance and cleaning to prevent future leaks.
8 Things to Avoid When Trying to Fix a Leaking Sunroof
1. Using Duct Tape or Other Temporary Fixes
While duct tape may seem quick and easy, it’s not a long-term fix for a leaking sunroof. It can leave residue and damage the paint on your car’s exterior. Stick to using clear packing tape if you need a temporary fix.
2. Using Harsh Chemicals
Avoid using harsh chemicals or abrasive tools when cleaning your sunroof. These can damage the seal or glass and make the leak worse. Stick to using mild soap and water.
3. Rushing Through Steps
When fixing a leaking sunroof, especially when applying silicone sealant. Rushing through steps can result in an improperly sealed sunroof and more leaks.
4. Neglecting Regular Maintenance
Regularly cleaning and maintaining your sunroof is crucial in preventing leaks. If you neglect this, debris can build up and cause clogs in the drain holes, leading to leaks.
5. Ignoring Signs of Damage
If you notice any signs of damage to your sunroof, such as cracks or chips in the glass, address them immediately. Ignoring these signs can lead to bigger problems and more costly repairs in the future.
6. Using the Wrong Type of Sealant
Make sure to use a silicone sealant specifically designed for automotive use. Using the wrong type of sealant may not correctly adhere to your sunroof and result in more leaks.
7. Not Checking for Recalls
If your car is under warranty, check with your dealership for any recalls related to sunroof leaks. The issue can be fixed for free by the manufacturer.
8. Attempting Fix Without Proper Tools
Ensure you have all the necessary tools and materials before fixing a leaking sunroof. Using improper tools or makeshift solutions may not provide a long-term fix and could cause more damage.
Overall, taking your time, using suitable materials, and regularly maintaining your sunroof to prevent leaks is essential. If you need more clarification or are uncomfortable with fixing the leak, feel free to seek professional help. A safely sealed sunroof is crucial for a dry and comfortable ride.
Frequently Asked Questions
Can I Fix a Leaking Sunroof Myself?
You can fix a leaking sunroof with the right tools and materials. However, if you need more clarification or are uncomfortable fixing it yourself, it’s best to seek professional help.
How Often Should I Clean and Maintain My Sunroof?
It’s recommended to clean and maintain your sunroof at least twice a year or more frequently if you live in an area with heavy debris or dirt.
How Do I Know if the Leak is Coming from the Sunroof Seal or Glass?
Perform a water test to determine the source of the leak. The seal may be the issue if water comes in from around the glass. If water comes in from cracks or chips in the mirror, it may leak. However, it’s best to consult a professional for an accurate diagnosis and proper repair.

Will Fixing a Leaking Sunroof Be Expensive?
The cost of fixing a leaking sunroof will depend on the severity of the issue and whether you can fix it yourself or need to seek professional help. It’s essential to address the problem as soon as possible to prevent further damage and potentially costly repairs in the future. Regular maintenance and cleaning are preventative measures to avoid leaks and expensive repairs.
Conclusion
After taking a deep dive into the complex and frustrating world of fixing a leaking sunroof, there is no doubt that this task requires patience, skill, and determination. But by following these simple steps on how to fix a leaking sunroof and utilizing the tips and tricks laid out in this blog post, you can conquer this pesky problem once and for all.
So put on your handyman (or handywoman!) hat and tackle that leaking sunroof with confidence and ease. Remember to check for any clogged drains or sealant issues before moving on to more serious repairs.
And remember to share your success stories in the comments below! We love hearing from our readers and are always happy to offer additional advice or support. Let’s work together to keep those cars dry and leak-free! Now get out there and show that leak who’s boss!