

Installing fender flares is one way to give your truck’s appearance a bold upgrade. Whether your goal is to protect your fenders from road debris, accentuate the truck’s rugged look, or add some extra style, fender flares can transform the look of your vehicle.
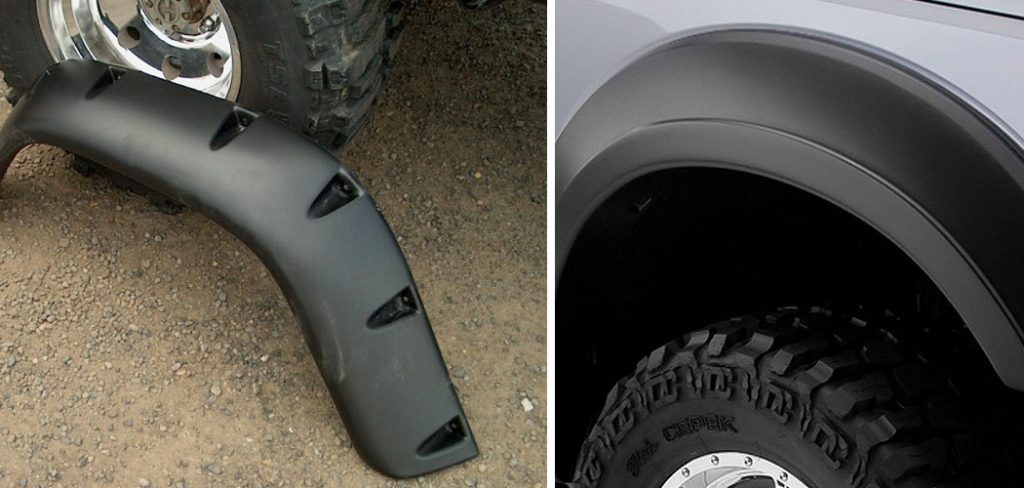
In this guide, I will walk through the process of how to install Bushwacker Fender flares, one of the most popular brands on the market. Bushwacker offers durable, military-grade ABS flares that provide excellent coverage while accentuating the truck’s stance.
While fender flare installation requires some patience and moderate mechanical ability, following the steps outlined here should allow any DIY enthusiast to complete the project. Let’s get started on how to install these Bushwacker fender flares and overhaul the look of your ride!
Tools and Materials You Will Need to Install Bushwacker Fender Flares
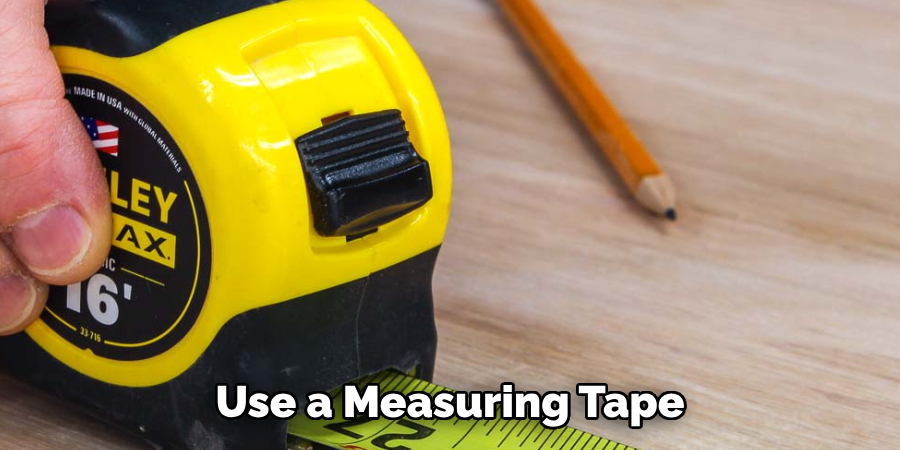
- Measuring tape
- Drill and drill bits
- Screwdriver or socket wrench set
- Protective eye gear
- Trim removal tool (optional)
- Automotive adhesive (if not included with the fender flares)
- Cleaning supplies (soap, water, and degreaser)
- Rubbing alcohol
Step-by-step Guidelines on How to Install Bushwacker Fender Flares
Step 1: Prepare for Installation
Before starting the installation process, make sure to thoroughly read the instructions provided by Bushwacker. It’s also a good idea to lay out all the parts included with your Fender flares and familiarize yourself with them.
Make sure to clean the fender area where you’ll be installing the flares with soap, water, and a degreaser. Dry the surface completely before proceeding. Preparing the area properly will ensure a secure and long-lasting installation.
Step 2: Measure and Mark the Fender Flares Position
Use a measuring tape to determine where you want your fender flares to be positioned. The general rule of thumb is that they should sit about 1-2 inches above the top of your tires, but this can vary depending on personal preference and the size of your tires. Once you’ve decided on the placement, use a marker or masking tape to mark the position of all mounting holes on both the fender and flare.
Step 3: Remove Any Existing Trims
If your truck already has existing trims or flares, you’ll need to remove them before proceeding with the installation. Use a trim removal tool or a flathead screwdriver to carefully pry off the trims without damaging the fender or paint. Removing any existing trims will give you a clean surface to work with. If your truck doesn’t have any existing trims, you can skip this step.
Step 4: Drill Mounting Holes
Using a drill and the appropriate drill bit size as recommended by Bushwacker, carefully drill mounting holes at each of the marked positions on the fender. It’s crucial to use the correct bit size to ensure a tight fit and prevent any damage to the fender. Always remember to wear protective eye gear while drilling.
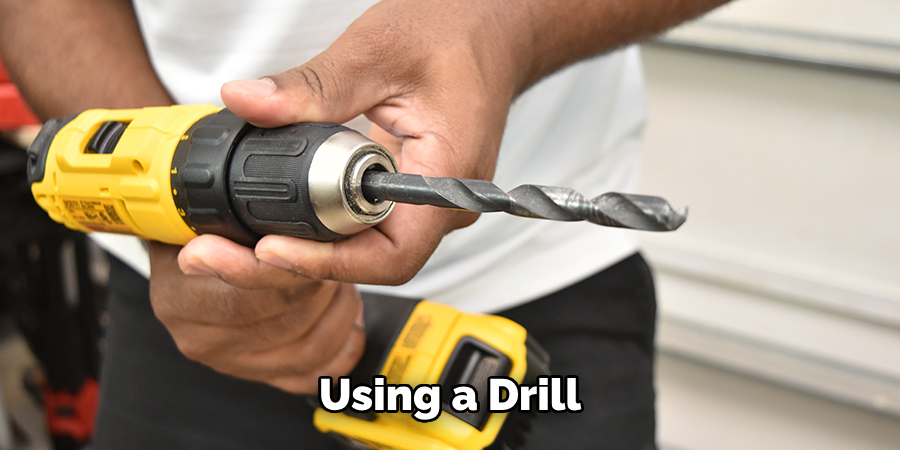
While drilling, make sure to keep the bit perpendicular to the fender’s surface to avoid any unwanted angle or damage.
Step 5: Test Fit the Fender Flares
Before permanently attaching the fender flares, test-fit them on your truck to ensure they line up correctly and are sitting flush against the fenders. Make any necessary adjustments before proceeding with the final installation. If everything looks good, you can move on to the next step. Make sure to clean the inside edges of the flares with rubbing alcohol before proceeding.
Step 6: Apply Adhesive (if necessary)
Some Bushwacker Fender flare kits come with automotive adhesive, while others require you to purchase it separately. If your kit doesn’t include adhesive, make sure to apply a small amount evenly around the edge of each flare that will be in contact with the fender. This will create a better seal and prevent any water or debris from getting in between the flare and the fender.
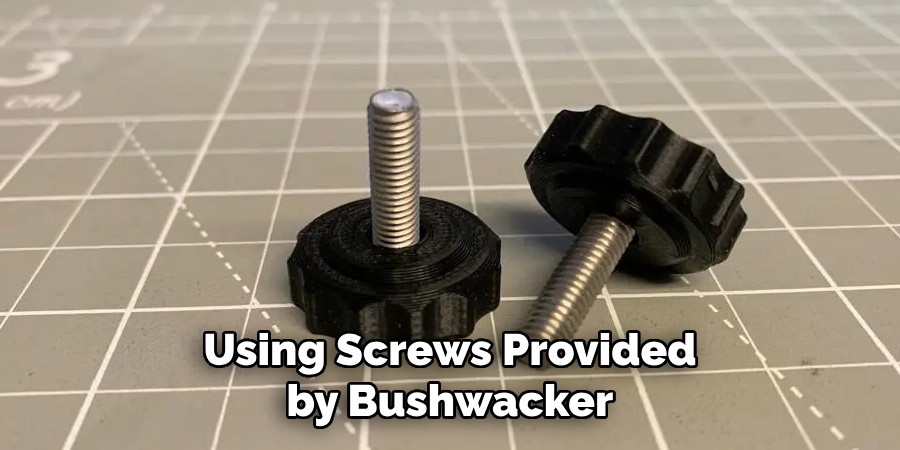
Step 7: Secure the Fender Flares
Using screws provided by Bushwacker, secure the fender flares onto your truck. Make sure to tighten them just enough to hold the flares in place but not too tight as it could damage the flare. Double-check the alignment and tighten all screws evenly, starting from the top center screw and working your way outwards.
Step 8: Clean Up and Enjoy Your New Fender Flares
Once you’ve securely installed all four fender flares, it’s time to clean up any excess adhesive or debris that may have accumulated during the installation process. Give your truck a final wash to get rid of any fingerprints or marks, and admire your transformed ride! Bushwacker fender flares not only enhance the appearance of your truck but also protect it from road debris, making them a practical and stylish addition to your vehicle.
Following these step-by-step guidelines on how to install Bushwacker fender flares will ensure a professional and long-lasting installation. So go ahead and give your truck the bold and rugged look it deserves with the help of Bushwacker fender flares! Happy installing!
Additional Tips and Tricks to Install Bushwacker Fender Flares
1. If you’re unsure about the placement of your fender flares, it’s always a good idea to do a test fit before drilling any holes. This will prevent any mistakes and give you a chance to adjust the position if needed.
2. Make sure to thoroughly clean the surface where the fender flares will be installed. Any dirt or debris can prevent proper adhesion, leading to a less secure installation.
3. If you’re not confident in your drilling skills, it’s always best to seek professional help or guidance from someone with experience. This will ensure that the holes are drilled correctly and evenly.
4. Take your time during the installation process and follow the instructions carefully. Rushing through it could lead to mistakes and a subpar outcome.
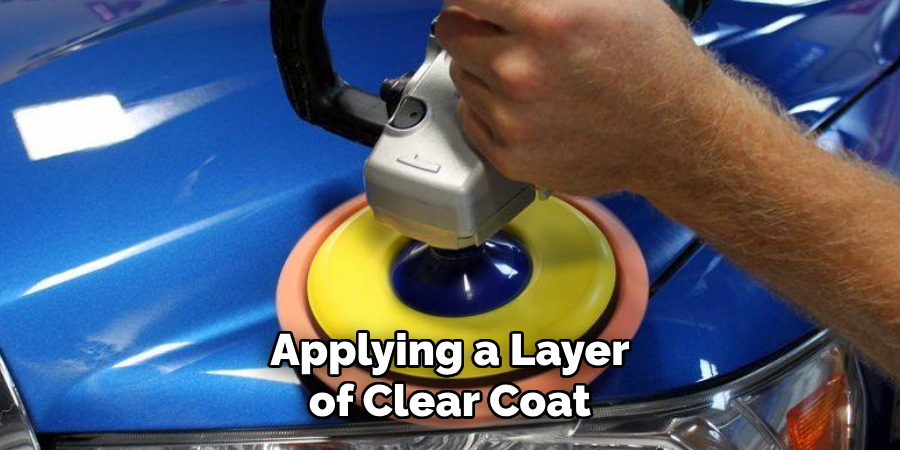
5. For added protection, consider applying a layer of clear coat over the fender flares after installation. This will help protect them from UV rays and prevent fading or discoloration.
6. Regularly clean and maintain your fender flares to keep them looking like new. Use gentle cleaning products and avoid abrasive materials that could scratch or damage the surface.
7. Show off your newly installed fender flares by taking some before and after pictures! You’ll be amazed at the difference they make in enhancing the overall look of your truck.
8. If you’re not comfortable with using adhesive, consider investing in self-tapping screws for added security. These screws are designed to create their threads while being drilled into the fender, providing a stronghold.
9. If you’re looking to add some extra flair, consider painting your fender flares to match the color of your truck or adding decals for a personalized touch.
Following these additional tips and tricks will not only make the installation process smoother but also help maintain the look and durability of your Bushwacker fender flares. Happy installing!
Frequently Asked Questions
Do I Need Any Special Tools to Install Bushwacker Fender Flares?
Yes, you will need a drill and the appropriate drill bit size, a screwdriver or trim removal tool, and some automotive adhesive (if not included in your kit). It’s also recommended to wear protective eye gear while drilling.
Can I Install Bushwacker Fender Flares on My Own?
While it is possible to install fender flares on your own, it may be best to seek professional help or guidance if you’re not confident in your drilling skills. It’s important to follow the instructions carefully and take your time during the installation process to ensure a proper and secure fit.
Are Bushwacker Fender Flares Easy to Remove?
It is possible to remove fender flares, but it can be a time-consuming and tedious process. It’s best to thoroughly consider your decision before installing them to avoid any potential damage during removal.
Can I Paint My Bushwacker Fender Flares?
Yes, you can paint your fender flares to match the color of your truck or add a unique touch. Ensure that you use automotive paint and follow proper preparation and painting techniques for the best results.
Do Bushwacker Fender Flares Require Maintenance?
While fender flares are designed to be durable, it’s important to regularly clean and maintain them to prolong their life and keep them looking like new. Use gentle cleaning products and avoid abrasive materials that could scratch or damage the surface.
Conclusion
In conclusion, the process of installing Bushwacker fender flares is not as daunting as it may seem at first. With proper preparation and following the steps outlined in this blog post, you can easily give your vehicle a new look and added protection without breaking the bank.
Remember to select the right type of fender flares for your specific vehicle and use the proper tools to ensure a smooth installation. Additionally, incorporating some personal touches and customization can make your Fender flares stand out even more. So why wait?
Whether you’re an off-roading enthusiast or simply looking to upgrade your vehicle’s appearance, follow these simple steps on how to install Bushwacker fender flares and take your ride to the next level. Happy driving!