
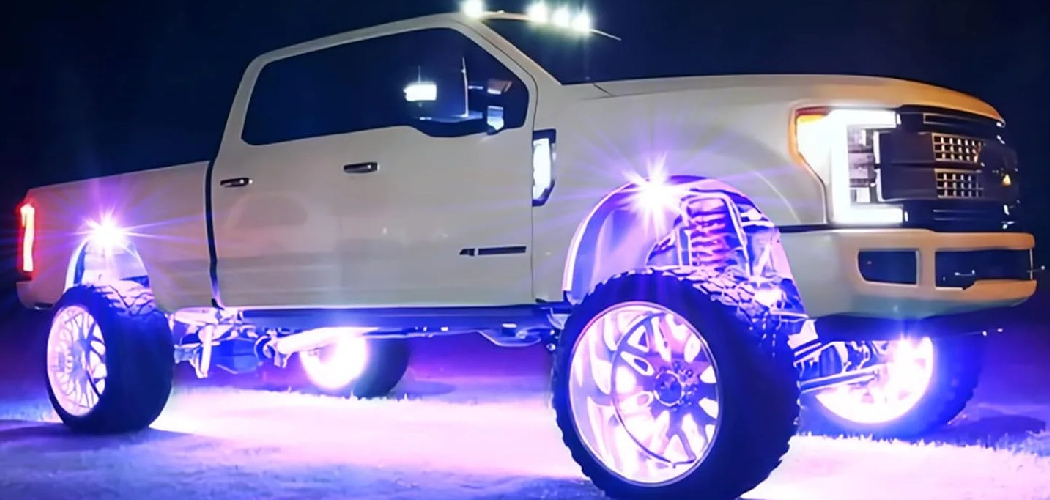
Are you looking to upgrade your vehicle’s lighting game? Consider installing RGB LED rock lights! These versatile and eye-catching lights can transform any ride from basic to badass.

Whether you want to add personality to your car, truck, or off-road vehicle, RGB LED rock lights offer endless customization options with millions of color combinations. Not only do they enhance the appearance of your ride, but they also provide functional benefits such as improved visibility in dark environments. But before diving into installation, it’s important to understand the basics of RGB LED rock lights and how best to install them for optimal performance.
In this blog post, we will dive into everything you need to know about how to install RGB led rock lights. So buckle up and get ready for a lit ride!
What Will You Need?
Before we get into the step-by-step installation process, it’s essential to ensure that you have all the necessary tools and materials. Here are some items you will need:
- RGB LED rock lights kit
- Power drill
- Drill bits
- Wire strippers
- Waterproof connectors
- Electrical tape
- Zip ties
Once you have all these items, you can start the installation process.
10 Easy Steps on How to Install RGB Led Rock Lights
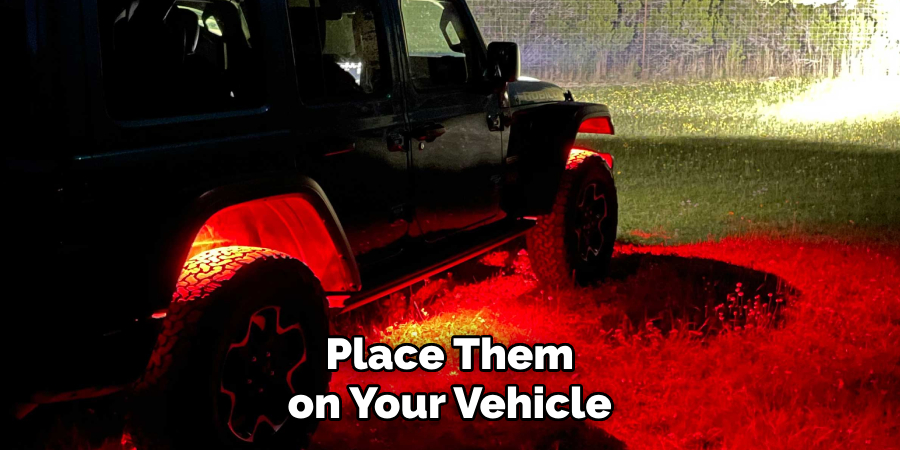
Step 1: Choose Your Mounting Location
The first step to installing RGB LED rock lights is to decide where you want to place them on your vehicle. Popular locations include under the car’s body, wheel wells, and the grille, but ultimately, it’s up to your preference. If you are not sure, take a look at our blog post on “5 Creative Ideas for Installing RGB LED Rock Lights” for some inspiration.
Step 2: Plan Your Wiring Route
Next, plan out how you will run the wires from the control box to each light. You can either run the wires through the vehicle’s interior or exterior, depending on your preference and accessibility. Try to keep the wiring as hidden and protected as possible to prevent any potential damage.
Step 3: Install the Lights
Once you’ve chosen a mounting location and planned your wiring route, installing the lights is time. Using your power drill and the appropriate drill bit, create holes for each morning at the selected locations. Insert the light into the hole, ensuring it’s secure and tight. Repeat this process for each light. Be sure to double-check the positioning of the lights before drilling to avoid any mistakes.
Step 4: Wire the Lights
Now, it’s time to wire the lights. Take the wires from each morning and route them to your planned location for the control box. Use your wire strippers to strip the ends of the cables appropriately, then connect them to the control box using the waterproof connectors provided in your kit. Secure any loose wiring with zip ties and cover any exposed connections with electrical tape to prevent water damage.
Connect the wires according to the instructions provided with your RGB LED rock lights kit to ensure proper functionality. Remember, the red wire is generally positive (+), and the black wire is for negative (-).
Step 5: Connect to Power
Once all the lights are wired to the control box, it’s time to connect the system to your vehicle’s power source. Locate your vehicle’s battery and disconnect it. Then, connect the control box’s power wire (usually red) to the positive terminal of your battery and the ground wire (usually black) to the negative terminal. Make sure the connections are secure, and then reconnect your battery.
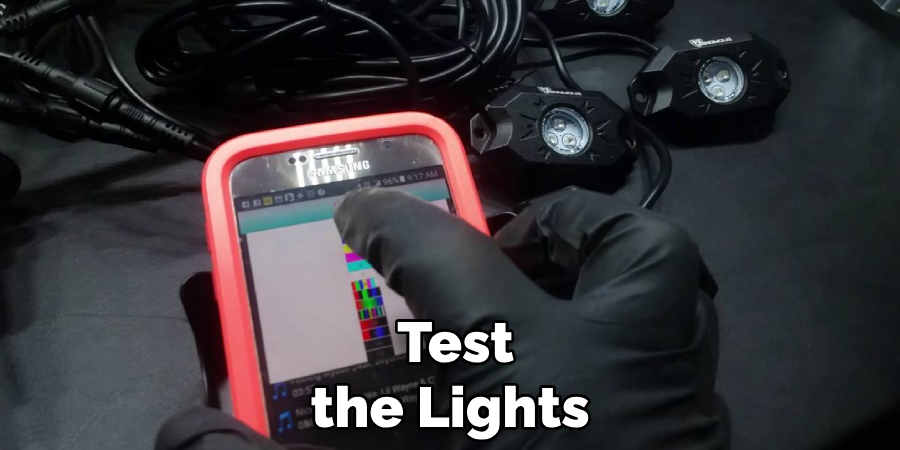
Step 6: Test the Lights
Before tidying up and finalizing the installation, it’s crucial to test the lights to ensure they are working correctly. Using the control box or remote, turn on your vehicle and activate the RGB LED rock lights. Check each morning for functionality and ensure the colors are changing per your command.
If any lights are not working correctly, double-check the connections and wiring. Once you’re satisfied with their performance, you can move on to the final stage of the installation.
Step 7: Secure and Clean Up Your Wiring
With the lights functioning as expected, it’s time to secure and tidy up the wiring. Use zip ties to fasten the loose wires to your vehicle, ensuring they’re routed away from any moving parts that could potentially damage them. Also, be sure to secure the cables away from any heat sources.
Once the wires are secure and organized, use electrical tape to cover any exposed wiring to prevent potential damage from the elements. This step will help to maintain the longevity and efficiency of your RGB LED rock lights.
Step 8: Install the Control Box
Now that the wiring is secured and clean, it is time to install the control box. The control box is the central hub that allows you to control the colors and patterns of your RGB LED rock lights. It should be installed in a location that’s easily accessible but also shielded from the elements. Use the included hardware or an adhesive to secure the control box to your chosen location.
After it’s secured, connect the control box to the wiring harness you’ve previously set up. Once everything is connected, double-check all connections to ensure they are secure.
Step 9: Test the System Again
After you’ve installed the control box and double-checked all connections, it’s time for a final system test. Turn on your vehicle, activate the RGB LED rock lights, and test all the different colors and patterns using the control box or remote. This step is crucial to ensure that all system parts function correctly.
If you encounter any issues, refer to your installation manual or contact customer support for assistance. Once everything works as expected, you’ve successfully installed your RGB LED rock lights!
Step 10: Enjoy Your New RGB LED Rock Lights
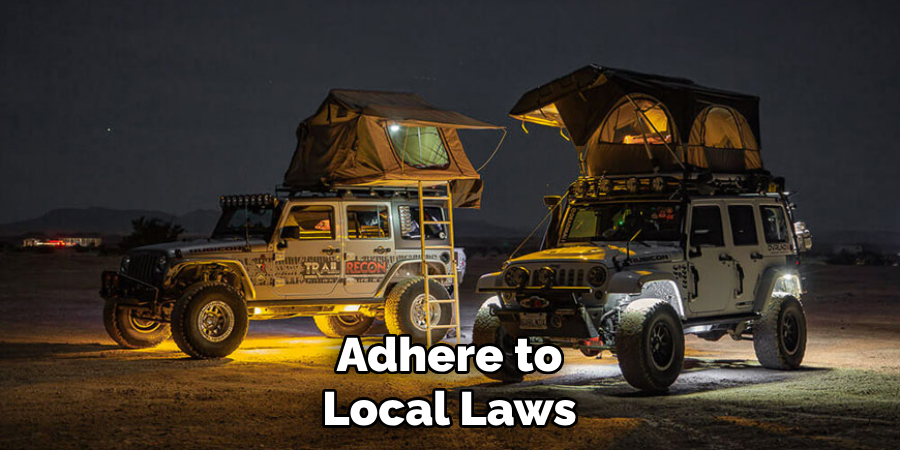
Congratulations! You’ve successfully installed your RGB LED rock lights. Whether hitting the trails, on a night drive or showcasing your vehicle at a car meet, your new lights will turn heads. Remember to adhere to local laws regarding using these lights on public roads. Enjoy your new RGB LED rock lights’ endless customization and improved visibility. Safe and lit driving!
Following these steps, you can easily install RGB LED rock lights on your vehicle and add a unique touch to its appearance.
5 Additional Tips and Tricks
- Understand Your Local Laws: Before installing RGB LED rock lights, check your local laws and regulations regarding their use. Some areas have restrictions on the colors used while driving on public roads, so it’s essential to be informed and avoid any potential legal issues.
- Invest in Quality Products: While it might be tempting to go for cheaper options, investing in high-quality RGB LED rock lights will pay off in the long run. Quality products will last longer, provide better lighting, and often come with better customer service and warranties.
- Use a Professional If Unsure: If you need to be more comfortable with the installation process, consider hiring a professional. The cost of professional installation can be a worthwhile investment to ensure the job is done right and your vehicle isn’t damaged.
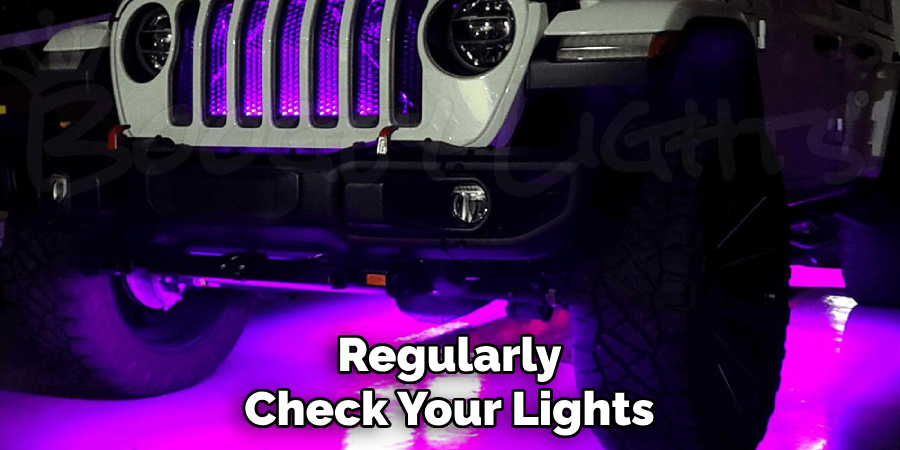
- Routine Maintenance: Regularly check your lights and wiring for any potential issues. This can help you spot any problems before they become more significant issues and extend the life of your RGB LED rock lights.
- Experiment with Colors and Patterns: One of the best things about RGB LED rock lights is the ability to change colors and patterns. Feel free to experiment and find a look that suits your style.
With these tips and tricks, you can confidently install RGB LED rock lights on your vehicle and enhance its appearance and functionality.
5 Things You Should Avoid
- Avoid Cheap Wiring Kits: Low-priced wiring kits may seem like a good deal, but they can often lead to issues such as poor lighting performance or potential fire hazards. Invest in a reliable, quality wiring kit for your RGB LED rock lights.
- Remember the Manufacturer’s Instructions: Always refer to the manufacturer’s instructions when installing your RGB LED rock lights. Ignoring these steps can result in improper installation, potentially damaging the rays or your vehicle.
- Avoid Installing Near Heat Sources: LED lights can be heat-sensitive, so avoid installing them near parts of your vehicle that generate a lot of heat, such as the exhaust or engine. This could lead to premature failure of the LEDs.
- Remember Regular Checks: Regularly skipping checks on your RGB LED rock lights could result in unnoticed damage or wear, leading to unexpected failure. Ensure you check the lights and the wiring regularly for any signs of damage or wear.
- Avoid Using Lights in Violation of Local Laws: It can be fun to experiment with different colors and patterns on your RGB LED rock lights, but remember to comply with local laws and regulations regarding their use on public roads. Violation could result in fines or legal issues.
By avoiding these mistakes, you can ensure a successful and safe installation of RGB LED rock lights on your vehicle.
Conclusion
In conclusion, how to install RGB led rock lights is a simple and fun way to enhance the look of your vehicle. We’ve covered the step-by-step process, from choosing the fitting light kit to mounting and wiring them. By now, you should understand how to install these versatile lights on your own. However, remember that every car is different and may require slight modifications or adjustments during installation. Feel free to ask for help or seek professional assistance if needed.
So what are you waiting for? It’s time to show off your handy skills and elevate your car’s appearance with vibrant RGB LED rock lights. Feel free to experiment with different colors and play around with different mounting positions until you find the perfect setup for your ride. Trust us. The result will be worth all the effort.