
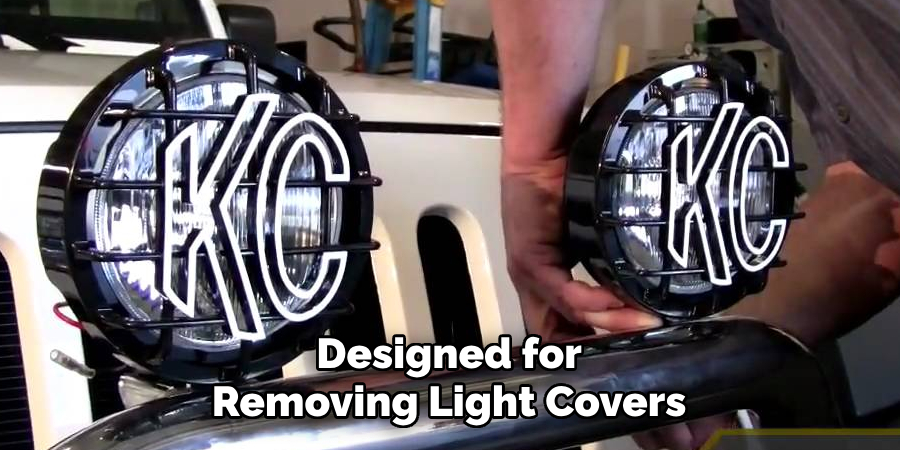
KC lights have been a favorite among off-road enthusiasts for decades. They come with a range of covers and lenses to help you customize and protect your light, depending on the driving conditions and terrain. However, there may come a time when you need to remove your KC light covers for cleaning, repairs, or replacement. In this blog, we’ll show you how to remove KC light covers easily and safely so you can keep your lights shining bright and looking great.
Can You Remove the KC Light Covers?
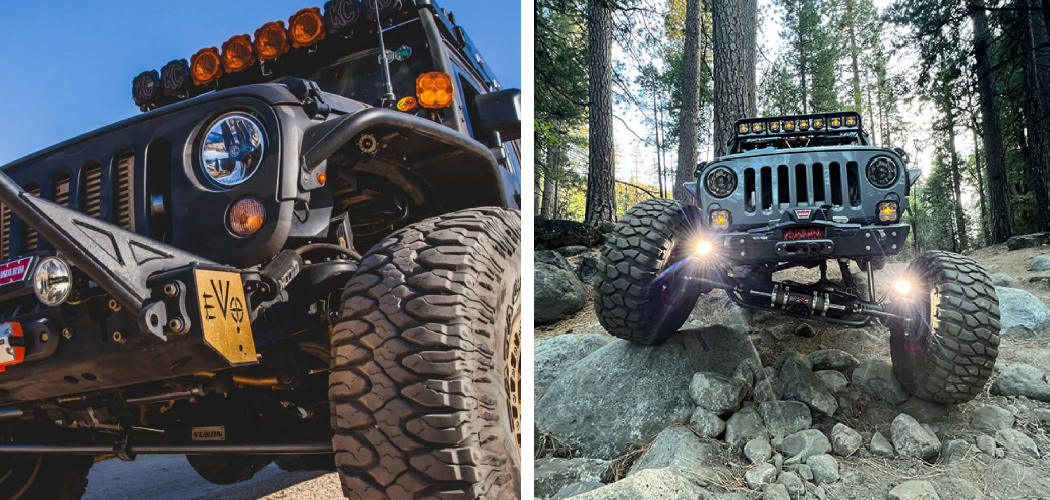
If you’re a fan of off-road driving or just love the rugged look of a Jeep, chances are you’ve heard of KC Light Covers. These durable, high-quality covers are designed to protect your off-road lights from the elements while adding a touch of style to your vehicle. But what if you want to remove them? Maybe you need to clean your lights or replace a bulb, or maybe you just want to switch up your style.
The good news is that removing KC Light Covers is a simple process that anyone can do. With just a few tools and a little know-how, you can have your lights look new in no time. So go ahead and give it a try – you might be surprised at how easy it is!
Why Should You Remove KC Light Covers?
KC light covers are a popular addition to off-road vehicles, but have you considered removing them? There are a few reasons why removing your KC light covers might be a good idea. For starters, light covers can limit the amount of light that your headlights emit, which could be dangerous when navigating rough terrain.
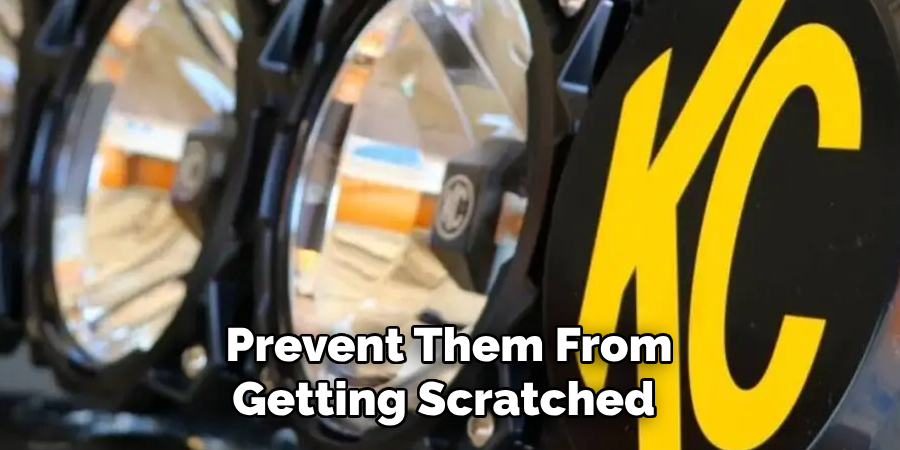
Additionally, removing the covers can help to prevent them from getting scratched or otherwise damaged during your adventures. Finally, some light covers can trap heat, which can then cause damage to your headlights over time. So, if you’re looking to maximize your off-road experience, it might be worth considering removing those KC light covers and letting your headlights shine.
How to Remove KC Light Covers: A Step-by-Step Guide
Step 1: Turn off the Lights
Before you begin, make sure that your KC lights are turned off and disconnected from your vehicle’s battery. This will help prevent electrical shock or damage to your car’s electrical system. Once the lights are off, locate the screws or tabs that hold the covers in place.
Step 2: Remove Screws or Tabs
Most KC covers are held in place by screws or tabs, depending on the model and year of your lights. To remove the cover, use a screwdriver or flathead tool to unscrew the screws or lift the tabs up and out of their slots. Be careful not to lose the screws or damage the tabs, as you’ll need them to reattach the cover later.
Step 3: Gently Remove Cover
Once the screws or tabs are removed, wrap your fingers around the edge of the cover and gently wiggle it back and forth. It might be snug due to the gasket protecting it from dust and debris, but it should come off relatively easily if you apply enough pressure. Avoid using any sharp or pointed tools that might scratch or damage the cover or light.
Step 4: Clean or Replace Cover
Once the cover is removed, you can clean it with soap and water or a specialized lens cleaner. If the cover is damaged, foggy, or scratched, you may need to replace it with a new one. You can purchase KC replacement covers online or at your local auto parts store.
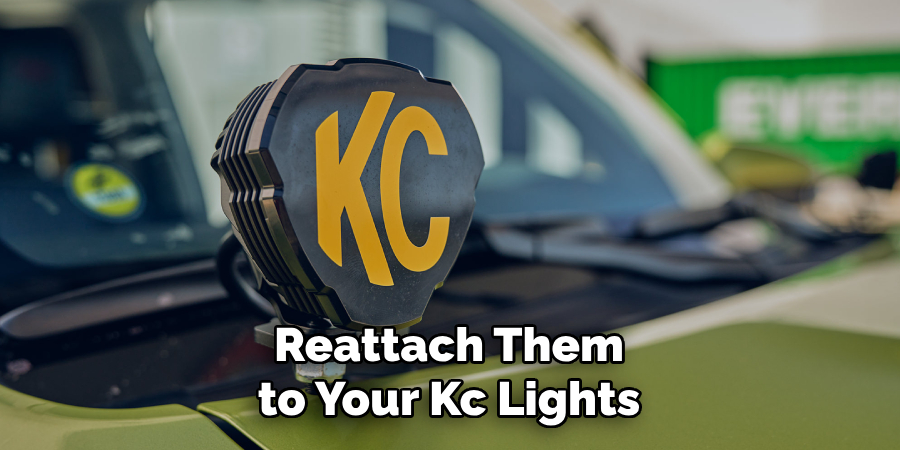
Step 5: Reattach Cover
Once the covers are clean or replaced, it’s time to reattach them to your KC lights. Align the screw holes or tabs with the light housing and attach them securely with the screws or by pushing down on the tabs. Ensure the gasket is properly seated to help protect your lights from damage or water infiltration. If you’re having trouble reattaching the cover, double-check to ensure that the gasket isn’t bunched up or misaligned.
Step 6: Test Lights
After reattaching the covers, testing your KC lights before driving on the road is essential. Turn them on and make sure they are working correctly and shining bright. If there are any issues, double-check that the covers are properly attached and that the gasket is secure.
Step 7: Reconnect to Battery
Once you’ve tested your lights, reconnect them to your vehicle’s battery. Ensure all connections are secure and there are no loose or exposed wires. If everything looks good, you’re now ready to hit the road with your clean and protected KC lights.
5 Considerations Things When You Need to Remove KC Light Covers
1. Type of Light Cover
The first thing to consider when removing KC light covers is the type of cover you have. KC offers various light covers, including snap-on, clip-on, and screw-on covers. Each type may require a different removal method, so it’s important to know what type of cover you have before attempting to remove it.
2. Tools Needed
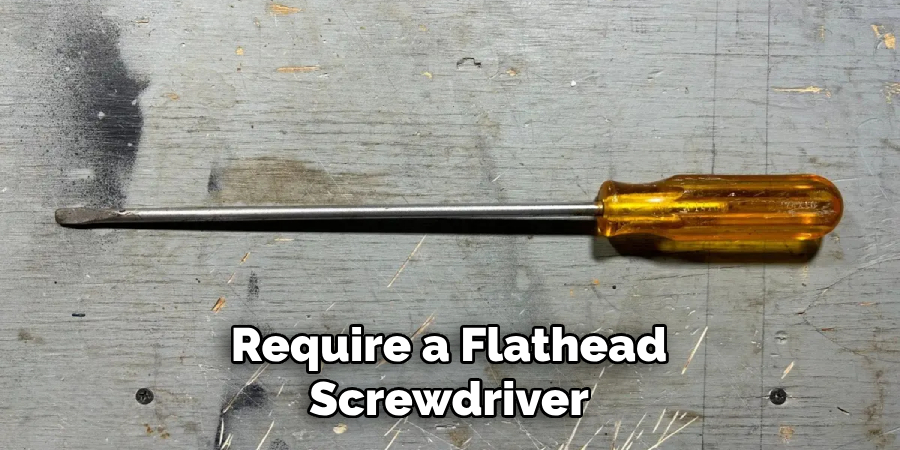
Depending on your light cover type, you may need specific tools to remove it. For example, snap-on covers may require a flathead screwdriver or pry tool to pop them off, while screw-on covers will require a screwdriver. It’s important to have the necessary tools on hand before attempting to remove the cover.
3. Location of Lights
The location of your lights can also affect how you remove the KC light covers. If your lights are mounted in a hard-to-reach area or are surrounded by other accessories, it may be more challenging to remove the covers without causing damage. In these cases, having an extra set of hands or using a ladder or step stool for easier access may be helpful.
4. Condition of Covers
It’s important to assess their condition before attempting to remove KC light covers. If the covers are old or damaged, they may be more difficult to remove without breaking them. In this case, it may be best to replace the covers altogether rather than risk damaging them during removal.
5. Weather Conditions
Lastly, consider the weather conditions when removing KC light covers. If you’re working outside in extreme heat or cold temperatures, this can affect the flexibility and durability of the cover material and make it more challenging to remove without causing damage. It may be best to wait for more moderate weather conditions before attempting removal.
Benefits of Removing KC Light Covers
When it comes to off-roading at night, KC Light Covers may seem like a great idea to keep your lights protected from damage and debris. However, removing these covers can actually provide a multitude of benefits. By removing the covers, you are allowing the full brightness of the lights to shine through, giving you better visibility on the trail. Dust and other debris can easily accumulate on the covers, obstructing your view and diminishing the effectiveness of your lights.
Additionally, removing the covers can also improve airflow, which can help prevent overheating and prolong the life of your lights. So next time you hit the trails, consider removing your KC Light Covers to maximize your visibility and performance.
4 Common Mistakes People Make When Trying to Remove KC Light Covers
1. Using the Wrong Tools
One common mistake people make when trying to remove KC light covers is using the wrong tools. KC light covers are typically held in place by a small screw, which can be difficult to remove without the right tool. Many people try to use a regular screwdriver or pliers, which can damage the screw or cover and make it even harder to remove.
It’s important to use a small, precision screwdriver or an adjustable wrench specifically designed for removing light covers.
2. Not Properly Loosening Screws
Another mistake people make is not properly loosening the screws before attempting to remove the cover. It’s important to first loosen the screws by turning them counterclockwise with a screwdriver or wrench. Trying to force off the cover without loosening the screws can cause damage and make it more difficult to remove.
3. Applying Too Much Force
Some individuals may become frustrated when trying to remove KC light covers and end up applying too much force. This can lead to broken screws, damaged covers, or even injury. It’s important to remember that these covers are designed to fit tightly for protection against weather and debris, so they may require some effort to remove but should not require excessive force.
4. Ignoring Manufacturer Instructions
Lastly, many people make the mistake of ignoring manufacturer instructions when trying to remove KC light covers. Each type of cover may have different instructions for removal, such as specific tools needed or a particular sequence of steps. It’s important to read and follow these instructions carefully in order to avoid any mistakes or damage during removal.
Overall, it’s important to be patient and careful when attempting to remove KC light covers in order to avoid common mistakes that could result in damage or injury. If unsure about how to proceed, it’s always best to consult manufacturer instructions or seek professional assistance.
Conclusion
Removing KC light covers is an easy process that can save you a lot of trouble in the long run. Cleaning or replacing your covers regularly ensures that your KC lights will shine bright for years to come. Remember to turn off your lights before you begin, and always use gentle pressure when removing and reattaching your covers. With these simple steps, you’ll be able to customize and protect your KC lights with ease. Thanks for reading our post about how to remove kc light covers.