

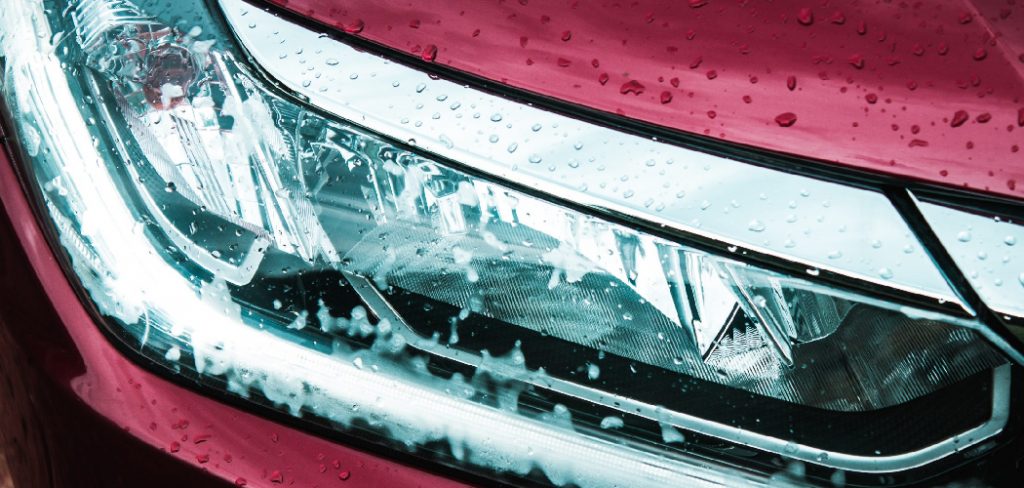
Attention all car owners and enthusiasts! Have you ever noticed the pesky fog or moisture buildup inside your headlights? It can be frustrating and dangerous, but fear not because this blog post will discuss how to get condensation out of headlights.
Whether you’re a DIY enthusiast or just looking for simple maintenance tips, this guide is for you. So buckle up, grab your tools, and get ready to learn how to bring back those crystal-clear lights with ease. No more worrying about failed inspections or reduced visibility while driving. Keep reading as we delve into the world of headlight condensation and discover easy solutions for a brighter ride ahead.
Necessary Items
Before we start, gathering all the necessary items for this task is essential. You may already have most of these items at home or in your garage. Here’s what you’ll need:
- Clean Microfiber Cloth
- Headlight Restoration Kit (optional)
- Hair Dryer or Heat Gun
- Silica Gel Packets
- Drill with Small Bit (optional)
10 Steps on How to Get Condensation Out of Headlights
Step 1: Identify the Source of Condensation
The first step in solving any problem is to identify the root cause. In this case, you must determine where the moisture comes from. It could be due to a cracked seal, loose bulb, or damaged headlight housing.
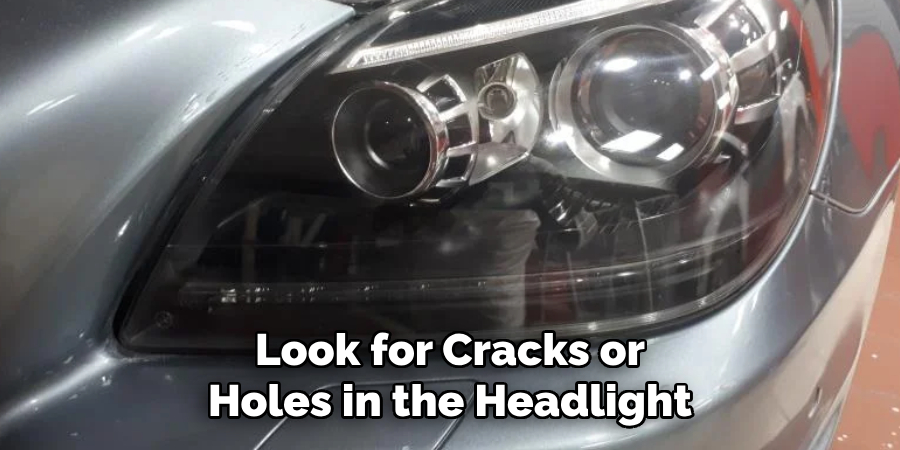
Step 2: Inspect for Any Damage
Once you’ve identified the condensation source, inspecting for any damage is essential. Look for cracks or holes in the headlight housing and loose or damaged seals.
Step 3: Remove the Headlights
If you have determined that the condensation is due to a damaged housing or seal, you must remove the headlights from your car. Refer to your car manual for specific instructions on how to do this.
Step 4: Clean the Headlights
Wipe down the inside and outside of the headlight lens using a clean microfiber cloth. This will help remove any dirt or debris contributing to the condensation.
Step 5: Use a Hair Dryer or Heat Gun
Carefully direct the heat toward the headlight lens using a hair dryer or a heat gun. This will help evaporate any moisture inside.
Step 6: Invest in a Headlight Restoration Kit
If your headlights are severely fogged or yellowed, you may need to invest in a headlight restoration kit. These kits have everything you need to restore your headlights to their original clarity.

Step 7: Drill Small Holes
For persistent condensation, you may need to drill small holes in the bottom of the headlight housing. This will help release any trapped moisture.
Step 8: Use Silica Gel Packets
Place a few silica gel packets inside the headlight housing to absorb excess moisture. Make sure to replace them periodically.
Step 9: Reinstall the Headlights
Once you’ve completed all the necessary steps, it’s time to reinstall the headlights back onto your car. Make sure to secure and seal them properly.
Step 10: Monitor for Future Condensation
Keep an eye on your headlights in the following days and weeks. Repeat these steps or consult a professional if you notice any new condensation forming.
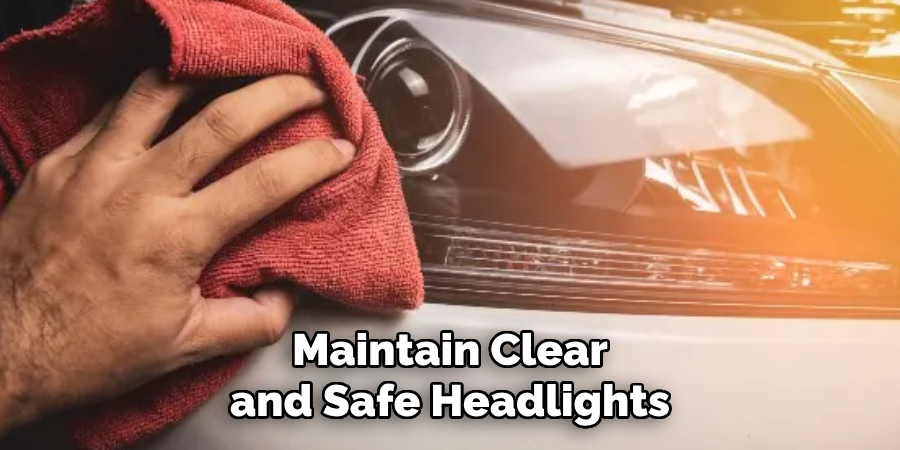
Congratulations, you now know how to get condensation out of headlights! With these simple steps, you can easily maintain clear and safe headlights for your car. Remember to inspect and clean your headlights regularly to prevent future condensation buildup. And if all else fails, don’t hesitate to seek professional help.
8 Things to Avoid
While there are many things you can do to get condensation out of headlights, there are also some things you should avoid. Here are eight things to keep in mind:
1. Do Not Use a High-pressure Water Spray Directly on Headlights
This can cause further damage to the seals and housing, leading to more condensation buildup. Instead, opt for a gentle cleaning method with a microfiber cloth.
2. Avoid Using Household Cleaners or Chemicals
Household cleaners and chemicals can damage the protective coating on your headlights, making them more prone to condensation and reducing their lifespan.
3. Do Not Ignore Persistent Condensation
Ignoring persistent condensation can lead to further damage in the long run. It’s best to address the issue as soon as possible.
4. Avoid Parking Near Bodies of Water
Parking near bodies of water can increase the chances of moisture buildup inside your headlights due to high humidity levels.
5. Do Not Use High Heat Settings on Hair Dryer or Heat Gun
Using high heat settings on hair dryers or heat guns can damage the plastic lenses of your headlights. Use a low or medium setting and be cautious.

6. Avoid Direct Sunlight
Direct sunlight can cause the inside of your headlights to expand, creating gaps for moisture to enter. Park in shaded areas when possible.
7. Do Not Ignore Cracked or Damaged Lenses
Cracks or damaged lenses can allow water to enter, leading to more condensation issues. Replace any damaged headlights as soon as possible.
8. Avoid Driving with Fogged Headlights at Night
Fogged headlights reduce visibility and can be dangerous for you and other drivers on the road. Make sure to address any condensation issues before driving at night.
Condensation in headlights can be frustrating, but with these steps and tips, you can quickly solve the problem and maintain clear lights for safe driving. Remember to regularly inspect and clean your headlights, avoid potential causes of condensation, and seek professional help.
8 Additional Tips for Clear Headlights
In addition to the steps and tips mentioned, here are eight more bonus tips to help you maintain clear headlights:
1. Use a Headlight Restoration Kit Yearly
Even if your headlights aren’t showing signs of fogging or yellowing, it’s still a good idea to use a headlight restoration kit once a year to prevent future issues.
2. Replace Headlights as Needed
If your headlights are severely damaged or beyond repair, it may be time to replace them. New headlights will ensure better visibility and safety while driving.
3. Use a Protective Coating
After restoring your headlights, apply a protective coating to help prevent future damage and maintain clarity.
4. Keep Headlights Clean
Regularly clean your headlights with a gentle cleaner and microfiber cloth to remove dirt, debris, and bugs hindering visibility.
5. Check for Bulb Issues
If your headlights are still foggy after addressing condensation, there may be an issue with your bulbs. Check for any burnt-out or malfunctioning bulbs and replace them as needed.
6. Avoid Rough Handling
Be gentle when handling headlights to avoid causing damage to the lenses, seals, or housing.
7. Monitor Car Battery
A weak car battery can cause issues with your headlights, so make sure to monitor and replace it as needed regularly.
8. Park in a Garage
If possible, park your car in a garage to protect your headlights from extreme weather conditions or potential damage from outside elements.
Follow these tips, and you’ll have clear headlights that will improve your car’s appearance and ensure safe driving conditions for you and others on the road. Remember to be proactive in maintaining your headlights, and don’t hesitate to seek professional help. With these steps and tips, you can quickly solve condensation issues and keep your headlights in top condition.
Frequently Asked Questions
Is It Safe to Remove the Headlights From My Car?
If you follow proper instructions and precautions, removing the headlights from your car is safe. However, it’s best to consult a professional if you need more confidence in your abilities or knowledge.
How Often Should I Clean My Headlights?
It’s recommended to clean your headlights at least once a month to prevent buildup and maintain clear visibility. However, if you live in an area with harsh weather or drive frequently at night, you may need to clean them more often.
Can I Use Any Silica Gel Packets?
Yes, any silica gel packets can be used to absorb excess moisture inside your headlights. Just make sure to replace them periodically for maximum effectiveness.
Should I Drill Holes in My Headlight Housing?
Drill holes should only be used as a last resort if all other methods have failed and persistent condensation continues to be an issue. How do we get condensation out of headlights? It’s best to avoid drilling holes as it can further damage your headlights. Consult a professional for assistance before attempting this step.
Is It Necessary to Use a Headlight Restoration Kit?
It depends on the severity of the fogging or yellowing on your headlights. If they are heavily damaged, a restoration kit may be necessary to restore them to their original clarity.
But if they are only slightly fogged, you can clean them using household items and methods. Remember to maintain and clean your headlights regularly to prevent the need for a restoration kit in the future. Overall, it’s best to assess the condition of your headlights and determine whether a restoration kit is necessary.
Conclusion
In conclusion, condensation inside headlights is a common yet frustrating issue for many car owners. But armed with the knowledge and tips on how to get condensation out of headlights provided in this blog post, you can now confidently tackle this problem head-on.
Remember to regularly inspect and clean your headlights to prevent condensation from building up. And if you do encounter moisture inside your headlights, try using silica gel packs or a hairdryer to remove it. If the problem persists, seek professional help as soon as possible to avoid any potential safety hazards on the road.