

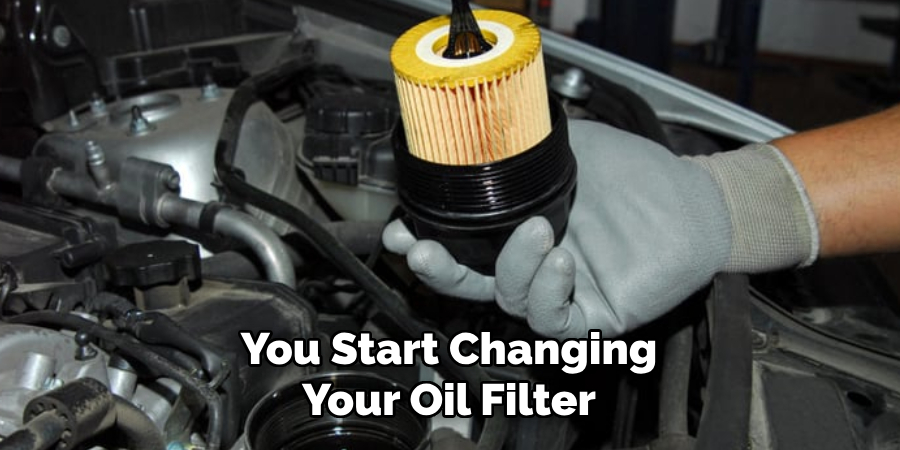
Changing your car’s oil is an important maintenance task. However, removing the old oil filter can sometimes be the most frustrating part of the whole job. If you’ve ever struggled with broken oil filters or sore hands from wrestling with a stubborn filter, you know the struggle is real.

In this post on how to use a oil filter wrench, I’ll walk you through the keys to successfully removing an old oil filter using an oil filter wrench. Using the right tool for the job makes all the difference.
An oil filter wrench gives you the leverage and grip you need to break the seal holding the filter in place. Once you learn the best technique, changing your oil filter will be a breeze. Read on to find out how to use an oil filter wrench like a pro!
Things to Consider Before Choosing an Oil Filter Wrench
Type of Oil Filter:
Before you can choose an oil filter wrench, you need to know what type of oil filter your car has. Oil filters come in various sizes and shapes, so it’s essential to find the right one for your specific vehicle.
Material:
Oil filter wrenches are made from different materials such as rubber, plastic, and metal. Each has its advantages, so choose the one that feels most comfortable for you to use.
Size:
Oil filter wrenches come in different sizes to match the various oil filters on the market. It’s crucial to find the right size wrench that fits your oil filter snugly.
11 Step-by-step Guidelines on How to Use a Oil Filter Wrench
Step 1: Park Your Car and Let the Engine Cool Down
Before you start changing your oil filter, make sure to park your car on a level surface. Let the engine cool down for at least 10-15 minutes to avoid burns from hot oil. The oil filter and engine oil will still be warm, but it won’t be hot enough to injure you. It’s always better to err on the side of caution when dealing with hot oil.
Step 2: Assemble Your Tools
To change your oil filter, you’ll need a few tools handy. These include an oil catch pan, rags or paper towels, a new oil filter, and of course, an oil filter wrench. The oil catch pan will be necessary to collect the old oil from the filter before disposing of it responsibly. It’s also a good idea to have some rags or paper towels handy to clean up any spills. The new oil filter should be the correct size and shape for your vehicle.
Step 3: Locate the Oil Filter
Next, you’ll need to locate the oil filter. Depending on your vehicle, it can be located in different places, such as behind the engine or under the car. If you’re having trouble finding it, consult your vehicle’s owner’s manual. It should have a diagram and instructions on how to locate the oil filter. You can also search online for the location of your specific car’s oil filter.
Step 4: Position the Oil Catch Pan
Place the oil catch pan under the oil filter. This will prevent any spilled oil from getting onto your driveway or garage floor. It’s best to position the pan slightly towards the front of your car, so it catches any oil that may drip from the filter. The pan should also be large enough to catch all of the oil from the filter.
Step 5: Loosen the Oil Filter
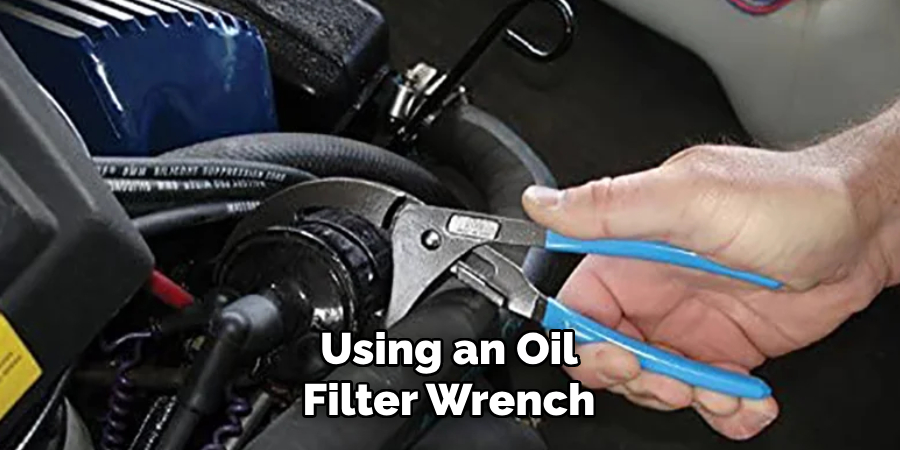
Using an oil filter wrench, turn it counterclockwise to loosen the old filter. It’s essential to grip onto the top of the filter and not just on the side. The wrench will provide you with more leverage, making it easier to loosen the filter. Slowly turn the wrench until you feel the old filter start to loosen. The oil filter will be filled with old oil, so be careful not to spill it.
Step 6: Remove the Oil Filter
Once you’ve loosened the old oil filter, remove it by hand. It should easily spin off. Be careful not to drop the filter and spill oil everywhere. You can also use a rag to grip the filter if it’s stuck or too hot. it’s a good idea to have a rag handy to wipe off any excess oil on the engine or other parts. Although the old filter is no longer needed, always handle it with care as it may still contain hot oil.
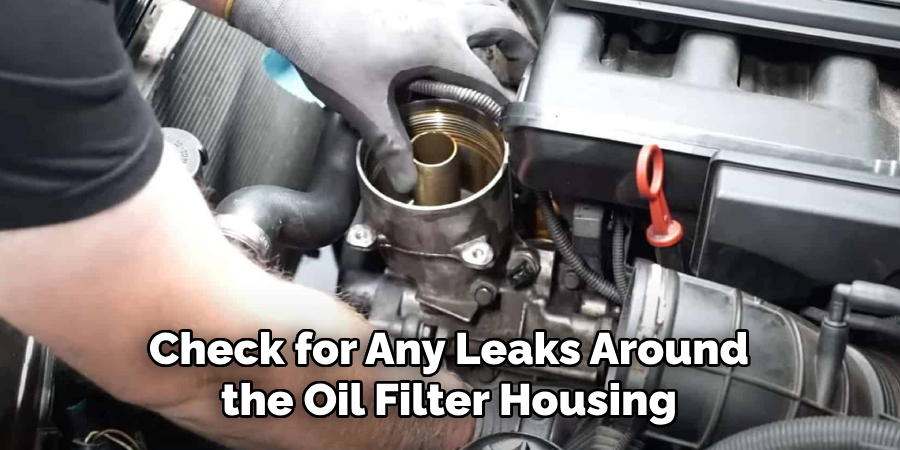
Step 7: Clean the Oil Filter Housing
Before you install the new filter, make sure to clean the oil filter housing thoroughly. Wipe it with a rag and remove any old gasket material or debris. This will ensure a tight seal for your new filter. It’s crucial to keep the filter housing clean to prevent any leaks or damage to the engine. The cleaner the surface, the better your new filter will seal.
Step 8: Install New Oil Filter
Before installing the new oil filter, lubricate the gasket with a bit of fresh oil. This will help it create a tight seal and make it easier to remove during your next oil change. Next, screw o the new filter by hand. Turn it clockwise to tighten it. Make sure not to over-tighten as this can cause damage to the gasket and make it difficult to remove during your next oil change.
Step 9: Check for Leaks
After installing the new filter, check for any leaks around the oil filter housing and drain plug. If you spot any leaks, stop the engine and address them before continuing. If there are no leaks, you’re ready to move on to the next step. You can also quickly check for leaks by running your finger around the filter housing and drain plug to feel for any oil.
Step 10: Wipe Up Any Spilled Oil
Although you took precautions to avoid any spills, it’s still a good idea to double-check for any drips or spilled oil. Use a rag or paper towel to clean up any messes. This will prevent any oil from getting onto your driveway or garage floor, which can be challenging to clean up. It’s also essential to dispose of the old oil and filter properly. Most auto shops or recycling centers will accept them for proper disposal.
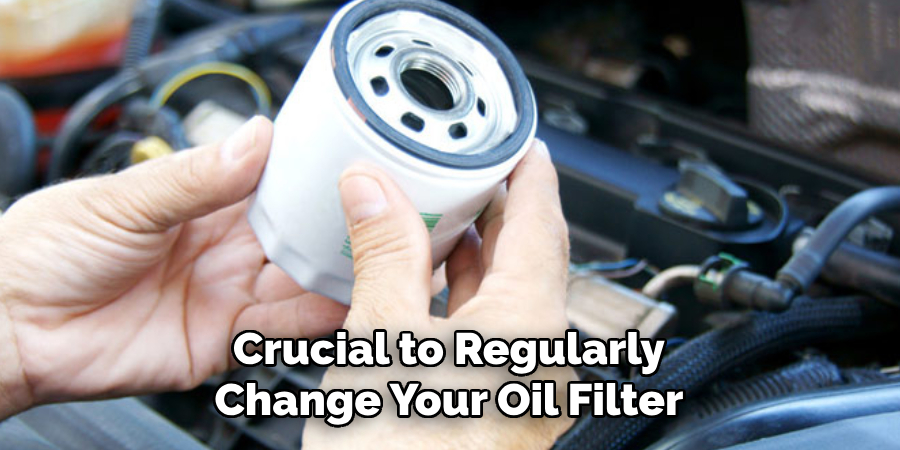
Step 11: Record the Date and Mileage
Finally, make a note of the date and mileage on your car before changing the oil filter. This will help you keep track of when it needs to be changed again. I recommend changing your oil filter every 5,000-7,500 miles or as recommended by your vehicle’s manufacturer. Regularly changing your oil filter is crucial for maintaining optimal engine performance and prolonging the life of your engine.
Following these steps on how to use a oil filter wrench will ensure that you properly use an oil filter wrench and change your oil filter safely. Remember to always follow safety precautions when dealing with hot oil and dispose of the old oil and filter responsibly. By regularly changing your oil filter, you’ll keep your engine running smoothly for years to come.
Frequently Asked Questions
Q1: How Often Should I Change My Oil Filter?
A: It is recommended to change your oil filter every 5,000-7,500 miles or as directed by your vehicle’s manufacturer. It’s crucial to regularly change your oil filter to maintain optimal engine performance and prolong the life of your engine.
Q2: Do I Need to Use an Oil Filter Wrench?
A: It’s not necessary to use an oil filter wrench, but it can make the job easier. An oil filter wrench provides more leverage and makes it easier to loosen a tight filter. If your filter is easy to remove by hand, you may not need an oil filter wrench.
Q3: How Do I Know When It’s Time to Change My Oil Filter?
A: A clogged or dirty oil filter can cause a decrease in engine performance and may trigger a warning light on your dashboard. It’s essential to regularly check your vehicle manual for recommended intervals for changing the oil filter. If you notice any decrease in performance, it may be time to change your oil filter.
Q4: Can I Reuse My Oil Filter?
A: It’s not recommended to reuse an old oil filter. Over time, the filter can become clogged with dirt and debris, leading to decreased engine performance. Additionally, the gasket on the filter can wear out over time, resulting in potential leaks or difficulty removing it during the next oil change. It’s best to replace the oil filter with a new one each time you change your oil.
Conclusion
Overall, oil filter wrenches are an essential tool for any car owner or mechanic. They provide an efficient and effective way to remove and replace oil filters without damaging them or risking injury. By following the steps outlined in this post, you can easily learn how to use an oil filter wrench and confidently perform regular maintenance on your vehicle.
From understanding the different styles of oil filter wrenches to properly using them on your specific car model, you now have a comprehensive guide on how to use a oil filter wrench to master this important tool. So next time your car needs an oil change, don’t stress about removing the filter – just grab your trusty oil filter wrench and get the job done with ease.
And if you’re in the market for a new one, remember to consider factors such as size, quality materials, and user-friendly features. With these tips in mind, you’ll surely find the perfect oil filter wrench that suits your needs and makes maintenance tasks a breeze.