

Summer road trips are always an exciting adventure full of memories waiting to be made. But one of the biggest challenges can be figuring out how to pack everything you need while still being able to securely transport your bags on the roof of the car. Over the years, I’ve tried numerous methods for tying down luggage to roof racks with varying degrees of success.
There’s nothing worse than stopping for gas only to discover a duffel bag has somehow worked itself loose during the last few hours of driving. Today I’m sharing my tried and true technique for using rope to reliably tie down bags and keep them stationary for the entire journey, no matter how windy the conditions.
From boxier items like hockey bags to more oddly shaped bundles, this method on how to tie luggage to roof rack has never let me down. Strap in and let me show you how it’s done!
Why Use Rope Instead of Bungee Cords or Ratchet Straps?
Rope is a versatile and reliable option for tying down luggage to a roof rack. Unlike bungee cords, which can easily snap under tension or become loose over time, rope can be tightly secured and adjusted as needed. Ratchet straps may seem like a more secure option, but they can be tricky to use and too bulky for smaller items. Plus, rope is a much more affordable option that you likely already have on hand.
10 Simple Step-by-step Guidelines on How to Tie Luggage to Roof Rack
Step 1: Gather Your Materials
You will need:
- Rope (at Least 15 Feet)
- Luggage or Bags
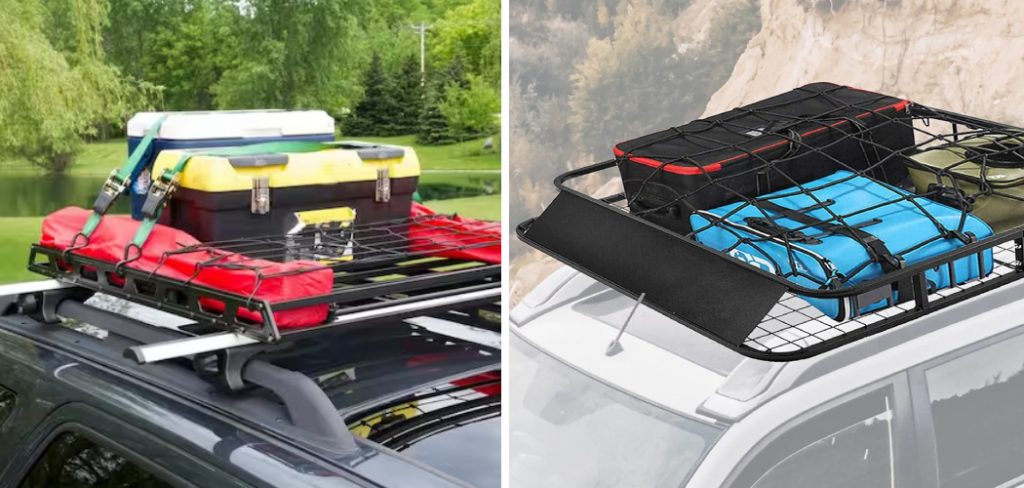
- Roof Rack With Crossbars
- A Stepladder (if Needed) to Reach the Top of Your Vehicle
- A Tarp (Optional)
Step 2: Position Your Bags on the Roof Rack
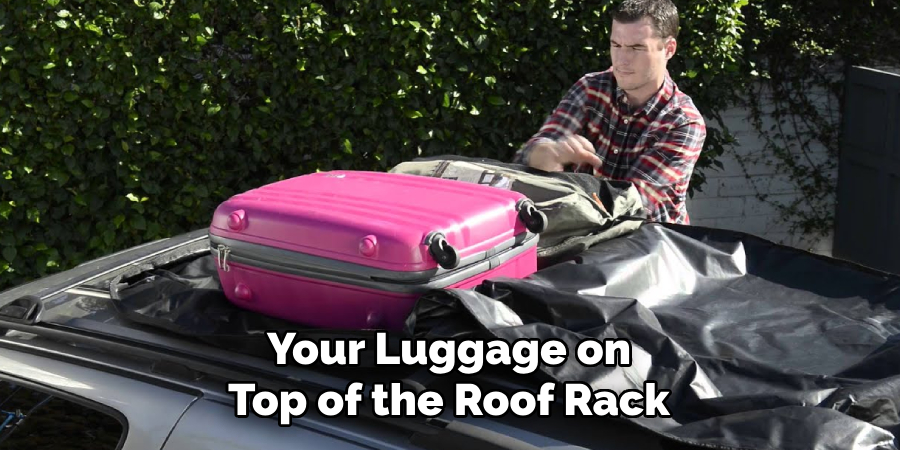
Place all of your luggage on top of the roof rack, making sure to distribute weight evenly across the entire surface. This will help ensure stability and prevent your car from being top-heavy. You can also place a tarp over the bags to protect them from rain or wind if needed. It’s a good idea to lay out all your bags beforehand and plan how they will fit together on the roof rack to maximize space.
Step 3: Start With the Center Bag
Begin with the largest bag or item in the center of your roof rack. This will act as an anchor for the rest of your bags and help keep them from shifting during travel. You can also use a bungee cord to secure the center bag in place if desired, although this isn’t necessary. The key is to make sure the center bag is tightly secured before moving on to the other bags.
Step 4: Create a Cross Pattern With the Rope
Starting from one side of the roof rack, bring the rope over the top of your bags and cross it diagonally to the other side. Then, loop it under the crossbar and back up to the starting side. This creates a strong cross pattern that will help keep your bags in place. It’s important to keep the rope taut and make sure it is passing over the bags and under the crossbar each time.
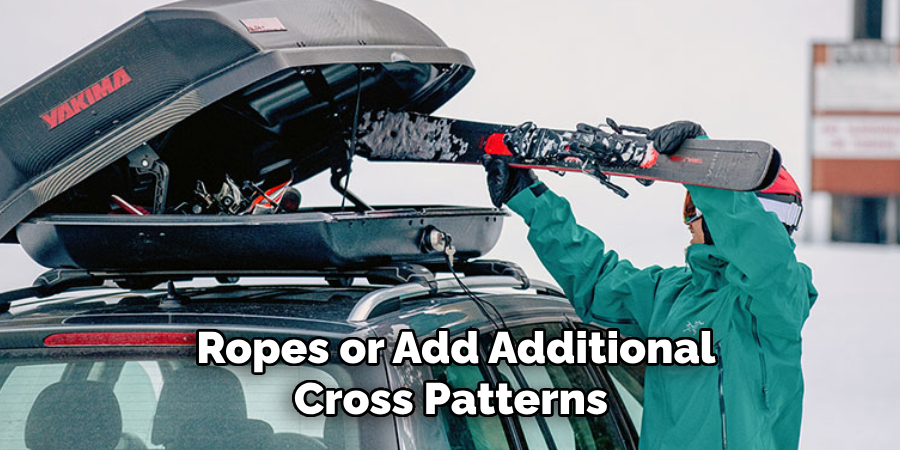
Step 5: Repeat With Additional Cross Patterns
Continue creating additional cross patterns with the rope until all of your bags are securely tied down. It’s a good idea to have at least three or four cross patterns, depending on how many bags you have. For smaller or lighter items, two cross patterns may be sufficient. Just make sure to evenly distribute the weight and keep the rope as tight as possible.
Step 6: Tie Off the Ends
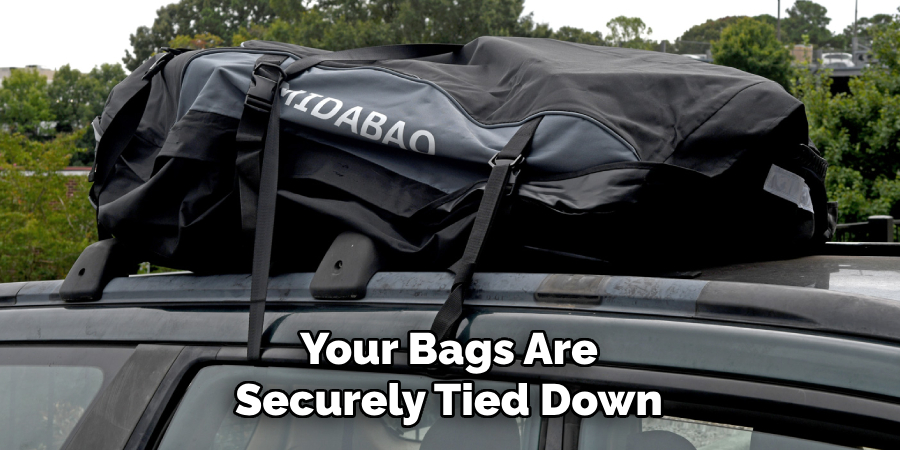
Once all of your bags are securely tied down with the cross patterns, make a knot at each end of the roof rack to prevent the rope from coming undone while driving. You can also tie off any excess rope to keep it from flapping in the wind. It’s important to double-check that all knots are secure before hitting the road. You can also add additional bungee cords for extra assurance if desired.
Step 7: Double Check for Stability
Before hitting the road, take a few minutes to double-check that all of your bags are tightly secured and there is no movement or shifting. If needed, you can make minor adjustments to the ropes to further secure your luggage. You can also use a luggage net or additional bungee cords for added stability if needed.
Step 8: Drive Slowly and Carefully
It’s important to drive slowly and carefully while your luggage is tied to the roof rack. The extra weight may affect your vehicle’s handling, so make sure to take turns slowly and avoid sudden movements. It’s also a good idea to periodically check on your bags during rest stops or when filling up gas to ensure everything is still securely in place.
Step 9: Remove Bags With Caution
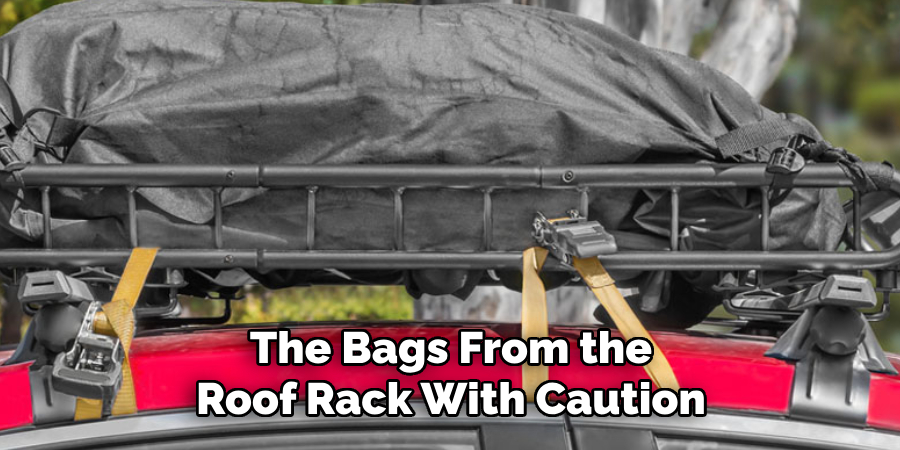
When arriving at your destination, make sure to remove the bags from the roof rack with caution. Untie all knots and carefully lift each bag off the rack. It’s important to have a partner help with this step, especially if the bags are heavy or bulky. Once all of the bags are removed, double-check that there is no damage to your roof rack and store it safely for future use.
Step 10: Enjoy Your Trip!
With your luggage securely tied down and ready for transport, you can now hit the road and enjoy your trip without any worries about loose bags or shifting items. Just make sure to follow these guidelines and regularly check on your luggage while driving for a stress-free journey.
It may take a bit more time and effort, but using rope to tie down your luggage is a reliable and cost-effective method that will ensure your belongings arrive safely at your destination.
Following these simple steps on how to tie luggage to roof rack will help you confidently tie down your luggage to a roof rack and have a smooth and enjoyable trip. So next time you’re planning a road trip or moving to a new location, don’t forget this tried and true technique for securely transporting your bags. Happy travels!
Tips
- Always Make Sure to Double Check That All of Your Bags Are Tightly Secured Before Hitting the Road.
- Use a Luggage Net or Bungee Cords for Extra Stability if Necessary.
- Drive Slowly and Carefully While Your Luggage is Tied Down to Avoid Any Accidents.
- Have a Partner Help With Removing Heavy or Bulky Bags From the Roof Rack.
- Store Your Roof Rack Safely for Future Use.
- Consider Using a Tarp to Protect Your Bags From Rain or Wind During Travel.
- Don’t Overload Your Car’s Weight Limit When Tying Down Luggage.
- It’s Always Better to Have More Rope Than Not Enough, So It’s a Good Idea to Bring Extra Just in Case.
- Regularly Check on Your Bags During Rest Stops to Ensure They Are Still Tightly Secured.
- Follow Any Additional Guidelines or Instructions Provided by the Manufacturer of Your Roof Rack for Optimal Use and Safety.
Frequently Asked Questions
Q: Can I Use Any Type of Rope to Tie Down My Luggage?
A: It’s best to use a strong and durable rope such as nylon or polypropylene. Avoid using thin, flimsy ropes that may break under tension. It’s also important to make sure the rope is long enough to go around all of your bags and tie off at each end of the roof rack.
Q: What if I Have a Lot of Luggage or Bulky Items?
A: You can use larger, heavier-duty ropes or add additional cross patterns with the rope for added security. It’s also a good idea to distribute weight evenly and avoid placing all of your heaviest bags on one side of the roof rack.
Q: Do I Need to Tie Down My Bags if They’re Inside a Luggage Carrier?
A: Yes, it’s still important to secure your bags with ropes even if they are inside a luggage carrier. The added weight and wind resistance may cause the carrier to shift or come loose if not properly tied down.
Q: Can I Use Bungee Cords Instead of Rope?
A: While bungee cords may be easier to use, they can also stretch and become loose over time. It’s best to use a combination of both ropes and bungee cords for maximum security.
Conclusion
And there you have it, my fellow travelers and adventurers – a comprehensive guide on how to properly tie luggage to your roof rack. We’ve covered everything from the tools you’ll need to the step-by-step process on how to tie luggage to roof rack to secure your belongings for a safe and stress-free journey. But beyond just the technical aspects, let’s take a moment to appreciate what this skill represents.
Tying luggage to a roof rack is more than just a practical task; it symbolizes our desire for exploration and our willingness to leave the comfort of our home behind to embark on new adventures. It’s a testament to our thirst for experiences that push us out of our comfort zones and expand our horizons.