
Has a small crack or chip appeared in your windshield, seemingly out of nowhere? You may think it’s not a big deal now and that you can let it go, but you’d be mistaken.

Left unrepaired, that tiny blemish has the potential to rapidly grow and spread until it completely compromises the structural integrity of your windshield. I know from personal experience how unsettling it can feel to notice a new crack spreading each time you get behind the wheel.
That’s why in this post, I’m sharing several tips and tricks I’ve learned over the years to help stop or at least dramatically slow the progress of cracks in your windshield.
From special crack-stopping sealants to innovative repair techniques, by the time you’re done reading, you’ll have some new tools in your arsenal to keep your windshield from turning into a shattered mess. Let’s get started on how to stop windshield crack from spreading!
Needed Tools and Materials
- Windshield Repair Kit (With Resin and Applicator)
- Clear Nail Polish or Super Glue
- Cracked Windshield Sealant
- Razor Blade
- Cloth or Paper Towels
- Protective Gloves
- Safety Glasses
11 Step-by-step Guidelines on How to Stop Windshield Crack From Spreading
Step 1: Assess the Damage
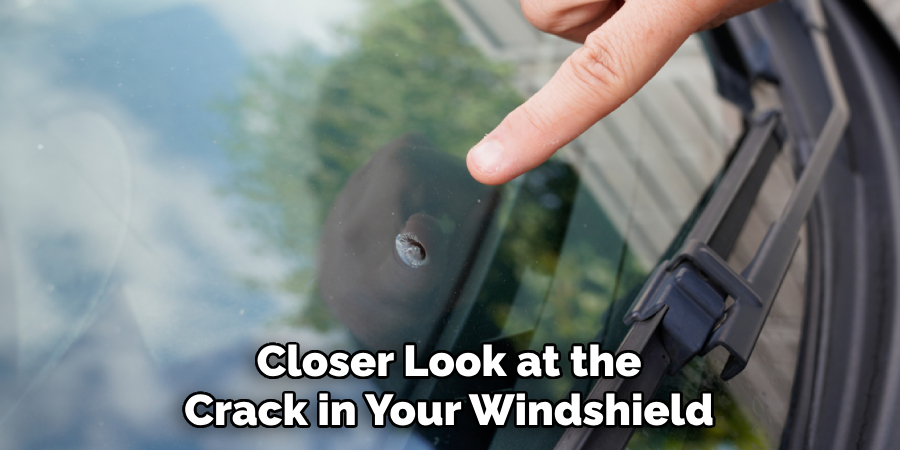
First things first, you need to take a closer look at the crack in your windshield. Determine its size, location, and shape. I recommend measuring the length of the crack with a ruler or tape measure so you can track its progress later on.
You also want to make sure that the crack is not obstructing your view while driving. If it’s in a critical area, you may need to get it fixed by a professional immediately. It’s always better to be safe than sorry.
Step 2: Clean the Windshield
Before attempting any repairs, make sure your windshield is clean and free of debris. Use a glass cleaner or soap and water to remove any dirt, dust, or other particles from the surface. This will ensure that the repair materials can properly adhere to your windshield.
But be cautious not to use any harsh chemicals or abrasive materials as they can further damage your windshield. It’s also a good idea to dry the area thoroughly with a clean cloth or paper towel.
Step 3: Apply Protective Gloves and Glasses
Working with glass can be dangerous, so it’s important to protect yourself. Wear protective gloves to avoid any potential cuts or irritation from the broken glass. Safety glasses are also essential to prevent any shards of glass from getting into your eyes. The last thing you want is an injury on top of a cracked windshield. You can never be too careful.
Step 4: Use Clear Nail Polish or Super Glue
If the crack in your windshield is small and less than one inch, you can use clear nail polish or super glue to prevent it from spreading. Apply a thin layer of clear nail polish or super glue along the entire length of the crack, using a small brush or cotton swab. This will act as a temporary fix until you can properly repair it. If you have longer cracks, skip to the next step.
Step 5: Apply Cracked Windshield Sealant
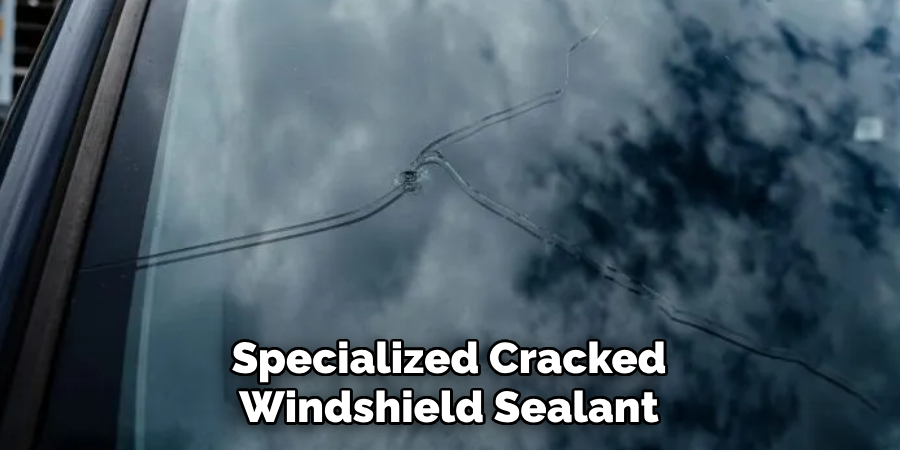
For larger cracks, you’ll need to use a specialized cracked windshield sealant. These sealants are designed to fill in the gap and bond with the glass, preventing the crack from spreading.
Follow the instructions on your chosen sealant carefully and make sure to wear gloves while applying it. Using a razor blade, remove any excess sealant that may have dripped onto the surface of your windshield.
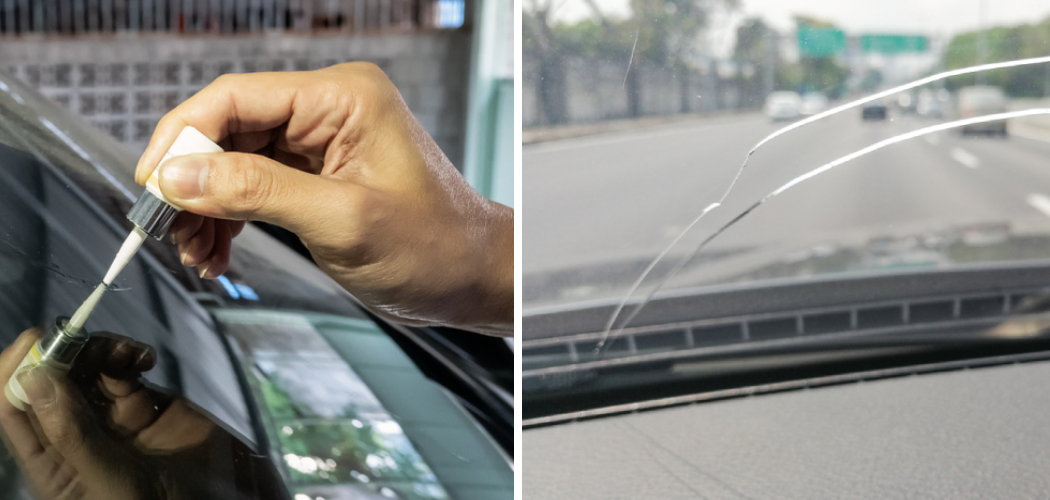
Step 6: Use a Windshield Repair Kit
For more serious cracks, you may need to use a windshield repair kit. These kits typically include a resin and applicator, but make sure to read the instructions before using it.
Start by applying the resin into the crack, following the directions provided. Then use the applicator to evenly spread and smooth out the resin. Once done, cover it with a curing strip (if included in your kit) and let it dry for the recommended time.
Step 7: Wait for the Resin to Dry
After applying the resin, you’ll need to wait for it to dry completely. This could take anywhere from 30 minutes to a few hours, depending on the product and the size of the crack. Be patient during this step as rushing it may affect the effectiveness of your repair. The resin should dry clear, filling in the crack and preventing it from spreading.
Step 8: Remove the Curing Strip (if used)
If you used a curing strip in your repair, carefully remove it once the resin has dried. You may need to use a razor blade or sharp object to gently peel it off. Be careful not to damage the repaired area while removing the strip. It’s also a good idea to wipe off any remaining resin that may have seeped out. But don’t worry if you can’t get it all, as it will eventually wear off.
Step 9: Apply More Resin (if needed)
In some cases, one application of resin may not be enough to properly repair the crack. If you notice that the crack is still visible or has not completely filled in and bonded with the glass, you can apply another layer of resin following the same process as before. Just make sure to let it dry completely before moving on to the next step.
Step 10: Monitor the Crack
After completing the repair, it’s important to keep an eye on the crack and monitor its progress. Check back periodically and measure its size to see if it has stopped spreading or is getting worse. If you notice any changes, you may need to repeat the repair process or seek professional help. It’s always better to catch and prevent any further damage before it’s too late.
Step 11: Seek Professional Help

If the crack in your windshield is too large or has spread extensively, it may be beyond DIY repair. In this case, it’s best to seek professional help from a certified auto glass technician. They have the necessary tools and expertise to properly repair or replace your windshield. It may cost you more, but it’s a small price to pay for your safety and the integrity of your vehicle.
Following these step-by-step guidelines on how to stop windshield crack from spreading can help you stop a windshield crack from spreading and potentially save you from having to replace the entire windshield.
Remember, safety should always come first, so don’t hesitate to seek professional help if needed. Keep your windshield clean and well-maintained to prevent cracks and damages in the future. And most importantly, drive safely! Safety should always be the top priority when it comes to maintaining your vehicle.
Frequently Asked Questions
Q: How Long Will a DIY Repair Last?
A: A properly done windshield repair can last for years, but its lifespan also depends on various factors such as the extent of damage and weather conditions. You may need to repeat the repair process if you notice any changes in the crack over time. It’s always best to regularly check and monitor your windshield for any potential issues.
Q: Can I Use a Windshield Repair Kit on Any Type of Crack?
A: Not all cracks can be repaired using a DIY kit. Large or complex cracks, those that extend beyond the outer layer of the glass, or cracks near the edge of the windshield may require professional help. It’s important to follow the instructions on your repair kit and assess the type and size of the crack before attempting a DIY repair.
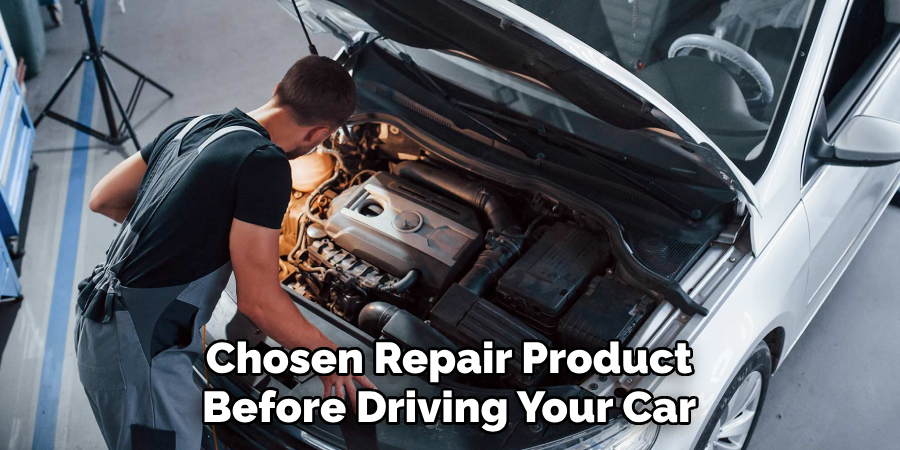
Q: Can I Drive My Car Immediately After Doing a Windshield Repair?
A: It’s best to wait for the recommended time stated on your chosen repair product before driving your car. Driving too soon can potentially affect the effectiveness of the repair and may even cause the crack to spread. If possible, it’s best to avoid driving for a few hours after completing a DIY windshield repair.
Conclusion
In conclusion on how to stop windshield crack from spreading, it is crucial to act quickly once you notice a crack on your windshield. Ignoring the issue will only lead to further damage and potentially put your safety at risk.
By following these simple steps, you can effectively prevent a crack from spreading and save yourself the hassle and expense of a full windshield replacement. Remember to assess the severity of the crack, cover it with clear nail polish or tape, avoid extreme temperatures and weather conditions, and seek professional help if needed.
Your windshield plays a vital role in your vehicle’s structural integrity and visibility on the road, so don’t underestimate its importance. Taking care of your windshield now can save you from bigger problems in the future. So don’t wait until it’s too late – take action today and protect your windshield for a smoother driving experience tomorrow!
Share this valuable information with your family and friends to ensure their safety on the road as well. Together, we can all do our part in preventing windshield cracks from spreading and keeping ourselves and others safe while driving. Drive smart, drive safely!