
Hey there, fellow car enthusiasts! Are you tired of dealing with exhaust leaks and the annoying sound they produce? Well, you’ve come to the right place. In today’s blog post, we’re going to dive deep into the world of clamping exhausts together – a simple yet effective solution to ensure a tight seal and optimize your vehicle’s performance.
Whether you’re a seasoned mechanic or a DIY enthusiast, this guide on how to clamp exhaust together will take you through the step-by-step process of clamping your exhaust together, saving you time, money, and headaches. So sit back, grab a cup of coffee, and get ready to learn everything you need to know about clamping exhausts together like a pro. Let’s get started!
Advantages and Disadvantages
Before we jump into the actual clamping process, let’s quickly go over the advantages and disadvantages of using exhaust clamps. Understanding these will help you make an informed decision on whether this method is suitable for your vehicle or not.
Advantages:
Quick and Easy Installation:
Unlike welding, which requires specialized tools and skills, clamping exhausts together is a simple and straightforward process that anyone can do.
Reusability:
Exhaust clamps are reusable, meaning you can easily remove them if needed without damaging the exhaust pipes.
Cost-Effective:
Clamping is a more affordable option compared to welding or using other types of exhaust sealants.
Disadvantages:
Not as Durable as Welding:
While clamping is a quick and easy solution, it may not be as durable in the long run compared to welding. Over time, exhaust clamps can loosen, leading to potential leaks.
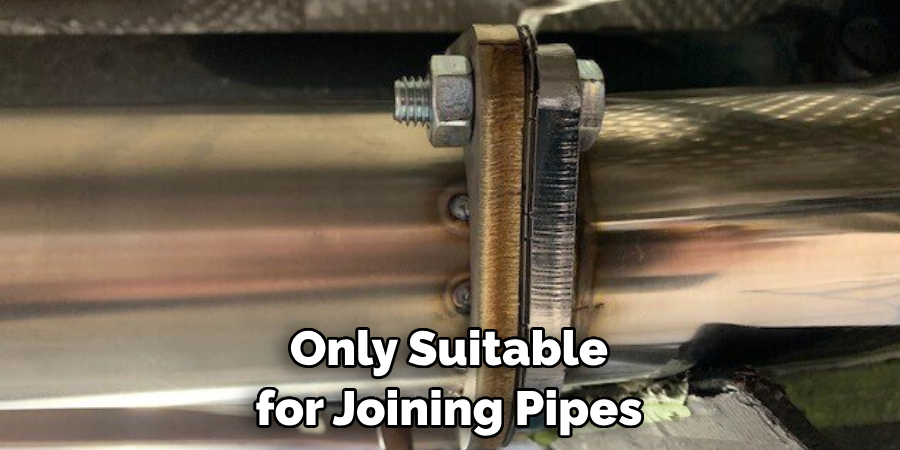
Limited Application:
Exhaust clamps are only suitable for joining pipes of similar sizes and shapes. If your exhaust system includes different pipe sizes or shapes, clamping may not be possible.
Now that we have a better understanding of the advantages and disadvantages let’s move on to the actual process of clamping exhaust together.
10 Simple Step-by-step Guidelines on How to Clamp Exhaust Together
Step 1: Gather the Necessary Tools and Materials
Before you start, make sure you have all the necessary tools and materials. These include exhaust clamps, a socket wrench or pliers, and safety gear such as gloves and eye protection. You may also need a hacksaw or pipe cutter to adjust the length of the pipes if necessary. I also recommend having an extra set of hands to help you with the process.
Step 2: Prepare Your Work Area
Find a flat and clean surface to work on, preferably in a well-ventilated area. It’s best to avoid working under your vehicle or in cramped spaces as it can be dangerous and hinder the clamping process. The surface should also be sturdy enough to support the weight of your exhaust system. It’s also a good idea to lay down some cardboard or towels to protect the surface from any scratches.
Step 3: Remove the Old Exhaust Clamps
If you’re replacing old clamps, use a socket wrench or pliers to loosen and remove them. If your exhaust system does not have clamps, skip this step. But, make sure to thoroughly clean and degrease the pipe ends before moving on to the next step. The smoother the surface, the better the seal. It’s also a good idea to use sandpaper to remove any rust or debris that may hinder the clamping process.
Step 4: Measure and Cut the Pipes (If Necessary)
Next, measure the length of your pipes and use a hacksaw or pipe cutter to trim them accordingly. Make sure the cuts are clean and straight for a proper fit. The goal is to have the pipes fit snugly into each other, leaving enough room for the exhaust clamp. The length of the pipes will depend on the type of clamp you’re using and the amount of overlap required.
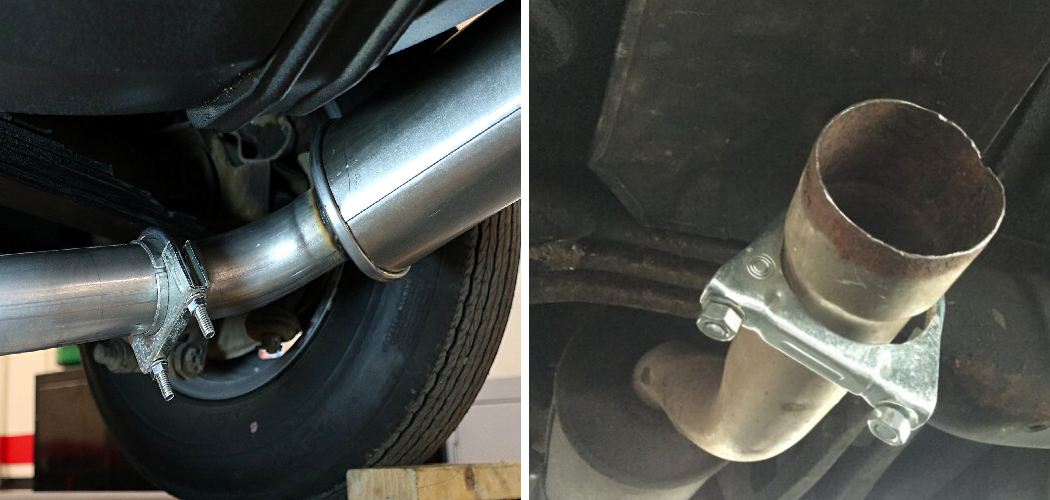
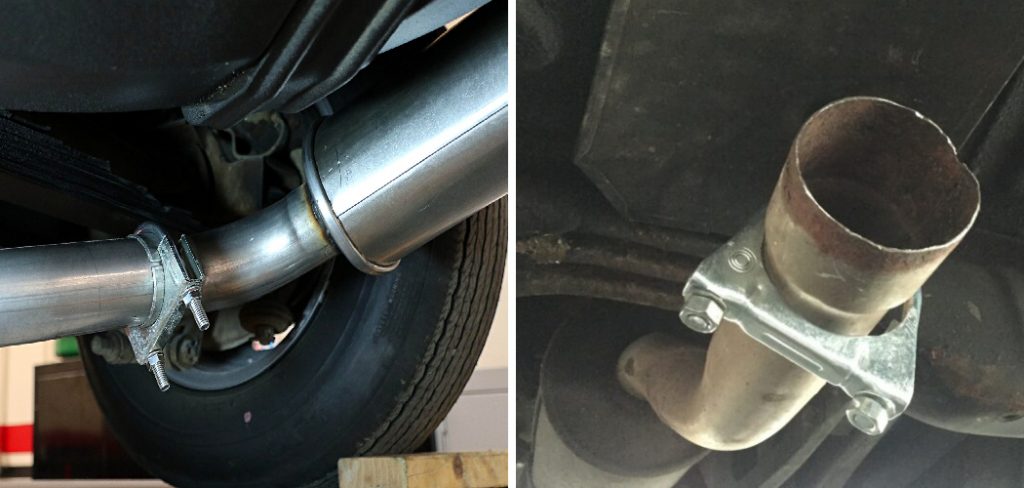
Step 5: Place the Pipes Together
Slide one pipe into another and make sure they fit securely. You can use a rubber mallet to gently tap them in place if needed. If your exhaust system has multiple pipes, repeat this process for all connections. The pipes should be aligned correctly to ensure a tight seal. It’s also a good idea to apply some exhaust sealant on the inside of the pipes for extra protection against leaks.
Step 6: Position the Exhaust Clamp
Place the exhaust clamp over the joint where the pipes meet. The clamps have a gasket inside that will help create a tight seal. Make sure it’s positioned evenly and facing the correct direction (usually marked with an arrow). Otherwise, the clamp may not function correctly. It’s also a good idea to lubricate the threads on the clamp with anti-seize or WD-40 for easier tightening.
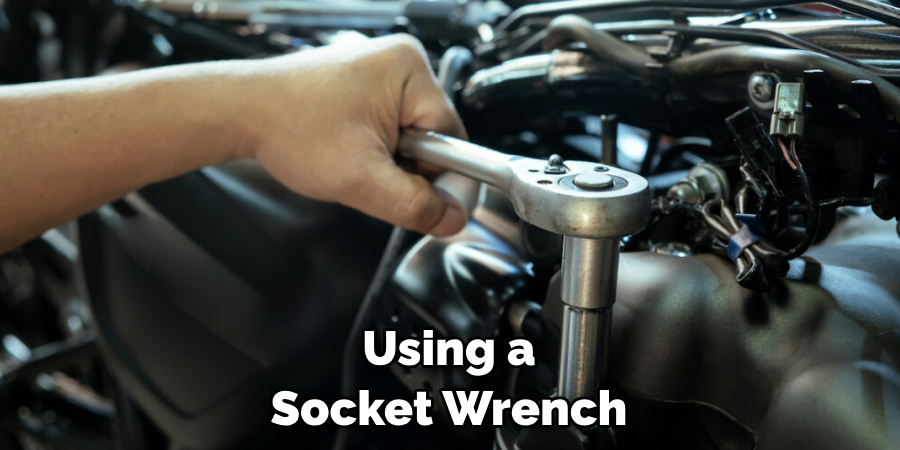
Step 7: Tighten the Clamp
Using a socket wrench or pliers, start tightening the clamp until it’s securely in place. Make sure you don’t over-tighten as it can damage the pipes and cause leaks. A good rule of thumb is to stop when you feel resistance from the clamp. The clamp should be tight enough so that the pipes don’t move, but not too tight that you can’t adjust them if needed.
The gap between the clamp’s ends should be around ¼ inch. It’s always a good idea to double-check the tightness of the clamp after running your vehicle for a few miles.
Step 8: Check for Any Leaks
Once the clamp is tightened, start your vehicle and let it run for a few minutes. Then, inspect the connections for any potential leaks. You may need to make some minor adjustments or re-tighten the clamp if you notice any leaks. If everything looks good, move on to the next step. It’s always a good idea to double-check for leaks after a few days of driving as well. The heat and vibrations from the exhaust system can sometimes cause the clamp to loosen.
Step 9: Secure the Clamp
Once you’re satisfied with the fit and there are no leaks, use pliers to bend and secure the ends of the clamp in place. This will prevent it from loosening over time due to vibrations or other factors. You can also use exhaust hangers or brackets to provide additional support for the pipes. It’s important to secure the clamp properly to avoid potential hazards while driving. You may also need to trim any excess material from the clamp if it’s too long.
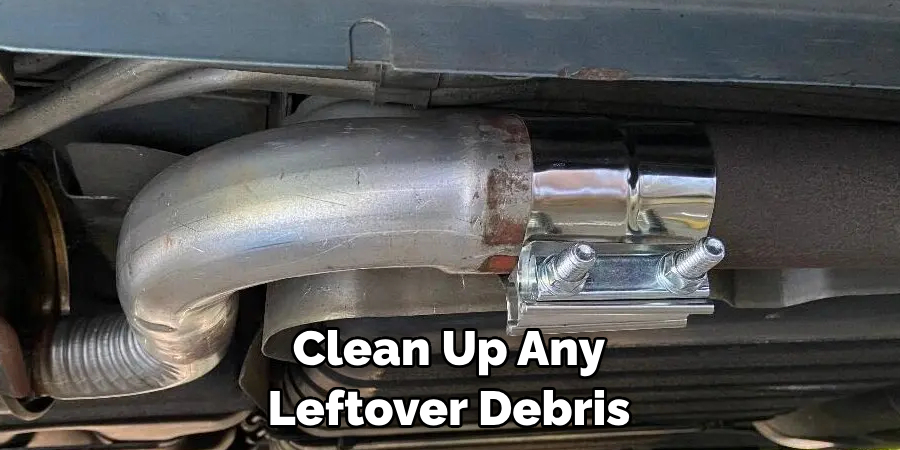
Step 10: Clean Up and Enjoy Your Newly Clamped Exhaust System
Lastly on how to clamp exhaust together, clean up any leftover debris or tools from your work area and admire your newly clamped exhaust system. With proper installation and care, your exhaust clamps should last for a long time, providing a secure and cost-effective solution for your exhaust system. So, go ahead and take your car for a spin, knowing that you have successfully clamped your exhaust together like a pro!
So next time, before considering expensive welding or messy sealants, remember these simple steps on how to clamp your exhaust together. Not only is it quick and easy, but it’s also a cost-effective and reliable solution that will keep your exhaust system running smoothly. Happy clamping!
Frequently Asked Questions
Q1: Can I Reuse Old Exhaust Clamps?
A1: It’s not recommended to reuse old clamps as they can be prone to wear and may not provide a secure fit. It’s best to replace them with new ones for optimal results. You can also save the old clamps as backups in case you need them in the future.
Q2: How Tight Should I Make My Clamps?
A2: It’s important not to over-tighten the clamp as it can damage the pipes and cause leaks. A good rule of thumb is to stop tightening when you feel resistance from the clamp. The gap between the clamp’s ends should also be around ¼ inch.
Q3: Can I Clamp Different Materials Together?
A3: It’s not recommended to clamp different materials together as they can have varying expansion rates and may not provide a secure seal. It’s best to use clamps specified for your exhaust system’s material.
Conclusion
In conclusion on how to clamp exhaust together, clamping your exhaust together is an important part of maintaining your vehicle’s performance and efficiency. It may seem like a small task, but it can make a big difference in the long run.
In this post, we have covered the various types of clamps available, the step-by-step process for clamping your exhaust, and some tips for ensuring a secure and long-lasting connection. We hope that you have found this information helpful and insightful.
Now, it’s time to put your knowledge into practice and enjoy a leak-free and high-performing exhaust system. Happy clamping! So, go ahead and give it a try on your own vehicle or share this guide with fellow car enthusiasts. Remember, proper maintenance is crucial for the longevity of your vehicle and a safe driving experience. Stay tuned for more informative content on all things automotive. Keep revving!