

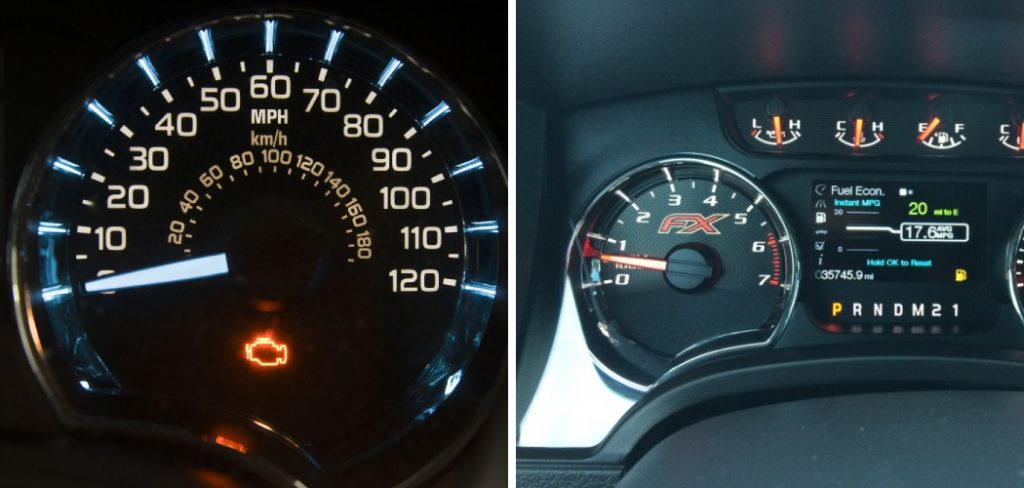
For Jeep Cherokee owners out there with that annoying flashing gas cap light on your dashboard, I know your frustration! That little symbol blinking away can feel like a constant annoyance, making you think there’s something wrong with your vehicle when in reality it’s usually just a simple fix.
I’ve been there myself – staring at the gas cap light while driving down the road, contemplating whether I should stop and check the cap or keep going, only to later realize the cap was perfectly fine, just not fully latched.
In this blog post on how to reset jeep cherokee gas cap light, I’m going to walk through the easy steps to reset that pesky light once you’ve ensured your gas cap is securely in place. By the end, you’ll have that glowing symbol banished from your dashboard for good!
What Causes the Gas Cap Light to Come On?
Before we get into the reset process, it’s important to understand why the gas cap light comes on in the first place. The main cause is typically a loose or faulty gas cap. When your gas cap isn’t fully tightened or is damaged, it can cause air to enter the fuel system and trigger the check engine light.
In some cases, the gas cap light may also come on due to a leak in the fuel system. In either scenario, it’s important to address the issue promptly as it can affect your vehicle’s performance and fuel economy.
11 Step-by-step Guidelines on How to Reset Jeep Cherokee Gas Cap Light
Step 1: Prepare All the Necessary Tools and Materials
For this process, you’ll need a gas cap (if your current one is damaged), a socket wrench or pliers, and possibly an OBD-II scanner if the light persists after resetting. You may also want to have some gloves handy in case your hands get dirty. But overall, the tools and materials needed for this reset are minimal. You can easily find a replacement gas cap at your local auto parts store or online.

Step 2: Turn Off the Ignition
Make sure your engine is turned off before attempting to reset the gas cap light. This will prevent any potential hazards and ensure safety during the process. You’ll also want to ensure the headlights, interior lights, and any other electrical components are turned off. The only light that should be on is the gas cap light. It’s also recommended to wait a few minutes after turning off the car before proceeding with the reset.
Step 3: Locate the Gas Cap
The gas cap is typically located on the driver’s side of your vehicle, towards the rear. It will have a label or symbol indicating where it’s located. In most cases, you’ll simply need to twist the cap counterclockwise to remove it. But if it’s a locking gas cap, you’ll need to use your key to unlock it before twisting it.
Step 4: Remove the Gas Cap
Once the gas cap is unlocked and twisted off, carefully remove it from the fuel tank neck. If your existing gas cap is damaged or cracked, now would be a good time to replace it with a new one. The new gas cap should securely fit onto the neck without any gaps or issues. If it’s a locking gas cap, make sure to lock it back into place.
Step 5: Inspect the Gas Cap
Before putting on the new gas cap, take a moment to inspect it. Ensure there are no cracks, tears, or missing pieces that would prevent it from properly sealing the fuel system. If you notice any damage, replace it with a new one. The gas cap is a crucial component for keeping your fuel system sealed and preventing any issues. It’s worth investing in a high-quality gas cap to avoid future problems.
Step 6: Put On the New Gas Cap
Securely place the new gas cap onto the fuel tank neck, making sure it’s tightly fitted. If it’s a locking gas cap, use your key to lock it into place. Double-check that there are no gaps or spaces between the cap and neck. But be careful not to over-tighten the gas cap as this can cause damage. If you’re using a pliers to tighten, only do so until it’s snug.
Step 7: Turn On the Ignition
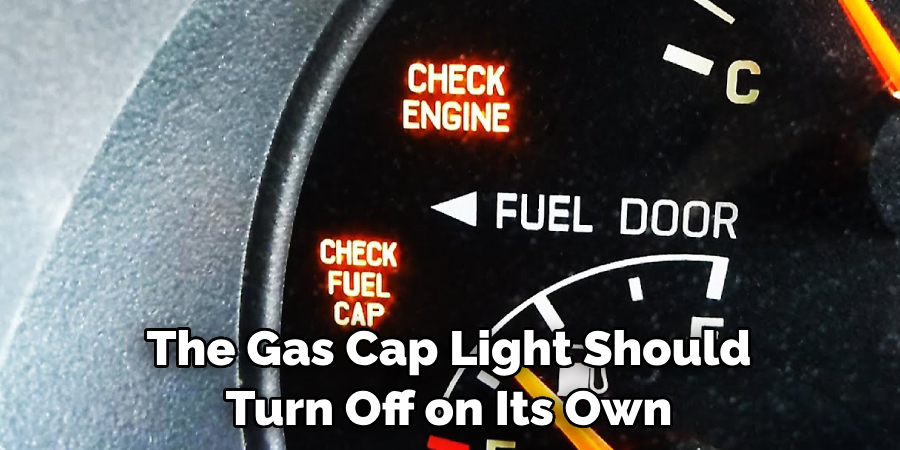
Once the new gas cap is securely in place, it’s time to turn on your ignition. This will allow the vehicle’s computer system to reset and recognize the newly installed gas cap. It may take a few minutes for this process to complete. The gas cap light should turn off on its own. If it doesn’t, continue to the next step.
Step 8: Use an OBD-II Scanner (if needed)
If the gas cap light is still flashing after completing all the steps above, you may need to use an OBD-II scanner to reset it. This device can read and clear any error codes that may be causing the light to stay on. Simply plug the scanner into your vehicle’s OBD port (usually located under the dashboard) and follow the instructions for resetting it.
Step 9: Properly Store the Scanner
If you had to use an OBD-II scanner, make sure to properly store it for future use. Keep it in a safe place and away from any extreme temperatures or moisture. It’s also a good idea to check and replace the batteries periodically to ensure it’s always in working condition. The scanner can come in handy for any future issues with your vehicle.
Step 10: Regularly Check Your Gas Cap
To prevent the gas cap light from coming on again, make it a habit to regularly check your gas cap. Every time you fill up your tank, take a moment to make sure the cap is securely placed and the seal is intact. This will help avoid any future issues and keep your fuel system running smoothly. It’s also a good idea to replace your gas cap every few years to ensure it’s in good condition.
Step 11: Take Your Vehicle for a Drive
After successfully resetting the gas cap light, take your vehicle for a short drive to ensure everything is working properly. If the light stays off, then you’ve successfully reset it and fixed the issue. But if it comes back on, it’s best to have a professional mechanic take a look at your fuel system for any underlying issues. It’s always better to be safe than sorry when it comes to your vehicle’s performance and safety.
Following these step-by-step guidelines on how to reset jeep cherokee gas cap light will help you reset your Jeep Cherokee gas cap light and get your vehicle back in optimal condition. Remember, prevention is key to avoiding future issues with your fuel system. So make sure to regularly check your gas cap and replace it when needed. Happy driving!
Frequently Asked Questions
Q1: Why is My Gas Cap Light on?
A: The gas cap light is an indicator that there’s a problem with your vehicle’s fuel system. It could mean that the gas cap is not properly sealed, damaged, or missing. It’s important to address this issue as it can affect your vehicle’s performance and fuel economy.
Q2: Can I Drive with the Gas Cap Light On?
A: It’s not recommended to drive with the gas cap light on as it can lead to potential hazards and decrease your vehicle’s performance. It’s best to address the issue right away before it escalates into a bigger problem.
Q3: Do I Need Special Tools to Reset the Gas Cap Light?
A: In most cases, you won’t need any special tools to reset the gas cap light. But if the light doesn’t turn off after following all the steps outlined, you may need an OBD-II scanner to clear any error codes. This can easily be purchased or borrowed from a local auto parts store.
Conclusion
In conclusion, in this blog on how to reset jeep cherokee gas cap light, we have discussed all the possible ways to reset the gas cap light on a Jeep Cherokee and some common reasons why it might be turned on.
We have gone through both simple and advanced methods, ensuring that no matter what your technical comfort level is, you can handle this issue with ease. Remember, taking care of your vehicle not only ensures its longevity but also ensures the safety of yourself and others on the road.
So, whether you are a seasoned mechanic or a novice car owner, it is important to address any warning lights that appear on your dashboard. And if resetting the gas cap light doesn’t solve the issue, don’t hesitate to take your Jeep Cherokee to a professional for further diagnosis and repair.