
Are you tired of looking at your sun-baked and faded vinyl wrap? Maybe you had it installed to protect the paint on your car or simply because you liked the aesthetic, but now it’s become an eyesore. You may have even considered getting it removed professionally, but with the high costs associated with that option, you’ve put off doing anything about it.

Well, fear not because in this blog post on how to remove sun baked vinyl wrap we will cover everything you need to know about removing sun-baked vinyl wrap yourself. So whether you just want a new look for your vehicle or are ready to say goodbye to that worn-out wrap, keep reading and learn how to remove it like a pro!
Necessary Materials
- Heat gun or hair dryer
- Plastic razor blades
- Isopropyl alcohol (rubbing alcohol)
- Microfiber cloth
11 Step-by-step Guidelines on How to Remove Sun Baked Vinyl Wrap
Step 1: Prepare the Area
Before you begin removing the sun-baked vinyl wrap, it’s important to make sure that you have a clean and organized work area. This will prevent any accidents from happening and make the process much smoother. You should also gather all the necessary materials beforehand so that you don’t have to stop midway through. It’s also recommended to work on a warm day as the heat will help loosen the adhesive of the wrap.
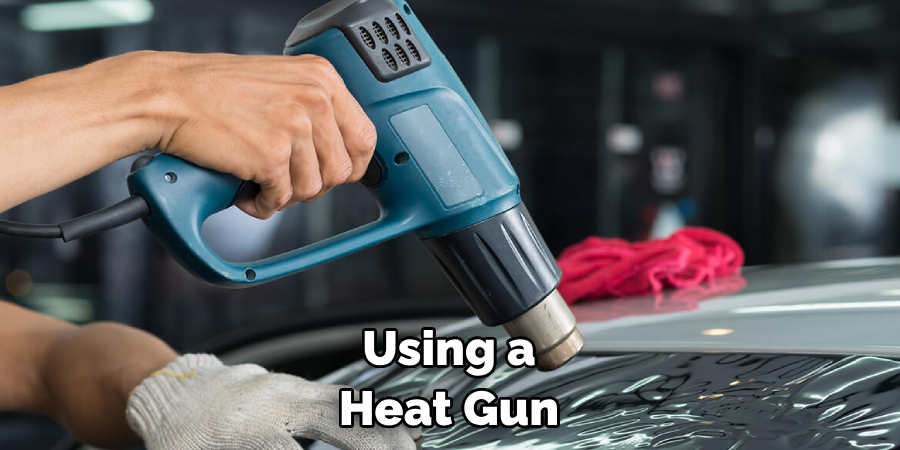
Step 2: Warm up the Area
Using a hair dryer or heat gun on high heat, warm up the vinyl wrap in small sections. This will make it easier to peel off later on. Be careful not to overheat the vinyl as it can damage the paint underneath. You can test the temperature by touching it lightly with your hand. But always remember to wear heat-resistant gloves for added safety. The ideal temperature would be around 150-175°F.
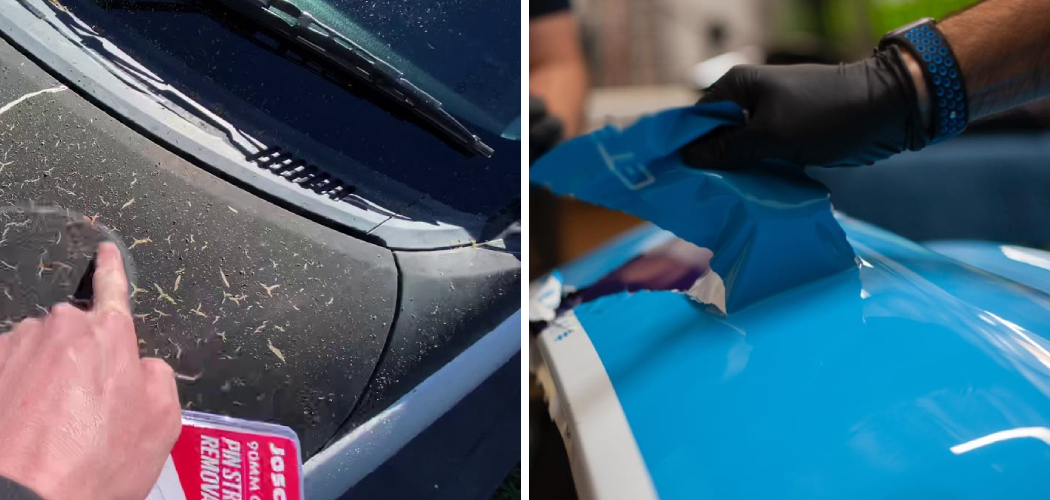
Step 3: Start Peeling
Using your fingers or a plastic razor blade, start peeling off the warmed-up vinyl wrap. It’s important to do this slowly and evenly to minimize any potential damage to the paint. The heat from the hair dryer or heat gun will loosen the adhesive, making it easier to peel off. If you encounter any stubborn areas, simply reheat them and try again.
Step 4: Remove Residue
After removing all of the vinyl wraps, there may still be some residue left on your vehicle. You can use a plastic razor blade to gently scrape it off, being careful not to scratch the paint. You can also use isopropyl alcohol on a microfiber cloth to help dissolve any remaining adhesive. If the residue is particularly stubborn, you can also use a commercial adhesive remover.
Step 5: Clean the Area
Once all of the residue is removed, clean the area with soap and water. This will help remove any leftover dirt or grime that may have accumulated under the vinyl wrap. But be sure to dry the area thoroughly before moving on to the next step. The next steps involve using heat, and water can cause steam which can be dangerous. It’s always better to be safe than sorry! The area should now be completely clear of any sun-baked vinyl wrap and residue.
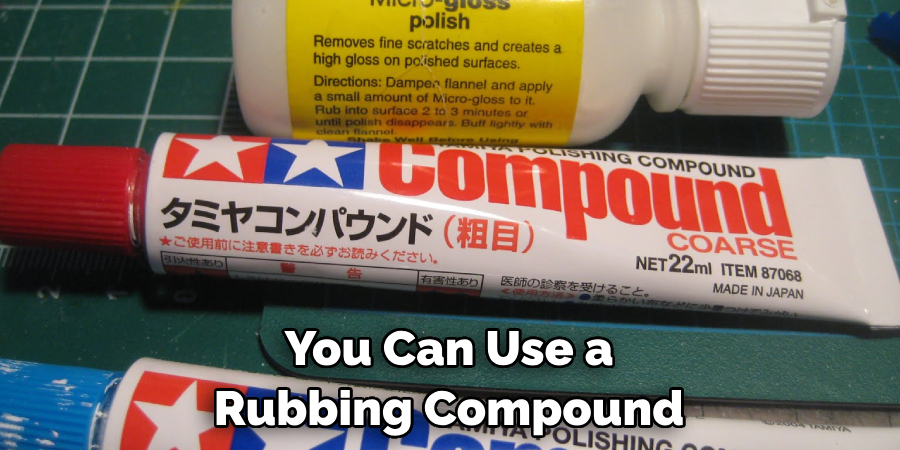
Step 6: Inspect for Damage
Now that the vinyl wrap is removed, inspect the paint underneath for any damage. If there are any scratches or imperfections, you can use a rubbing compound or polish to buff them out. This step may not be necessary if your vehicle was in good condition before the vinyl wrap was applied. It’s always better to be safe and check for any potential damage before moving on.
Step 7: Heat up the Adhesive
Using your heat gun or hair dryer, warm up any remaining adhesive on your vehicle. This will make it easier to remove in the next step. But be sure to keep the heat at a safe distance and not directly on your vehicle’s paint. You can also test the temperature with your hand before proceeding. It’s always better to work in small sections to prevent overheating.
Step 8: Peel off Adhesive
Using your plastic razor blade, gently scrape off any remaining adhesive from your vehicle. Be careful not to scratch the paint and work slowly and evenly. You can also use isopropyl alcohol on a microfiber cloth to help dissolve the adhesive. If there are any stubborn areas, simply reheat them and try again.
Step 9: Clean the Area
Once all of the adhesive is removed, clean the area with soap and water once again to remove any residue or dirt. Dry the area thoroughly before moving on to the next step. The area should now be completely clean and ready for the next step. It’s important to have a clean surface before applying any new vinyl wrap or paint. But if you’re not planning on replacing the vinyl wrap, you can skip to step 11.
Step 10: Apply New Vinyl Wrap (Optional)
If you plan on applying a new vinyl wrap to your vehicle, now is the time to do so. Make sure to follow all instructions carefully and take your time to ensure a smooth and professional-looking finish. If you’re not confident in your abilities, it’s always better to leave this step to the professionals. The last thing you want is to end up with another sun-baked vinyl wrap on your vehicle!
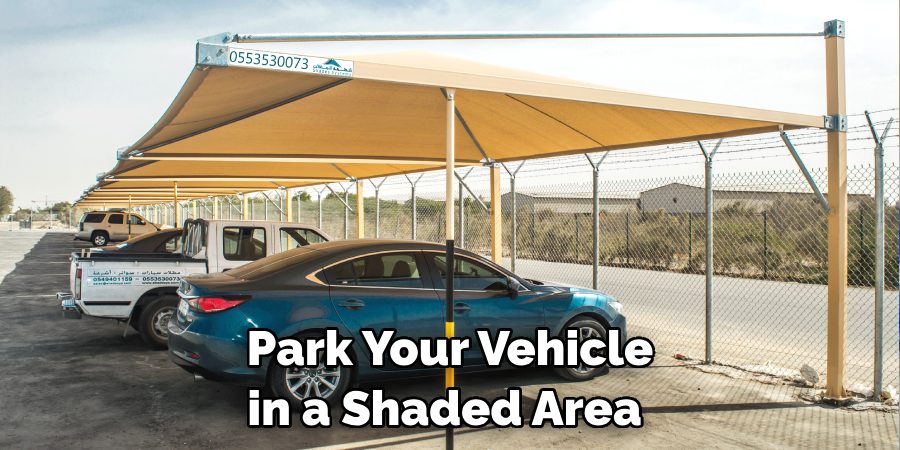
Step 11: Protect Your Newly Exposed Paint
If you’re not planning on applying a new vinyl wrap, it’s important to protect your newly exposed paint. You can do this by waxing or sealing the area. This will help prevent any damage from UV rays or other environmental factors. It’s also a good idea to park your vehicle in a shaded area whenever possible. It’s always better to take preventative measures to avoid having to remove a sun-baked vinyl wrap in the future.
Following these 11 steps on how to remove sun baked vinyl wrap will help you successfully remove sun-baked vinyl wrap from your vehicle. Remember to take your time and work carefully to prevent any damage. Always be sure to protect your newly exposed paint afterward. With a little effort, you can say goodbye to that old and worn-out vinyl wrap and give your vehicle a fresh new look! So what are you waiting for?
Additional Tips and Recommendations
- Always wear heat-resistant gloves when using a heat gun or hair dryer.
- Work in small sections to prevent overheating and potential damage to the paint.
- If you encounter any stubborn areas, simply reheat them and try again.
- If you’re not confident in your abilities, it’s best to leave applying a new vinyl wrap to the professionals.
- Remember to protect your newly exposed paint with wax or sealant. And always park in shaded areas whenever possible.
- It’s important to regularly maintain your vinyl wrap to prevent it from becoming sun-baked in the future. This includes cleaning and inspecting for any damage on a regular basis.
Frequently Asked Questions
Q1: Can I Use a Heat Gun Instead of a Hair Dryer?
A1: Yes, you can use either a heat gun or a hair dryer. Just be sure to keep the heat at a safe distance and not directly on the paint. And always test the temperature before proceeding. You can also consider using a heat gun with adjustable temperature settings for more control.
Q2: Is It Safe to Use a Plastic Razor Blade?
A2: Yes, as long as you work carefully and don’t apply too much pressure. You can also use an adhesive remover along with the plastic razor blade if needed. And be sure to use a clean blade to prevent scratching the paint.
Q3: Can I Reuse the Vinyl Wrap?
A3: It’s not recommended to reuse vinyl wrap, as it may not adhere properly and can result in a poor finish. It’s best to apply a new vinyl wrap or consider painting your vehicle instead.
Conclusion
In conclusion on how to remove sun baked vinyl wrap, removing sunbaked vinyl wrap can seem like a daunting task, but with the right tools and techniques, it can be easily accomplished. By following the steps outlined in this blog post, you can effectively remove any unwanted or damaged vinyl wrap from your car or other surface.
Remember to start by gathering all necessary materials and taking the proper precautions such as protecting your hands and eyes. Then, use heat and adhesive remover to soften and loosen the vinyl before carefully peeling it off. And finally, don’t forget to clean and polish your surface afterward for a smooth and shiny finish. Just remember to take your time and be mindful of any potential challenges along the way.
With patience and determination, you will have a beautiful, clean surface free of old vinyl wrap in no time. So why wait? Follow these tips and give your car or other surfaces a fresh look today! Don’t let sun-baked vinyl wrap hold you back from achieving your desired aesthetic – take action now and see the amazing results for yourself! Happy rewrapping!