

Have you ever found yourself underneath your car, trying to attach two pieces of exhaust together, only to have the whole thing slip and slide around? You grip it with all your might but the metal tubing just refuses to stay still. I’ve been there more times than I can count, cursing and sweating as the pipes wrestle free from my grasp. Exhaust work can be extremely frustrating without the proper tools.
But never fear, I’m here to share my top tips for smoothly clamping exhaust components using techniques that will have everything coming together like a dream. In this post on how to get water out of a fuel tank I’ll walk you through the key steps and parts you need to effortlessly join pipes, mufflers, and more. By the time you finish reading, attaching exhaust will be a breeze.
11 Step-by-step Guidelines on How to Get Water Out of a Fuel Tank
Step 1: Identify the Water
First and foremost, you need to determine if there is water in your fuel tank. Sometimes this can be obvious, such as after a heavy rain or when your car has been parked outside during a storm. Other times, it may be more difficult to detect. Look for signs such as decreased performance, stalling, or difficulty starting your engine.
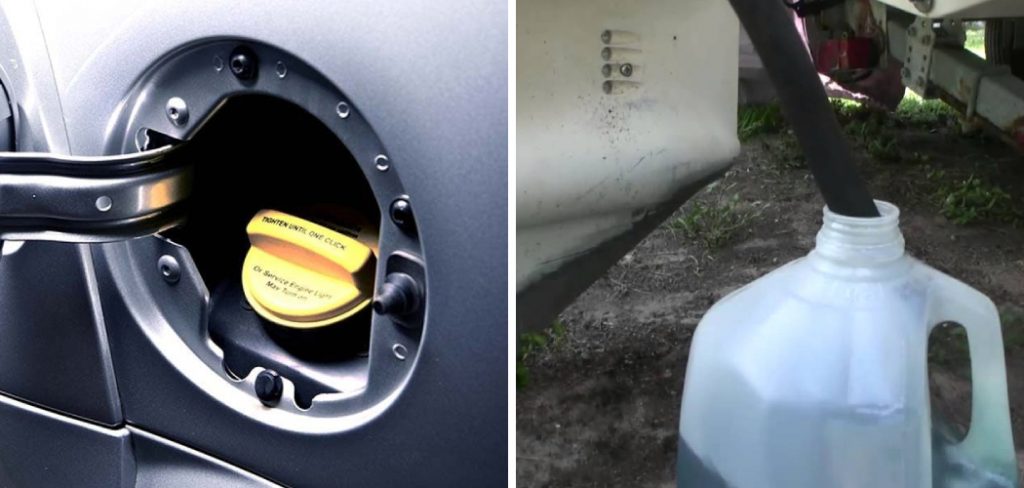
Step 2: Drain the Fuel Tank
Once you have confirmed that there is water in your fuel tank, it’s time to drain the tank. You can do this by removing the fuel cap and releasing any pressure buildup. Then, locate the drain plug or valve at the bottom of the fuel tank and carefully open it to allow the water and contaminated fuel to drain out. You may need to use a funnel or hose to direct the fuel into a container.
Step 3: Remove Water from the Tank
After draining the fuel, you will likely still have some water remaining in the tank. To remove it completely, you can use a specialized tool called a water-absorbing paste or cloth. These products are designed specifically for removing water from fuel tanks and can be found at most auto supply stores.
The paste or cloth will attract and absorb the water, leaving your tank clean. It is important to note that these products are only effective on small amounts of water, so if your tank is significantly flooded, it may be best to seek professional help.
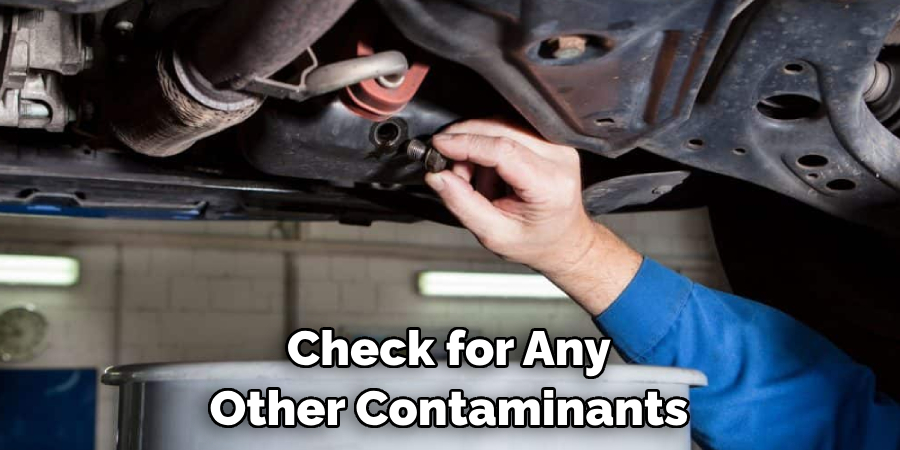
Step 4: Check for Contaminants
While you have the fuel tank drained, it’s a good idea to check for any other contaminants that may be present. This could include debris, rust, or other foreign objects. Use a flashlight to inspect the inside of the tank and remove any unwanted particles with a clean cloth or brush. It’s important to ensure your fuel tank is free of any contaminants to prevent further damage to your engine.
Step 5: Inspect Fuel Lines
In addition to the fuel tank, it’s important to check your fuel lines for any water or debris. Use a clean microfiber cloths or paper towel to wipe down the inside of the lines and remove any moisture or contaminants. But be careful not to tear or damage the lines while cleaning. The fuel lines are crucial for proper fuel flow, so any damage could lead to bigger issues down the road. It’s best to replace any damaged or worn fuel lines.
Step 6: Replace Fuel Filter
If your car has a fuel filter, it’s recommended to replace it after draining and cleaning your fuel tank. This will help ensure that any remaining water or contaminants are removed before the fuel reaches your engine. Follow manufacturer instructions for proper installation of the new filter. You may also need to prime the fuel system before starting your engine. You can do this by turning the key to the “on” position for a few seconds before starting the engine.
Step 7: Fill with Fresh Fuel
After completing all these steps, it’s time to fill up your newly cleaned fuel tank with fresh, clean fuel. This will help dilute any remaining contaminants and ensure that your engine runs smoothly. It’s important to use high-quality fuel from a reputable source to avoid any future problems. But be sure to only fill the tank up to the recommended level and avoid overfilling. The added weight could put unnecessary strain on your vehicle.
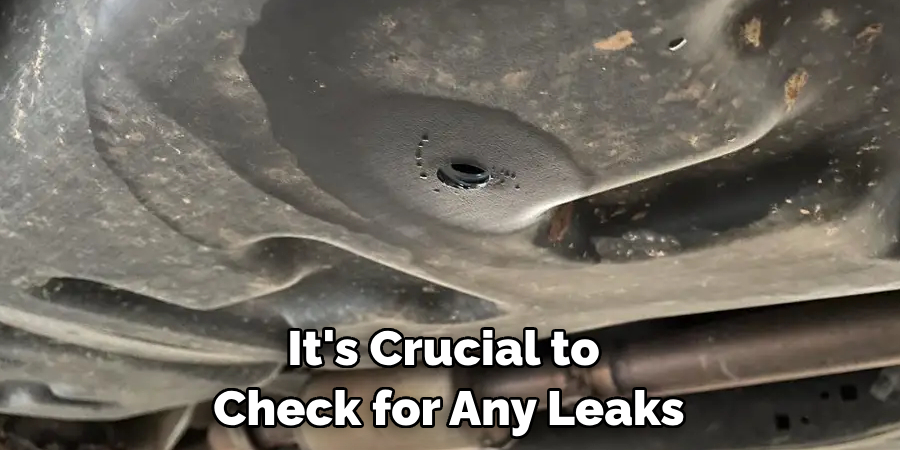
Step 8: Check for Leaks
Before starting your engine, it’s crucial to check for any leaks. Make sure all connections are secure and that there are no drips or puddles underneath the car. If you notice any leaks, address them before starting your engine. You don’t want to waste all that hard work by having fuel leak out of your tank. But be careful not to over-tighten any connections as this could cause damage.
Step 9: Run Your Engine
After all the necessary steps have been completed, start your engine and let it run for a few minutes. This will help ensure that the fuel is flowing properly and that there are no issues with the fuel system. If you notice any problems, such as stalling or difficulty starting, it’s best to consult a mechanic for further inspection.
Step 10: Regular Maintenance
To prevent water from getting back into your fuel tank, it’s important to maintain your vehicle regularly. This includes checking for leaks in the fuel system, keeping your car parked in a covered area during storms, and using high-quality fuel. Regular maintenance can help catch any potential issues before they become costly repairs. But if you do notice any water in your fuel tank, follow the steps outlined here to remove it.
Step 11: Seek Professional Help
If you’re unsure or uncomfortable with draining and cleaning your fuel tank on your own, it’s best to seek professional help. A trained mechanic will have the necessary tools and expertise to safely remove water and contaminants from your fuel tank without causing damage.

It may cost a bit more, but it’s worth it for the peace of mind knowing that the job was done correctly. It’s also important to note that some vehicle warranties may require professional servicing for fuel tank maintenance.
Following these step-by-step guidelines on how to get water out of a fuel tank will ensure that your engine runs smoothly and efficiently. Remember to always be cautious and follow safety procedures when working with fuel. Regular maintenance and proper care of your vehicle’s fuel system can save you from costly repairs in the long run.
Frequently Asked Questions
Q1: Can I Use Rubbing Alcohol to Remove Water From My Fuel Tank?
A: No, it is not recommended to use rubbing alcohol as it can cause damage to your vehicle’s engine. It’s best to use a specialized product designed for removing water from fuel tanks. You can also seek professional help for this task.
Q2: How Do I Prevent Water From Getting Into My Fuel Tank?
A: To prevent water from getting into your fuel tank, regularly check for leaks in the fuel system and keep your vehicle parked in a covered area during storms. Also, make sure to use high-quality fuel from a reputable source. Regular maintenance is key to preventing water from causing damage to your engine.
Q3: What Happens if I Don’t Remove the Water From My Fuel Tank?
A: If you don’t remove the water from your fuel tank, it can cause damage to your engine and lead to costly repairs. The water in the fuel can also cause rust and corrosion, which can affect the performance of your vehicle. It’s important to address this issue as soon as possible to prevent further damage.
Q4: How Often Should I Clean My Fuel Tank?
A: It is recommended to clean your fuel tank at least once a year or every 12,000 miles. However, if you suspect water or other contaminants have entered your tank, it’s best to address the issue immediately. Regular maintenance and proper care of your fuel tank can prevent major issues in the future.
Conclusion
In conclusion on how to get water out of a fuel tank, getting water out of your fuel tank may seem like a daunting task, but it is not an impossible one. By following these simple steps and taking the necessary precautions, you can successfully remove water from your fuel tank and avoid any potential damage to your vehicle.
Remember to always prioritize safety and seek professional help if needed. With proper maintenance and care, your car will continue to run smoothly for years to come. So don’t wait until it’s too late, take the time now to check for water in your fuel tank and take the necessary steps to remove it.
Your car will thank you later! As always, stay informed on the latest car maintenance tips and tricks by following our blog or subscribing to our newsletter. Never again will you have to worry about water causing harm to your beloved vehicle. Say goodbye to endless headaches and costly repairs – with these simple steps, you can keep your fuel tank clean and free of unwanted water.