
Encountering a stuck oil cap can be a frustrating hiccup in your routine vehicle maintenance, potentially hindering the essential process of checking or changing your engine oil. Whether due to heat, age, or residue buildup, a stuck oil cap can pose challenges, but fear not – a solution is within reach. In this guide, we will delve into the effective techniques and practical tips on how to remove stuck oil cap.

From leveraging proper tools to utilizing household items, we will explore a range of methods suitable for various scenarios. Whether you’re an experienced DIY mechanic or a novice navigating the intricacies of automotive care, understanding how to safely and efficiently tackle a stuck oil cap is a valuable skill that ensures the smooth continuation of your vehicle maintenance routine. Join us as we unravel the mysteries of freeing a stuck oil cap, empowering you to confidently address this common automotive challenge.
Importance of Regular Oil Cap Removal
Before we dive into the solutions, let’s take a moment to understand why it is crucial to regularly check and change your vehicle’s engine oil. Engine oil plays a vital role in the smooth functioning of your car, lubricating its moving parts, cooling the engine, and preventing wear and tear. Over time, this essential fluid breaks down and loses its ability to perform these critical tasks, necessitating an oil change.
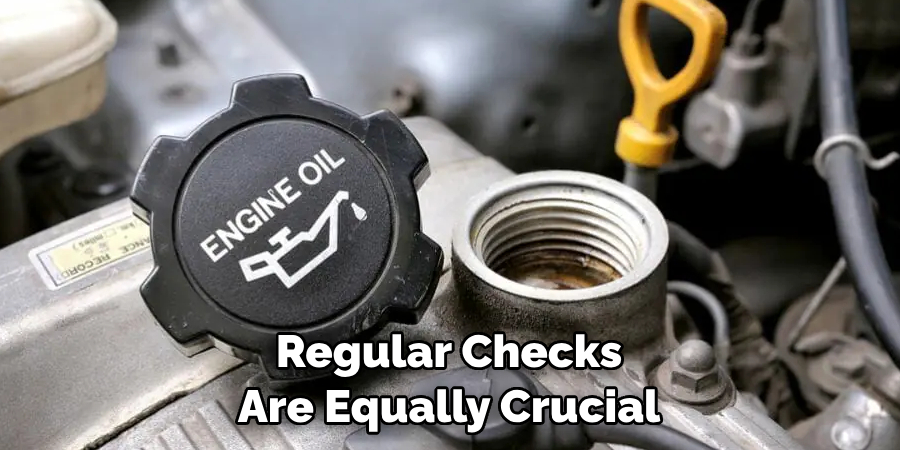
However, regular checks are equally crucial since they allow you to monitor the oil level and detect any potential issues. In this regard, a stuck oil cap can be quite problematic, as it prevents you from accessing and checking your engine’s oil levels. Moreover, a stuck cap could indicate other underlying problems with your vehicle that require attention.
Tools and Materials
To remedy a stuck oil cap, you’ll need to arm yourself with the right tools and materials. Here’s a list of items that can assist you in this task:
- Adjustable wrench or pliers: These can help apply additional torque to the cap without causing damage.
- Rubber strap wrench: A handy tool that provides excellent grip and leverage, making it easier to turn the stuck cap.
- Heat gun or hairdryer: Radiating heat can expand the metal and loosen the cap.
- Penetrating oil: This can help dissolve any rust or residue that may be causing the cap to stick.
- Thick gloves: These will protect your hands from potential heat and provide a better grip on the cap.
- Rags or paper towels: Useful for cleaning off any residue or excess oil.
Remember, patience and gentle persuasion are key when dealing with a stuck oil cap. Overzealous efforts can lead to damage. Always aim to use the minimum amount of force required to get the job done.
Identifying the Stuck Oil Cap
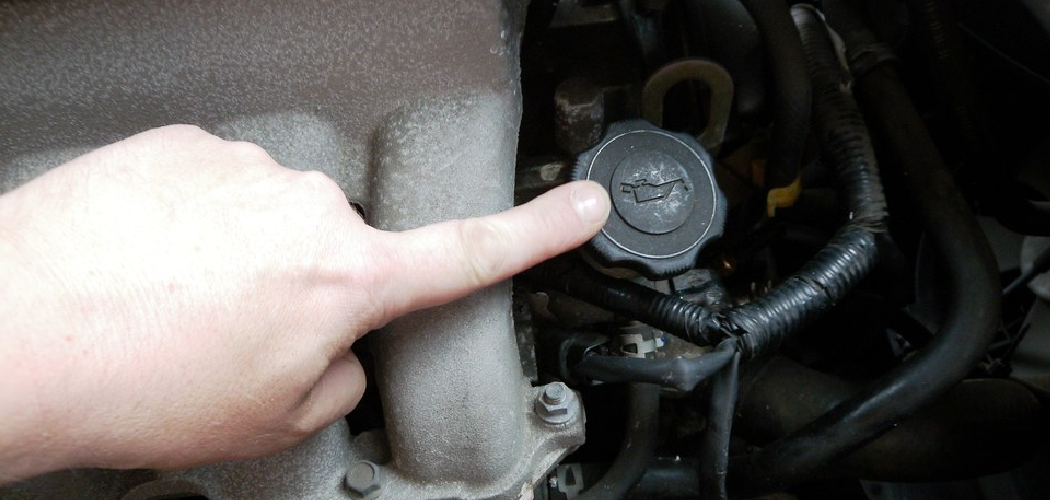
Before proceeding to remove the stuck oil cap, it’s essential to ensure that you’ve correctly identified it. The oil cap is typically located on top of the engine and is generally identified by a label or symbol depicting an oil can or the word ‘Oil’. It’s usually larger than the other caps and is often circular or hexagonal in shape.
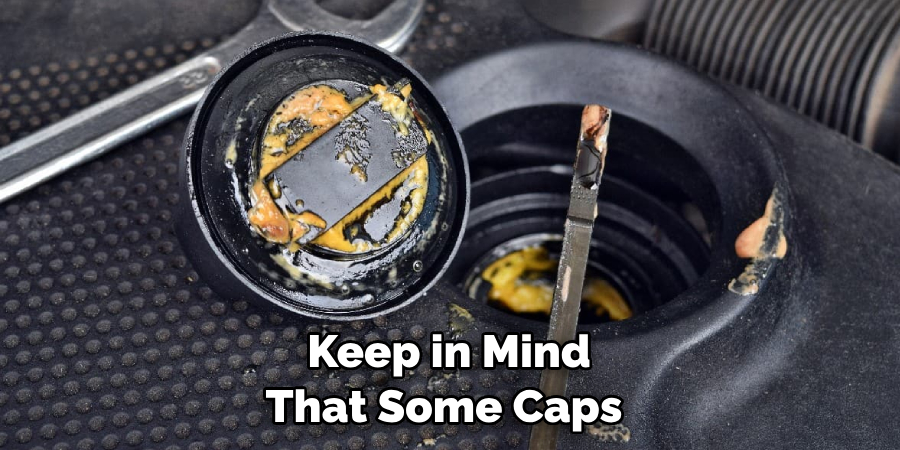
Once you have located the cap, try to twist it off by hand. If it doesn’t budge, or if it is too tight and requires excessive force, you have a stuck oil cap. Keep in mind that some caps could be hot to the touch or covered in grime, so use caution when attempting to remove it. If the cap is indeed stuck, proceed with the following methodological steps outlined in the next section of this guide.
10 Methods How to Remove Stuck Oil Cap
1. Use a Rubber Band
One simple method to remove a stuck oil cap is to use a rubber band. Wrap the rubber band around the cap and twist it counterclockwise. The rubber band will provide extra grip and make it easier to loosen the cap.
2. Try Using Pliers
If the oil cap is still stuck, try using pliers to grip and twist it off. Be careful not to apply too much force as this could damage the cap or cause it to break.
3. Use Hot Water
Sometimes, heat can help loosen a stuck oil cap. Pouring hot water over the cap can expand the metal and make it easier to remove. Just be sure not to pour boiling water as this could cause burns.
4. Tap with A Hammer
If you have access to a hammer, you can lightly tap on the sides of the oil cap in a counterclockwise direction. This can help loosen any debris or buildup that may be causing the cap to stick.
5. Apply Penetrating Oil
Penetrating oils such as WD-40 or PB Blaster can also be effective in loosening a stuck oil cap. Spray some onto the threads of the cap and let it sit for a few minutes before attempting to remove it again.
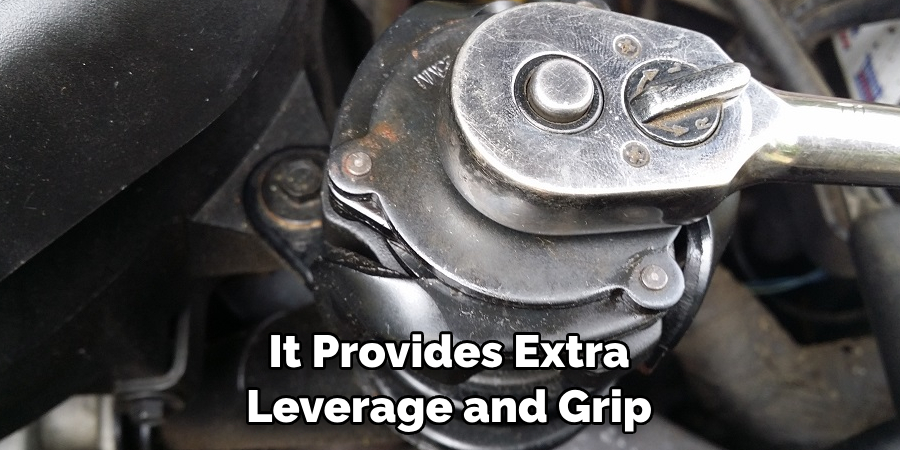
6. Use an Oil Filter Wrench
An oil filter wrench is designed specifically for removing stubborn oil caps. It provides extra leverage and grip, making it easier to twist off even the most stubborn caps.
7. Try Using a Strap Wrench
A strap wrench works similarly to an oil filter wrench but uses a strap instead of metal teeth to grip onto objects. This can be useful if you don’t have an oil filter wrench on hand.
8. Use Heat from Your Car’s Engine
If your car has been running recently, try using heat from the engine to warm up the area around the oil cap before attempting to remove it again.
9. Use Ice Cubes
On the other hand, if your car has been sitting for a while, you can try using ice cubes to cool down the area around the oil cap. This can cause the metal to contract and make it easier to remove.
10. Seek Professional Help
If all else fails, it may be best to take your car to a mechanic or oil change shop for assistance. They have specialized tools and techniques that can safely remove a stuck oil cap without causing any damage.
Common Mistakes to Avoid
When it comes to removing a stuck oil cap, there are certain common mistakes you should avoid to prevent further damage:
- Over-tightening the cap: Always tighten the cap until it’s secure, but avoid over-tightening, as it’s one of the primary causes for a stuck oil cap.
- Using excessive force: Applying too much force can damage the oil cap or even break it. Always start with gentle pressure and increase it gradually if needed.
- Ignoring the problem: A stuck oil cap is not just a nuisance, it could be indicative of other engine problems. If you ignore it, these issues could worsen over time, leading to costly repairs.
- Using inappropriate tools: Using the wrong tools or not using them correctly can cause more harm than good. Make sure to utilize tools that are specifically designed for this task.
- Not protecting your hands: Dealing with a stuck oil cap can be a messy job, and sometimes it can also be hot or sharp. Always wear appropriate gloves to protect your hands.
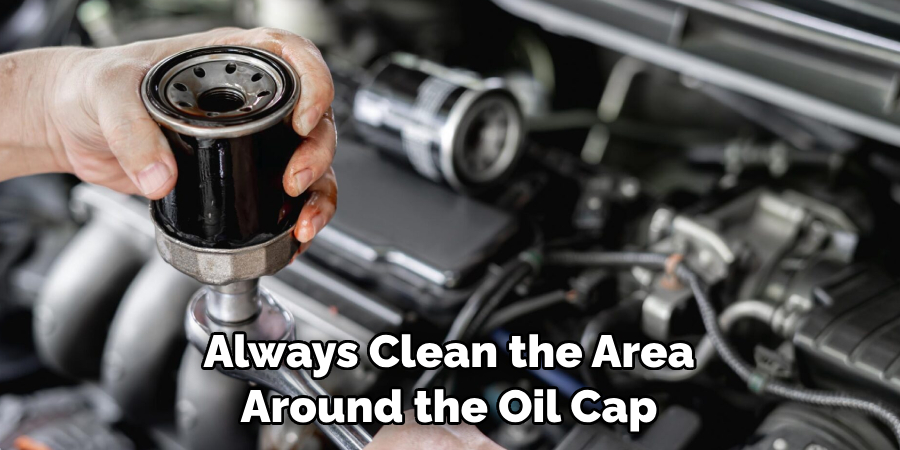
- Not cleaning the area: Always clean the area around the oil cap before attempting to remove it. Dirt and grime can make the cap even more difficult to remove.
Avoiding these common mistakes can make the process of removing a stuck oil cap easier and prevent unnecessary damage to your car’s engine.
Alternatives for Removing a Stuck Oil Cap
While we have covered numerous methods on how to remove a stuck oil cap, there are a few less conventional alternatives that you may also find useful:
- Use of leverage bars: In some cases, a longer handle tool, such as a leverage bar, can help apply sufficient torque to loosen the stuck oil cap without causing damage.
- Dental floss trick: Wrap multiple strands of dental floss around the grooves of the cap and pull firmly to remove the cap. This method requires patience and caution but can be effective, particularly for caps with deep grooves.
- Vacuum suction: A small handheld vacuum can create enough suction to pull the oil cap off. However, this method requires careful application to avoid causing any harm to the engine components.
- Coca-Cola trick: Known for its rust-dissolving properties, Coca-Cola can be poured around the base of the stuck cap and left to sit for several minutes. The cap should then loosen easily.
Conclusion
In conclusion, removing a stuck oil cap may seem like a daunting and frustrating task, but with the right techniques and tools, it can be easily accomplished. Remember to always start by trying to loosen the cap with your bare hands, as this is often the simplest solution. If that doesn’t work, move on to using tools such as rubber gloves or a rubber band for added grip and leverage.
For those really stubborn caps, heat and lubricants can do wonders in loosening them up. And if all else fails, don’t hesitate to seek professional help. With these tips in mind and a little bit of patience, you’ll be able to confidently remove any stuck oil cap without any hassle. Thanks for reading, and we hope this has given you some inspiration on how to remove stuck oil cap!