

Have you ever been driving down the road when suddenly steam starts billowing from under your hood? Your heart sinks as you realize one of your engine’s freeze plugs has failed, allowing coolant to leak into your cylinder head. Pulling over and popping the hood to diagnose the problem is never a fun way to spend an afternoon.

However, with the right skills and tools, replacing freeze plugs is actually a fairly straightforward DIY repair that can save you a bundle compared to taking it to a shop.
In this blog post on how to put in freeze plugs, I will walk you through the entire process of safely removing old freeze plugs and installing new ones to get your engine cooled off and back on the road in no time.
Why Do You Need to Replace Freeze Plugs?
Before we get started, let’s quickly cover why freeze plugs need to be replaced in the first place. Freeze plugs, also known as expansion plugs or core/frost plugs, are small metal discs that are pressed into holes in the engine block and cylinder head during manufacturing.
These holes allow for sand or other casting material to be removed after the engine is cast, and are typically left in place as they do not affect the engine’s operation. However, they serve the important purpose of protecting your engine from cracking if coolant freezes inside the block.
Over time, freeze plugs can corrode or rust due to exposure to heat, oil, and coolant. This can cause them to fail and start leaking, leading to potential engine damage if left unchecked. It’s important to regularly check your freeze plugs for signs of rust or deterioration and replace them as needed.
Tools You Will Need
Before you begin replacing your freeze plugs, make sure you have the following tools on hand:
- Socket Set
- Ratchet Handle
- Screwdriver (If Necessary)
- Pry Bar (if Necessary)
- Hammer
- Freeze Plug Tool (Optional)
10 Simple Step-by-step Guidelines on How to Put in Freeze Plugs
Step 1: Prepare Your Work Area
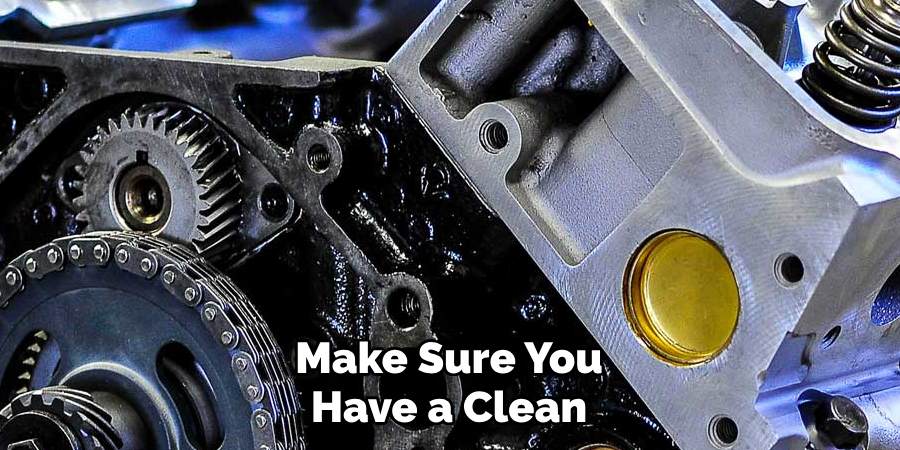
To begin, make sure you have a clean and well-lit work area. It’s important to have enough space to move around and access all areas of the engine. You may also want to lay down some cardboard or a mat to protect the ground from any spills or debris. But, most importantly, make sure your engine is cool to the touch before you begin. This will prevent any accidental burns or injuries.
Step 2: Locate and Inspect Old Freeze Plugs
Using a flashlight, locate the freeze plugs on your engine. They are typically found on the side of the engine block and cylinder head. If you have trouble finding them, consult your vehicle’s service manual for their specific location. Once located, inspect the freeze plugs for any signs of rust or corrosion. If they are in good condition, you may not need to replace them.
Step 3: Drain Engine Coolant
Before removing any freeze plugs, it’s important to drain your engine coolant first. Place a large bucket or drain pan under the radiator and open the drain plug at the bottom to let the coolant drain out. Make sure to dispose of the old coolant properly. It’s also a good idea to flush out the radiator with water to remove any remaining coolant.
Step 4: Remove Old Freeze Plugs

Using a socket and ratchet, carefully remove the old freeze plugs by tapping on one side with a hammer and turning it counterclockwise. If they are difficult to remove, you may need to use a pry bar or screwdriver to help loosen them.
Take note of which size and type of freeze plugs you are removing so you can replace them with the correct ones. However, if you are unsure, take the old plugs to your local auto parts store for assistance in finding replacements.
Step 5: Clean the Area
Once all old freeze plugs have been removed, use a wire brush or sandpaper to clean any rust or debris from the holes in the engine block and cylinder head. This will ensure a proper seal for the new freeze plugs. It’s also a good idea to clean the surface of the freeze plugs themselves. But be careful not to damage the sealing surface.
Step 6: Prepare New Freeze Plugs
Before installing the new freeze plugs, coat them with a light layer of sealant to ensure a tight fit. You can also use petroleum jelly if you don’t have any sealant on hand. This will help prevent any leaks in the future. The sealant will also act as a lubricant, making it easier to install the new plugs. You may also want to measure the new plugs against the old ones to make sure they are the correct size.
Step 7: Install New Freeze Plugs
Carefully place the new freeze plugs into the holes in the engine block and cylinder head. If you have a freeze plug tool, use it to gently tap the plugs into place. If not, you can use a socket and hammer, making sure to tap evenly around the edges until the plug is flush with the surface. It’s important not to hammer the plugs in too forcefully, as this can cause them to crack.
Step 8: Tighten Freeze Plugs
Using a socket and ratchet, tighten the new freeze plugs by turning them clockwise until they are snug. Be careful not to over-tighten, as this can also cause cracks. If you are unsure of how tight they should be, consult your vehicle’s service manual for torque specifications. It’s also a good idea to give the plugs one final tap with a hammer to ensure they are fully seated. But, be careful not to damage the plugs or surrounding surfaces.
Step 9: Refill Coolant
Once all freeze plugs are securely in place, you can refill the engine coolant. Pour the new coolant into the radiator until it reaches the recommended level, then replace the radiator cap. Make sure to check for any leaks before starting your engine. But don’t forget to also check the coolant level again once your engine has been running for a few minutes.
Step 10: Clean Up and Start the Engine
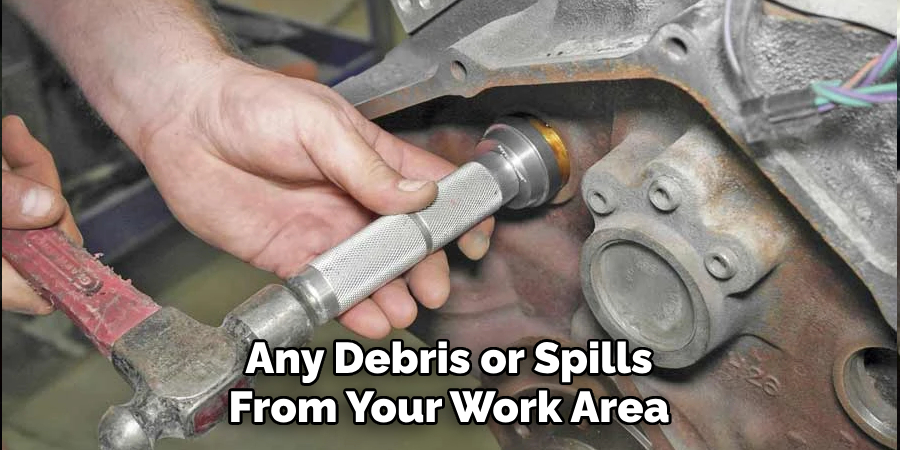
Finally, clean up any debris or spills from your work area, and dispose of any old parts properly. Once everything is cleaned up, start your engine and let it run for a few minutes to make sure there are no leaks. If everything looks good, you’re all set! Congratulations on successfully replacing your freeze plugs and protecting your engine from potential damage caused by freezing coolant.
Following these simple steps and regularly checking and replacing your freeze plugs as needed will help ensure the longevity of your engine. Now that you know how to put in freeze plugs, you can confidently tackle this task whenever necessary. Remember, it’s always better to replace them preventatively rather than wait for a potential failure and costly repair. Happy fixing!
Additional Tips
- It’s a Good Idea to Inspect Your Freeze Plugs Every Time You Change Your Oil or Perform Other Maintenance Tasks.
- If You Have Access to an Air Compressor, You Can Use It to Blow Out Any Debris from the Freeze Plug Holes Before Installing the New Plugs.
- If You Notice Any Signs of Leaks or Rust on Your Freeze Plugs, It’s Best to Replace Them as Soon as Possible to Avoid Potential Engine Damage. – In Some Cases, It May Be Easier to Access Certain Freeze Plugs by Removing Other Components such as Exhaust Manifolds or Spark Plugs.
- If You Are Replacing Multiple Freeze Plugs, Make Sure to Keep Track of Which Ones Go Where to Ensure Proper Installation.
- Consider Investing in a Freeze Plug Kit that Comes with Various Sizes and Types of Plugs for Future Use.
- It’s Always Best to Consult Your Vehicle’s Service Manual for Specific Instructions and Torque Specifications.
- If You’re Not Comfortable with Performing This Task Yourself, It’s Important to Get It Done by a Professional Mechanic to Ensure Proper Installation and Prevent Potential Damage to Your Engine.
- Regularly Checking and Replacing Your Freeze Plugs Can Save You from Costly Repairs in the Long Run. Make Sure to Include It as Part of Your Vehicle’s Routine Maintenance.
- Remember to Properly Dispose of Any Old Coolant, as It Can Be Harmful to the Environment. Check with Your Local Waste Management for Guidelines on How to Dispose of It Properly.
- Always Use Proper Safety Precautions and Equipment When Working with Tools and Underneath Vehicles.
- If You’re Uncertain at Any Point During This Process, Don’t Hesitate to Seek Assistance from a Professional Mechanic or Your Local Auto Parts Store.

Conclusion
In conclusion, learning how to put in freeze plugs is an important skill for any car owner or mechanic to have. These small but essential components play a crucial role in the overall performance and safety of your engine. By following the steps outlined in this blog post, you now have the knowledge and confidence to tackle this task yourself.
Remember to always take your time and double-check your work, as any mistakes can lead to costly repairs down the road. But don’t be discouraged if you encounter any difficulties along the way – we all make mistakes and it’s all part of the learning process.
Plus, with practice and experience, you’ll become a pro at putting in freeze plugs in no time! So what are you waiting for? Go out there and show off your newfound skills, or better yet, lend a helping hand to a friend in need.
Don’t forget to share this blog post with others who may find it useful – after all, sharing knowledge is what brings us together as a community of car enthusiasts! Thank you for taking the time to read this post, and happy freezing-plug-installing adventures!