
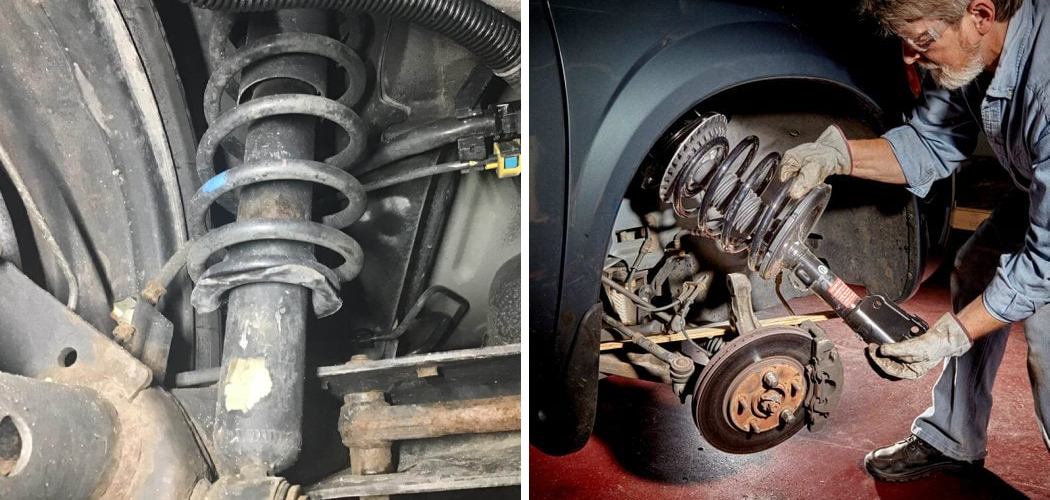
Have you ever felt like your vehicle wasn’t handling the way it used to? Maybe turns feel sloppier or bumps in the road seem to jostle you around more than you remember. If so, the culprit may be worn front struts. As your car ages and mileage builds up, the shock absorbers and springs that connect your wheels to the frame – known as struts – take a beating from every pebble in the road.
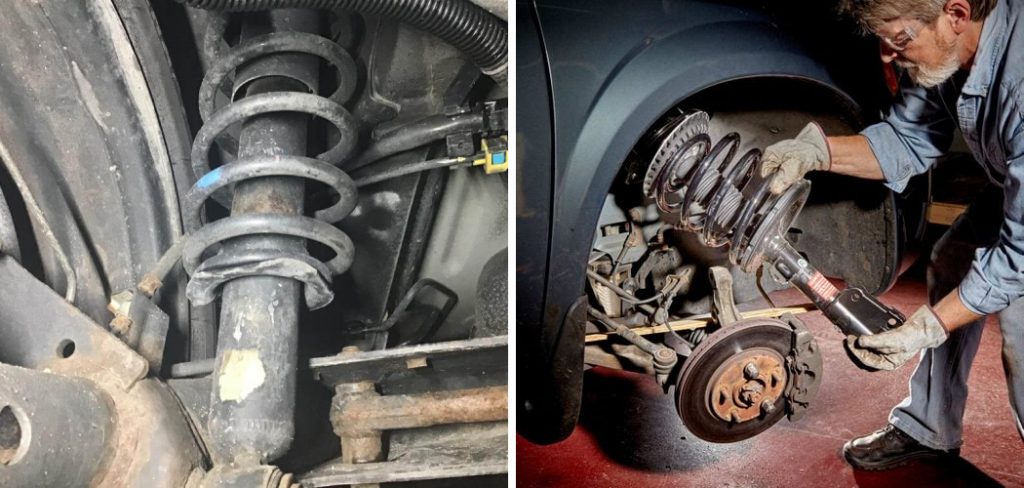
Over time, this constant abuse can cause the struts to lose their ability to smoothly absorb impacts. The result is a rougher, less controlled ride. But replacing your struts is an affordable and relatively straightforward DIY repair that can make a world of difference in how your vehicle drives.
In this guide on how to align front struts, I’ll walk you through the entire process, from preparation to installation to finishing up, so you can say goodbye to a bouncy ride and hello to improved handling and reduced stress on other components. Let’s get started with the first step…
Things to Consider Before Beginning
- Do You Have the Appropriate Tools and Equipment? This Job Requires a Few Specialized Tools, Such as a Spring Compressor, So Be Sure to Gather Everything You Need Before Getting Started.
- Is Your Vehicle Safely Lifted Off the Ground? It’s Important to Support Your Vehicle on Jack Stands or Ramps Before Starting Any Work.
- Have You Consulted Your Owner’s Manual? Every Vehicle is Slightly Different, So Be Sure to Refer to Your Owner’s Manual for Specific Information on Your Make and Model.
- Are You Comfortable Working with Springs? As You’ll See in the Steps Below, Aligning Front Struts Requires Manipulating Heavy-Duty Springs, Which Can Be Dangerous If Not Handled Properly. Take Care and Proceed with Caution.
11 Step-by-step Guidelines on How to Align Front Struts
Step 1: Prepare the Vehicle
Begin by lifting your vehicle off the ground and securely supporting it on jack stands or ramps. Refer to your owner’s manual for recommended lift points and support locations. You may also want to remove the wheels on the side you’ll be working on for easier access. If you’re working on the front struts, remove the wheels from the front of the car and vice versa. You’ll also want to disconnect the battery and remove any plastic covers or other obstructions that may be in the way.
Step 2: Unbolt and Remove the Brake Caliper
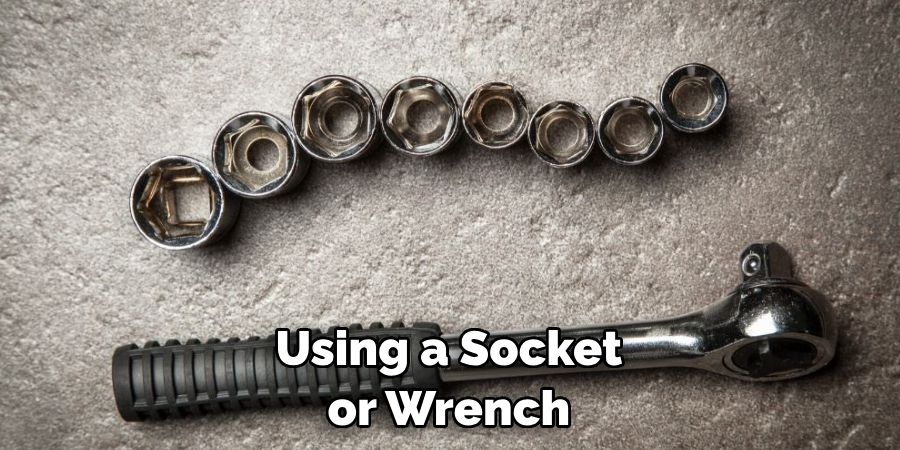
Using a socket or wrench, unbolt and remove the brake caliper from the wheel hub assembly and secure it out of the way. This will provide more room to work with the struts. It’s important to not let the caliper hang by its hose. You can use a hook or wire to support it if needed. The same applies to the brake line. It’s important to support it properly so as not to damage any components.
Step 3: Remove the Wheel Hub Assembly
Next, remove the axle nut and cotter pin from the wheel hub assembly. Then, using a hammer or mallet, tap on the sides of the hub to loosen it. Once loose, pull off the wheel hub assembly and set it aside. You may want to use a catch pan to prevent any brake fluid from spilling out. The wheel hub assembly may be stuck or stubborn to remove, so you can use a pry bar to gently loosen it if needed.
Step 4: Remove the Old Strut
Locate the top of the strut under the hood. You’ll see three or four bolts holding it in place. Unbolt these bolts to remove the old strut. If your vehicle has a sway bar, you may need to unbolt that as well before removing the strut. It’s important to keep track of which bolts go where so you can reassemble everything correctly later. Once the old strut is removed, lower it down and set it aside.
Step 5: Prepare the New Strut for Installation
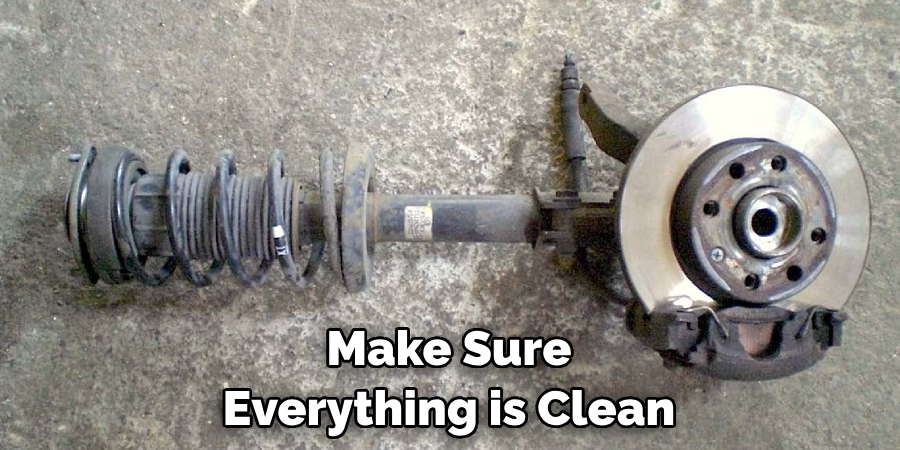
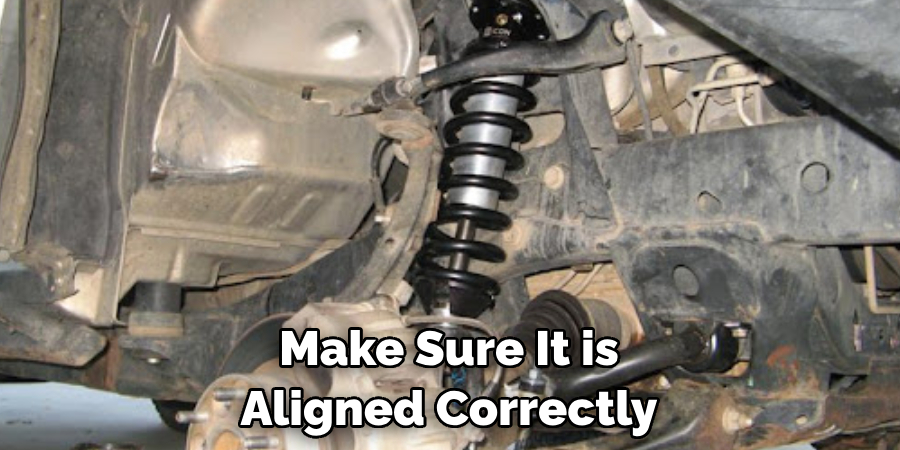
If you’re installing a brand-new strut, there may be a plastic cover over the top that needs to be removed. You can also transfer any mounting brackets or other components from the old strut to the new one. Make sure everything is clean and free of debris before installing. Otherwise, if you’re just replacing the strut cartridge, be sure it’s aligned correctly with the new strut.
Step 6: Install the New Strut
Carefully lift the new strut into place, lining up the bolt holes with those on the vehicle’s frame. Reattach any bolts or sway bar if needed. Tighten all bolts to the manufacturer’s recommended torque settings. It’s important to not over or under-tighten, as this can cause issues with your vehicle’s handling. Always consult your owner’s manual for specific torque specifications.
Step 7: Reinstall the Wheel Hub Assembly
With the new strut in place, you can now reinstall the wheel hub assembly. Make sure it is aligned correctly and slide it onto the axle shaft. Replace and tighten the axle nut and cotter pin. If your vehicle has a brake rotor, make sure it is properly installed as well. You can consult your owner’s manual for guidance on any specific components and their installation. But in general, make sure everything is tight and secure before moving on to the next steps.
Step 8: Reattach the Brake Caliper
Slide the brake caliper back into place and replace any bolts or clips to secure it. Make sure all components are properly aligned before tightening. It’s also a good idea to check that the brake pads are in good condition and replace them if necessary. It’s important to have functioning brakes for safe driving. You can also bleed the brake lines at this point if needed. The process for bleeding brakes varies by vehicle, so refer to your owner’s manual if unsure.
Step 9: Slowly Release the Spring Compressor
If you’re using a spring compressor, slowly release the tension on the spring until it is no longer compressed. Make sure everything is properly aligned and secure before moving on to the next step. If you do not have a spring compressor, be extra cautious when handling the springs. But if you’re uncomfortable with handling the springs, it’s best to seek professional help. Your safety is the top priority.
Step 10: Repeat for the Other Side and Finish Up
Follow the same steps on how to align front struts. Once both sides are complete, you can lower your vehicle off the jack stands or ramps and replace any wheels that were removed. It’s a good idea to take your car for a test drive to ensure everything feels and handles as it should. Always keep an eye on your vehicle’s handling and take note of any unusual noises or vibrations.
Step 11: Final Checks and Maintenance
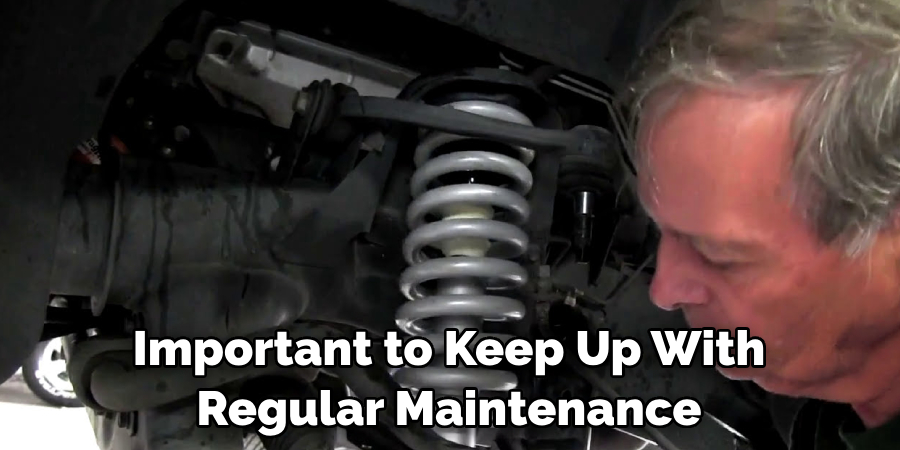
Remember to double-check all bolts, nuts, and components for tightness and proper alignment. It’s important to keep up with regular maintenance on your vehicle, including checking the condition of your struts and suspension system.
If you notice any issues or changes in handling, it’s best to have a professional mechanic inspect the vehicle for potential problems. You’ll want to ensure your vehicle is safe and performing at its best for your own safety and the safety of others on the road.
With proper maintenance, you can keep your front struts aligned and functioning properly for a smoother and safer driving experience. Keep these steps in mind for future reference and always consult your owner’s manual for specific instructions on how to align front struts for your particular vehicle model. Happy driving!
Additional Tips
- If You’re Not Replacing the Strut Cartridge, Take Note of Its Orientation and Make Sure the New One is Inserted in the Same Way.
- It’s a Good Idea to Have an Alignment Done After Installing New Struts to Ensure Proper Tire Wear and Handling.
- Be Cautious When Working With Springs as They Can Be Dangerous if Mishandled.
- Always Refer to Your Owner’s Manual and Follow the Manufacturer’s Recommended Procedures for Your Specific Vehicle.
- Seek Professional Help If You’re Not Comfortable Performing This Task Yourself. Safety Should Always Be the Top Priority.
Conclusion
In conclusion, aligning front struts is a necessary and fundamental aspect of vehicle maintenance that should not be overlooked. By following the simple steps outlined in this blog post on how to align front struts, you can save yourself time and money in the long run.
Remember to check your owner’s manual for specific instructions on your particular make and model, as well as seek the help of a professional mechanic if needed. With proper alignment, you can prolong the lifespan of your vehicle and ensure a smoother driving experience.
So why wait? Take charge of your car’s health and start aligning those front struts today! And don’t forget to share your results with us in the comments below – we love hearing success stories from our readers! Together, let’s keep our vehicles running at peak performance and hit the road with confidence. So go ahead and grab those tools, show your car some love, and enjoy a safe and enjoyable ride wherever the road takes you.