
Are you looking to give your car a fresh look? One way to do so is by painting your fender flares. Fender flares protect your vehicle from mud, rocks, and debris and provide an opportunity to add some personality to your ride. Although this DIY task may seem daunting, it’s not as challenging as you might think. Here’s a comprehensive guide on how to paint fender flares.
Can You Paint Fender Flares?
Fender flares can add a stylish and functional touch to your vehicle’s appearance. But what if you’re tired of the color or want to customize them to match your paint job? The good news is that Fender flares can be painted! Thanks to their durable plastic or fiberglass material, they can hold paint well without chipping or fading.
It’s important to prep the surface properly before painting and use high-quality automotive spray paint for the best results. Whether you want to go wild with bright colors or simply give your flares a fresh coat of black, painting your Fender flares is a fun and affordable way to upgrade your ride.
Why Should You Paint Fender Flares?
If you want to add some personality and style to your vehicle, painting your fender flares is a quick and easy way to do it. The matte black or unpainted plastic fender flares that come standard on most vehicles can blend in and be overlooked.
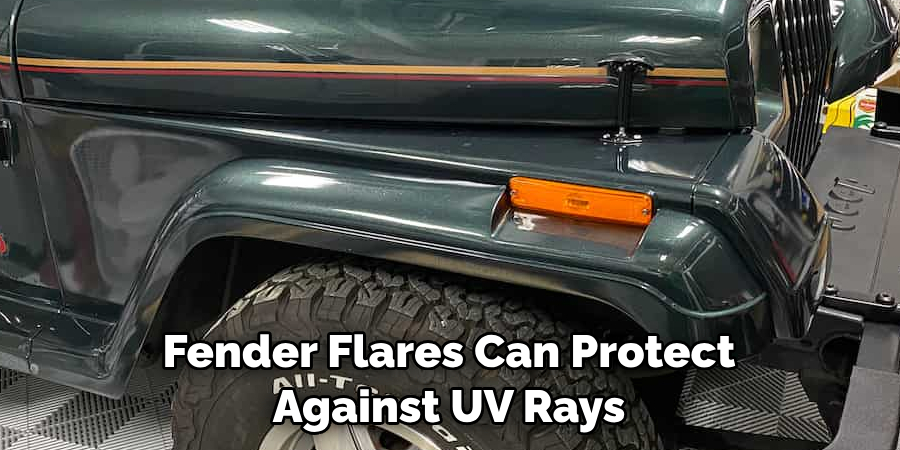
However, your car can stand out with a pop of color or a sleek, glossy finish. Additionally, painted fender flares can protect against UV rays and other environmental factors that can cause fading or cracking over time. So, not only can painting your fender flares make your car look great, but it can also help extend the life of these important parts.
How to Paint Fender Flares – A Comprehensive Guide
Step 1: Remove the Fender Flares
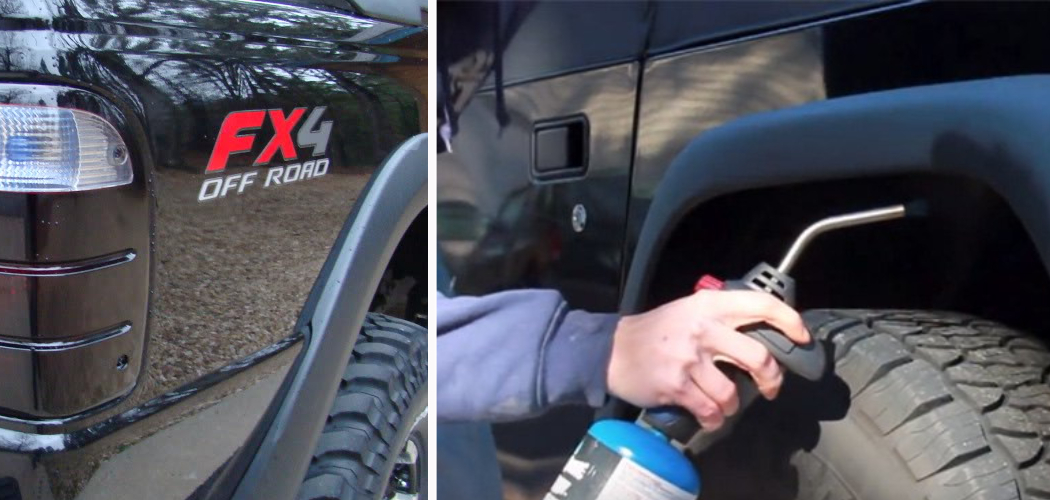
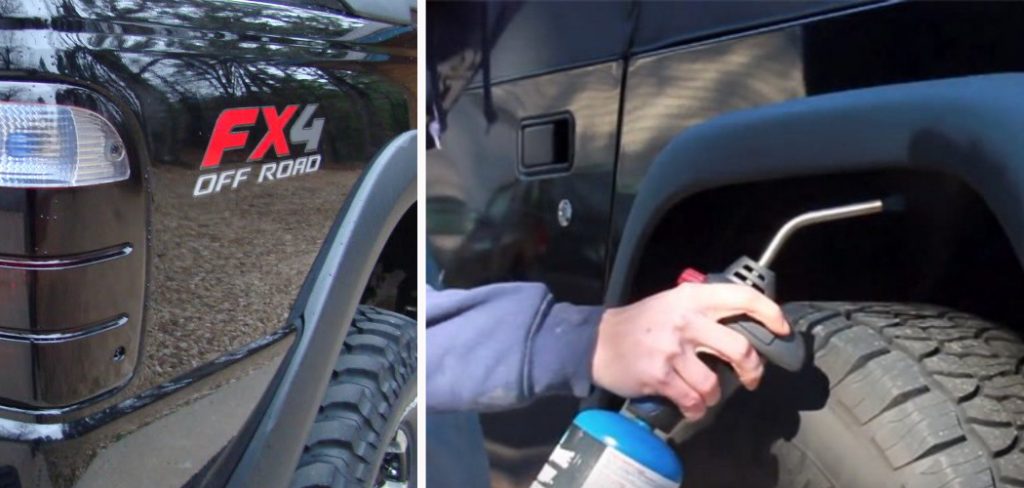
To paint your fender flares, start by removing them from your vehicle. Use a wrench or pliers to remove any screws or bolts that attach them to your car. Gently pull the flares away from your vehicle, making sure not to cause any damage. If your fender flares are glued on, use a heat gun to loosen the adhesive and then carefully remove the flares.
Step 2: Clean the Fender Flares
Next, clean the fender flares using soap and water, followed by a degreaser. Scrub them with a soft-bristled brush to remove any dirt and grime that has accumulated over time. Rinse the flares thoroughly with water and allow them to dry.
Step 3: Sand the Fender Flares
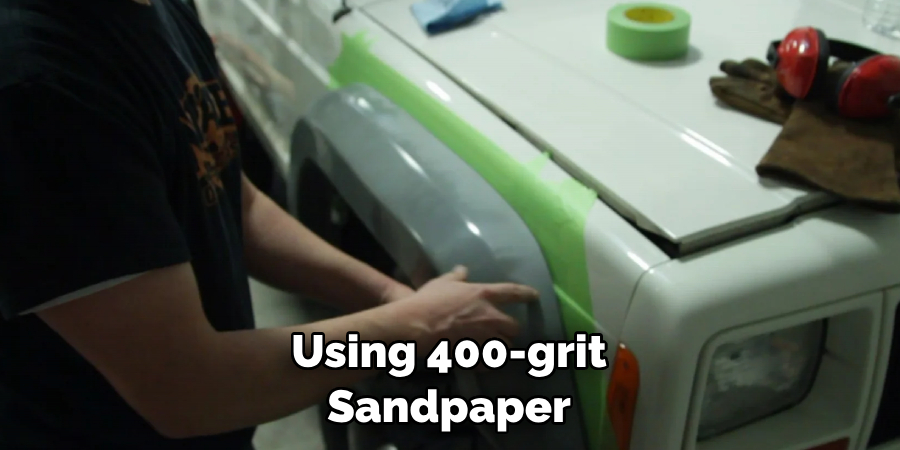
Using 400-grit sandpaper, sand down the flares to remove any roughness, bumps, or previous paint that could interfere with the new paint’s adhesion. Make sure you go over the entire surface of each flare. If there are any holes or scratches, cover them with a body filler and smooth it out with a putty knife. Sand the filled areas smoothly before moving to the next step.
Step 4: Apply the Primer
Once the sanding is done, it’s time to apply the primer. This step is critical as it helps the paint adhere properly and last longer. Use a high-quality primer designed for plastics, preferably one with a high build. Apply the primer in thin, even layers, following the manufacturer’s instructions. Allow it to dry between coats and sand it smooth after the final coat.
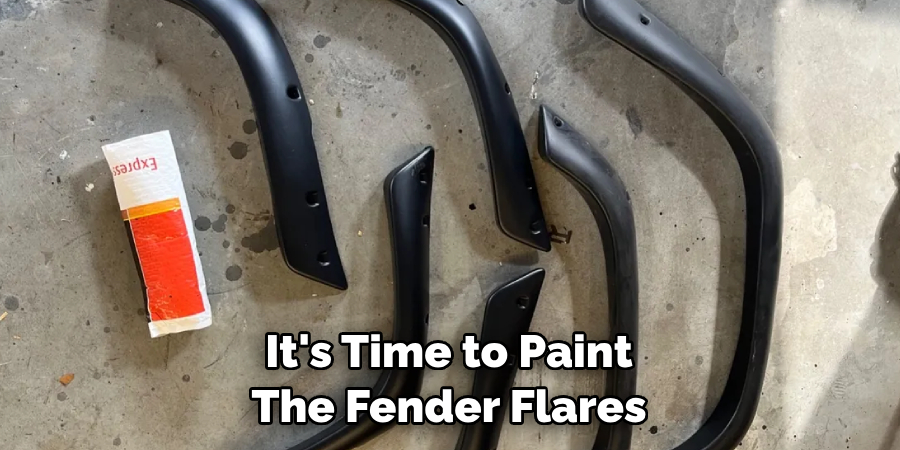
Step 5: Paint the Fender Flares
It’s time to paint the fender flares using a paint designed for plastic surfaces. Spray the paint in thin, even layers, allowing each layer to dry before applying the next. Follow the manufacturer’s instructions and apply the paint in a well-ventilated area. If you’re using a two-tone paint scheme, use masking tape to protect the areas you don’t want to paint. Once done, allow the paint to dry completely.
Step 6: Reattach the Fender Flares
After allowing the paint to dry for at least one day, it’s time to reattach the fender flares. Position them correctly and screw or bolt them back into place. If they were glued on, follow the manufacturer’s instructions for reapplying the adhesive. Be gentle when reattaching them to avoid damaging the paint job.
Step 7: Protect the New Paint
To keep your newly painted fender flares looking fresh, apply a clear coat of paint designed for plastic surfaces. This will provide an extra layer of protection against scratches and UV rays. Once again, follow the manufacturer’s instructions when applying the clear coat.
5 Considerations Things When You Need to Paint Fender Flares
1. Choosing the Right Paint
When painting your fender flares, it’s important to choose the right type of paint. Automotive paint is the best choice as it is specifically formulated for use on cars and can withstand exposure to the elements. Make sure to choose a color that matches your vehicle’s existing paint job.
2. Proper Preparation
Before you start painting, it’s crucial to properly prepare your fender flares. This includes cleaning them thoroughly with soap and water, sanding down any rough or rusty spots, and using a primer to help the paint adhere better. Skipping these steps can result in a poor paint job that won’t last long.
3. Consider the Weather
The weather can greatly impact how well your fender flares turn out. Ideally, you should aim to paint them on a warm, dry day with low humidity. This will help the paint dry evenly and prevent any moisture from affecting the finish.
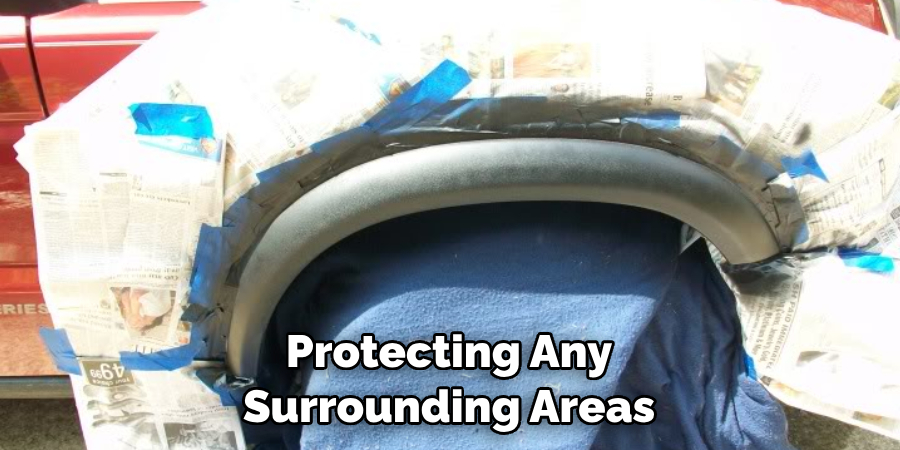
4. Protect Surrounding Areas
When painting your fender flares, protecting any surrounding areas from overspray or accidental drips is important. Cover your tires and wheels with plastic bags or newspaper, and use painter’s tape to mask any parts of your car you don’t want to be painted.
5. Take Your Time
Painting fender flares may seem simple, but rushing through it can result in an uneven or sloppy finish. Take your time and apply thin coats of paint, allowing each one to dry completely before applying another layer. This will ensure a smooth and professional-looking finish that will last for years to come.
5 Benefits of Paint Fender Flares
1. Improved Appearance
One of the most obvious benefits of painting fender flares is the improved appearance of your vehicle. Fender flares are designed to protect your vehicle’s tires from debris and road grime, but they can also enhance your car’s or truck’s overall look. By painting your Fender flares, you can customize the color to match your vehicle’s paint job, giving it a sleek and cohesive look.
2. Protection from Rust and Corrosion
Fender flares are often made of plastic or rubber materials that are susceptible to rust and corrosion over time. By painting them, you can add an extra layer of protection against these elements and extend the lifespan of your fender flares. This is especially important for vehicles that are exposed to harsh weather conditions or regularly driven off-road.
3. Easy Maintenance
Painted fender flares are much easier to maintain than their unpainted counterparts. Dirt, mud, and other debris can easily get stuck in the crevices of unpainted flares, making them difficult to clean. With painted fender flares, you can simply wipe them down with soap and water to keep them looking like new.
4. Increased Resale Value
If you plan on selling your vehicle in the future, having painted fender flares can increase its resale value. A well-maintained exterior is one of the first things potential buyers will notice when looking at a used car or truck. By investing in painting your fender flares now, you could potentially see a higher return on investment when it comes time to sell.
5. Customization Options
Painting your Fender flares also opens up a world of customization options for your vehicle. You can choose from a wide range of colors and finishes to give your car or truck a unique look that reflects your personal style. Some people even opt for patterns or designs on their Fender flares, adding an extra touch of personality to their vehicle. The possibilities are endless when it comes to customizing your painted fender flares.
Some Common Mistakes People Make When Trying to Paint Fender Flares
Are you looking to enhance the appearance of your vehicle by painting your fender flares? While this may seem like a simple task, people make some common mistakes during the process.
One of these mistakes is failing to clean the flares thoroughly before painting, which can result in uneven or patchy application. Another mistake is using the wrong type of paint, which can lead to cracking or peeling over time. It’s also important to take your time and apply multiple thin coats rather than one thick coat to ensure a smooth and even finish. With proper preparation and attention to detail, painting your Fender flares can be a great way to give your ride a fresh new look.
Conclusion
Painting your Fender flares is a simple and affordable way to give your car a customized look. By following these six steps, you can easily paint your fender flares and give your vehicle a fresh aesthetic. Just remember to use high-quality materials, have patience, and take your time. Thanks for reading our post about how to paint fender flares. Happy painting!