

Have you been hearing that dreaded clunking noise when you turn your steering wheel? If you’ve been putting off replacing your worn-out control arms, it’s time to face the music. Control arms play a vital role in your vehicle’s suspension and steering systems by linking the wheels to the frame and allowing for smooth motion over bumps in the road.
When control arms deteriorate they can severely compromise your vehicle’s handling, stability, and even safety. The good news is that replacing control arms yourself is a very manageable weekend DIY project that doesn’t require any specialty tools or automotive experience.
In this blog post, I’ll walk you through how to install control arm. By the time you finish following my guide your car will have a new lease on smooth riding comfort. Let’s get started!
Why May You Want to Install Control Arm?
1 . To Eliminate Clunking Noises
As mentioned earlier, a telltale sign of worn-out control arms is a clunking noise when turning the steering wheel. This noise can be caused by loose or broken bushings and ball joints in the control arm assembly. Replacing these components will eliminate annoying noises and restore your vehicle’s quiet ride.
2 . To Improve Handling and Stability
Worn out control arms can also lead to a shaky or unstable ride. This is due to the fact that they are responsible for keeping the wheels in proper alignment with the vehicle’s frame. When control arms fail, your car may pull to one side or have excessive body roll while turning. By installing new control arms, you’ll notice a significant improvement in your vehicle’s handling and stability.
3 . To Prevent Uneven Tire Wear
Another consequence of faulty control arms is uneven tire wear. When the wheels are not properly aligned, certain areas of the tires will wear down quicker than others. This can lead to expensive tire replacements and a bumpy ride. By installing new control arms, you’ll ensure that your tires wear evenly and last longer.
4 . To Maintain Suspension System
Control arms are a crucial component of your vehicle’s suspension system, which affects everything from ride comfort to tire traction. By replacing worn out control arms, you’ll ensure that your suspension system continues to function properly and provide a smooth ride.
5 . To Save Money on Labor Costs
Replacing your control arms yourself can save you a significant amount of money on labor costs. Most mechanics will charge a hefty fee for this relatively simple task, so by doing it yourself you’ll be able to put that money back into your pocket.
6 . To Gain Automotive Knowledge and Experience
Installing control arms is a great way to gain automotive knowledge and experience. This project is perfect for beginners as it doesn’t require any specialty tools or extensive automotive experience. By completing this DIY task, you’ll feel empowered and more confident in handling future car repairs.
How to Install Control Arm in 6 Easy Steps
Step 1: Gather Supplies
Before beginning the installation process, make sure you have all the necessary supplies. These include:
- New control arm(s)
- Replacement bushings and ball joints (if needed)
- Jack stands or a car lift
- A jack
- Socket set
- Wrenches
- Torque wrench
Step 2: Prepare Your Vehicle
Park your vehicle on a flat and level surface and engage the parking brake. Use wheel chocks to prevent any movement. If your car has been driven recently, allow it to cool down before beginning work. Also, make sure to disconnect the battery before starting any repairs.
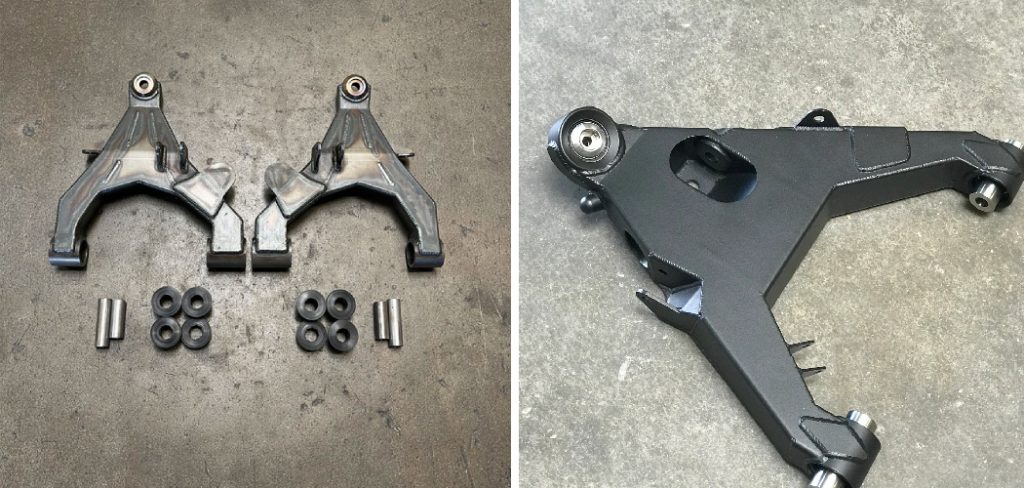
Step 3: Remove Old Control Arm
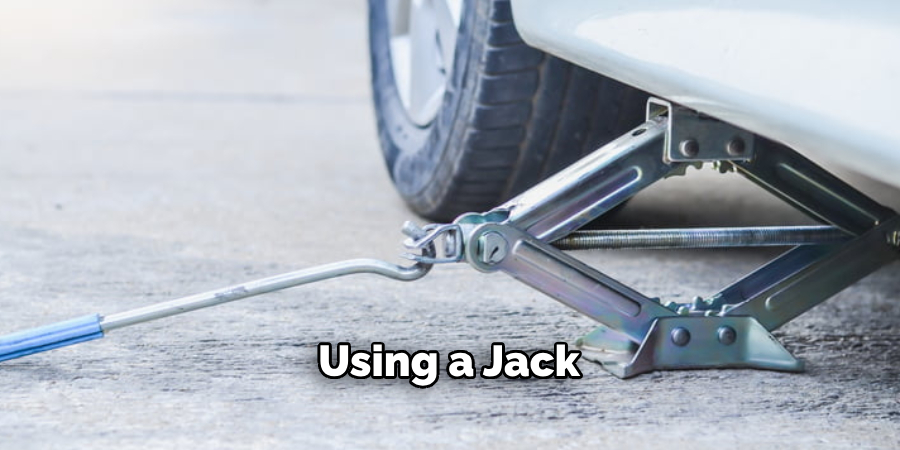
Using a jack or car lift, raise the front end of your vehicle and secure it with jack stands. Then, locate the control arm(s) that need to be replaced. Use a socket set and wrenches to remove any bolts or nuts holding the control arm in place. Once the old control arm is free, carefully remove it from the vehicle.
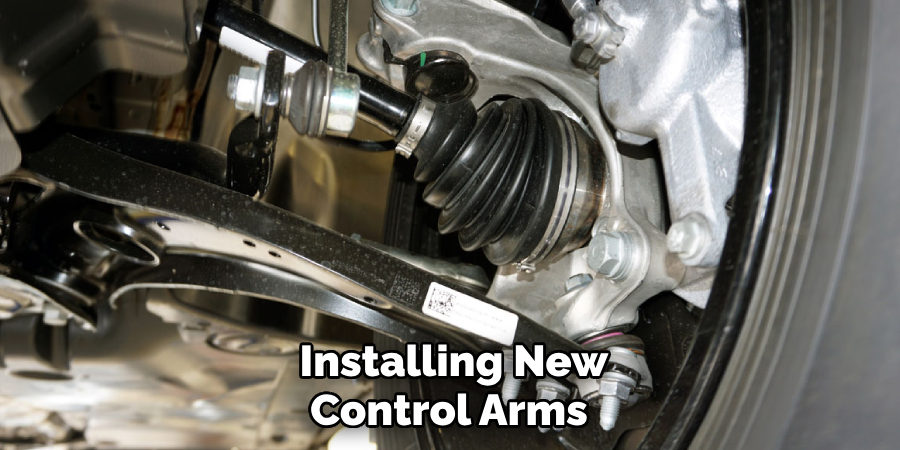
Step 4: Install New Control Arm
With the old control arm removed, it’s time to install the new one. If your new control arm came with replacement bushings and ball joints, be sure to install those as well. Position the new control arm and secure it in place with bolts or nuts. Use a torque wrench to tighten them to the manufacturer’s specifications.
Step 5: Lower Your Vehicle and Test
With the new control arm installed, carefully lower your vehicle off of the jack stands and back onto the ground. Take your car for a test drive to ensure everything feels smooth and stable. If there are any issues, recheck your work and make necessary adjustments.
Step 6: Dispose of Old Control Arm
Properly dispose of the old control arm by taking it to a local recycling center or automotive scrap yard. This will not only help the environment, but you may also receive some compensation for the metal components in the control arm.
Additional Tips to Install Control Arm
1 . Do Not Mix and Match Control Arms
It’s important to install the same type of control arm on each side of your vehicle. Mixing and matching different brands or types can affect handling and cause further issues down the road. Also, make sure to replace both control arms in a pair to ensure balanced suspension.
2 . Replace Other Components if Necessary
If your control arm has failed due to worn-out bushings or ball joints, it’s recommended to also replace those components. This will prevent future issues and prolong the life of your new control arm.
3 . Check Torque Specifications
Always double check the torque specifications for your specific vehicle before tightening any bolts or nuts. This will ensure proper installation and prevent over or under-tightening.

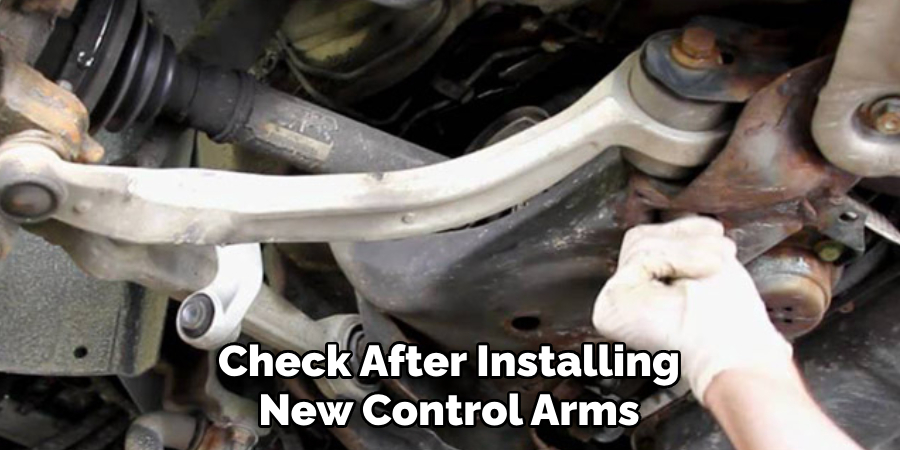
4 . Get an Alignment Check
After installing new control arms, it’s important to get an alignment check to ensure everything is properly aligned. This will also help identify any other potential issues with your suspension system.
5 . Follow Manufacturer Instructions
Be sure to follow the instructions provided by the manufacturer for your specific control arm. This will ensure proper installation and prevent any mishaps during the process.
6 . Safety First
Always prioritize safety when working on your vehicle. Make sure to use jack stands or a car lift, wear appropriate protective gear, and never work under a vehicle supported only by a jack.
7 . Seek Professional Assistance if Needed
If you are unsure about installing control arms yourself, it’s always best to seek professional assistance. Improperly installed control arms can affect the safety and performance of your vehicle. Don’t be afraid to ask for help or take your car to a mechanic for installation.
Frequently Asked Questions
What Precautions Should I Take Before Installing Control Arms?
- Always disconnect the battery before starting any repairs.
- Allow your car to cool down before beginning work.
- Use proper protective gear and follow safety guidelines when working under a vehicle.
How Long Will It Take to Install Control Arms?
The time it takes to install control arms will vary based on experience level, tools available, and the number of control arms being replaced. On average, it can take anywhere from 1-3 hours.
Can I Use Jack Stands Instead of a Car Lift?
Yes, you can use jack stands instead of a car lift for this project. Just make sure to follow proper safety precautions and securely place the jack stands under the vehicle in a stable position.
Do I Need to Get an Alignment Check After Installing New Control Arms?
It’s recommended to get an alignment check after installing new control arms to ensure everything is properly aligned. This will also help identify any other potential issues with your suspension system.
Can I Install Control Arms Myself if I Have No Automotive Experience?
Yes, this is a relatively easy project that can be completed with basic tools and some research. However, if you are unsure or uncomfortable with the process, it’s always best to seek professional assistance.
How Often Should I Replace My Control Arms?
The lifespan of control arms can vary depending on several factors such as driving conditions, vehicle make and model, and quality of the control arm. It’s recommended to have them inspected during regular vehicle maintenance and replaced if any signs of wear or damage are present.
Keep in mind that replacing both control arms at the same time is the best practice for balanced suspension. The average lifespan is around 100,000 miles, but it’s always best to follow the manufacturer’s recommendations for your specific vehicle.
Conclusion
Now you know how to install a control arm in 6 easy steps and some additional tips to keep in mind. By replacing worn-out control arms, you’ll not only save money on labor costs but also improve the overall performance and safety of your vehicle.
With a little knowledge and the right tools, this DIY task is achievable for anyone looking to gain automotive experience or simply maintain their suspension system. Happy repairing!