
Have you noticed a worrisome drip under your car and noticed the telltale signs of oil pooling on the garage floor? Before you start to panic that your oil pan is cracked and you’re facing a huge repair bill, take a deep breath.
A cracked oil pan isn’t always the end of the world and is often a fairly simple DIY repair that you can tackle yourself, saving yourself a small fortune in mechanics fees.
In this post on how to fix crack in oil pan, I’ll walk you through how to inspect your oil pan for cracks, determine if it’s a job for the DIY garage warrior or one best left to professionals, and the step-by-step process for removing, welding, and replacing a cracked oil pan yourself. By the end, you’ll feel confident getting under your car with a welder and getting that pesky oil leak sealed up for good.
Necessary Tools
- Jack Stands
- Floor Jack
- Welder & Helmet
- Screwdriver or Socket Wrench Set (to Remove Oil Pan)
- Wire Brush to Prepare the Leaky Surface for Welding
- Sandpaper (to Smooth Out Welds)
- Oil Pan Patch Kit (Optional) in Case a Simple Welding Job Won’t Cut It
- Replacement Oil Pan (Alternative to Welding)
11 Step-by-step Guidelines on How to Fix Crack in Oil Pan
Step 1: Prepare
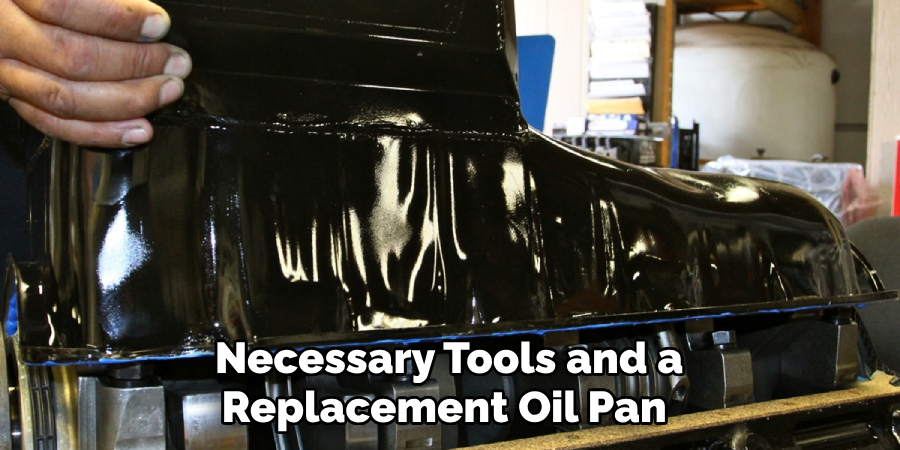
Make sure you have all the necessary tools and a replacement oil pan or patch kit before getting started. You’ll also want to make sure your car is lifted safely on jack stands and the drain plug has been removed from the oil pan.
You don’t want to start welding with oil still in the pan! But don’t forget to put a container under the car to catch any remaining oil that may drip out. The last thing you want is a messy garage floor. It’s always a good idea to have some rags or paper towels on hand as well.
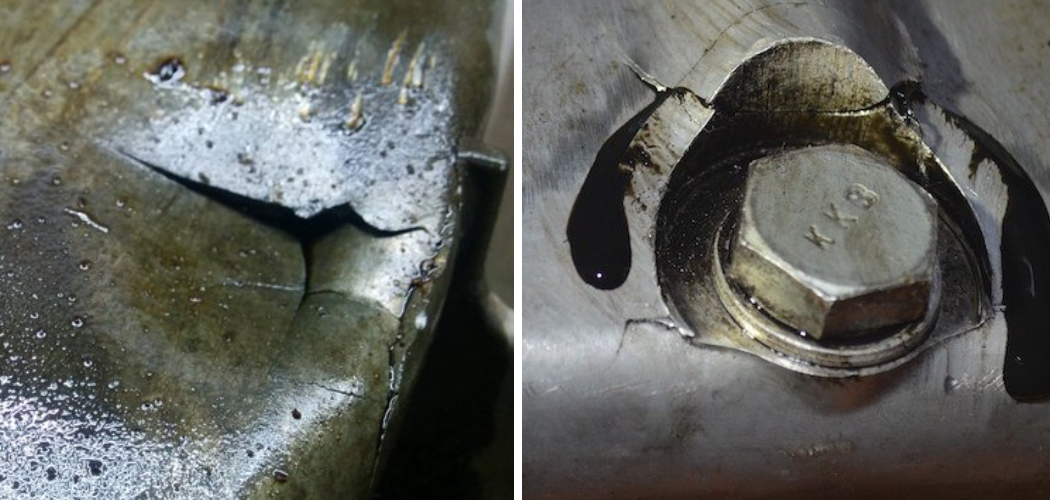
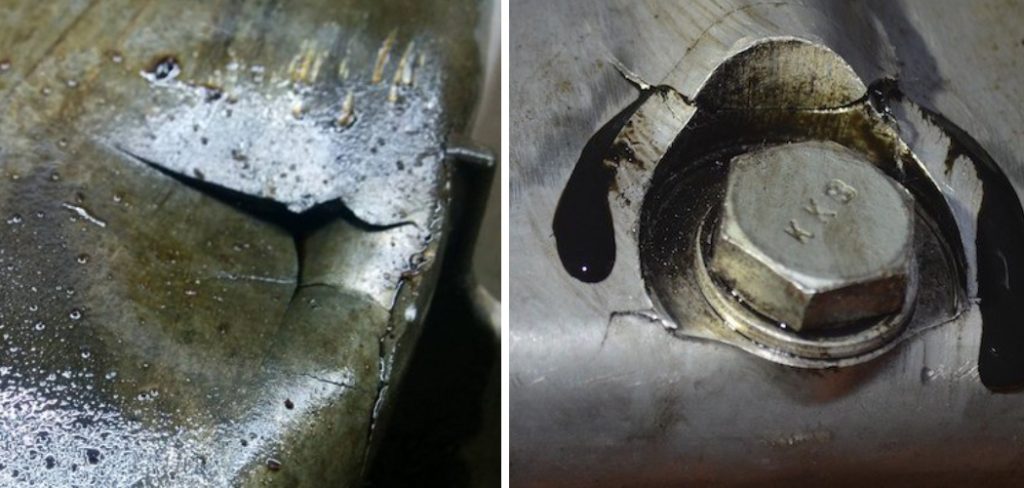
Step 2: Inspect the Damage
Before you start any repairs, inspect the damage to your oil pan. If it’s a small crack, you may be able to weld it yourself. However, if it’s a large crack or multiple cracks, it may be best to replace the entire oil pan. You’ll also want to take note of the location of the crack, as some areas may be more difficult to weld or repair. It’s always a good idea to consult your car’s manual for specific instructions on removing and replacing the oil pan.
Step 3: Clean the Area
Use a wire brush to clean the area around the crack, removing any debris or oil that may be present. This will ensure a good weld and help prevent any additional cracks from forming. The area should be clean and free of any rust or corrosion. If there is rust, use sandpaper to remove it. Be sure to wear gloves and protective eyewear during this step.
Step 4: Determine the Best Method of Repair
Based on the size and location of the crack, you’ll need to determine if welding or a patch kit will be the best method of repair. A simple weld may suffice for small cracks located in easily accessible areas, but a patch kit may be necessary for larger cracks or those in difficult-to-access areas. However, if the damage is extensive, it may be best to replace the entire oil pan.
Step 5: Prep the Oil Pan
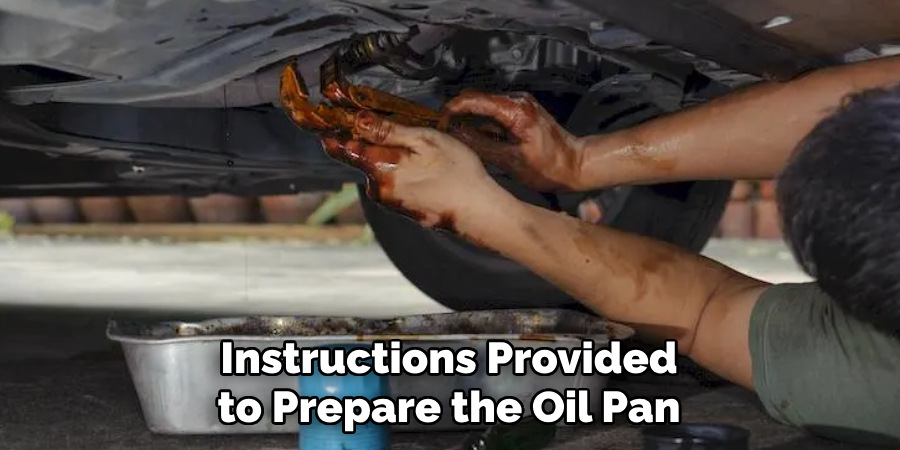
If welding, use sandpaper to smooth out the area around the crack and remove any rust. This will help create a clean surface for the weld. If using a patch kit, follow the instructions provided to prepare the oil pan for patching. It’s important to follow the instructions carefully for a successful repair.
Step 6: Welding
If you’ve determined that welding is the best method of repair, carefully weld along the crack using a welding helmet and gloves. Be sure to take your time and create a strong and secure weld. Once finished, allow the weld to cool before moving on to the next step. The oil pan may still be hot, so use caution.
Step 7: Patching
If you’re using a patch kit, follow the instructions provided to apply the patch over the crack. Be sure to press it firmly against the surface and smooth out any air bubbles. Allow time for the patch to cure before moving on to the next step. You may also need to apply a second layer for added strength depending on the severity of the crack.
Step 8: Smooth Out Welds
If you’ve welded the crack, use sandpaper to smooth out any rough or uneven areas. This will help prevent any future leaks and improve the overall appearance of your oil pan. It’s important to have a smooth surface for the oil pan gasket to properly seal. If you used a patch kit, this step may not be necessary. The patch should already be smooth and ready for reinstallation.
Step 9: Reinstall the Oil Pan
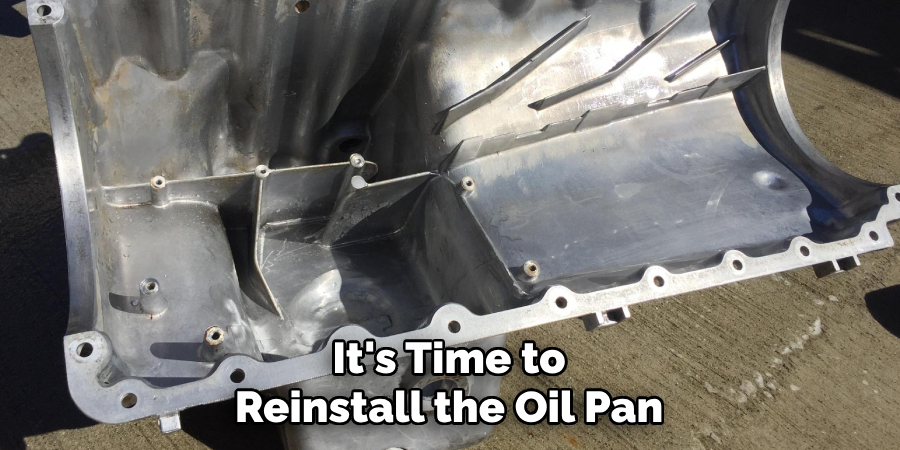
Once the welds have cooled or the patch has cured, it’s time to reinstall the oil pan. Carefully line up the pan with its mounting holes and secure with the appropriate bolts or screws. Be sure not to overtighten as this can cause damage to the pan or gasket. You may also want to replace the oil pan gasket during this step for added insurance against future leaks. It’s always a good idea to consult your car’s manual for torque specifications.
Step 10: Refill with Oil
Now that your oil pan is securely in place, you can refill your car with fresh oil. Be sure to use the recommended amount and type of oil for your vehicle. And don’t forget to replace the drain plug before pouring in the oil! The last thing you want is to lose all your hard work and fresh oil due to a missing drain plug.
Step 11: Test for Leaks
Once you’ve completed all the steps, start your car and let it run for a few minutes. Check under the car for any signs of leaking oil. If everything looks good, turn off your car and let it sit for a bit before checking again.
This will allow the oil to settle and give you a more accurate test for leaks. If there are still signs of leaking, go back and double-check your welds or patches. You may also want to consider replacing the entire oil pan if the leak persists.
Following these steps on how to fix crack in oil pan should help you successfully fix a crack in your oil pan and get you back on the road without any oil leaks.
Remember to always follow proper safety precautions when working on your car and consult a professional if you’re unsure or uncomfortable with any of the steps. With a little bit of patience and some handy welding skills, you’ll have that pesky crack fixed in no time!
Frequently Asked Questions
Q: Is Welding the Only Way to Fix a Crack in an Oil Pan?
A: No, depending on the size and location of the crack, a patch kit may also be used as an alternative. You’ll want to determine the best method of repair based on the severity of the crack and your personal welding abilities.
Q: Can I Use a Temporary Fix, Such as Epoxy, to Seal the Crack?
A: It’s not recommended to use temporary fixes as a long-term solution for a cracked oil pan. These may only provide a temporary fix and can potentially cause more damage in the long run. It’s best to properly repair or replace the oil pan for a permanent solution.
Q: How Do I Know if My Oil Pan Needs to be Replaced Instead of Repaired?
A: If there are multiple cracks, the cracks are too large for welding, or the location of the crack makes it difficult to weld, it may be best to replace the entire oil pan. It’s also important to consider the age and condition of your car and oil pan before deciding on a repair or replacement.
Q: Can I Still Drive My Car with a Cracked Oil Pan?
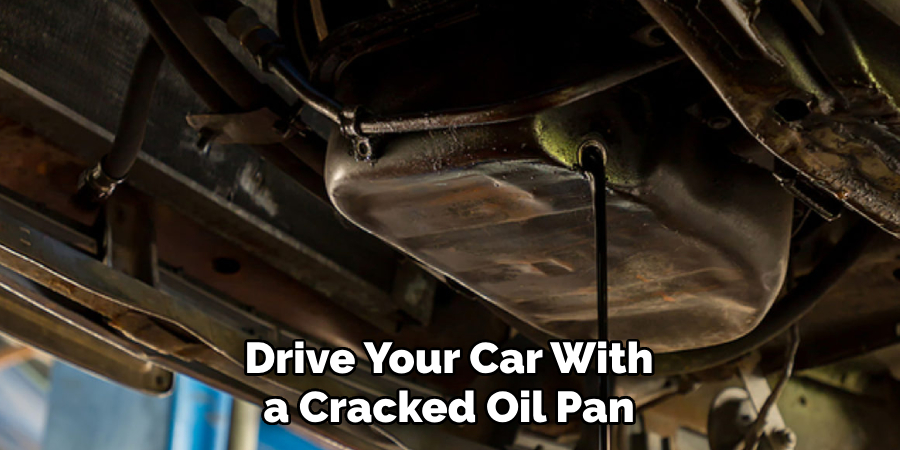
A: It’s not recommended to drive your car with a cracked oil pan as it can lead to further damage and potential oil leaks. It’s best to address the issue as soon as possible to avoid any complications while driving.
Conclusion
In conclusion on how to fix crack in oil pan, fixing a crack in your oil pan may seem like a daunting task, but with the right tools and techniques, it is easily achievable. By following these steps and taking the necessary precautions, you can save yourself time and money by avoiding potential engine damage.
Remember to always prioritize safety and consult a professional if needed. Don’t let a small crack turn into a costly repair or even worse, an accident on the road. Take matters into your own hands and fix that crack in your oil pan today.
Your car (and wallet) will thank you! Share this post with friends and family who may also benefit from this information and keep following us for more helpful tips on car maintenance. Now go out there and conquer that crack!