

The gleam of a freshly waxed car isn’t complete without the sparkling clarity of polished headlights. However, maintaining the sleek aesthetic of your vehicle goes beyond simply washing and waxing. The vital light-providing component of your car, the headlights, is also constantly exposed to the elements, necessitating a safeguard that few car owners think of as ceramic coating.
In the world of automotive care, ceramic coating has gained significant traction for its ability to provide long-lasting protection and a mirror-like finish. This blog post will walk you, a car enthusiast eager to boost your car care game, through the process of how to ceramic coat headlights and offer a deep dive into the why and how behind this technique.
Understanding Ceramic Coating
Ceramic coating is a liquid polymer that is applied by hand to the exterior of a vehicle. The coating chemically bonds with the vehicle’s factory paint, creating a layer of protection. Its nano-ceramic properties make it a standout in auto care due to its high resistance to heat, chemicals, and harsh environmental elements.
Why Ceramic Coating Is Suitable for Headlight Protection
The reasons ceramic coating thrives when applied to headlights are apparent. It acts as a long-term shield, capable of enduring the brunt of debris, UV radiation, and the general wear and tear of daily car usage. Besides, the hydrophobic nature of ceramic coatings means water and dirt simply won’t stick, making future cleaning a breeze.
Preparing the Headlights
Applying a ceramic coat on headlights is a meticulous process that begins with thorough preparation. This is a crucial step, ensuring proper adhesion and a flawless application.
Cleaning and Removing any Existing Coatings
Start with washing your car and drying the headlights completely. Next, use a degreaser to remove all residual wax and oils. A solvent like isopropyl alcohol can aid in getting a completely clean surface to work with.
Sanding and Polishing the Headlights
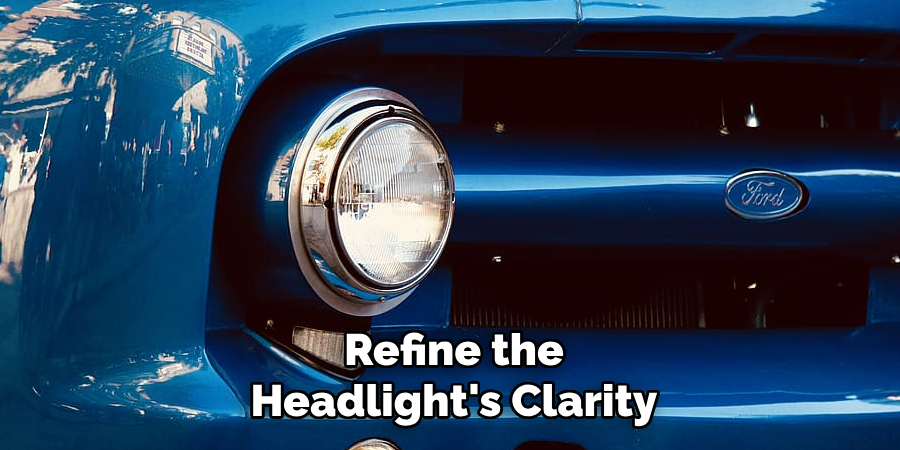
Headlights with accumulated scrapes and surface damage will need to be sanded, starting with coarser sandpaper to remove the damage and moving to a finer grain to smooth the surface. Polish buffing compounds can then be applied to further refine the headlight’s clarity.
How to Ceramic Coat Headlights: A DIY Guide for Car Enthusiasts
Once the headlights are pristine, you can begin applying the ceramic coating. This intricate process requires patience and precision to ensure a professional-looking finish.
Step 1: Ensure the Headlights Are Dry
Ensure that the headlights are completely dry before starting. If not, use a microfiber cloth to remove any moisture. Applying the ceramic coat to damp surfaces will reduce its effectiveness.
Step 2: Shake the Ceramic Coating Bottle
Shake the bottle a few times to ensure that the nanoparticles are well-mixed. If you can hear or feel any particles moving around in the liquid, it’s ready for use.
Step 3: Apply the Ceramic Coat on a Microfiber Applicator
Using an applicator of your choice, apply the ceramic coat. If your kit comes with an applicator, use it; if not, a clean microfiber cloth will suffice.
Step 4: Wipe Across the Headlight Surface
Ensure that you are working in small sections, and make sure to wipe across the headlight’s surface evenly. The product should be applied like wax in straight lines.
Step 5: Let the Ceramic Coat Cure
After applying the coat, let it cure for a few minutes. The curing time will vary depending on your climate and the specific product being used.
Step 6: Buff the Headlights with a Microfiber Cloth
Using a soft microfiber cloth, buff off any excess coating from the surface of your headlights. Work in small, circular motions to achieve a glossy finish.
Step 7: Repeat the Process for the Second Headlight
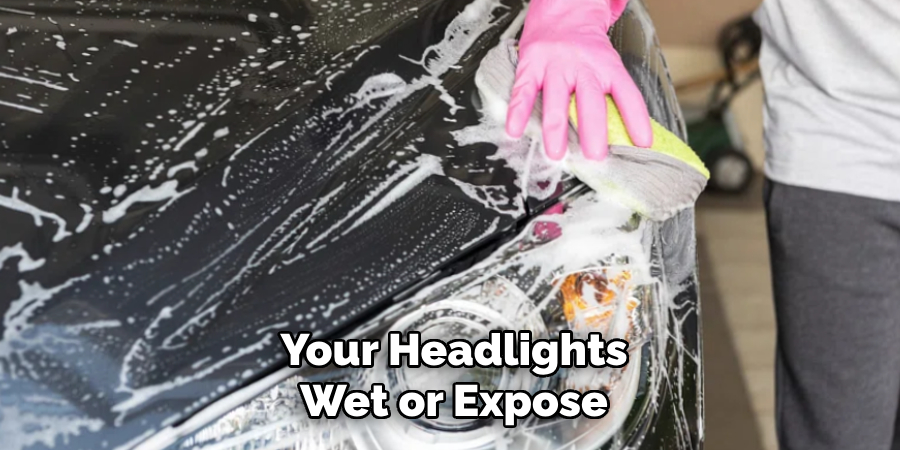
Lastly, repeat the process for your second headlight and allow it to cure before driving. It is recommended not to get your headlights wet or expose them to any harsh chemicals during the curing process.
5 Maintenance Tips for Ceramic Coated Headlights
Improving the longevity and resilience of your car’s headlights can be as substantial as they are satisfying. As car lovers and safety-conscious drivers seek highly durable solutions, ceramic coatings have become the gold standard for headlight maintenance.
Whether you’re a DIY zealot or prefer a professional touch, here are five invaluable tips for preserving the sheen and functionality of your headlights with ceramic coatings.
1. Clean Regularly
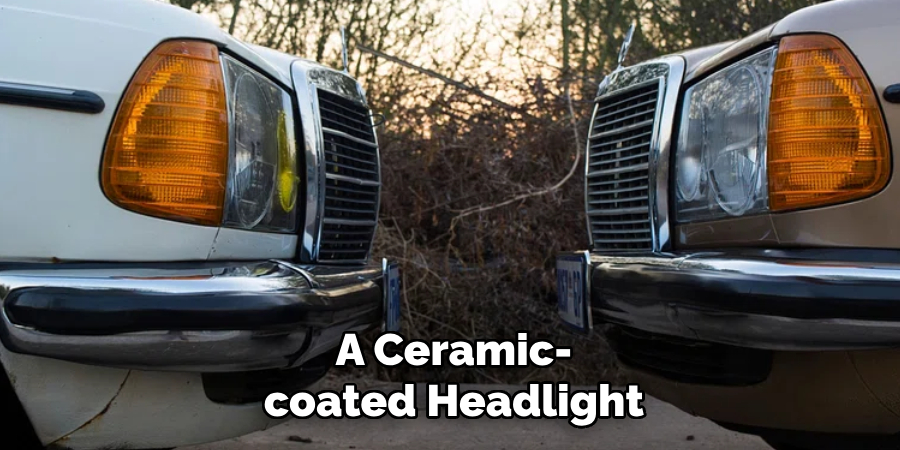
It may sound like an obvious routine, but the importance of regular cleaning for ceramic-coated headlights cannot be overstated. Not only do grime and dust dull the appearance, but they can also compromise the protective layer over time. To clean ceramic-coated headlights, adhere to specific rules:
- Use Mild Detergents: Avoid harsh chemicals that might erode the ceramic coat.
- Go for microfiber over sponges: Microfiber cloths are gentle on the coating and still effectively lift dirt.
- Avoid high-pressure Washers: These forces can chip away at the ceramic protection.
Cleaning your headlights bi-weekly will keep your ceramic coating in great shape and maintain visibility on the roads, especially in adverse weather conditions.
2. Apply Ceramic Coating
The star of this list is the application of the ceramic coating itself. This nano-ceramic technology provides an ultra-thin layer of protection that repels water, resists UV rays, and wards off minor abrasions. Apply the ceramic coating only after thoroughly refurbishing the headlights to ensure no dirt or imperfections are sealed in.
If you’re going DIY, do so in a controlled environment to avoid contamination. If you opt for a professional service, inquire about the type and duration of the warranty on the coating. Regular application or reapplication, usually every 1-2 years, maintains the ceramic’s efficacy and is the best bet for a “better than new” finish.
3. Avoid Scratches
A ceramic-coated headlight can still sustain damage if the appropriate precautions aren’t taken. The layer is tough but not invincible. Here are some guidelines to prevent scratches:
- Mechanized Car Washes: Opt for touchless or brushless car washes instead of those that use abrasive materials.
- Polishing Compounds: Avoid heavy abrasives when buffing or polishing your headlights. Stick to fine compounds or, better yet, microfiber applications.
- Road Debris: Keep a safe distance from vehicles in front of you, and if in doubt, install a protective film.
By being mindful of potential causes, you’re essentially extending the lifespan of the ceramic coat and protecting one of your car’s most essential features.
4. Wax and Polish
In addition to the ceramic coating, regular waxing and polishing add a layer of defense and keep the headlights looking clear and vibrant in addition to the ceramic coating. Consider the following:
- Compatible Products: Make sure the wax or polish you use doesn’t contain compounds threatening the ceramic layer.
- Frequency: A light waxing every couple of months will suffice to maintain the protective sheen.
Remember, less is more. Over-application can cloud the headlight’s surface. Use small amounts of the product and spread it evenly with a clean cloth for a shiny finish.
5. Professional Inspection and Touch-Up
No matter how meticulous you are, there comes a time when professional intervention is the best path forward. Professional inspection and touch-ups can do the following:
- Identify Issues Early: Experienced detailers can spot defects or areas of thinning in the ceramic coat before they become a problem.
- Tailored Solutions: Regardless of how tech-savvy you are, professionals are equipped with products and techniques you may not have access to.
- Peace of Mind: A professional job guarantees quality workmanship and extends your headlights’ life expectancy.
You should schedule a professional touch-up annually or sooner if you suspect any damage to the coating.
By diligently following these maintenance tips for ceramic-coated headlights, you’re ensuring your car looks its best and driving with enhanced safety features. Remember, a little care today can save you from costly repairs tomorrow.
Benefits of Ceramic Coating for Headlights
Ceramic coating has gained popularity among car enthusiasts by creating a barrier that offers the below advantages.
Increased Durability and Longevity
Once you’ve applied the ceramic coating, you’ll notice how headlights that looked foggy with age now reflect light like new, staying that way for months or even years.
Enhanced Clarity and Visibility
Ceramic-coated headlights resist dirt accumulation and make water bead, allowing for a cleaner, clearer light source when driving. The retention of light output improves driving safety, especially during night hours or adverse weather conditions.
Protection Against UV Damage and Discoloration
Due to their location at the front of the car, headlights are continually exposed to UV rays, which can cause yellowing. The ceramic coating acts as a shield against such discoloration, maintaining the aesthetic appeal of your car.
Conclusion
Ceramic coating your headlights is not just about keeping up appearances. It’s about ensuring your vehicle’s most crucial safety equipment is in top form. By following this guide, you’re protecting your investment and enhancing the overall experience of being a car owner.
So why not take the next step in upgrading your car care routine and give your headlights the treatment they deserve? Can’t wait to see your ceramic-coated brilliance lighting up the roads! Thanks for reading our post about how to ceramic coat headlights