
Nothing is worse than driving at night with cloudy headlights that make it difficult to see. Dirty headlight lenses can reduce your visibility on the road, creating a dangerous situation. While you can resurface the exterior lens to restore clarity, over time, the actual headlight assembly can become coated in dust, grease, and other buildup, degrading light output even further.
In this blog post, I will share my simple methods of how to clean headlights from the inside and restore maximum brightness. By taking just a few minutes to purge the accumulated grime where you can’t see, you can say goodbye to poorly lit nights and see with perfect vision down the road ahead.
Let’s start returning your headlights to like-new condition from the inside out!
What Will You Need?
Before diving into the cleaning process, it’s important to gather all the necessary supplies. Here is a list of items you’ll need before beginning:
- Microfiber cloth or soft cotton towel
- Rubbing alcohol
- Water
- Glass cleaner
- Screwdriver (if needed)
Once you have these items, you are ready to begin the cleaning process.
10 Easy Steps on How to Clean Headlights From the Inside
Step 1. Remove the Headlight Assembly:
Start by identifying the screws or clips that are holding your headlight assembly in place. These will differ for every car, so you may need to look at your vehicle’s manual or search online for specific instructions. Once you’ve located these, use your screwdriver to remove the headlight assembly from the car carefully. Be sure to keep track of any screws or clips so you can reassemble it correctly later.
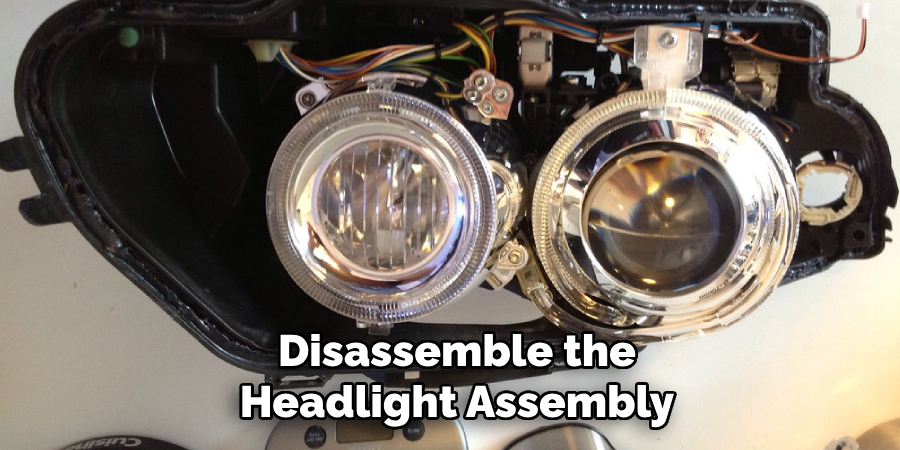
Step 2. Disassemble the Headlight Assembly:
Next, you will need to disassemble the headlight assembly. This usually involves removing a few more screws or clips to separate the lens from the housing. Be extra careful during this step – the clips or screws can be delicate, and you don’t want to damage the seal between the lens and the housing. Once you’ve successfully disassembled the headlight, you’ll have full access to its interior for thorough cleaning.
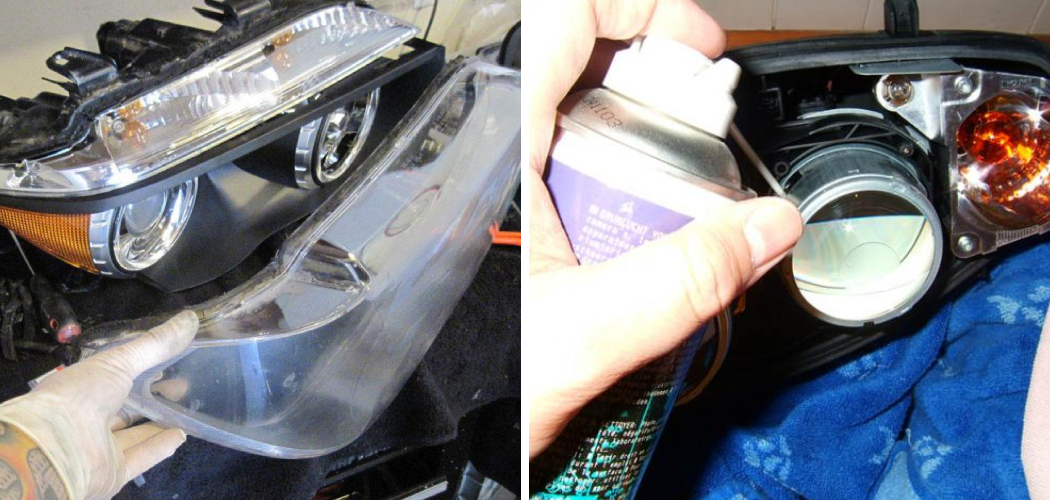
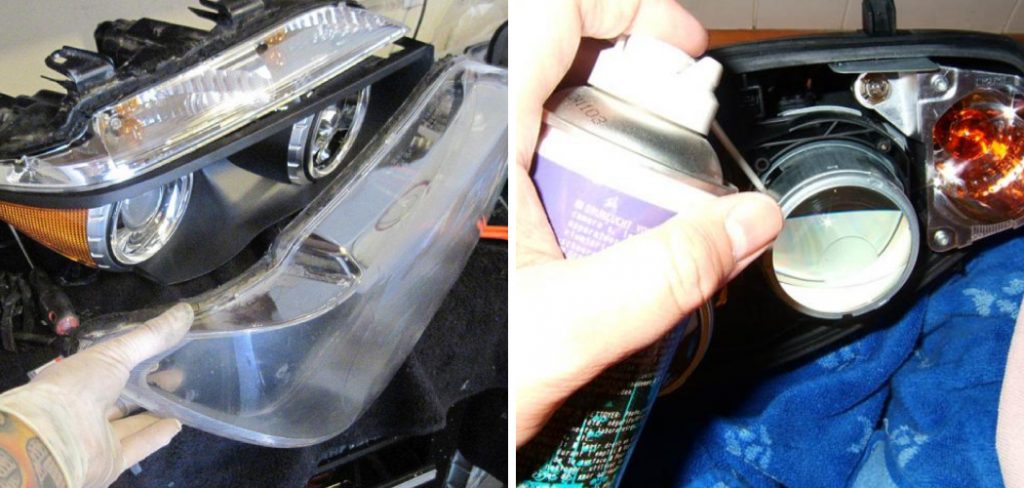
Step 3. Clean the Inside of the Headlight Assembly:
With the headlight assembly disassembled, it’s time to clean the inside of the headlight. Firstly, dampen your microfiber cloth or soft cotton towel slightly with water. Then, gently wipe the inside of the headlight to remove any loose dust or debris.
After this initial cleaning, apply some glass cleaner to your cloth and carefully clean the interior lens. For stubborn grime, a little rubbing alcohol can be used. Ensure you are cleaning all interior surfaces of the headlight for maximum brightness restoration.
Step 4. Rinse and Dry the Headlight Assembly:
Once you’ve removed all the grime from the inside of the headlight assembly, it’s essential to give it a thorough rinse. This will ensure that all cleaning products are removed, preventing the possibility of any residue affecting light output. Simply use clean water to rinse the interior of the headlight assembly – be careful not to get any water on the electrical components!
After rinsing, use a fresh, dry microfiber cloth or soft towel to dry the assembly thoroughly. Any leftover moisture could cause fogging or condensation inside the headlight, which would counteract your cleaning efforts.
Step 5. Reassemble the Headlight Assembly:
After ensuring that the headlight assembly is completely dry, it’s time to reassemble it. Reverse the disassembly process, reinstalling any screws or clips that were initially removed. Ensure that the lens and housing seal are tight to prevent any moisture or dust from entering in the future. Once the assembly is assembled, inspect it again to ensure no further cleaning is necessary before installation.
Step 6. Reinstall the Headlight Assembly:
Now that the headlight assembly is clean and reassembled, you can reinstall it into your vehicle. Carefully align the assembly with the corresponding spots on your car. Once aligned, reinstall all of the screws or clips that hold the body in place, making sure that everything is secure.
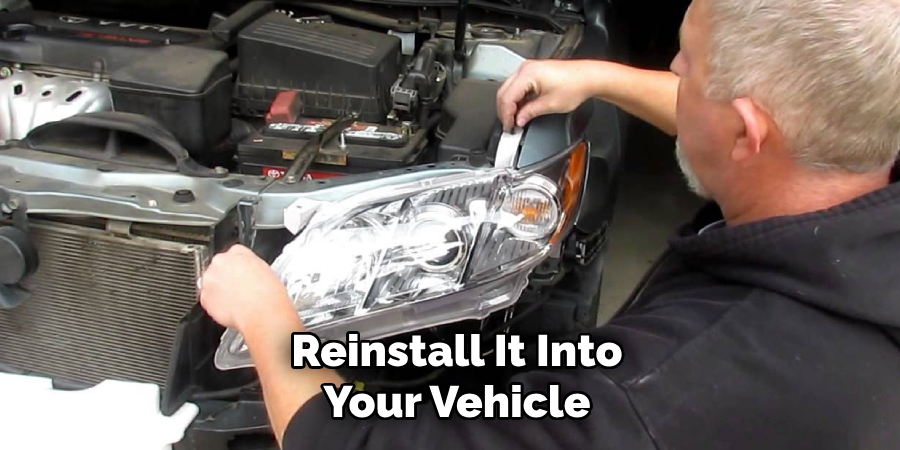
Lastly, reconnect any electrical connectors as needed. Do a final check to ensure the assembly is correctly positioned and not loose. Congratulations, you’ve successfully cleaned your headlights from the inside!
Step 7. Test Your Headlights:
After reinstalling the cleaned headlights, testing them to ensure they’re working correctly is crucial. Turn on your headlights and check from both in front of the vehicle and the driver’s seat to ensure they shine brightly and evenly.
Check both low and high beams. If there’s any dimness or unevenness, it may indicate a need for further cleaning or a check for electrical issues. If everything looks good, you’ve completed cleaning your headlights from the inside!
Step 8. Regular Maintenance and Prevention:
After successfully cleaning your headlights from the inside, regular maintenance is key to prevent future buildup of dust and grime. Regularly check your headlights for signs of dirt accumulation and clean them promptly when needed. Consider using headlight sealant or protective film to prevent dirt and moisture penetration further.
In addition, regular vehicle checkups and maintenance can also help identify potential issues early on, ensuring your headlights remain clean and bright for your safety on the road.
Step 9. Periodic Professional Inspection:
While regular cleaning and maintenance can help keep your headlights in good condition, having them professionally inspected from time to time is also advisable. Professionals have access to specialized equipment and the expertise to perform a thorough inspection, identify potential problems, and provide solutions. This will ensure the optimal functioning of your headlights and further ensure your safety on the road.
Step 10. Review and Repeat as Necessary:
The final step involves reviewing your work and repeating the process as necessary. Over time, headlights may become dirty or cloudy again, requiring another cleaning. Consider setting a regular schedule for inspecting and cleaning your headlights to ensure they always function at their best.
Remember, well-maintained headlights improve your vehicle’s appearance and enhance your safety on the road. With the steps outlined in this guide, you now know how to clean headlights from the inside and keep them in top condition.
By following these steps and regularly maintaining your headlights, you can ensure optimal visibility and safety while driving.
5 Additional Tips and Tricks
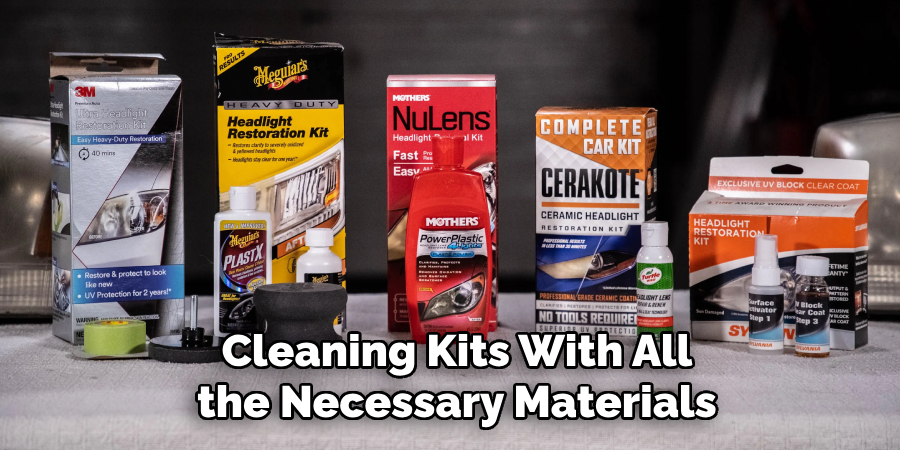
- Consider Using a Headlight Cleaning Kit: Many auto parts stores sell headlight cleaning kits with all the necessary materials and instructions. These kits are handy and often provide more thorough cleaning results.
- Avoid Using Abrasive Materials: While it may seem tempting to use abrasive materials to scrub off stubborn grime, this can scratch or scuff the plastic of the headlight lens and cause more harm than good.
- Be Mindful of Electrical Components: Always remember that headlights are electrical components. Avoid getting any cleaning solutions on the electrical parts, and make sure everything is dehydrated before reassembly.
- Always Handle With Care: Headlight assemblies, especially older or vintage models, can be delicate. Always handle with care to prevent damaging them during the cleaning process.
- Use Quality Cleaning Products: Not all cleaning solutions are created equal. Quality products can make a difference in the result and prevent any damage to your headlights.
With these additional tips and tricks, you can achieve even better results in cleaning your headlights and maintaining their condition.
5 Things You Should Avoid
- Avoid Rushing the Process: Cleaning headlights from the inside is a detailed task and requires patience. Take your time with the process to ensure every step is done correctly.
- Don’t Use Household Cleaners: Common household cleaners may contain harsh chemicals that can damage the headlight lens or the electrical components. Always use automotive-grade products designed for headlights.
- Avoid Using Excessive Force: Avoid applying too much pressure, which could crack the headlight lens while cleaning. Always handle every part with gentle care.
- Don’t Neglect Regular Maintenance: Regularly skipping the maintenance of your headlights can lead to the buildup of dirt and grime inside the assembly which can be harder to clean later and may reduce the efficiency of your headlights.
- Don’t Ignore Professional Advice: If you notice persistent problems or are unsure about any step in the cleaning process, feel free to seek advice from a professional. Ignoring potential problems can lead to severe issues down the line.
By avoiding these common pitfalls, you can ensure the longevity and efficiency of your headlights.
Conclusion
In conclusion, how to clean headlights from the inside may seem like a daunting and unnecessary task. Still, it is an essential step in maintaining your vehicle’s overall health and appearance. By following the steps outlined in this blog post, you can improve the brightness and clarity of your headlights, extend their lifespan, and save yourself costly repairs down the line.
Furthermore, taking care of your headlights also ensures safer driving conditions for yourself and others on the road. Clear headlights allow for better visibility during night driving or in inclement weather, reducing the risk of accidents. Additionally, regularly cleaning your headlights can help prevent oxidation and fogging, which can impair their effectiveness.
So don’t neglect the inside of your headlights any longer. You can quickly restore their shine and improve their performance with just a few simple steps and some readily available household items.