

Are you considering upgrading your vehicle’s lighting system with a powerful and versatile light bar? Whether it’s for off-road adventures or navigating through dark roads, a good quality light bar can make all the difference in enhancing visibility and safety. However, wiring a light bar may seem daunting and overwhelming to beginners.
But fear not, as this blog post will guide you through how to wire a light bar like a pro! From choosing the right tools to understanding the electrical components, we’ve got you covered. So buckle up and get ready to learn everything there is to know about how to wire a light bar for optimal performance correctly.
Necessary Items
Before diving into the process, let’s go through the essential items you’ll need to wire a light bar. These include:
- Light bar with mounting brackets
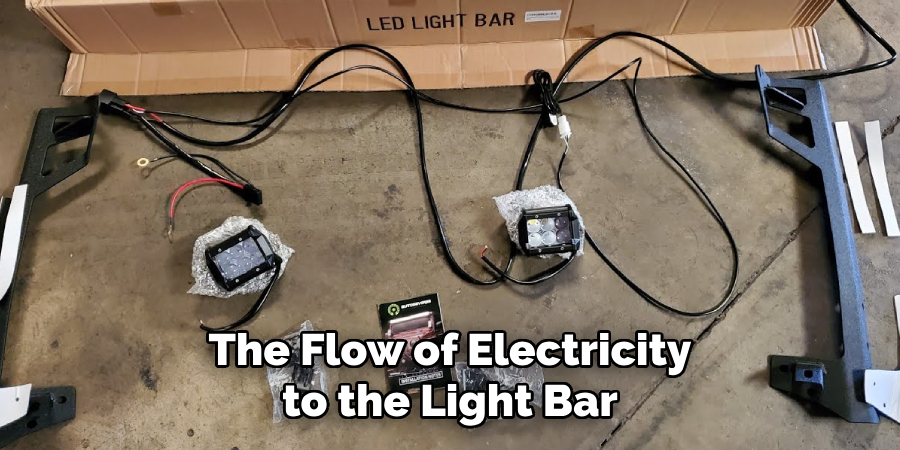
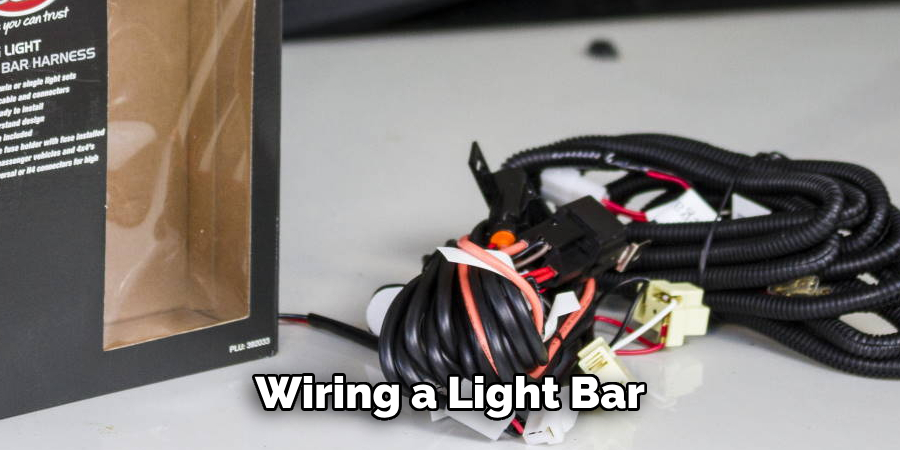
- Wiring harness kit
- Relay and switch
- Fuse holder and fuse
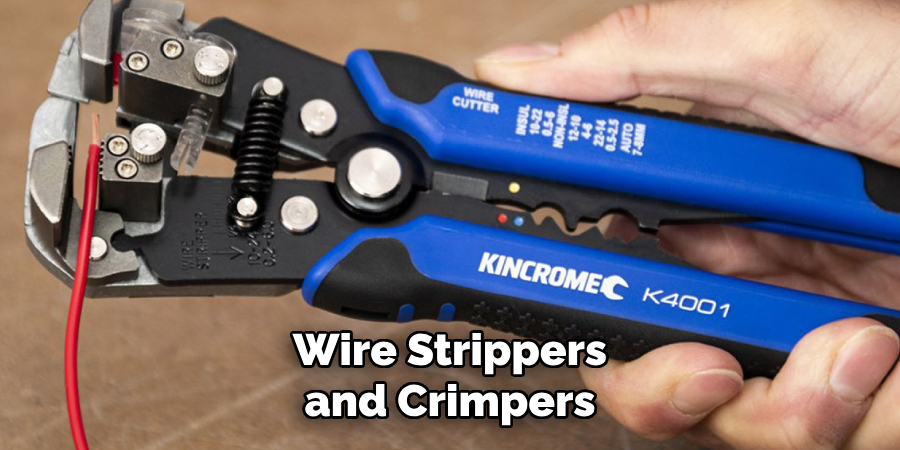
- Wire strippers and crimpers
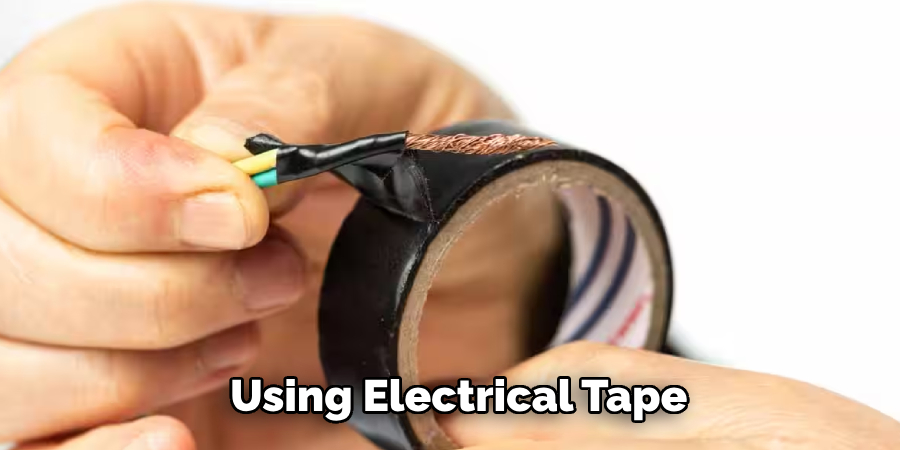
- Electrical tape and zip ties
- Power drill and drill bits
Once you have all the necessary items ready, you can begin with the wiring process.
10 Steps on How to Wire a Light Bar
Step 1: Choose the Right Location
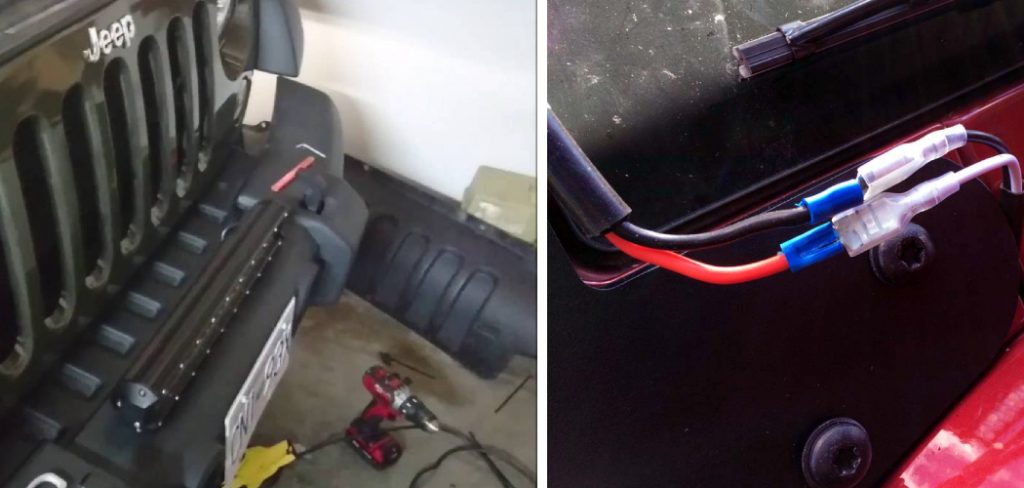
The first step in wiring a light bar is choosing the right location to mount it on your vehicle. The ideal location should provide optimal visibility and not obstruct other vital components of your car. It’s essential to mount the light bar securely using the provided mounting brackets to prevent vibrations while driving.
Step 2: Connect the Wiring Harness
The next step is to connect the wiring harness kit to your light bar. The harness will have a black and red wire for positive and negative connections. Ensure that you follow the manufacturer’s instructions on adequately connecting the cables.
Step 3: Install the Relay and Switch
Once the harness is connected, you must install the relay and switch. The relay acts as a power distribution center that controls the flow of electricity to the light bar. The button, on the other hand, allows you to turn the light bar on and off. Make sure to use a waterproof switch for added durability.
Step 4: Connect the Wires to the Battery
Using a power drill and appropriate drill bit, create a hole near your vehicle’s battery for the positive wire to pass through. Connect the positive wire from the harness to one end of the fuse holder, and then connect the other end to the positive terminal of your battery. Connect the negative wire directly to the negative terminal of your battery.
Step 5: Run the Wires to the Light Bar
Next, you must run the wires from your battery to the light bar. You can run them underneath or through the vehicle’s frame for a seamless and clean look.
Step 6: Grounding the Relay
Using a wire stripper, strip about half an inch of insulation from the end of the wire that connects to the relay. Connect this wire to a suitable grounding point on your vehicle’s frame using a ring terminal and self-tapping screw.
Step 7: Test the Connections
Before securing all the wires, it’s essential to test the connections by turning on the light bar. If everything is working correctly, move on to secure all the links using electrical tape and zip ties.
Step 8: Mount the Light Bar
With all the electrical connections made, it’s time to mount your light bar onto its designated location. Make sure to use the provided mounting brackets and secure them tightly.
Step 9: Connect the Switch
Using a drill bit, create a hole in your dashboard or center console to install the switch. Connect the wires from the switch to the relay, following the manufacturer’s instructions.
Step 10: Test and Secure
Finally, test your light bar by turning it on and off using the switch. If everything works correctly, secure all the connections and tidy up loose wires with zip ties.
Wiring a light bar may initially seem complicated, but it can be straightforward with the right tools and knowledge. Always follow safety precautions when working with electricity, and refer to your manufacturer’s instructions for additional guidance. With these ten steps, you’ll have your light bar wired like a pro in no time! So enjoy the added visibility and enhanced driving experience with your newly wired light bar.
8 Things to Avoid
1. Avoid Wiring Your Light Bar Without a Relay and Switch
A relay and switch are essential components in the wiring process as they distribute power to your light bar and allow you to control it. Avoid skipping this step for safety reasons.
2. Don’t Use Inappropriate Tools
Use the proper tools, such as wire strippers and crimpers, for a clean and safe wiring job. Using inappropriate tools can result in damaged wires and potential electrical hazards.
3. Avoid Running Wires Near Hot or Moving Parts
When running the wires from your battery to the light bar, avoid areas with hot or moving parts that could damage the cables over time.
4. Don’t Overlook Grounding the Relay
Grounding the relay is a crucial step in the wiring process that ensures the proper functioning of your light bar. Skipping this step can lead to electrical malfunctions and potential hazards.
5. Avoid Using Non-Waterproof Components
Since your light bar will be exposed to different weather conditions, it’s essential to use waterproof components, such as a switch, for added durability.
6. Don’t Forget to Test the Connections
Before securing all the connections, test them by turning on your light bar. This step ensures that everything is working correctly before finalizing the wiring.
7. Avoid Over-Tightening Mounting Brackets
Over-tightening mounting brackets can cause damage to your vehicle’s frame and result in vibrations while driving. Make sure to secure them tightly but not excessively.
8. Don’t Rush the Wiring Process
Wiring a light bar requires patience and attention to detail. Take your time with the process, as it can result in skipped steps or improper connections, leading to potential hazards. Take your time and follow each step carefully for a safe and efficient wiring job.
Whether you’re an off-roading enthusiast or simply looking to enhance the visibility of your vehicle, installing a light bar is a great way to achieve both. However, proper wiring is crucial for safe and effective use of your light bar. By following these ten steps and avoiding common mistakes, you’ll quickly have your light bar wired correctly.
Frequently Asked Questions
Can I Wire My Light Bar Without a Relay and Switch?
No, the relay and switch are essential components in the wiring process for safety reasons. Skipping these steps can result in electrical malfunctions and potential hazards.
Can I Use Non-Waterproof Components?
It’s highly recommended to use waterproof components, such as a switch, for added durability and protection against different weather conditions.
Do I Need to Ground the Relay?
Yes, grounding the relay is an essential step in the wiring process that ensures the proper functioning of your light bar. Skipping this step can result in potential hazards and electrical malfunctions.
What Tools Do I Need for Wiring a Light Bar?
Some essential tools for wiring a light bar include wire strippers, crimpers, drill bits, and zip ties. Using the proper tools for a safe and efficient wiring job is crucial.
How Long Does It Take to Wire a Light Bar?
The time it takes to wire a light bar can vary depending on your experience and the complexity of your vehicle’s wiring system. On average, it can take anywhere from 1-3 hours. It’s essential to take your time with the process and follow each step carefully for a safe and efficient wiring job.
Is Wiring a Light Bar Dangerous?
Wiring a light bar involves working with electricity, which can be dangerous if not done correctly. It’s crucial to follow safety precautions and refer to your manufacturer’s instructions for additional guidance. If you need more clarification or are uncomfortable with wiring, it’s best to seek professional help. With the right tools and knowledge, wiring a light bar is simple and safe.

Wiring a light bar may seem daunting initially, but it can be straightforward with the right tools and knowledge. Always refer to your manufacturer’s instructions for specific guidelines and follow safety precautions when working with electricity.
Conclusion
In conclusion, learning how to wire a light bar may seem daunting, but it can be easily accomplished with the proper knowledge and tools. We have discussed the key steps to correctly installing a light bar, from choosing the correct wiring harness to connecting the wires correctly.
We have also covered essential safety precautions and troubleshooting tips to ensure a successful installation.
Following these steps and guidelines, you can safely install your light bar and enhance your driving experience through increased visibility and functionality. So what are you waiting for? Get out there and put this newfound knowledge into action! So feel free to get creative and explore different types of light bars for your vehicle or other projects. The possibilities are endless when it comes to applying this skill.