
Maintaining a properly functioning engine is crucial for the longevity and efficiency of your vehicle, and a key component in this regard is the oil filter. The oil filter plays a pivotal role in safeguarding the engine by trapping contaminants and impurities that could otherwise compromise its performance. Over time, however, the oil filter may loosen due to engine vibrations and temperature fluctuations, leading to potential leaks or inefficient filtration.
In this guide, we will explore the essential steps on how to tighten oil filter, ensuring a secure and snug fit that prevents any unwanted complications. Whether you are a seasoned DIY enthusiast or a novice looking to take charge of your car’s maintenance, understanding the correct procedure for tightening an oil filter is a fundamental skill that can contribute to the overall health and durability of your vehicle’s engine.
Join us as we delve into the specifics of this simple yet critical task, empowering you to confidently tackle routine maintenance and preserve your engine’s optimal performance.
Importance of Oil Filter Maintenance
Before we dive into the steps, let us first understand why it is crucial to regularly check and tighten your oil filter. The primary function of an oil filter is to remove contaminants from the engine oil, such as dirt, debris, and metal particles that accumulate during normal engine operation.
Without an efficient filter in place, these impurities can cause significant damage to critical engine components, such as bearings and cylinders, resulting in costly repairs and reduced engine lifespan.
By ensuring that your oil filter is properly tightened, you prevent any gaps or leaks that could allow these contaminants to bypass the filter and reach the engine. Additionally, a loose oil filter may also result in improper filtration, leading to decreased oil pressure and reduced lubrication for vital engine parts.
This can result in increased wear and tear, reduced fuel efficiency, and ultimately lead to engine failure. Keeping your oil filter tight is a simple yet effective way to safeguard the health of your engine and maintain optimal performance.
Benefits of Tightening the Oil Filter Properly
In addition to avoiding potential engine damage, there are other benefits to ensuring that your oil filter is properly tightened. These include:
- Improved Fuel Efficiency: A loose oil filter can result in decreased oil pressure and increased resistance, causing the engine to work harder and use up more fuel.
- Longer Engine Life: By preventing contaminants from reaching critical engine components, you can extend the lifespan of your engine and delay the need for costly repairs or replacements.
- Cost Savings: Regularly checking and tightening your oil filter can save you money in the long run by preventing potential engine damage or premature wear, reducing the need for expensive repairs.
Recommended Materials for The Task
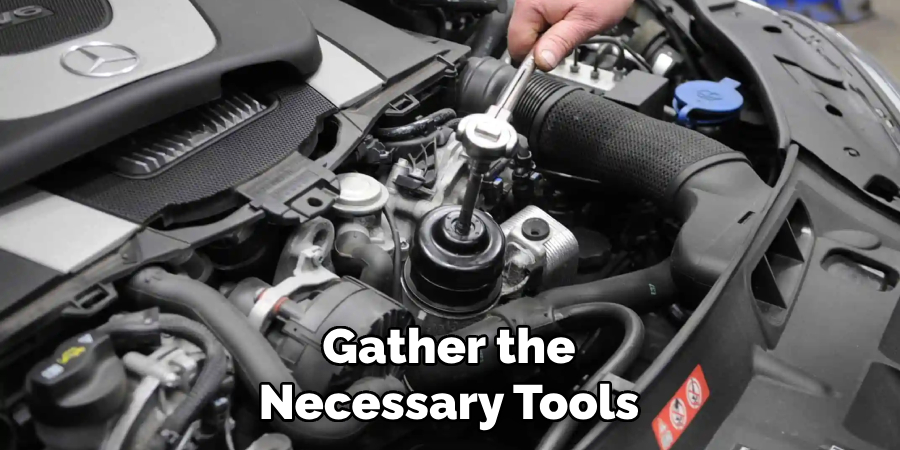
Before you begin the task of tightening your oil filter, it’s important to gather the necessary tools and materials. Having the right items on hand will not only make the job easier but will ensure that you can perform the task safely and efficiently. Here’s what you’ll need:
- Oil Filter Wrench or Strap: This tool is designed specifically for removing and tightening oil filters. It provides the necessary grip to handle the oil filter without causing damage.
- Mechanic’s Gloves: These gloves will protect your hands from oil and any sharp or rough components within the engine bay.
- Safety Glasses: Protect your eyes from any potential debris or oil splatters when working on your vehicle.
- Clean Rag or Towel: This will help in cleaning up any spilled oil and wiping off your hands and tools.
- New Oil Filter (If replacing): If you’re planning to replace the oil filter, ensure you have the correct replacement filter for your specific vehicle model.
Remember, it’s important to use the correct tools and materials for any maintenance task on your vehicle. This not only ensures the job is done right, but also helps to prevent any potential damage to your vehicle’s components.
10 Methods How to Tighten Oil Filter
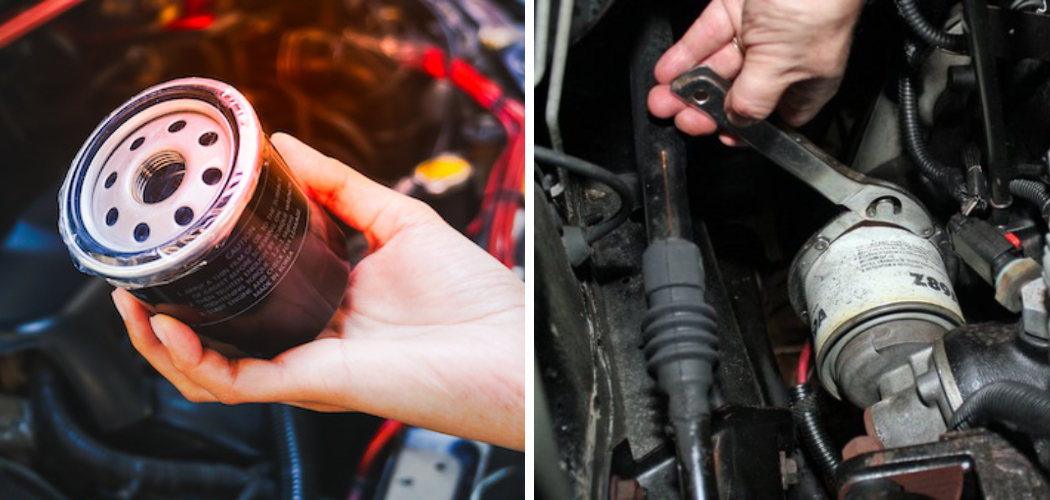
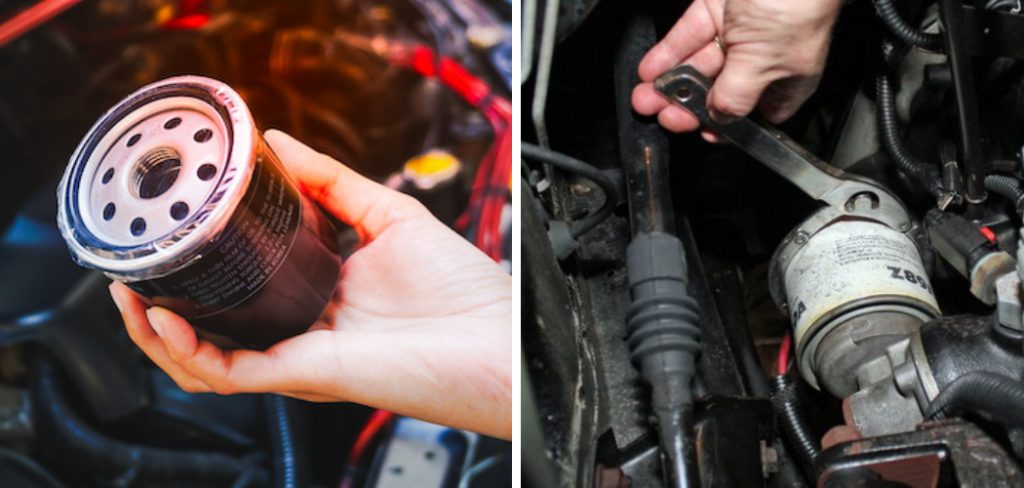
1. Use an Oil Filter Wrench
One of the easiest ways to tighten an oil filter is by using an oil filter wrench. This tool allows you to get a good grip on the filter and tighten it securely without damaging it.
2. Hand Tighten First
Before using any tools, it’s important to hand tighten the oil filter first. This ensures that it is properly aligned and won’t cross-thread when you start tightening it with a wrench.
3. Use a Strap Wrench
If your oil filter is in a hard-to-reach spot, a strap wrench can be very useful. It has a long handle and adjustable strap that allows you to easily reach and tighten the filter.
4. Tighten in Quarter Turns
When using a wrench, make sure to only turn it in quarter turns at a time. This helps prevent over-tightening and damaging the filter or its seal.
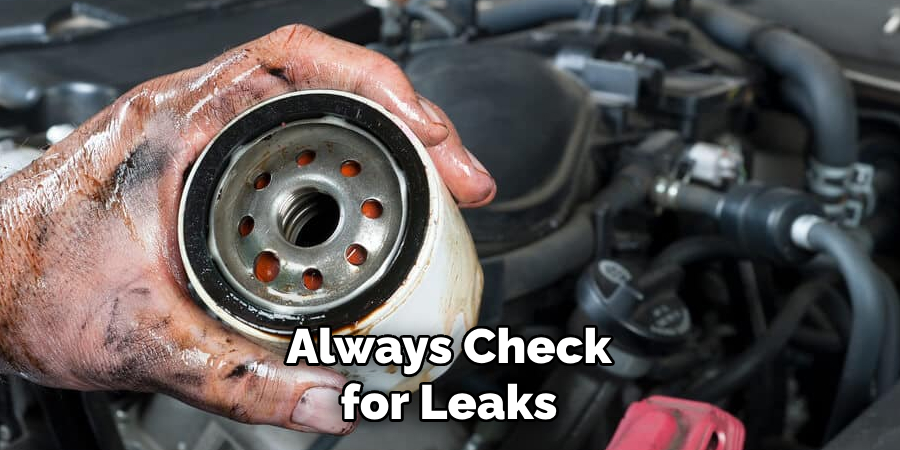
5. Check for Leaks
After tightening the oil filter, always check for leaks before starting your car. If there are any leaks, you may need to reposition or tighten the filter further.
6. Use Gloves for Better Grip
Wearing gloves can provide better grip when tightening an oil filter, especially if your hands are oily from changing the oil.
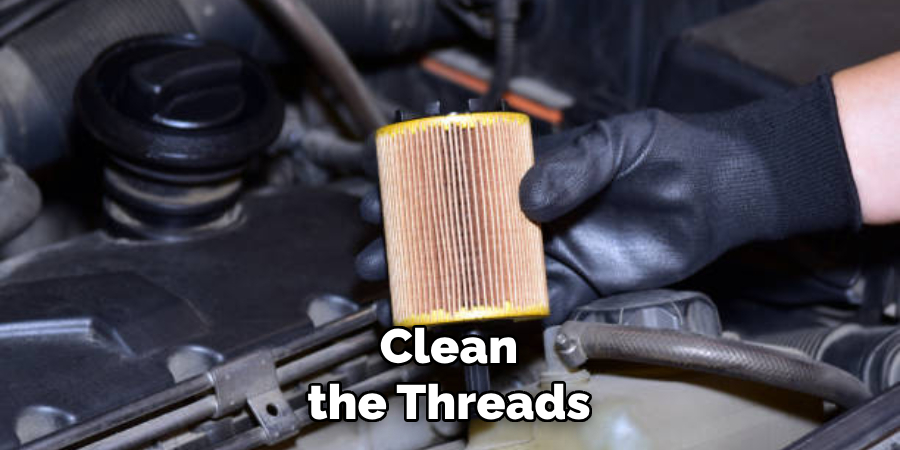
7. Clean Threads Before Installing
Before installing a new oil filter, make sure to clean the threads on both the engine and the new filter with a clean rag. This helps ensure proper alignment and prevents leaks.
8. Don’t Over-Tighten
It’s important not to over-tighten an oil filter as this can damage its seal or cause it to become stuck on the engine block, making it difficult to remove during your next oil change.
9. Follow Manufacturer’s Recommendations
Always follow the manufacturer’s recommendations for how tight an oil filter should be tightened. Each car may have different specifications, so it’s important to consult your owner’s manual.
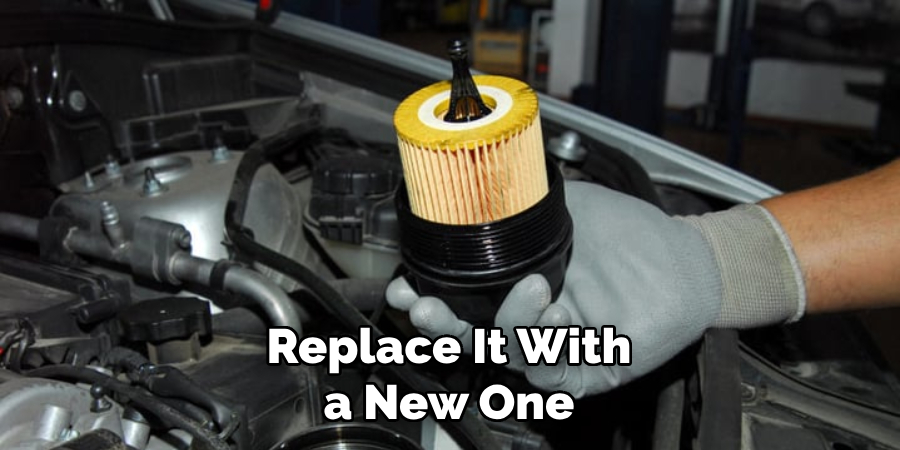
10. Replace Old Filters
If you are reusing an old oil filter, make sure to replace it with a new one after a few oil changes. Over time, the filter can become worn and may not seal properly, leading to leaks and potential engine damage.
Different Filter Locations in Various Vehicles
Different vehicle models often feature different oil filter locations, making it a bit of a hunt sometimes to locate them. Here are a few examples:
- Front of the Engine: This is the most common location for an oil filter in many vehicles. In most cases, the filter is found near the center of the engine block, underneath the vehicle.
- Side of the Engine: In some vehicles, the oil filter is mounted on the side of the engine block. This can make it more accessible from the top of the vehicle, although it might still be easier to reach from underneath.
- Behind the Engine: In a few vehicle models, especially some older models, the oil filter is located at the back of the engine. This can often be accessed from beneath the vehicle, but it can be a bit trickier to reach than those located at the front or side.
- Under the Car: Some modern vehicles, particularly German brands like BMW, place the oil filter housing under a protective cover underneath the car.
- Top of the Engine: Some newer models, particularly those with cartridge oil filters, place the filter housing on top of the engine for easy access.
Remember, finding the oil filter may require you to crawl under your vehicle, so be sure to use jack stands or ramps for safety. Always consult your vehicle’s owner manual or an online guide specific to your model if you’re having trouble locating the oil filter.
Common Mistakes to Avoid
- Not hand tightening the oil filter before using a tool.
- Over-tightening the oil filter, leading to damage or leaks.
- Using incorrect tools for the job, such as pliers or channel locks, which can damage the filter.
- Forgetting to clean the threads and sealing surface before installing a new filter.
By avoiding these mistakes and following proper techniques, you can easily tighten your oil filter and ensure that your vehicle runs smoothly and safely. Regularly checking and maintaining your oil filter is an important part of vehicle maintenance, so be sure to follow these steps for a successful oil change.
Conclusion
In conclusion, learning how to tighten your oil filter is an essential skill for any car owner or mechanic. Not only does a properly tightened oil filter ensure the smooth functioning of your vehicle, but it also prevents potential leaks and damages that can lead to costly repairs. By following these simple steps, you can easily tighten your oil filter and give your car the longevity it deserves.
Remember to always use the correct tools and have a firm grip when tightening, as well as checking for any potential issues such as cross-threading. Maintaining your car’s oil system is crucial for its overall performance and reliability on the road. Follow these simple instructions outlined in this blog post about how to tighten oil filter, and you’ll be able to get the job done with ease.