

Have you ever found yourself needing help trying to troubleshoot a distributor issue? I know I have spent countless frustrating hours with my head under the hood, following all the steps in the manual but still unable to solve the problem. Distributors can be tricky to diagnose – so many components need to work together perfectly for your engine to fire on all cylinders.
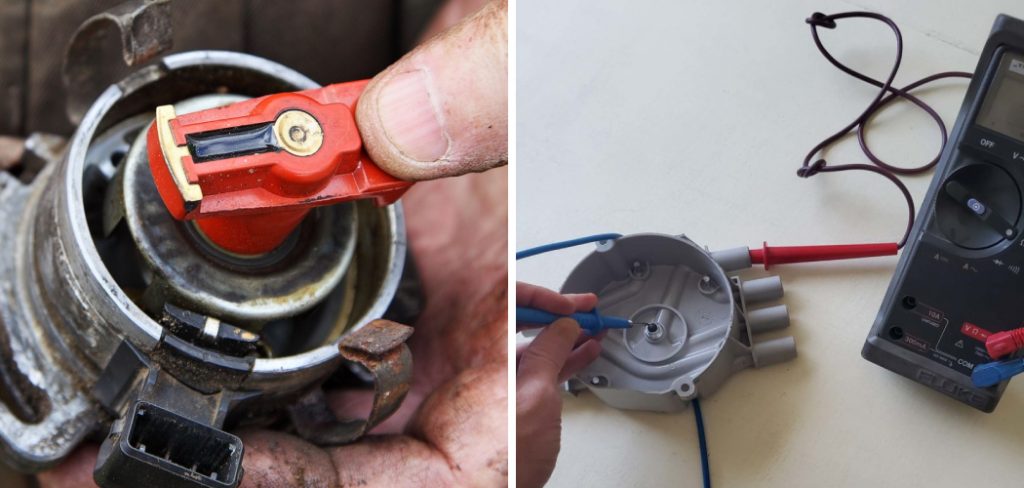
In this post, I’m going to walk through my process for how to test distributor to find the root cause of common no-start or misfire problems. Whether you’re a seasoned mechanic or just learning your way around under the hood, following this testing procedure will help you identify potential distributor failures faster to get back on the road. Stick with me; by the end, you’ll have a new set of diagnostic skills to get to the bottom of all your mysterious distributor dilemmas.
Necessary Items for Testing
Before diving into the testing process, ensure you have all the necessary items to test your distributor correctly. The following tools and equipment are essential for accurate and efficient testing:
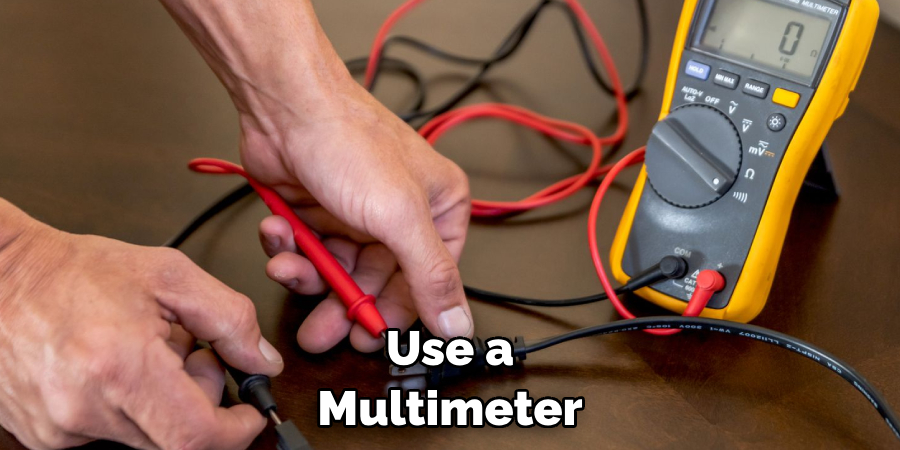
- A Multimeter: This tool measures electrical circuits’ voltage, resistance, and continuity.
- Test Leads With Small Alligator Clips: These are used to connect the multimeter to the distributor.
- A Distributor Cap Removal Tool: This will help you remove the distributor cap without damaging it.
- A Timing Light: This device is used to check and adjust the ignition timing of your engine.
- A Spark Tester: This tool will allow you to check for sparks in each cylinder.
- A Spray Bottle With Water: This will be useful for detecting any cracks or faulty connections in the distributor.
- A Friend to Help You Start the Engine: Some tests will require someone else to start the engine while you observe and perform measurements.
10 Steps on How to Test Distributor
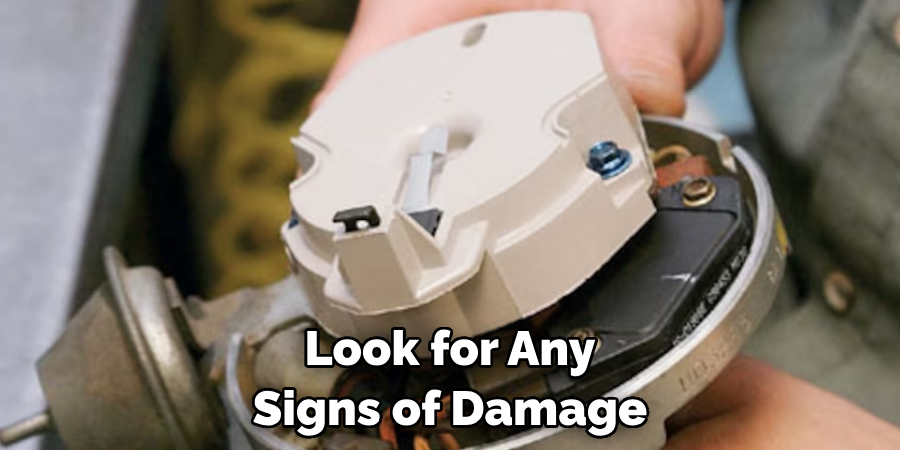
Step 1: Visual Inspection
The first step in any diagnosis is a visual inspection. This can reveal apparent issues such as broken wires, loose connections, cracked distributor caps, or corrosion on terminals. Look for any signs of damage or wear on all distributor components.
Step 2: Check Battery Voltage
Next, check the battery voltage with a multimeter. The voltage should be between 11 and 14 volts. If it is lower than 11 volts, charge or replace your battery before continuing with testing.
Step 3: Check Ignition Switch
Ensure the ignition switch is in the “off” position and check for continuity between the positive battery terminal and the distributor’s red lead. If there is continuous power, replace the ignition switch.
Step 4: Check Cylinders for Spark
Now, it’s time to check each cylinder for spark. Connect a spark tester to each spark plug wire and have your friend start the engine. Check for a vital blue spark on each cylinder. If there is no spark, move on to the next step.
Step 5: Inspect Spark Plug Wires
Check each spark plug wire for continuity using a test light or multimeter. If any cables are damaged or broken, replace them.
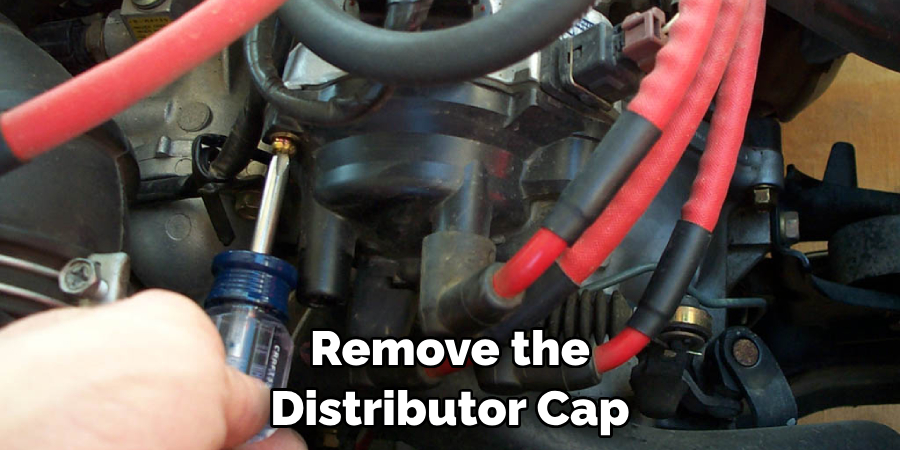
Step 6: Test the Rotor
Remove the distributor cap and inspect the rotor for any signs of damage or wear. Use a multimeter to check for continuity between the center terminal and each contact point on the rotor. If there is no continuity, replace the rotor.
Step 7: Inspect the Distributor Cap
Inspect the distributor cap for any cracks or damage. Use a multimeter to check for continuity between each contact point and the center terminal. If there is no continuity, replace the distributor cap.
Step 8: Check Ignition Coil
Using a multimeter, check the resistance of the ignition coil. Consult your vehicle’s manual for specific resistance values. Replace the ignition coil if the readings are not within the specified range.
Step 9: Check Ignition Module
Using a multimeter, check the resistance of the ignition module. Again, consult your vehicle’s manual for specific values. If the readings are not within range, replace the ignition module.
Step 10: Check Timing and Fuel
Finally, use a timing light to check and adjust the ignition timing of your engine. If the timing is correct, but the engine won’t start, check for fuel delivery issues such as clogged fuel filter or faulty fuel pump.
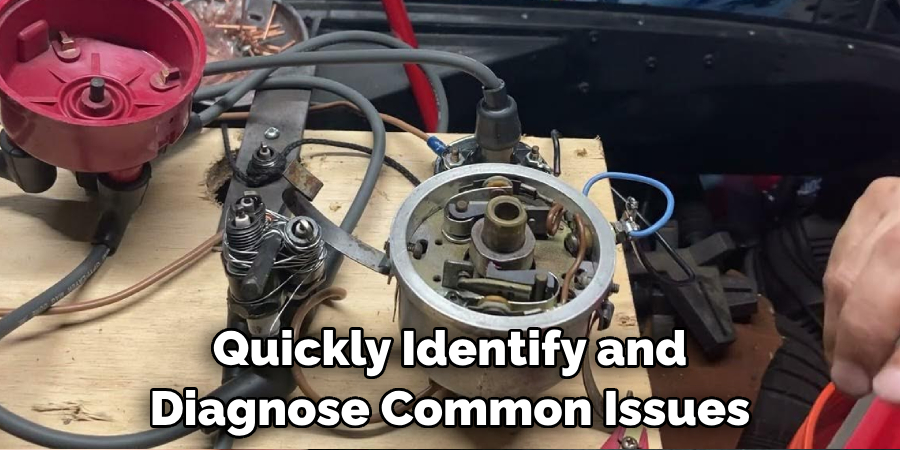
By following these ten steps to test your distributor, you can quickly identify and diagnose common issues causing your engine to misfire or not start at all. Always follow safety precautions and consult your vehicle’s manual for specific instructions. With these new diagnostic skills, you’ll be able to confidently troubleshoot and solve any distributor problems that come your way.
8 Things to Avoid When Testing Distributor
1) Skipping Steps
Skipping steps or rushing through the testing process can be tempting, especially when you’re eager to get your vehicle running again. However, skipping steps can lead to missed problems and inaccurate diagnoses.
2) Using Faulty Tools
Ensure all your tools are working well before starting the testing process. Using faulty tools can result in correct readings and accurate diagnosis.
3) Neglecting Safety Precautions
Always follow safety precautions when working on your vehicle. This includes wearing gloves safety glasses, and disconnecting the battery before beginning any testing.
4) Not Consulting Vehicle Manual
Every vehicle is different, so it’s essential to consult your vehicle’s manual for specific instructions and values when testing the distributor. Refrain from relying on general information, as it may not apply to your particular vehicle.
5) Rushing Through Measurements
Take your time performing measurements and ensure they are accurate before moving on to the next step. Rushing through measures can lead to incorrect diagnosis.
6) Overlooking Small Issues
Sometimes, minor issues, such as a loose wire or dirty contact, can cause more significant problems with the distributor. Pay attention to these minor issues, which can lead to more extensive and expensive future repairs.
7) Not Having a Helper
Some tests will require someone else to start the engine while you observe and perform measurements. It is essential to have a helper during these tests for accurate readings.
8) Not Seeking Professional Help
If you need clarification on any step in the testing process or encounter unexpected results, it is always best to seek professional help. Attempting to fix complex issues without the proper knowledge and experience can further damage your vehicle.
By avoiding these common mistakes, you can ensure a successful and accurate distributor test that will ultimately save you time and money in the long run. So take your time, follow these steps, and don’t be afraid to seek professional assistance. Your vehicle’s distributor will thank you.
Frequently Asked Questions
What is the Purpose of Testing a Distributor?
Testing a distributor can help diagnose and identify issues causing your engine to misfire or not start at all. This process involves checking various distributor components, such as spark plugs, wires, and ignition coil, to ensure they function correctly.
Can I Test My Distributor Without Any Tools?
Some basic tests, such as checking for sparks on each cylinder, can be done without tools. However, for more accurate and thorough testing, it is recommended to use a multimeter and timing light.
What Are Some Common Signs of a Faulty Distributor?
Some common signs of a faulty distributor include engine misfires, difficulty starting the engine, and poor acceleration or performance. If you notice any of these issues, it may be time to test your distributor.
Can I Replace the Distributor Myself?
Replacing a distributor can be a complex and involved process, so it is recommended to seek professional assistance if you are not experienced with vehicle repairs. However, testing and diagnosing issues with your distributor can be done by following these steps and using proper safety precautions.
How Often Should I Test My Distributor?
It is recommended to test your distributor at least once a year or whenever you experience any issues with starting or running your engine. Regular testing can help catch and prevent problems before they become major repairs.
Can I Test my Distributor if I’m Not a Mechanic?
Anyone can learn how to test a distributor if they have the proper tools, safety precautions, and instructions. However, if you are uncomfortable or familiar with working on your vehicle’s engine, it is best to seek professional help for accurate diagnosis and repairs. So feel free to ask for assistance when needed.
What If I Can’t Find the Source of the Problem?
If you have followed all of the steps and need help to identify the source of the problem, it is best to seek professional help. They will have the necessary tools and experience to diagnose and repair any issues with your distributor accurately.
It’s always better to be safe than sorry about your vehicle’s engine. So trust a professional if you need help fixing the problem yourself. And remember, regular maintenance and testing can help prevent significant issues with your distributor in the future. So be proactive and keep your vehicle running smoothly.
Conclusion
In conclusion, testing distributors is vital to maintaining a successful and efficient business. Identifying potential issues or glitches early on can save you from headaches and financial losses. With the information provided in this blog post on how to test distributor, you now have the necessary tools to conduct thorough tests and make informed decisions when choosing a distributor for your products or services.
So, whether you are just starting or looking to improve your current distributor relationships, take the time to implement these methods and see their positive impact on your business. Don’t let subpar distribution practices hinder your growth and success. Now is the time to take action and ensure your company thrives in today’s competitive market.