Have you ever found yourself on the side of the road with a flat tire and felt completely clueless about how to change it? I know I have. Staring confusedly at the jack, lug wrench, and spare tire hidden under my car, wishing it would just change itself.
But alas, flat tires are an inevitable part of vehicle ownership. And knowing how to swap out that spare is an essential life skill. In this post on how to take spare tire off, I’ll walk you through the simple steps to remove your spare tire so you’ll feel prepared next time a flat rears its ugly head.
By the time you’ve finished reading, you’ll be a pro at getting back on the road in no time. So let’s get started with taking the mystery out of changing a spare tire.
Necessary Materials
Before we dive into the steps, make sure you have these necessary materials on hand:
- Jack
- Lug Wrench
- Spare Tire (Fully Inflated)
- Your Vehicle’s Owner’s Manual (Just in Case)
10 Step-by-step Guidelines on How to Take Spare Tire Off
Step 1: Be Prepared
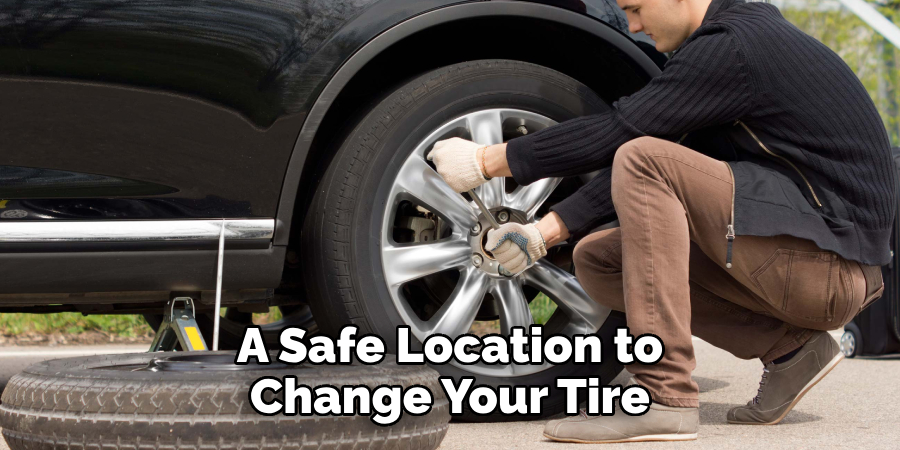
The first step is to find a safe location to change your tire. Make sure your car is parked on level ground, away from traffic. Turn on your hazard lights and engage the parking brake. It’s better to be safe than sorry! You can also use wheel wedges to keep your car from rolling.
But be sure to place them on the opposite end of the flat tire. It’s also a good idea to loosen the lug nuts before lifting your vehicle with the jack. This way, they’ll be easier to remove later on.
Step 2: Find Your Spare Tire
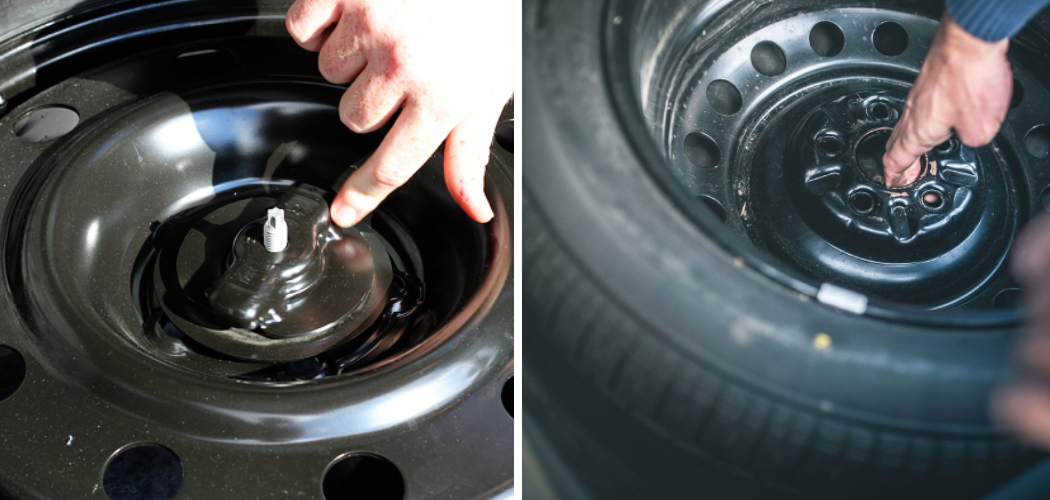
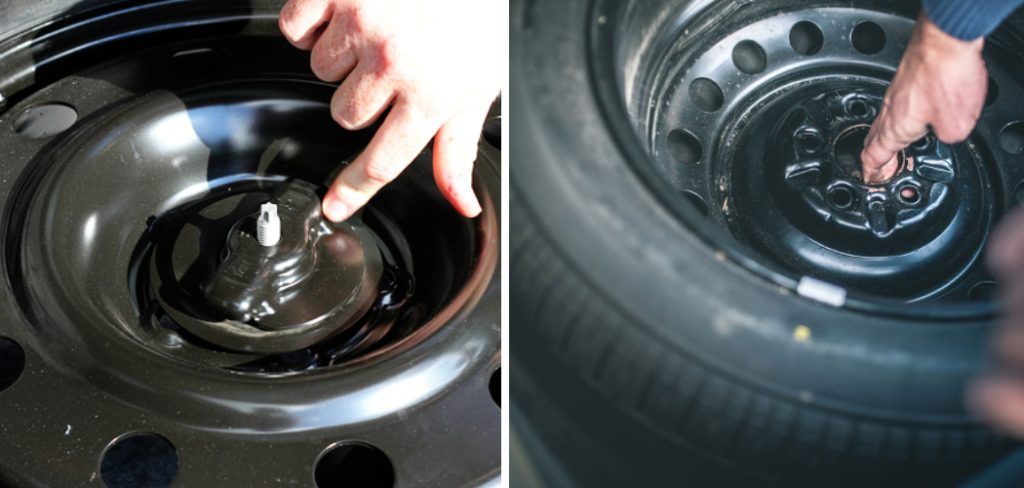
Depending on your vehicle, the spare tire may be located inside the trunk or under the car. If it’s under the car, you’ll find it attached to a cable mechanism. To release it, use the lug wrench to turn the crank in a counterclockwise direction.
The spare tire will then slowly descend to the ground. It’s essential to refer to your vehicle’s owner’s manual for specific instructions on how to access the spare tire.
Step 3: Lift Your Vehicle
Place the jack under your vehicle near the flat tire’s location. Consult your owner’s manual for the exact spot to place the jack safely. Once you have it in position, raise the vehicle until the flat tire is about six inches off the ground. You can then remove the lug nuts completely.
It’s essential to follow the correct lifting and lowering procedures to avoid injury or damage to your vehicle. The last thing you want is to be stranded with a flat tire and a damaged car.
Step 4: Remove Lug Nuts
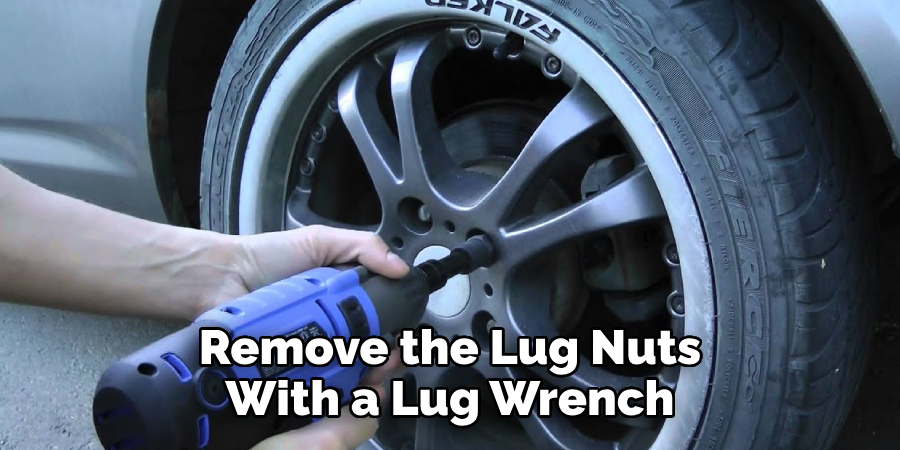
Now that your vehicle is lifted, remove the lug nuts with a lug wrench. Turn them counterclockwise until they’re all loose. It’s normal to apply some force, especially if they’ve been tightened with a power tool before. Once the lug nuts are removed, set them aside in a safe place. The last thing you want is to lose them in the midst of changing your tire.
Step 5: Remove the Flat Tire
With the lug nuts out of the way, carefully remove the flat tire from your vehicle. Place it on its side so that it doesn’t roll away. If it’s stuck, gently wiggle it until it comes off. You can then inspect the tire to see if it’s repairable or needs replacing. The spare tire should only be used as a temporary solution, so make sure to get your flat tire fixed or replaced as soon as possible.
Step 6: Install Your Spare Tire
Lift the spare tire and line up the lug nut holes with the bolts on your vehicle. Push it onto the bolts, making sure they’re all aligned correctly. Don’t force it if there seems to be resistance.
Once the spare is in place, replace the lug nuts and tighten them by hand. It’s crucial to tighten them in a star pattern to ensure even tightening. You can then use the lug wrench to give them one final turn but don’t go overboard.
Step 7: Lower Your Vehicle
Now it’s time to lower your vehicle back onto the ground. Use the jack to slowly lower the car until all four wheels are on the ground. Once again, refer to your owner’s manual for specific instructions on how to safely lower your vehicle.
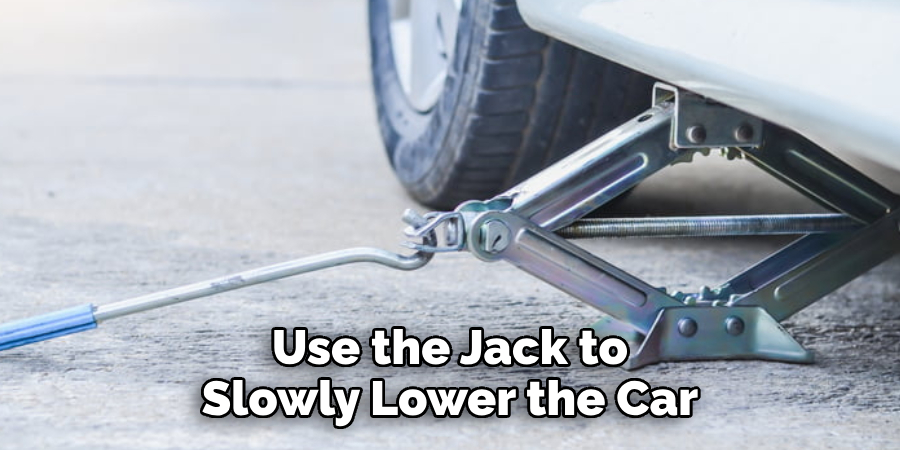
The last thing you want is for your car to fall off the jack and cause damage or harm. It’s also a good idea to give the lug nuts one final tightening once your vehicle is on the ground.
Step 8: Tighten Lug Nuts
With your vehicle back on the ground, tighten the lug nuts in a star pattern using the lug wrench. Apply firm pressure but don’t over-tighten them. You can then lower the jack completely and remove it from under your car. It’s essential to stow away the jack, lug wrench, and old tire before hitting the road again. But don’t forget to check your spare tire’s air pressure before driving off.
Step 9: Put Your Spare Tire Away
Now that you’ve successfully changed your flat tire, it’s time to put away the spare. Make sure to secure it back in its initial location and tighten any bolts or cranks used to release it. Otherwise, it may fall off while you’re driving, and no one wants that. The last thing you want is to be stranded with a flat spare tire too.
Step 10: Store Your Tools
Finally, gather all your tools used for changing the tire and store them back in their designated locations. It’s always a good idea to keep them together in case of future emergencies. You never know when a flat tire might strike again! But now you can confidently hit the road knowing you have the skills to change a spare tire when needed.
Following these ten simple steps on how to take spare tire off will make changing a flat tire a breeze. Remember, it’s always better to be prepared and know how to handle unforeseen situations like a flat tire. With these skills under your belt, you’ll be back on the road in no time. Safe travels!
Frequently Asked Questions
Q1: Can I Use Any Spare Tire on My Vehicle?
A1: No, you should always use the designated spare tire for your specific vehicle. Consult your owner’s manual for more information. The spare tire provided by the manufacturer is designed to fit and function correctly in your vehicle.
Q2: How Long Can I Drive on a Spare Tire?
A2: Spare tires are only meant to be used as a temporary solution. It’s recommended to get your flat tire fixed or replaced as soon as possible, so you don’t have to rely on the spare for an extended period. Most spare tires are not designed for long-distance driving and have speed restrictions.

Q3: Can I Repair a Spare Tire?
A3: It’s not recommended to repair a spare tire as it is only meant to be used temporarily. However, if the damage is minor and you need to use it again in an emergency, consult a professional for repairs. It’s always best to have a spare tire in good condition before needing to use it. So, make sure to check your spare tire’s condition periodically.
Q4: What Should I Do with a Damaged Spare Tire?
A4: If your spare tire is damaged and cannot be repaired, make sure to dispose of it properly. Contact your local waste management agency for guidelines on how to safely dispose of the tire. It’s crucial to follow proper disposal methods as tires can harm the environment if not disposed of correctly.
Conclusion
In conclusion on how to take spare tire off, knowing how to take your spare tire off is a useful skill that every driver should have. It not only saves you time and money, but it also ensures your safety on the road. By following these simple steps, you can easily remove your spare tire and get back on the road in no time.
Remember to always have the necessary tools and equipment in your car, and to regularly check the condition of your spare tire. In addition, learning how to change a flat tire is also a valuable skill to have, as it may come in handy when you least expect it.
Don’t let a flat tire ruin your day or disrupt your travel plans – be prepared and confident with the knowledge of how to take your spare tire off. And finally, don’t forget to properly dispose of an old or damaged spare tire – recycle if possible or dispose of it at a designated facility. As always, stay safe and happy driving!

