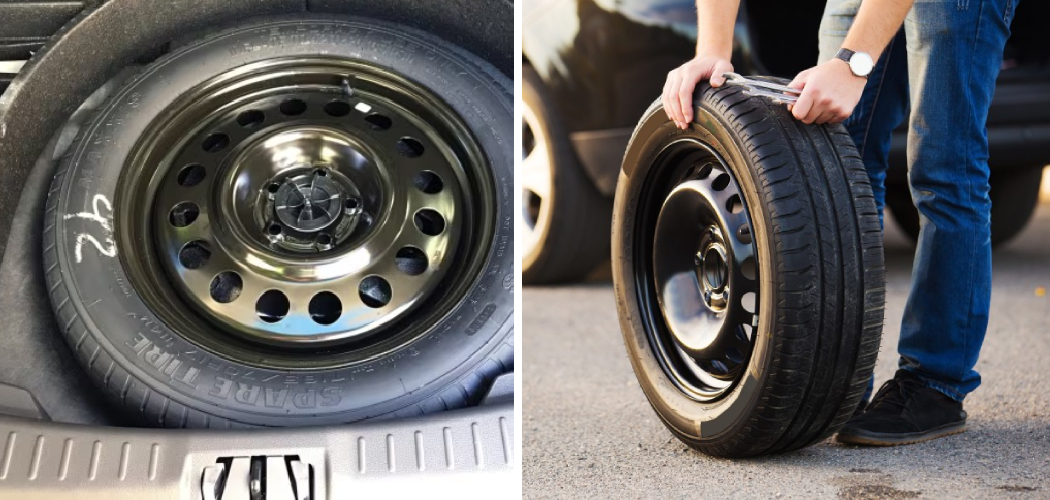
Have you ever been driving down the road with friends or family when suddenly you get a flat tire and realize you don’t have a spare? It’s a stressful situation to be in for sure. You start panicking about being stranded on the side of the road in the middle of nowhere as the sun sets.
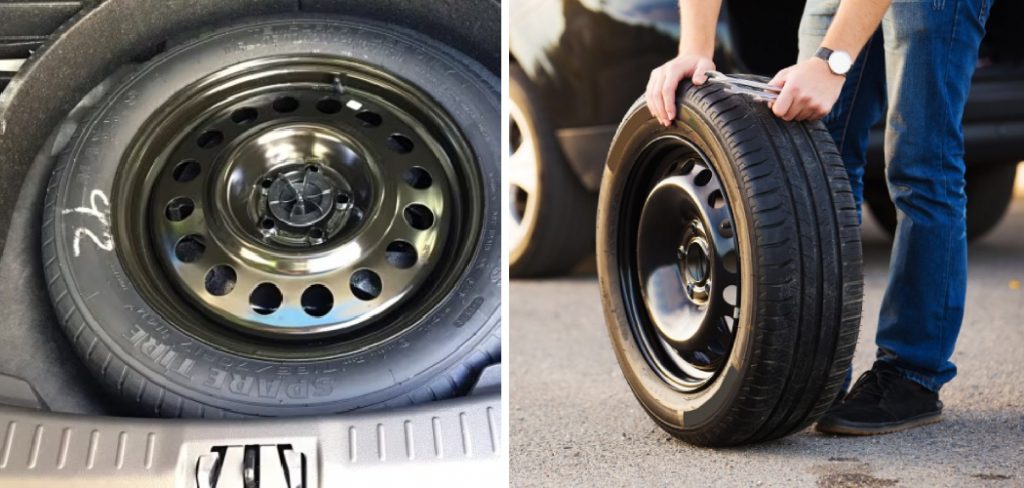
Your young kids are in the backseat crying, wondering when you’ll get the tire fixed so you can get home. The pressure is on to find a solution, and fast! That’s why it’s so important to always have a functioning spare tire stored securely in your vehicle.
In this blog post on how to install spare tire, I’ll walk you through the steps to properly install a spare tire so you’re never stranded without a way to get yourself to a repair shop or mechanic. Let’s get started so you can avoid the headache of a flat and feel more confident navigating any roadside emergency.
Things to Remember Before You Get Started
- Make Sure Your Vehicle is Parked on a Level, Solid Surface.
- Engage the Parking Brake to Prevent the Car From Rolling While You Work.
- Locate All Necessary Tools and Equipment Before Beginning.
- Keep a Flashlight Handy in Case You Need Better Visibility.
- Take Safety Precautions and Wear Gloves if Possible.
10 Simple Step-by-step Guidelines on How to Install Spare Tire
Step 1: Find Your Spare Tire
The location of your spare tire will vary depending on the make and model of your vehicle. In most cars, it can be found in the trunk under the floor mat or on the back of an SUV. If you’re unsure where your spare is located, consult your owner’s manual. It’s important to know where it is before you have an emergency.
Step 2: Remove the Tire Cover (if applicable)
If your spare tire is mounted on the back of your vehicle, it may be covered with a protective cover. Simply remove the cover to access the tire. Some covers may require a key or special tool to open. The key or tool should be stored in your glove compartment or with the spare tire. You may also need to remove any hubcaps covering the flat tire.
Step 3: Use Your Lug Wrench to Loosen the Nuts
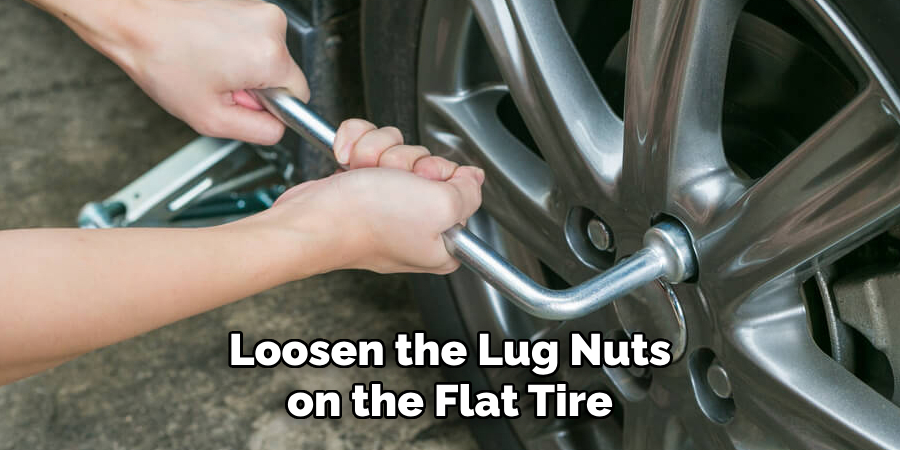
Before you lift the vehicle, use your lug wrench to loosen the lug nuts on the flat tire. Turn them counterclockwise, but don’t remove them completely yet. This will make it easier to remove the tire once the car is lifted. It’s important to loosen the nuts while the car is still on the ground to prevent the tire from spinning.
Step 4: Place Your Jack Underneath Your Vehicle
Consult your owner’s manual to find the designated lift points for your vehicle. Once you’ve located them, place the jack securely under the car at one of these points. Make sure it’s positioned correctly and won’t slip when you lift the car. You can also use a block of wood under the jack for added stability.
Step 5: Lift Your Vehicle
Using the jack, lift your vehicle until the flat tire is about six inches off the ground. Make sure it’s stable and won’t shift or fall once you start removing the lug nuts. It’s important to only lift the car enough to remove the flat tire and replace it with the spare. The more you lift, the less stable the car becomes. You can also place your spare tire under the car as an added safety measure.
Step 6: Remove the Lug Nuts and Flat Tire
Now that your vehicle is lifted, you can completely remove the lug nuts. Place them in a secure location so they don’t roll away or get lost. Then, carefully remove the flat tire from the wheel base and set it aside. It’s best to roll it away from the car so you don’t trip over it while working. But don’t put it too far away in case you need to reference it later.
Step 7: Install the Spare Tire
Lift your spare tire onto the wheelbase and line up the holes with the bolts. Make sure it’s properly aligned before attempting to replace the lug nuts. This is important for maintaining balance while driving. You may also need to use a bit of force to get the tire onto the bolts. If you’re having trouble, try using the jack to lift the car a bit higher.
Step 8: Replace the Lug Nuts
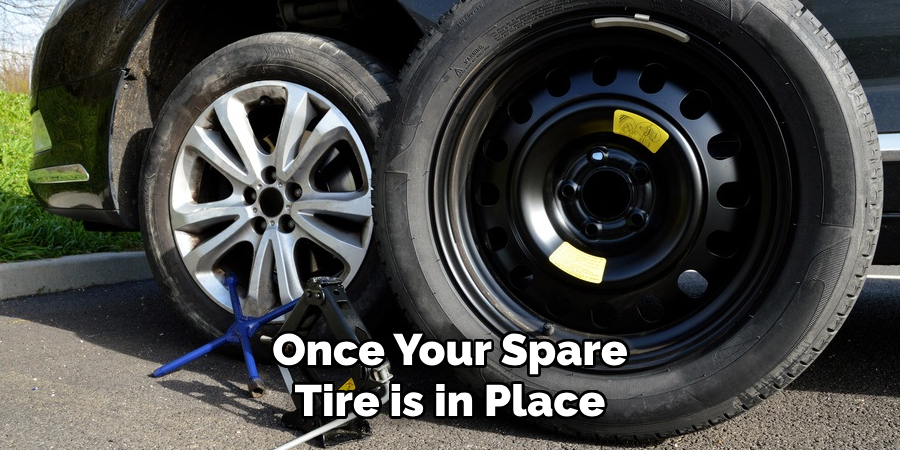
Once your spare tire is in place, start replacing the lug nuts and tighten them by hand as much as possible. Don’t use the wrench just yet or you may accidentally knock over your vehicle while it’s still lifted. Once all lug nuts are securely in place, lower the car back to the ground using the jack. You can then use the lug wrench to tighten the nuts completely.
Step 9: Tighten the Lug Nuts
Once your vehicle is back on solid ground, use your lug wrench to tighten the nuts as much as possible. This will ensure they don’t come loose while you’re driving. It’s important to tighten them in a star pattern (opposite sides at a time) to ensure even tightening. The lug wrench should make a clicking sound when they’re tight enough.
Step 10: Replace the Tools and Spare Tire
Now that your spare tire is installed, you can replace all tools and equipment back in their designated places. Make sure to put the flat tire in your trunk or on the back of your vehicle if it is mounted there. Don’t forget to also replace any hubcaps or wheel covers if applicable. Congratulations, you now have a functioning spare tire and are ready to hit the road again!
Following these simple steps on how to install spare tire can save you time, money, and stress in the event of a roadside emergency. Remember to always check your spare tire’s condition and air pressure regularly to ensure it’s ready for use when needed. And if you ever feel unsure about changing a tire on your own, don’t hesitate to call for roadside assistance or ask for help from a trusted individual.
Do You Need to Use Professionals Help?
While changing a tire is a relatively simple task, some situations may require the assistance of a professional. If you’re unsure or uncomfortable about changing a tire on your own, don’t hesitate to call for roadside assistance. Professionals have the necessary tools and expertise to handle any unexpected challenges that may arise while changing a tire.
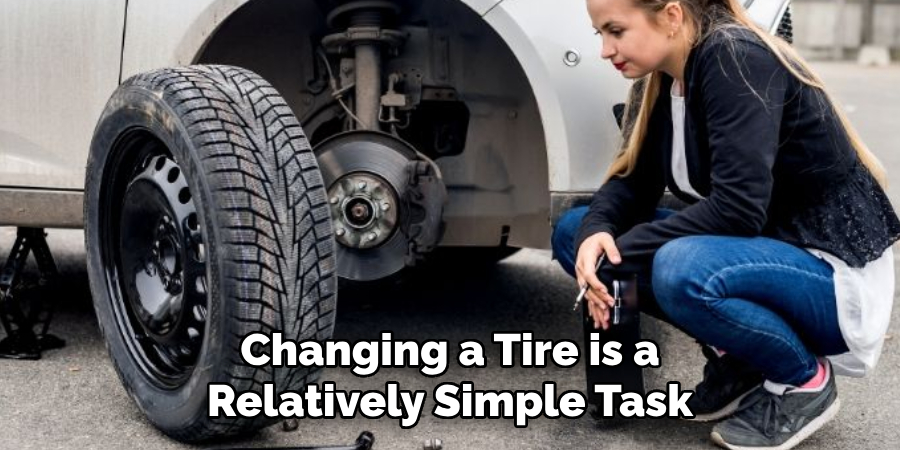
It’s always better to be safe than sorry when it comes to your safety on the road. So, if you’re not confident in your ability to change a tire, don’t hesitate to seek help from a professional. It’s important to prioritize your safety and well-being at all times.
Frequently Asked Questions
Q: How Long Does It Take to Change a Spare Tire?
A: With proper tools and experience, changing a spare tire can take anywhere from 15-30 minutes. However, unexpected challenges or lack of experience may extend the time needed. You should always take your time and prioritize safety when changing a tire.
Q: Can I Drive on a Spare Tire for an Extended Period of Time?
A: Spare tires are designed to be temporary solutions and should only be used for short distances at low speeds. It’s important to replace your spare tire with a regular tire as soon as possible, as they are not intended for long-term use and can affect the handling and performance of your vehicle.
Q: How Often Should I Check My Spare Tire?

A: It’s important to check your spare tire once a month, along with your regular tires. Make sure it is properly inflated and in good condition. If you notice any damage or wear, replace it immediately. Additionally, make sure the tools needed to change a tire are always readily available in your vehicle. Taking these precautions will ensure you are prepared for any unexpected tire changes on the road.
Conclusion
In conclusion, learning how to install a spare tire is an essential skill that every driver should possess. It not only helps in emergency situations but also saves you time and money. By following these simple steps, you can easily replace a flat tire and continue on your journey without any delays.
Remember to always carry a spare tire and the necessary tools in your car. It’s also important to regularly check the condition of your spare tire to ensure it is ready for use when needed. Additionally, don’t forget about proper maintenance of your vehicle as it can help prevent flat tires in the first place.
But if you do find yourself with a flat tire, don’t panic! With the right knowledge and preparation, changing a flat tire becomes a simple task that anyone can handle. Keep calm, follow the steps outlined in this blog post on how to install spare tire, and soon enough you’ll be back on the road with confidence.
And who knows, maybe one day you’ll even be able to impress your friends and family with your newfound skill! So go ahead, hit the road and enjoy your journey knowing that you are well-equipped to handle any unexpected bumps along the way. Safe travels!

