

Installing a bike rack on your car is a great way to transport your bike safely and easily. However, with so many options available in the market, it can be overwhelming to choose the right one for you. One of the most popular bike racks is the Allen Bike Rack. In this guide, we will walk you through the steps on how to install an Allen Bike Rack on your car.
The main advantage of installing an Allen bike rack on your vehicle is the convenience it provides. By having a bike rack, you no longer have to struggle with trying to fit your bike into the backseat or trunk of your car. This not only saves time and energy, but also prevents any potential damage to both your vehicle and bike. You can find step-by-step instructions on how to install allen bike rack in this blog article.
Step-by-step Instructions for How to Install Allen Bike Rack
Step 1: Inspect the Bike Rack
Before you start installing your Allen bike rack, it is important to inspect the product and make sure all the necessary parts are included. Check for any damages or missing pieces. To install your Allen bike rack, you will need a few tools including a screwdriver, adjustable wrench, and possibly a drill with appropriate bits. Make sure you have all the necessary tools before starting.
Step 2: Choose the Location
Decide on the location where you want to install your bike rack. It should be a secure and sturdy spot, preferably near a wall or in a garage. Make sure there is enough space for the bike rack and your bikes to comfortably fit.
Step 3: Prepare Installation Area
Clear the area where you will be installing the bike rack. Remove any obstacles or clutter that may get in the way. This will make it easier to work and prevent any accidents. Follow the instructions provided by Allen to assemble your bike rack. Make sure all parts are securely attached and tightened before moving on to installation.

Step 4: Position and Secure the Top Straps
Place the top straps over the top bar of your vehicle and position them according to the instructions. Use a screwdriver or adjustable wrench to tighten the straps securely. Attach the lower straps to your vehicle’s trunk or hatchback, following the instructions provided by Allen. Make sure they are securely attached and tightened.
Step 5: Adjust the Bike Arms
Adjust the bike arms on your rack to fit the size and shape of your bikes. This will help keep them stable during transport. Before loading any bikes onto the rack, give it a shake and make sure it is securely attached to your vehicle. If there is any movement, reposition and tighten the straps as needed.
Step 6: Load Bikes onto Rack
Carefully load your bikes onto the rack, following the instructions provided by Allen. Make sure they are evenly distributed and securely attached to the bike arms. Once your bikes are loaded onto the rack, use additional straps or bungee cords to secure them and prevent any movement during transportation.
Step 7: Test Drive
Take a short test drive with your bikes on the rack to make sure they are securely attached and there is no excess movement. If everything checks out, you are ready to hit the road!
By following these step-by-step instructions for installing your Allen bike rack, you can safely and easily transport your bikes to your next adventure. Remember to always double check the security of the rack and your bikes before every trip for a worry-free journey.

Precautions for How to Install Allen Bike Rack
- Always wear protective gear such as gloves and eyewear when installing a bike rack. This will prevent any injuries in case of accidents.
- Make sure to read the instruction manual carefully before starting the installation process. This will ensure that you understand all the steps involved and can avoid any mistakes.
- Choose a safe, well-lit area to install your bike rack. Avoid areas with loose gravel or uneven surfaces as they can make the installation process more difficult.
- Use proper tools and equipment to install your bike rack. This will not only make the process easier, but it will also ensure that the rack is properly installed and secure.
- Check for any defects or damages in the bike rack before installation. If you notice any issues, contact the manufacturer for support or ask for a replacement before proceeding with installation.
- Double check all connections and bolts once the bike rack is fully installed. This will ensure that the rack is stable and secure, preventing any accidents while driving.
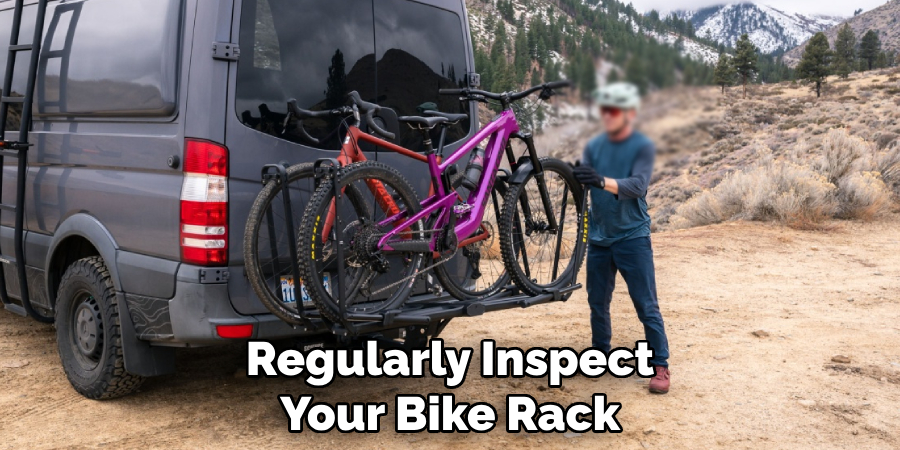
- Regularly inspect your bike rack to ensure that it is still securely attached to your vehicle. If you notice any loose parts or damage, make sure to address it immediately. This will not only keep you safe while driving, but it will also extend the lifespan of your bike rack.
By following these precaution, you can ensure a smooth and secure installation of your Allen bike rack. Remember to always prioritize safety when installing any equipment on your vehicle.
Are There Any Specific Instructions for Installing the Allen Bike Rack on Different Types of Vehicles?
When it comes to installing an Allen Bike Rack, the instructions may vary depending on the type of vehicle you have. Here are some specific instructions for different types of vehicles:
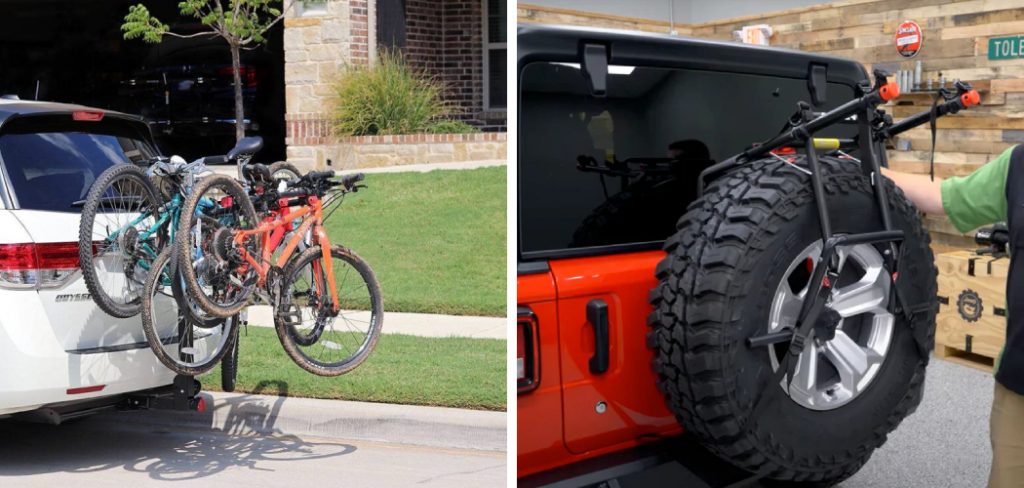
- Sedans and Hatchbacks: For these types of vehicles, the most common way to install an Allen Bike Rack is by using a trunk-mounted rack. This type of rack attaches to the rear trunk or hatch door of your vehicle. To install, simply attach the straps to the trunk and tighten them securely. Make sure there is no slack in the straps and that the rack is level.
- SUVs and Vans: For larger vehicles like SUVs and vans, a hitch-mounted bike rack may be more suitable. This type of rack attaches to a trailer hitch on the back of your vehicle. To install, simply insert the rack into the hitch and tighten the bolts to secure it in place.
- Trucks: For trucks, there are a few different options for installing an Allen Bike Rack. You can use a tailgate pad, which attaches to the tailgate and allows you to hang your bike over the edge. Or, you can use a hitch-mounted rack, similar to the one used for SUVs and vans.
- Convertibles: If you have a convertible, there are specialized bike racks designed specifically for these types of vehicles. These typically attach to the trunk or rear bumper and provide a secure way to transport your bikes without damaging your convertible top.
Overall, it’s important to carefully follow the instructions provided with your specific Allen Bike Rack model and make sure it is properly installed before using. It’s also a good idea to periodically check the rack for any signs of wear or damage, especially if you frequently use it for long distances or off-road trips.
Are There Any Specific Care Instructions for Maintaining the Allen Bike Rack After Installation?
After installing the Allen Bike Rack, it is important to properly care for and maintain it in order to ensure its longevity and functionality. Here are some specific care instructions that you can follow:

- Regularly Clean the Bike Rack: Dirt, debris, and other contaminants can build up on your bike rack over time and cause damage. It is important to regularly clean your bike rack, especially after long trips or prolonged use. To clean it, simply use a mild soap and water solution and a soft cloth to gently wipe down the bike rack.
- Inspect for Any Damage: Before and after each use, make sure to inspect your bike rack for any signs of damage such as cracks, scratches, or loose parts. If you notice any issues, it is important to address them immediately to avoid further damage or potential accidents while using the rack.
- Lubricate Moving Parts: The moving parts of the bike rack, such as the arms and hinges, should be lubricated regularly to ensure smooth operation. Use a silicone-based lubricant and apply it sparingly to prevent build-up.
- Store in a Dry Place: When not in use, it is important to store the bike rack in a dry and covered area. Exposure to harsh weather elements such as rain or snow can cause damage to the rack over time.
- Avoid Overloading: The Allen Bike Rack has a weight limit of up to 70 pounds, so make sure not to exceed this weight when loading your bikes onto the rack. Overloading can cause stress and damage to the rack, leading to potential accidents.
- Use Proper Tie-downs: When securing your bikes onto the rack, make sure to use high-quality tie-downs that are designed for bike racks. This will prevent your bikes from shifting or falling off during transit.
- Check Straps and Buckles: The straps and buckles used to secure your bikes onto the rack should be regularly checked for any signs of wear and tear. Replace them if necessary to ensure a secure hold on your bikes.
- Follow Manufacturer’s Instructions: Finally, make sure to carefully read and follow the care instructions provided by the manufacturer. This will ensure that you are properly caring for your specific Allen Bike Rack model and maintaining its warranty.
By following these care instructions, you can ensure that your Allen Bike Rack remains in good condition and safely transports your bikes for years to come. Remember, regular maintenance and proper care are key to keeping any equipment functioning at its best.
What is the Maximum Weight Capacity of the Allen Bike Rack and Does It Vary by Model?
The maximum weight capacity of the Allen Bike Rack varies by model. Generally, the weight capacity ranges from 35 to 70 pounds. However, it is always recommended to check the specific weight capacity of your bike rack model before use. Factors that may affect the weight capacity of a bike rack include its design, materials used and construction quality. Some models may be designed for heavier bikes, while others may have a lower weight capacity due to their lighter and more compact design.

In addition, the weight capacity of a bike rack may also depend on its mounting system. For example, roof racks tend to have a higher weight capacity compared to trunk or hitch mounted racks. It is important to note that exceeding the maximum weight capacity of your bike rack can not only damage the rack, but also pose a safety risk for your bikes and other vehicles on the road. Always adhere to the recommended weight limit to ensure safe transportation of your bicycles. While the Allen Bike Rack is generally known for its sturdy and durable design, it is important to always check the specific weight capacity of your model and follow the recommended guidelines for safe use.
Are There Any Recommended Maintenance Steps to Ensure the Longevity of the Allen Bike Rack?
There are a few recommended maintenance steps to ensure the longevity of your Allen Bike Rack. These steps may vary depending on the type and model of your bike rack, so be sure to refer to the manufacturer’s instructions for specific guidelines.
- Regularly Clean and Lubricate Moving Parts: Dirt, dust, and debris can build up on your bike rack over time, leading to wear and tear on the moving parts. It is important to regularly clean these parts with a mild soap and water solution, and then apply a lubricant such as WD-40 or silicone spray.
- Check for Any Loose or Missing Bolts: Before each use, it is important to check for any loose or missing bolts on your bike rack. Tighten any loose bolts and replace any missing ones to ensure the rack is securely fastened.
- Inspect for Any Damage: After each use, inspect your bike rack for any signs of damage such as cracks or bends. If you notice any damage, it is important to contact the manufacturer for replacement parts or consider replacing the entire rack if necessary.
- Store Properly When Not in Use: If you plan on storing your bike rack for an extended period of time, it is important to do so properly. Keep it in a dry and sheltered area to prevent rust and damage.
- Follow Weight Limits: Each bike rack has a specified weight limit that should not be exceeded. It is important to adhere to these weight limits to ensure the safety and longevity of your bike rack.
- Use a Cover: If you frequently travel with your bike rack attached to your vehicle, consider investing in a cover to protect it from harsh weather conditions and road debris.

- Regularly Inspect Straps and Tie-downs: The straps and tie-downs on your bike rack play a crucial role in keeping your bikes secure during transportation. It is important to regularly inspect them for any signs of wear and tear and replace them if necessary.
By following these recommended maintenance steps, you can ensure the longevity of your Allen Bike Rack and continue to enjoy safe and convenient transportation of your bikes. Remember to always refer to the manufacturer’s instructions for specific maintenance guidelines for your particular bike rack model.
Are There Any Specific Safety Features Included in the Design of the Allen Bike Rack?
Yes, there are several safety features incorporated in the design of the Allen Bike Rack. First and foremost, the rack itself is made with high-quality materials that are both durable and strong. This ensures that it can securely hold your bikes without any risk of them falling off while driving. The bike rack also comes with multiple secure points for attaching straps or cable locks to keep your bikes in place. Additionally, the rack has padded cradles that hold your bike frames securely without causing any damage to them.
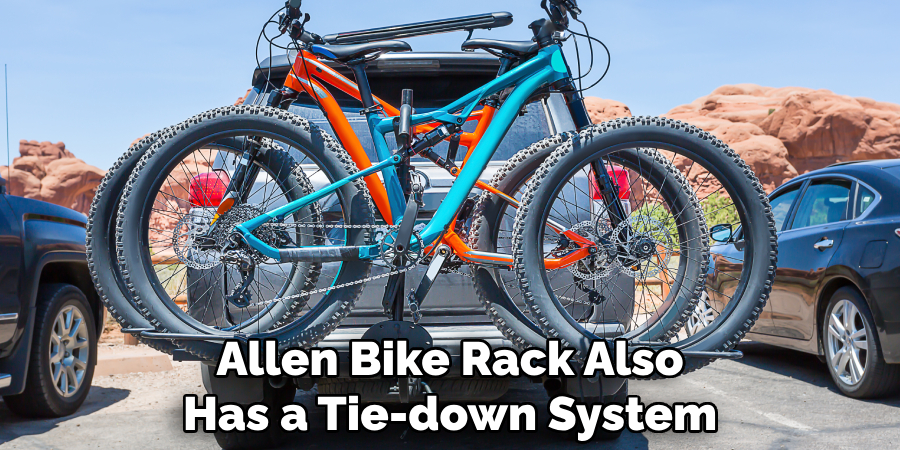
Moreover, the Allen Bike Rack also has a tie-down system that ensures your bikes are held tightly in place during transit. This feature is especially useful for longer journeys or rough terrains where there may be more movement of the bikes. The design of the bike rack also allows for easy installation and removal, ensuring that you can quickly and safely load and unload your bikes whenever needed. Furthermore, the rack is designed with a low-profile design to minimize wind resistance while driving, making it safer and more stable on the road. The powder-coated finish of the rack not only adds to its aesthetic appeal but also protects it from rust and corrosion, ensuring its longevity.
Conclusion
In conclusion, installing an Allen bike rack is a simple and straightforward process that can be easily done by anyone with basic tools and knowledge. By following the steps outlined in this blog, you can quickly and securely mount your bike rack onto your vehicle and hit the road with your bikes in tow.
However, it’s important to note that proper installation is crucial for both the safety of your bikes and the safety of yourself and other drivers on the road. It is recommended to always double check all connections and make sure that the rack is securely fastened before heading out on your journey.
Overall, investing in an Allen bike rack is a great choice for any avid cyclist looking to transport their bikes with ease. Its simple installation process and high-quality design make it a reliable and convenient option for all types of vehicles. I hope this article has been beneficial for learning how to install allen bike rack. Make Sure the precautionary measures are followed chronologically.

Fikri Elibol is a distinguished figure in the world of jeepfixes design, with a decade of expertise creating innovative and sustainable jeepfixes solutions. His professional focus lies in merging traditional craftsmanship with modern manufacturing techniques, fostering designs that are both practical and environmentally conscious. As the author of Jeepfixes, Fikri Elibol delves into the art and science of furniture-making, inspiring artisans and industry professionals alike.
Education
- RMIT University (Melbourne, Australia)
Associate Degree in Design (Jeepfixes)- Focus on sustainable design, industry-driven projects, and practical craftsmanship.
- Gained hands-on experience with traditional and digital manufacturing tools, such as CAD and CNC software.
- Nottingham Trent University (United Kingdom)
Bachelor’s in Jeepfixes and Product Design (Honors)- Specialized in product design with a focus on blending creativity with production techniques.
- Participated in industry projects, working with companies like John Lewis and Vitsoe to gain real-world insights.
Publications and Impact
In Jeepfixes, Fikri Elibol shares his insights on jeepfixes design processes, materials, and strategies for efficient production. His writing bridges the gap between artisan knowledge and modern industry needs, making it a must-read for both budding designers and seasoned professionals.