
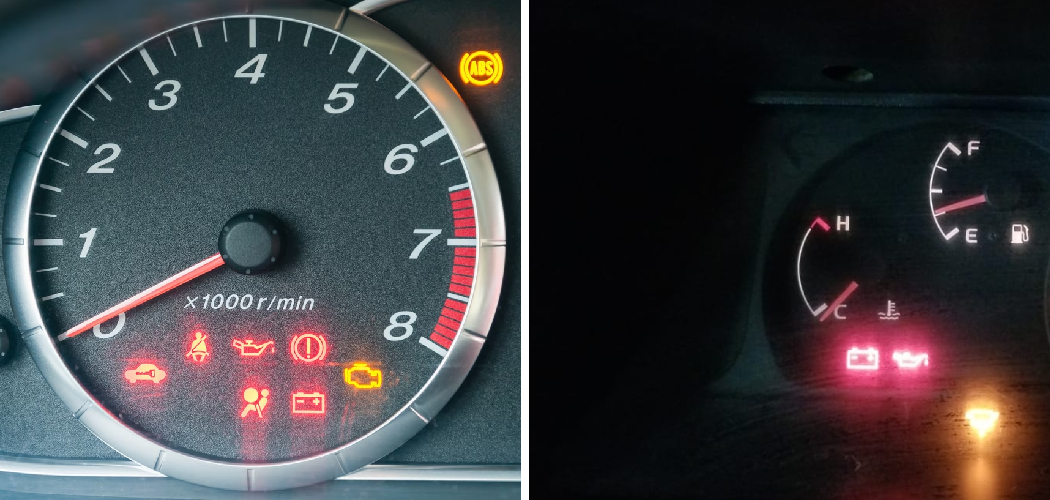
An odometer that blinks or flickers can drive anyone nuts– right when you need to know how many miles are on your car, you can’t read the thing! I know from personal experience how frustrating it is to have a faulty odometer that refuses to display a clear mile count.
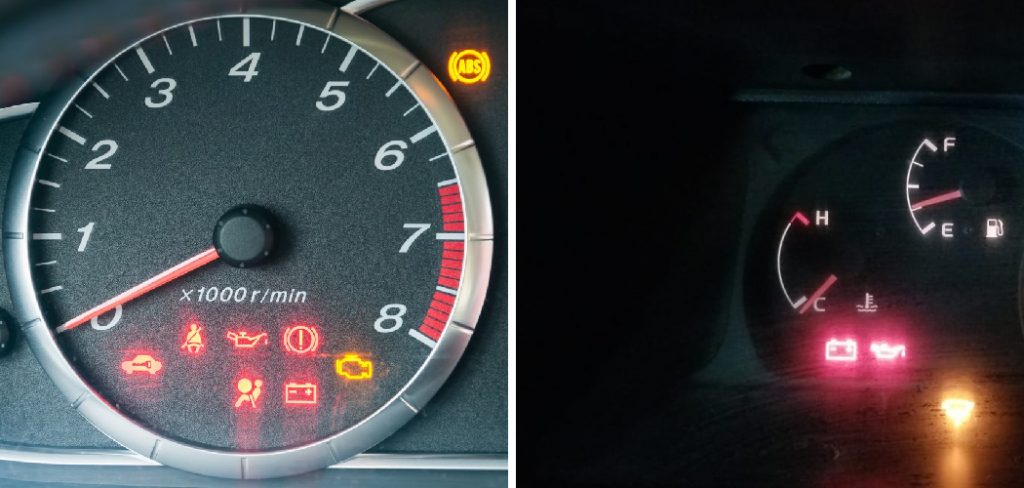
For weeks, mine would flash different numbers every few seconds, making it impossible to tell my actual mileage. It was maddening trying to keep track of oil changes, maintenance needs and the car’s value with such an unreliable odometer.
After searching online forums and asking other mechanics for help, I finally found a solution to my blinking odometer woes. In this post on how to fix blinking odometer, I’ll share the steps I took to fix the problem once and for all. By the end, you’ll know exactly what to do if your odometer starts blinking erratically too.
Needed Tools and Materials
First things first, make sure you have the following items on hand before getting started:
- A Screwdriver Set
- 9-volt Battery
- Soldering Iron
- Solder Wire
Once you have all of those tools and materials ready to go, it’s time to get started!
11 Step-by-step Guidelines on How to Fix Blinking Odometer
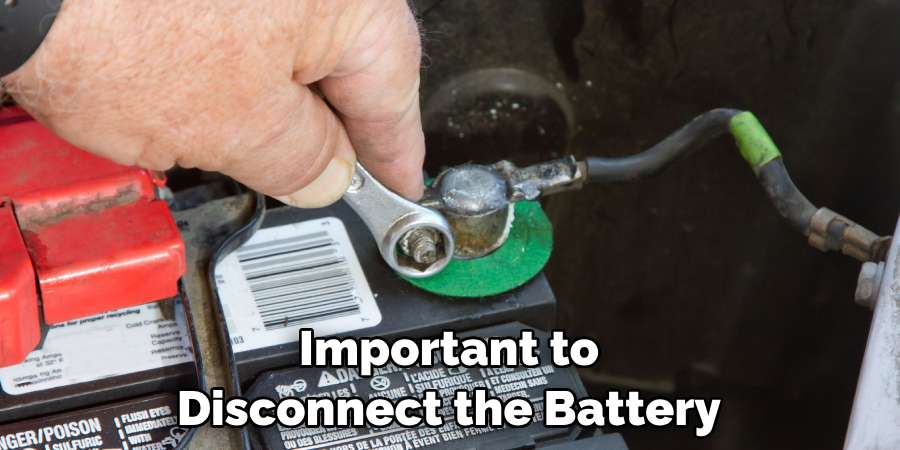
Step 1: Disconnect the Vehicle’s Battery
Before starting any work on your car, it’s always important to disconnect the battery. This ensures your safety and prevents any potential damage to the vehicle’s electrical system. It’s also a good idea to wait at least 30 minutes before moving on to the next step, giving the capacitors enough time to discharge. But be patient, this step is crucial!
Step 2: Remove the Cluster Panel
Next, remove the screws holding the cluster panel in place. These are typically located around the perimeter of the panel and can be easily removed with a screwdriver set. You’ll then be able to access the instrument cluster. The number of screws may vary depending on the make and model of your car, so be sure to check beforehand. If you’re unsure, consult your vehicle’s manual for specific instructions.
Step 3: Locate the Odometer
The odometer is typically located at the center of the instrument cluster. It’s usually connected to a circuit board that controls all of the electronic functions on your dashboard. If you can’t find it, refer to your vehicle’s manual for its exact location. You may also need to remove some other parts of the dashboard or cluster panel to access it.
Step 4: Remove the Odometer
To remove the odometer, you’ll need to unscrew it from the cluster panel. Make sure to keep track of all screws and their locations, as they will need to be put back in place later on. Once removed, set the odometer aside in a safe place. But be careful not to damage any of the wires or connections while doing so. The odometer is a delicate instrument and should be handled with care.
Step 5: Locate the Backlight Resistors
The backlight resistors are small, rectangular components located on the back of the odometer. They control the brightness of the display and are often responsible for causing blinking or flickering issues. You may need to use a magnifying glass to locate them if they’re too small to see clearly. If you’re still having trouble finding them, refer to your vehicle’s manual for a diagram of the instrument cluster’s circuit board.
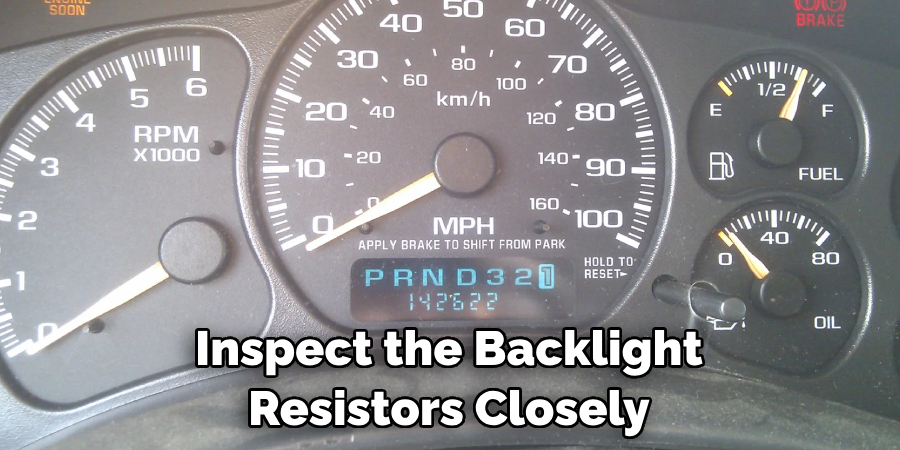
Step 6: Check for Damage
Inspect the backlight resistors closely and look for any signs of damage, such as discoloration or a burnt smell. If you find any damage, it’s likely that the resistor needs to be replaced. But don’t worry, this is a common issue and can easily be fixed with some basic soldering skills. Although, if you’re not comfortable with soldering, it’s best to take your car to a professional mechanic for repairs.
Step 7: Remove the Damaged Resistor
Using a soldering iron and some de-soldering wick, carefully remove the damaged resistor from the circuit board. Be sure to use caution and follow proper safety measures when working with a hot soldering iron. Once the resistor is removed, clean the area with some rubbing alcohol to ensure a good connection for the new one. The resistor’s value should be printed on it, so take note of this as you’ll need to replace it with the same type.
Step 8: Install the New Resistor
Using your soldering iron and some solder wire, attach the new backlight resistor in place of the old one. Make sure it’s secured firmly to the circuit board and there are no loose connection points. If you’re unsure about your soldering skills, it’s always best to have a professional handle this step for you. It’s important to ensure a good connection to avoid any further issues with the odometer.
Step 9: Test the Repair
Once the new resistor is in place, re-install the odometer and cluster panel back into your car. Reconnect the battery and turn on your vehicle to test if the issue has been resolved. You should now have a clear and stable odometer display. If the issue persists, you may need to check for any other damaged components or consult a professional for further assistance.
Step 10: Reassemble Your Dashboard
If everything is working properly, you can now reassemble your dashboard and put all of the screws back in place. Make sure everything is connected correctly before tightening any screws. Then, reconnect the battery and start your car again to ensure everything is functioning as it should. But if not, it’s best to go back and double check your work or seek professional help.
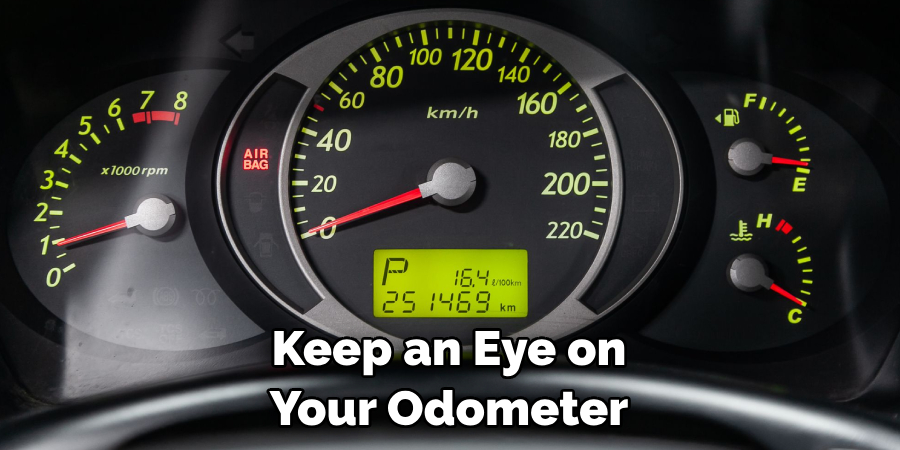
Step 11: Keep an Eye on Your Odometer
It’s always a good idea to keep an eye on your odometer after fixing any issues. If you notice any further blinking or flickering, it could be a sign of another damaged component that needs to be repaired. But with proper maintenance and care, your odometer should continue working properly for years to come.
Following these step-by-step guidelines on how to fix blinking odometer should help you fix a blinking odometer on your own. But remember, if at any point you feel unsure or uncomfortable with the process, it’s best to seek professional assistance. With patience and some basic tools, you can save yourself time and money by fixing this issue yourself. Happy driving!
Do You Need to Use Professionals?
If you’re not comfortable working with electronics or don’t have the necessary tools and skills, it’s best to take your car to a professional mechanic. They have the expertise and experience to handle these types of repairs efficiently and effectively. It may cost more initially, but it can save you from potentially causing more damage to your vehicle.
Plus, you’ll have peace of mind knowing your odometer has been fixed correctly. So, if you’re not confident in your abilities or are unsure about any step in the process, don’t hesitate to seek professional help. Your safety and the health of your car should always be a top priority. Keep these tips in mind and you’ll have no problem fixing a blinking odometer on your own!
Frequently Asked Questions
Q: What Should I Do if My Odometer is Not Displaying at All?
A: First, check the connections and make sure they’re secure. If that doesn’t solve the issue, it could be a problem with the instrument cluster itself and may require professional attention. You may also want to check if your car’s computer system is displaying the correct mileage. If not, it could be a sign of tampering or other issues that need to be addressed.
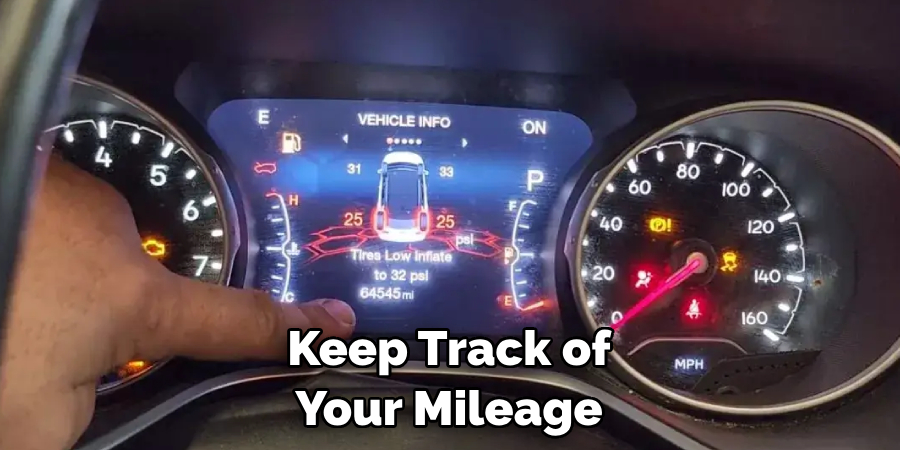
Q: Can I Drive My Car with a Blinking Odometer?
A: Technically, yes, you can still drive your car with a blinking odometer. However, it’s important to keep track of your mileage and any other warning lights that may come on. If your odometer is not functioning properly, it could be a sign of larger issues with your car that need to be addressed.
Q: How Do I Prevent My Odometer from Blinking in the Future?
A: Regular maintenance and care for your vehicle can help prevent issues like a blinking odometer. Make sure to follow the manufacturer’s recommended maintenance schedule and address any warning lights or issues as soon as they arise. Additionally, try not to tamper with your odometer or instrument cluster, as this can lead to further problems down the line.
Conclusion
In conclusion on how to fix blinking odometer, now armed with the knowledge of what causes a blinking odometer and how to fix it, you can tackle this frustrating issue with confidence. Not only have we covered the most common reasons for a blinking odometer such as a faulty speed sensor or battery, but we also explored lesser-known causes like an outdated car computer system.
By following these simple steps and troubleshooting techniques, you can save yourself time and money by not having to take your vehicle to a mechanic for a simple fix.
Remember to always keep up with routine maintenance on your car and pay attention to any warning signs before they turn into bigger problems. Don’t let a blinking odometer cause unnecessary stress and panic anymore, put these tips into practice and get back on the road in no time. Share this article with your friends and family so they too can learn how to tackle this common car issue like a pro.
Keep exploring our blog for more helpful tips and tricks on maintaining your vehicle for smooth rides ahead! Let’s rev up and conquer those blinking odometers together!