

Welcome to all the DIYers and car enthusiasts out there! If you’re someone who loves taking care of your own vehicle, then you know how important it is to stay on top of maintenance and repairs. However, sometimes unexpected issues can arise and leave us scratching our heads. One common problem that many drivers face is a wet alternator.
This pesky issue can not only cause inconvenience but also potentially damage the alternator if left untreated. But fear not, because in this blog post we will dive into everything you need to know about how to fix a wet alternator and get you back on the road in no time! So let’s roll up our sleeves, put on our mechanic hats, and tackle this challenge with confidence.
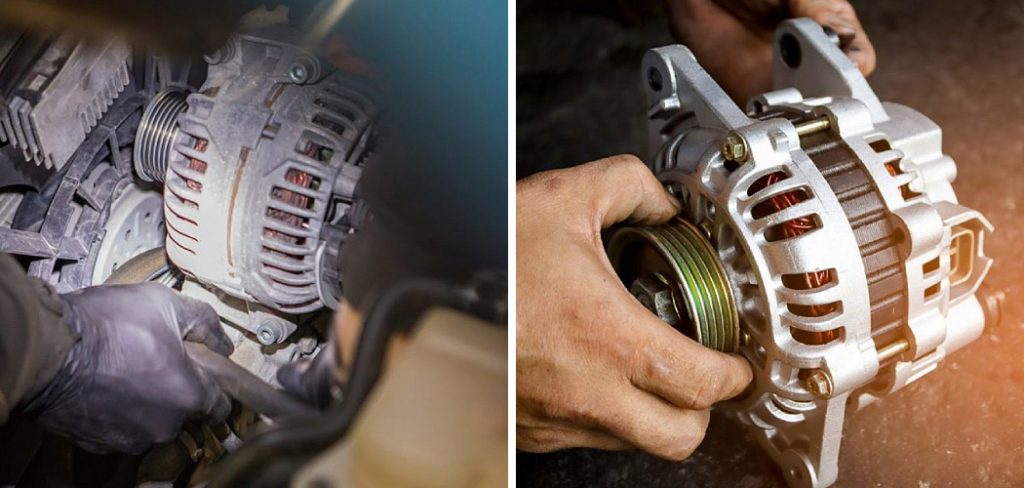
What is a Wet Alternator?
Before we jump into the steps to fix a wet alternator, let’s first understand what it is and why it happens. A wet alternator is simply an alternator that has come into contact with water or any other type of liquid. This can happen due to various reasons such as driving through deep puddles, heavy rain, or even car washes. When water enters the alternator, it can cause damage to the internal components and lead to malfunctioning.
Needed Materials
- Towels or Rags
- Insulating Spray (Optional)
- Hairdryer (Optional)
- Alternator Cleaner (Optional)
- Replacement Alternator (If needed)
11 Step-by-step Guidelines on How to Fix a Wet Alternator
Step 1: Disconnect the Battery
The first and most important step before working on any car repairs is to disconnect the battery. This ensures that there is no electrical current running through the vehicle and prevents any potential accidents. You can disconnect the battery by simply removing the negative cable from the terminal.
Step 2: Locate and Access the Alternator
The alternator is typically located at the front of the engine, near the belts. Refer to your vehicle’s manual if you are unsure which part it is. Once located, use a wrench to loosen any bolts or screws that may be holding it in place. You may also need to remove the serpentine belt. This will allow you to access the alternator more easily. The serpentine belt is a long rubber belt that wraps around various components in the engine.
Step 3: Detach Electrical Connectors and Wires
Before completely removing the alternator, you will need to detach any electrical connectors and wires connected to it. These can be easily removed by hand or with a pair of pliers. It’s important to note which connectors and wires go where so that you can easily reconnect them later. The connectors may also have a locking mechanism that needs to be released before being removed.
Step 4: Remove the Alternator
Once all electrical connections are detached, you can now remove the alternator. Be sure to keep track of any bolts or screws that may have been holding it in place as you will need these for later. If the alternator is stuck, you can gently tap it with a rubber mallet to loosen it. The alternator may also have a bracket attached to it that needs to be removed.
Step 5: Inspect for Damage
Now that you have removed the alternator, inspect it for any visible damage. Look for signs of water or corrosion on the external components. If there is excessive rust or corrosion, then a replacement may be necessary. However, if the damage is minimal, then it can likely be fixed without replacing the entire alternator. It’s also a good idea to check the internal components for any signs of water damage.
Step 6: Dry the Alternator
Using towels or rags, gently dry off any moisture on the alternator. It’s important to be very gentle and not apply too much force as some of the internal components may be fragile. You can also use a hairdryer on a low setting if needed. Be sure to dry all the nooks and crannies thoroughly. But be careful not to overheat the alternator as this can cause damage.

Step 7: Clean the Alternator
If there is any dirt or debris on the alternator, you can use an alternator cleaner to remove it. This step is optional but can help ensure that your alternator is in top condition. It’s important to use a cleaner specifically designed for alternators as other cleaners may be too harsh and cause damage. But be sure to follow the instructions on the cleaner carefully.
Step 8: Insulate the Alternator (Optional)
If you live in an area with heavy rainfall, it may be beneficial to apply insulating spray on the alternator. This will provide a layer of protection against water and help prevent future issues. However, this step is not necessary for everyone and can be skipped if you don’t live in a particularly wet climate.
Step 9: Reinstall the Alternator
After the alternator is completely dry and clean, you can now reinstall it back into its original position. Use the bolts or screws that were removed earlier to secure it in place. Be sure to reconnect all the electrical connectors and wires as well. Once everything is reconnected, you can also put the serpentine belt back on.
Step 10: Reconnect the Battery
With the alternator securely in place, you can now reconnect the battery. Simply attach the negative cable back to its terminal and tighten it with a wrench. It’s important to ensure that all connections are tight and secure to avoid any electrical issues. The battery should also be fully charged before starting the car.
Step 11: Test the Alternator
Now that everything is back in place, it’s time to test the alternator. Start your car and let it run for a few minutes. If the alternator is working properly, then your battery should be charging and all electrical components of your vehicle should be functioning correctly. If you notice any issues, then it’s best to consult a professional mechanic for further assistance.

Following these step-by-step guidelines on how to fix a wet alternator can help you successfully fix a wet alternator. However, if the damage is severe or you are unsure about the process, it’s always best to seek professional help. Remember to take all necessary precautions and be gentle when working with delicate car components. With proper care and maintenance, you can help prevent your alternator from getting wet in the future.
How Much Could It Cost?
The cost of fixing a wet alternator can vary depending on the severity of the damage and whether any replacement parts are needed. If you’re able to fix it yourself, then the only costs would be for cleaning supplies or insulating spray if desired. However, professional repairs can range from $200 to $600, with replacement alternators costing anywhere from $100 to $300.
It’s important to regularly maintain your vehicle and keep an eye out for any signs of water damage to avoid expensive repairs in the future. So, it’s essential to take care of your vehicle and address any issues with the alternator as soon as possible before they become more severe and costly.
Frequently Asked Questions
Q: How Can I Tell if My Alternator is Wet?
A: Signs of a wet alternator may include difficulty starting the car, dimming headlights, and unusual noises coming from the engine. You may also notice visible signs of water or corrosion on the external components of the alternator.
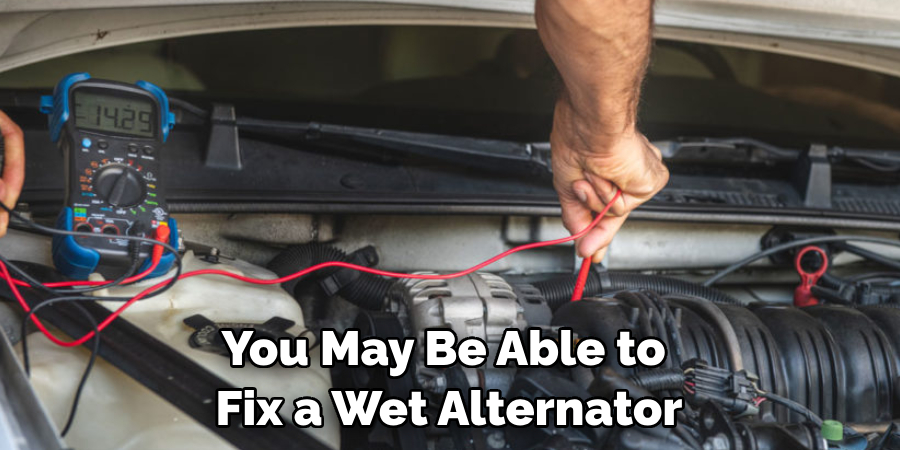
Q: Can I Fix a Wet Alternator Myself?
A: If you have some basic knowledge of car maintenance and the necessary tools, then you may be able to fix a wet alternator yourself. However, if you are unsure about the process or the damage is severe, it’s best to seek professional help.
Q: How Can I Prevent My Alternator from Getting Wet?
A: Regular maintenance and keeping an eye out for any potential water damage can help prevent your alternator from getting wet. Additionally, you may want to consider using insulating spray or covering the alternator during heavy rainfall. Remember to also keep all electrical connections secure and dry.
Conclusion
In conclusion on how to fix a wet alternator, a wet alternator is not something to take lightly. While it may seem like a simple fix, neglecting the issue can lead to bigger problems down the line. But with the right knowledge and steps, you can easily resolve this issue and prevent any further damage to your vehicle’s electrical system.
Remember, always prioritize safety first and take care when dealing with any part of your car’s engine. We hope this blog post has been helpful in guiding you through the process of fixing a wet alternator.
If you have any further questions or concerns, don’t hesitate to reach out to a mechanic or consult your vehicle’s manual for more details. Trust us, taking care of this problem now will save you time, money, and headaches in the future. Don’t wait until it’s too late – tackle that soggy alternator today and keep your car running smoothly for years to come! Happy driving!