
Have you ever gotten stranded on the side of the road with a dead car? Those moments filled with panic and frustration as you fumble under the hood trying to figure out what’s wrong can feel miserable. Just last week, I found myself in that very situation – my trusty old sedan suddenly sputtered and died.

After some diagnostic tests, I discovered it was a faulty spark plug. With night falling and a long walk back to town, I knew I had to get resourceful. Through some tinkering and cussing, I finally disassembled that spark plug and fixed the problem just in time.
In this blog post, I’ll walk you through the simple steps on how to disassemble a spark plug so that if you ever find yourself in a similar emergency roadside situation, you’ll have the know-how to get back on the road quickly.
Tools and Materials You Will Need to Disassemble a Spark Plug
- A socket wrench
- A spark plug socket (size may vary depending on the vehicle)
- Spark plug gap gauge or feeler gauge
- Anti-seize lubricant
- Clean cloth or paper towel
- A flathead screwdriver (optional)
Step-by-step Guidelines on How to Disassemble a Spark Plug
Step 1: Prepare Your Work Area
Before you dive into disassembling the spark plug, make sure you have a well-lit and clean workspace. It’s crucial to keep all dirt and debris away from the engine components. Preparing your work area beforehand will prevent any unwanted particles from entering the engine, which can cause further damage.
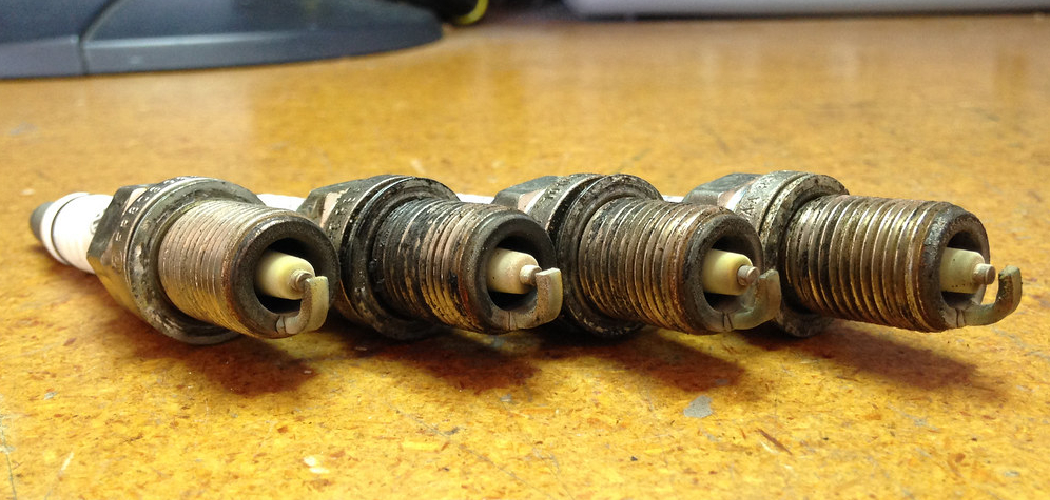
Step 2: Locate the Spark Plug
In most vehicles, you can find spark plugs near the top of the engine compartment. They are connected to thick wires that lead to each cylinder. If you’re unsure, refer to your car’s manual for specific instructions on locating the spark plugs.
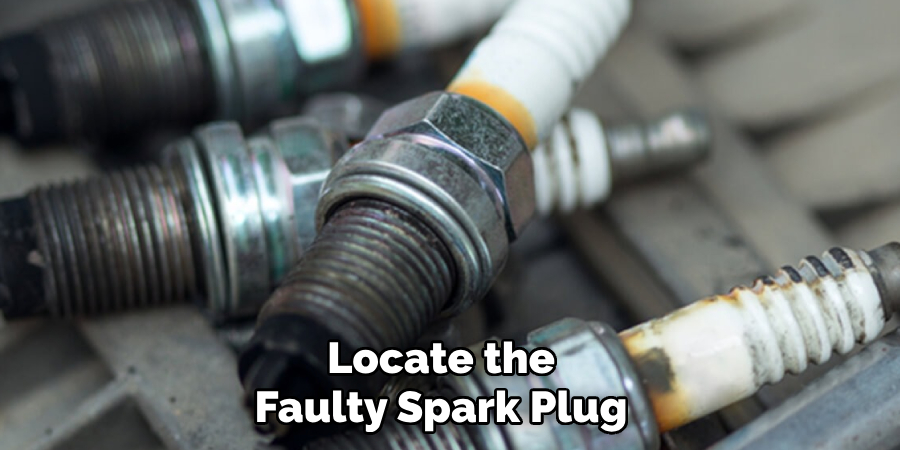
This is also a good time to locate the faulty spark plug and make sure you have the correct replacement on hand. If you’re unsure about which spark plug to replace, take a picture or label each wire with its corresponding cylinder number before removing them.
Step 3: Remove the Spark Plug Wire
Grab the spark plug wire boot and twist it while pulling it away from the spark plug. If the spark plug wires are hard to remove, use a flathead screwdriver to carefully pry them off. Be gentle to avoid damaging the wire or boot. It’s essential to remove one spark plug wire at a time and not all at once to avoid confusion when reconnecting them later on.
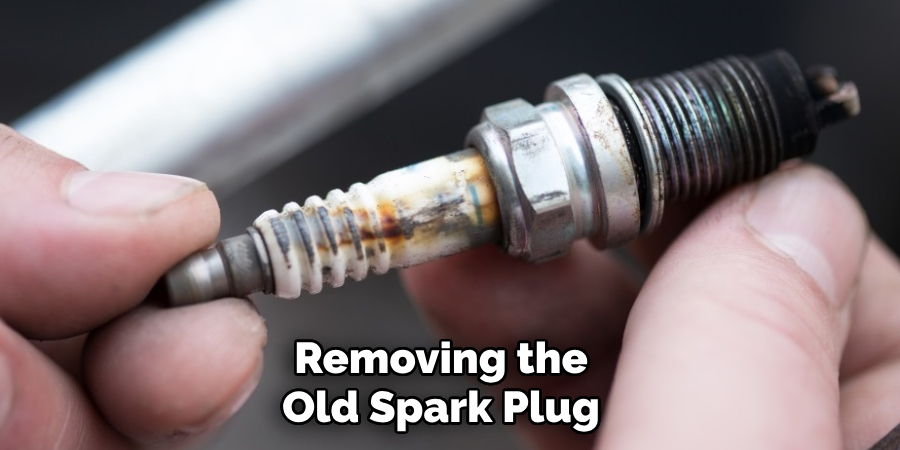
Step 4: Remove the Spark Plug
Using your socket wrench with a spark plug socket, turn it counterclockwise to loosen and remove the old spark plug. You may have to wiggle it a bit before it comes out. Once removed, inspect the spark plug for any damage or debris that might indicate a larger issue with your engine. While you have the spark plug out, it’s an excellent opportunity to check the spark plug gap using a gauge. Refer to your vehicle manual for the correct gap measurement.
Step 5: Apply Anti-Seize Lubricant (Optional)
If you live in an area with extreme weather conditions, it may be beneficial to apply anti-seize lubricant on the threads of the new spark plug before installation. This will prevent the spark plug from seizing in the engine and make it easier to remove in the future. Applying this lubricant is optional, but it can save you a lot of trouble down the road.
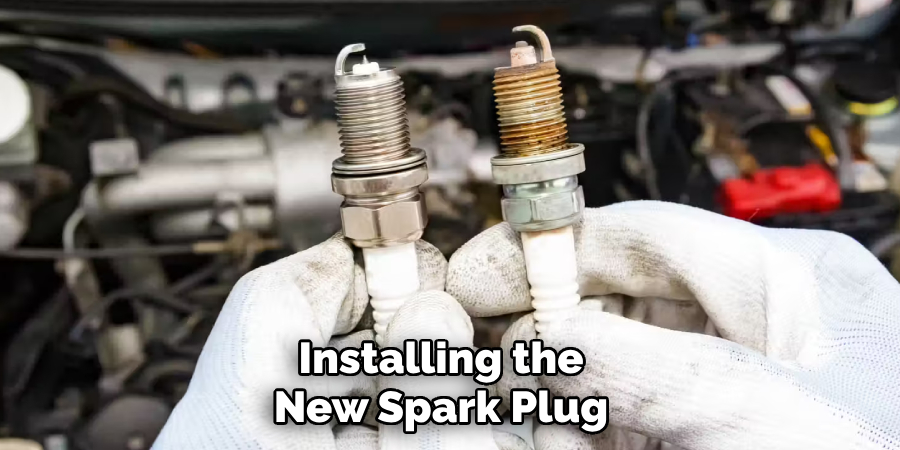
Step 6: Install the New Spark Plug
Before installing the new spark plug, double-check that it matches the old one in terms of brand and model number. Using your hand, carefully thread the new spark plug into the hole where the old one was removed. Once it’s hand-tight, use your socket wrench to turn it clockwise until it’s snug. Avoid overtightening the spark plug, as this can cause damage to the threads or engine.
Step 7: Reattach Spark Plug Wire
After the new spark plug is installed, grab the corresponding wire and reattach it by pushing the boot onto the top of the spark plug. You should feel or hear a click when it’s securely connected. While reattaching the wires, make sure they are in the correct order based on the labeling or pictures you took earlier.
Step 8: Repeat for Remaining Spark Plugs (if necessary)
If you have multiple faulty spark plugs, repeat steps 3 to 7 for each one. It’s important to replace all damaged spark plugs at once to ensure even performance and prevent further issues with your engine. Make sure to dispose of the old spark plugs properly. If you’re unsure how to do so, ask your local auto parts store for guidance.
Congratulations, you’ve successfully disassembled and replaced a spark plug! While it may seem intimidating at first, with these simple steps and the right tools, anyone can do it. Remember to always consult your vehicle manual for specific instructions and take your time when working on any engine component. And with that, you’ll be back on the road in no time. Happy driving!
Additional Tips and Tricks to Disassemble a Spark Plug
1. When purchasing spark plugs, always buy from a reputable brand and model to ensure compatibility and quality.
2. If you have difficulty removing the old spark plug, try using penetrating oil to loosen it up before attempting to remove it again.
3. Always use caution when working with engine components. Wear gloves and protective eyewear to prevent any injuries.
4. If you’re unsure about any of the steps or encounter any problems, don’t hesitate to ask for help from a professional mechanic.
5. Regularly checking and replacing spark plugs can improve your vehicle’s performance and fuel efficiency. If you notice any issues, such as rough idling or decreased acceleration, it may be time to check and replace your spark plugs. So, perform routine maintenance on your vehicle to avoid unexpected breakdowns.
6. Keep a spare set of spark plugs in your car’s emergency kit so that you’re always prepared for any roadside emergencies.
7. Take proper precautions when disposing of old spark plugs, as they may still contain ignitable materials.
8. If you’re a beginner in car maintenance, consider taking a workshop or class to learn more about basic auto repairs and upkeep.
9. Always wait for the engine to cool down before attempting to remove or replace spark plugs to avoid burns.
10. Remember to always consult your vehicle manual for specific instructions for your make and model.
Following these additional tips and tricks can help you safely and successfully disassemble a spark plug in your vehicle. By regularly checking and replacing spark plugs, you can keep your engine running smoothly and avoid any potential issues down the road.
Precautions Need to Be Followed for Disassembling a Spark Plug
1. First and foremost, make sure to wait for the engine to cool down before attempting to remove or replace spark plugs. Hot engines can cause burns.
2. Always wear gloves and protective eyewear to prevent any injuries while working with engine components.
3. When removing the spark plug wires, be gentle to avoid damaging them. Use a flathead screwdriver only if necessary.

4. Avoid overtightening the spark plug when installing it back into the engine as this can cause damage. Hand-tighten first, then use your socket wrench to snug it.
5. Make sure to dispose of old spark plugs safely and responsibly, as they may still contain ignitable materials.
6. If you encounter any difficulties while working on the spark plug, seek assistance from a professional mechanic.
7. It’s essential to replace all damaged spark plugs at once to ensure even performance and prevent further issues with your engine.
By following these precautions, you can safely and effectively disassemble a spark plug without any accidents or damage. Remember to always take your time and consult your vehicle manual for specific instructions. Happy driving!
Frequently Asked Questions
Why Should I Replace My Spark Plugs?
Replacing spark plugs can improve your vehicle’s performance, fuel efficiency, and overall engine health. Old or faulty spark plugs can lead to rough idling, decreased acceleration, and potential damage to other engine components over time.
How Often Should I Check My Spark Plugs?
It’s recommended to check and replace spark plugs every 30,000 miles or as specified in your vehicle manual. However, if you notice any issues with your engine’s performance, it may be necessary to check them sooner.
Can I Replace My Spark Plugs Myself?
Yes, as long as you have the proper tools and follow the recommended precautions. However, if you’re unsure or uncomfortable, it’s always best to seek assistance from a professional mechanic.
Can I Replace Just One Spark Plug?
It’s not recommended to replace just one spark plug. It’s essential to replace all damaged spark plugs at once to ensure even performance and prevent further issues with your engine.
Conclusion
With the above outlined you can easily learn how to disassemble a spark plug, and even replace it yourself. By regularly checking and replacing spark plugs, you can keep your engine running smoothly and avoid any potential issues down the road.
Remember to follow precautions and consult your vehicle manual for specific instructions. If you’re unsure or encounter difficulties, don’t hesitate to seek help from a professional mechanic. With proper maintenance, you’ll be back on the road in no time. Happy driving!