

One of the most common maintenance tasks for drivers is changing the turn signal bulb. A broken turn signal light is not only a hassle but a safety hazard, especially when you’re on the road. But don’t worry, you don’t need a mechanic to fix this problem for you. In this ultimate guide, we’ll tell you everything you need to know about how to change a rear turn signal bulb, step-by-step.

Can You Change a Rear Turn Signal Bulb?
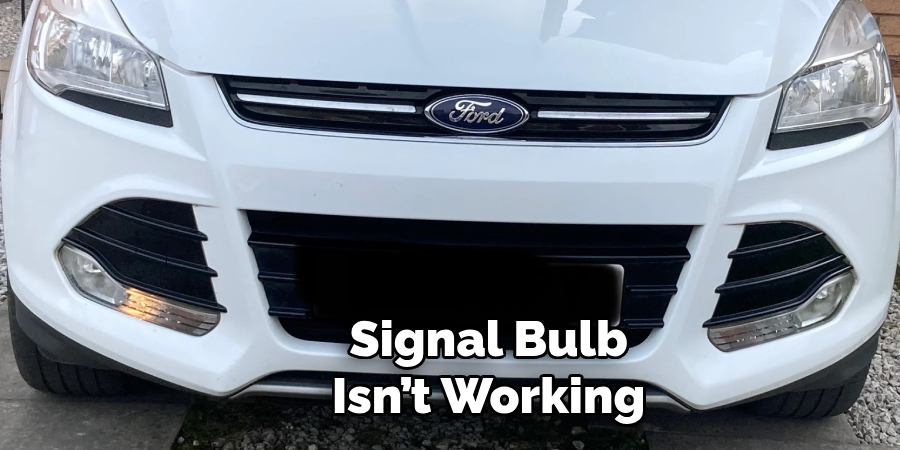
Your car’s rear turn signal is a crucial safety feature that allows other drivers to anticipate your next move on the road. If the signal starts blinking rapidly or fails to light up at all, it could indicate a faulty bulb that needs to be replaced. Fortunately, changing the rear turn signal bulb is a straightforward DIY task that doesn’t require professional expertise or expensive equipment.
All you need is a replacement bulb and a few basic tools. Following the simple steps outlined in your car’s owner’s manual, you can quickly swap out a burnt-out bulb and restore your car’s signaling system to optimal working conditions. Don’t let a faulty turn signal bulb compromise your safety on the road – take action and get it fixed today!
Why Should You Change a Rear Turn Signal Bulb?
The rear turn signal bulb in your car is a small component that plays a big role in your overall safety on the road. When it functions properly, it alerts drivers behind you of your intention to turn or change lanes, enabling them to react accordingly and avoid a potential accident. However, when this bulb burns out or fails to function, you’re putting yourself and other drivers, passengers, and pedestrians at risk.
If you’ve noticed that your rear turn signal bulb isn’t working, it’s important to get it replaced as soon as possible. Doing so ensures that your vehicle is equipped to properly communicate with others on the road and keep you safe during your travels.
The Ultimate Guide on How to Change a Rear Turn Signal Bulb
Step 1: Locate the Turn Signal Bulb
The first thing you’ll need to do is to locate the turn signal bulb. Start by opening the trunk or rear door (depending on your car model), and then find the housing for the broken bulb. The turn signal bulb is located in the taillight assembly, and it’s usually covered by a plastic cover that you can remove by gently squeezing or twisting it.
Step 2: Remove the Old Bulb
Once you have located the turn signal bulb, you’ll need to remove the old one. To do this, gently push the bulb in and then twist it counterclockwise until it pops out of the socket. If you’re struggling with this step, don’t worry, some bulbs might be a bit stubborn. In that case, try using pliers or a piece of rubber to grip the bulb firmly and twist it.
Step 3: Insert the New Bulb
Now, it’s time to insert the new bulb. Grab the new bulb and insert it into the socket, lining up the pins, and then gently twist it clockwise until it clicks into place. Be careful not to touch the bulb’s glass part, as this can create oil residue on the surface and reduce its lifespan.
Step 4: Test the Lights
After successfully installing the new bulb, you’ll need to test the lights to ensure they work correctly. Turn your car’s ignition to the “On” position (without starting the engine) and activate the turn signal with the brake pedal to test whether the bulb works correctly.
If the light flashes normally, then you’re done, and you can put everything back in reverse order. If not, check that the bulb is correctly installed and try again.
Step 5: Replace the Housing Cover
If the new bulb is working correctly, you can now put everything back together. Place the plastic housing cover back and ensure it’s secured tightly. You don’t want any water or moisture getting inside your taillight assembly.

Step 6: Check the Other Side
Now that you’ve successfully changed one turn signal bulb, it’s a good idea to check the other side as well. Even if it’s not broken at the moment, it might be on its way out, and it’s better to change both bulbs at once to save yourself a trip later.
Step 7: Celebrate!
Congratulations, you’ve successfully changed your rear turn signal bulb! You’ve saved yourself some money and learned a new skill that will come in handy the next time your turn signals need replacing. So go ahead, celebrate your accomplishment, and get back on the road with confidence, knowing that you can handle this task like a pro.
5 Considerations Things When You Need to Change a Rear Turn Signal Bulb
1. Check the Owner’s Manual
Before attempting to change a rear turn signal bulb, it is important to consult the owner’s manual of your specific vehicle. The manual will provide detailed instructions on how to access and replace the bulb and any special tools or precautions that may be necessary.
2. Purchase the Correct Bulb
There are many different types of bulbs available for vehicles, so it is important to purchase the correct one for your specific make and model. This information can also be found in the owner’s manual or by consulting with a mechanic or auto parts store employee.
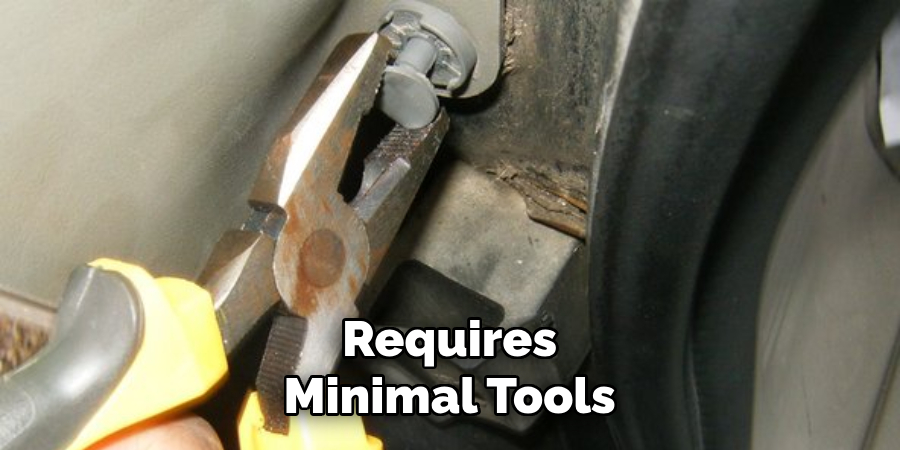
3. Gather Necessary Tools
Changing a rear turn signal bulb typically requires minimal tools, such as a screwdriver or pliers. However, it is important to have these tools on hand before beginning the replacement process to avoid any delays or frustrations.
4. Inspect Other Bulbs
While changing a rear turn signal bulb, inspecting all other bulbs on your vehicle for any signs of wear or damage is a good idea. This can help prevent future issues and ensure all lights function properly.
5. Consider Seeking Professional Help
If you are unsure about how to change a rear turn signal bulb or encounter any difficulties during the process, it may be best to seek professional help from a mechanic or auto repair shop. They have the experience and expertise to quickly and safely replace the bulb for you.
Benefits of Changing a Rear Turn Signal Bulb
Changing the rear turn signal bulb may seem like a small and insignificant task, but the benefits are certainly worth it. Firstly, it ensures the safety of both the driver and those on the road. A working turn signal allows other drivers to anticipate your actions and adjust their driving accordingly. Secondly, changing the rear turn signal bulb is a cost-effective way to avoid any potential tickets or fines that could come from having a broken or non-functioning turn signal.
Finally, replacing the bulb demonstrates a sense of responsibility toward the maintenance of your vehicle, which ultimately leads to better performance and longevity. So, taking the time to change a rear turn signal bulb is a simple task that guarantees safety, saves money, and promotes the overall health of your car.
4 Common Mistakes People Make When Trying to Change a Rear Turn Signal Bulb
1. Using the Wrong Bulb Size
One of the most common mistakes people make when changing a rear turn signal bulb is using the wrong bulb size. It’s important to check your vehicle’s manual or consult with a professional to ensure that you are using the correct bulb for your specific make and model. Using the wrong bulb can lead to it not fitting properly or not working at all.
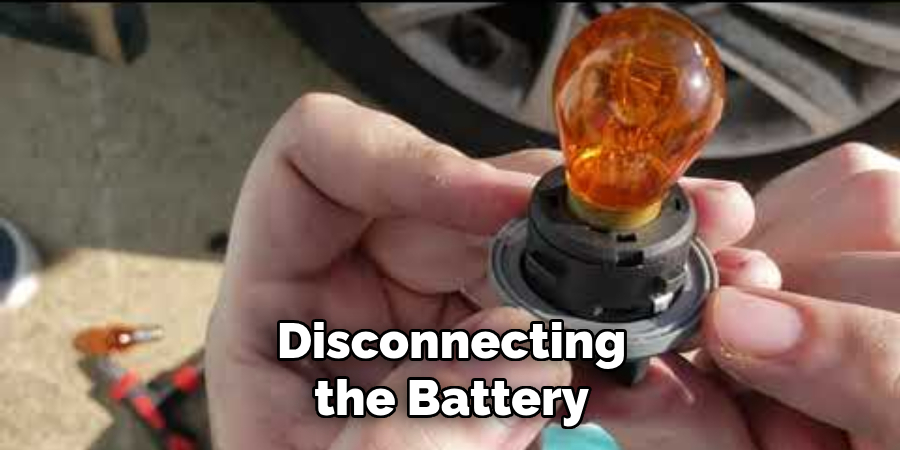
2. Not Disconnecting the Battery
Another mistake people make is not disconnecting the battery before attempting to change the bulb. This step is crucial as it ensures that there is no power running through the circuit, reducing the risk of electric shock or short-circuiting. It’s important to always disconnect the battery before working on any electrical components in your vehicle.
3. Forgetting to Test the New Bulb
After successfully changing the rear turn signal bulb, many people forget to test it before putting everything back together. This can result in having to take everything apart again if the new bulb doesn’t work. Always remember to test the new bulb by turning on your headlights and activating your turn signals before finishing up.
4. Not Tightening Screws Properly
When replacing a rear turn signal bulb, there are usually screws involved in removing and securing the assembly back into place. A common mistake is not tightening these screws properly, which can cause the assembly to become loose while driving and potentially fall off. Make sure all screws are securely tightened before hitting the road.
Conclusion
Changing a rear turn signal bulb is one of the easiest and most important maintenance tasks you can do as a driver. By following these five easy steps, you can save yourself time and money by avoiding a trip to the auto repair shop.
Remember, always be careful when handling the bulb, and if you’re still having trouble, don’t hesitate to seek professional help. So, go ahead and give it a try – it’s easier than you might think! Thanks for reading our post about how to change a rear turn signal bulb.