
When it comes to maintaining your vehicle’s appearance and ensuring its off-road capabilities, a properly adjusted brush guard is vital. Not only does it protect the front of your vehicle from scratches and minor impacts during your adventures, but it also adds to the rugged aesthetic that off-roading enthusiasts admire.

This guide on how to adjust brush guard will introduce the fundamental steps required to adjust your brush guard for optimal performance and protection. Whether you’re a seasoned pro or a novice to vehicle modifications, these instructions will help ensure that your brush guard is both functional and visually appealing.
Understanding Brush Guards
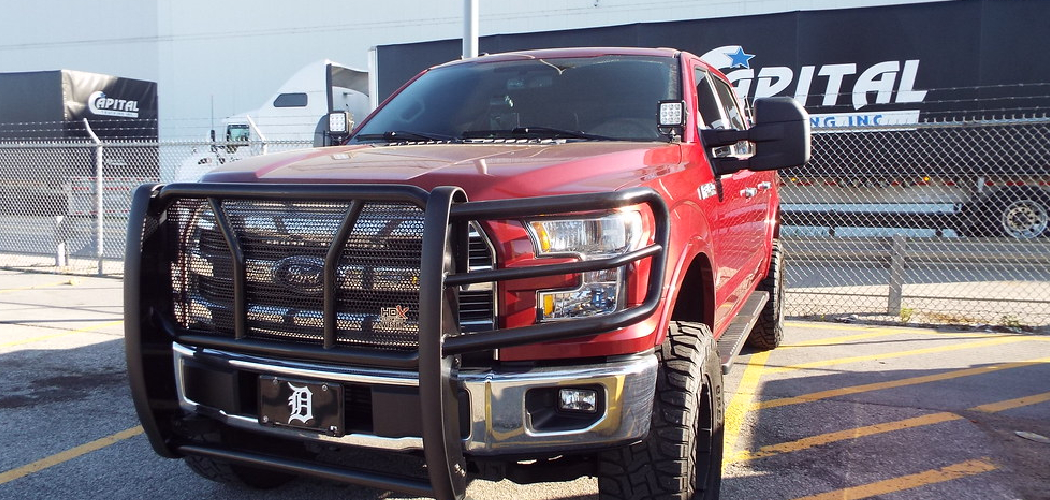
A brush guard, also known as a grille guard or bull bar, is an aftermarket accessory that is mounted on the front of a vehicle to protect its headlights, grille and other vulnerable parts from damage. They are typically made of metal bars or tubes and can vary in design depending on the make and model of your vehicle. Some brush guards also come with additional features such as mounting points for auxiliary lights or winches.
Different types of brush guards offer different levels of protection. For example, a full grille guard offers the most coverage and protection while a bull bar typically only covers the center portion of the front bumper. Some brush guards are also designed to work with your vehicle’s airbags, allowing them to deploy in case of an accident.
Selecting the Right Brush Guard
Before adjusting your brush guard, it’s important to ensure that you have the right one for your vehicle. It should fit securely on the front of your vehicle without obstructing any headlights or sensors.
Measure the width and height of your bumper and choose a brush guard that closely matches these dimensions. Additionally, consider the type of terrain you usually drive on and select a brush guard that can withstand the conditions and offer the desired level of protection.
Gathering Necessary Tools and Materials
To successfully adjust your brush guard, you will need a few tools and materials. Given below is a list of recommended items:
Wrench or Socket Set:
This will be used to remove and tighten the bolts that secure your brush guard in place.
Leveling Tool:
A leveling tool will help ensure that your brush guard is aligned properly for maximum functionality and aesthetic appeal.
Rubber or Foam Padding:
These materials can be used to provide additional cushioning between the brush guard and your vehicle’s bumper, preventing any scratches or damage. You can also use them to fill any gaps between the brush guard and bumper for a snug fit.
Cleaning Supplies:
Before adjusting your brush guard, make sure to clean the area where it will be mounted. This will help remove any dirt or debris that could hinder proper installation.
10 Step-by-step Guidelines on How to Adjust Brush Guard
Step 1: Locating the Ideal Mounting Position
Carefully examine your brush guard and find the ideal location to mount it on your vehicle. This will vary depending on the type of brush guard you have. It’s best to refer to the manufacturer’s instructions for specific guidelines. You can also make adjustments to the mounting position later on if needed.
The main thing to keep in mind is that the brush guard should not interfere with any essential components of your vehicle. If you’re unsure, consult a professional for assistance. You can also use a measuring tape and level to ensure that the brush guard is centered and straight.
Step 2: Inspecting Existing Adjustments (if applicable)
If your brush guard is already installed but needs to be adjusted, inspect the current adjustments and make note of any changes you need to make. Use a marker or tape to mark the areas that require adjustment.
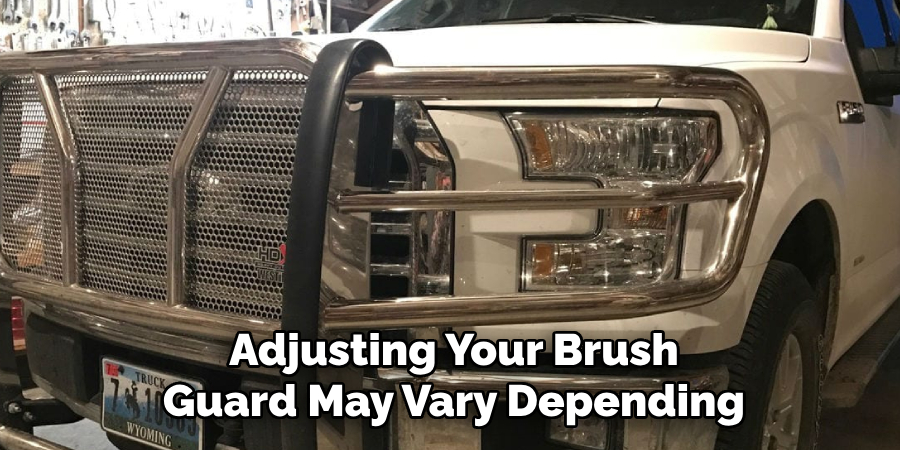
But if this is your first time installing a brush guard, skip to step 5. The following steps are for adjustments only. It’s crucial to note that the adjustments will vary depending on the type of brush guard you have. The steps below are general guidelines.
Step 3: Adjusting the Brush Guard Height
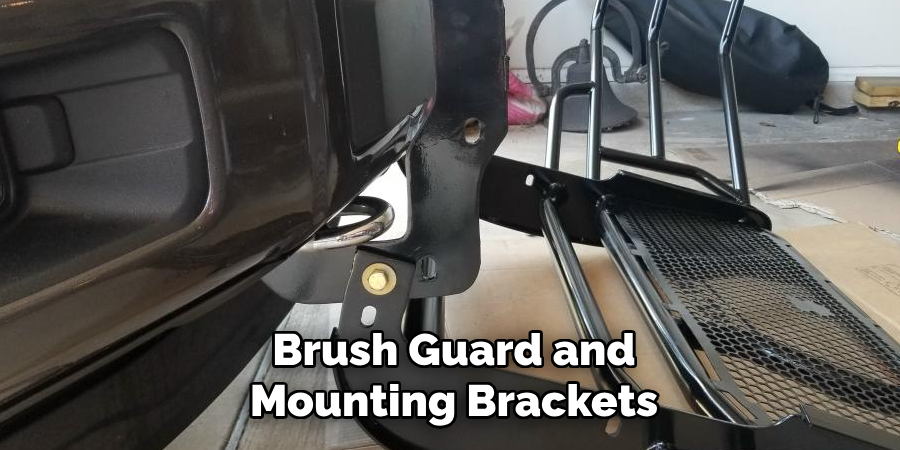
If your brush guard’s height needs to be adjusted, you will need to remove it from the vehicle first. Use a wrench or socket set to loosen and remove the bolts that secure the brush guard in place.
Refer to the manufacturer’s instructions for specific guidance on how to adjust the height of your particular brush guard. It typically involves adding or removing spacers between the brush guard and mounting brackets. Once adjusted, reattach the brush guard to your vehicle using the same bolts. The brush guard should now be at the ideal height.
Step 4: Adjusting the Brush Guard Width
Similarly, if your brush guard’s width needs to be adjusted, remove the bolts and follow the manufacturer’s instructions for specific guidance. Adjustments may involve sliding the mounting brackets closer or further apart to fit your vehicle’s bumper.
But be sure not to make the brush guard too wide as it may interfere with your headlights or other components. The key is to achieve a snug fit without any obstructions. If your brush guard has multiple sections, they can also be adjusted individually for a custom fit. It’s best to do this step with an extra pair of hands for support.
Step 5: Tilting or Angling the Brush Guard
To adjust the angle or tilt of your brush guard, loosen and remove any bolts that secure it to the vehicle. Then, using a level tool, make sure that it is aligned properly for both functionality and aesthetic appeal.
If needed, you can add spacers or adjust the height of individual sections to achieve the desired angle. But be cautious not to make the brush guard too high or low as it may affect its functionality. The ideal tilt will also depend on the design and type of brush guard you have.
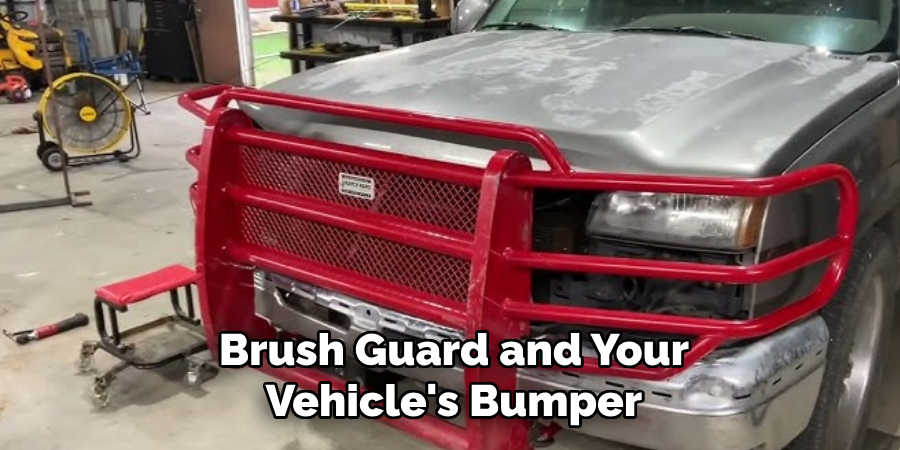
Step 6: Aligning with the Vehicle’s Front End
Place the brush guard back on your vehicle and check if it is aligned with the front end. Ensure that there are no gaps or spaces between the brush guard and bumper. If needed, add rubber or foam padding to fill any gaps for a snug fit.
It’s important to ensure that the brush guard does not obstruct any headlights, sensors, or other components of your vehicle. But if it does, refer to the next step for adjustments. You may also need to adjust the mounting brackets for a closer fit. The key is to have a secure and seamless installation.
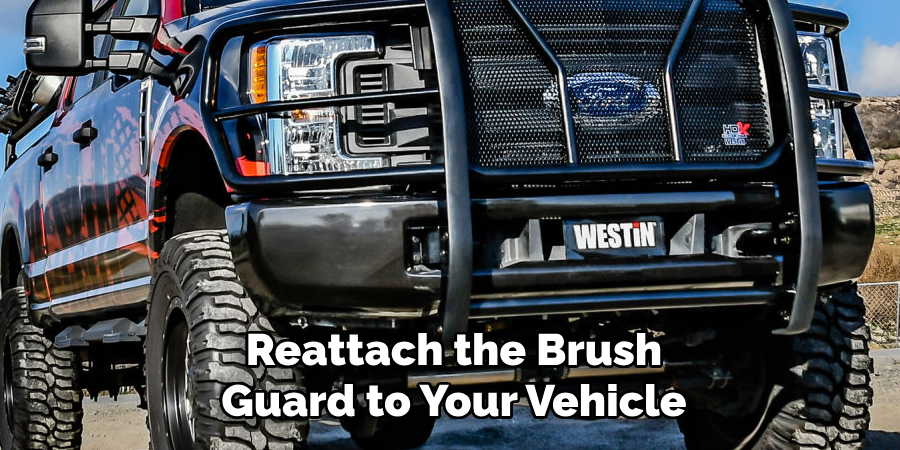
Step 7: Verifying Secure Attachment
Once you have made all the necessary adjustments, reattach the brush guard to your vehicle using the same bolts. Tighten them securely with a wrench or socket set. It’s important to ensure that the brush guard is firmly attached and does not wobble or move around while driving.
Test it by gently pushing on different parts to see if there are any loose areas that need further adjustments. But be careful not to damage your vehicle’s paint or any sensitive components. The brush guard should be stable and secure when properly installed. It’s also a good idea to periodically check the bolts and tighten them if needed.
Step 8: Testing for Interference with Components
With the brush guard securely attached, start your vehicle and test if there are any obstructions caused by it. Check for any interference with headlights, sensors, or other essential components. Make sure that all lights and signals are visible and unobstructed.
If you face any issues, make necessary adjustments to ensure proper functionality. You may also consult a professional for further assistance. It’s important to address any obstructions before driving to avoid any accidents or damages. If everything looks good, proceed to the next step. You’re almost done!
Step 9: Ensuring Legal Compliance
In some states or countries, there may be regulations regarding the use and installation of brush guards. Therefore, it’s important to check with local authorities for any legal compliance requirements or restrictions before installing a brush guard on your vehicle. Failure to comply with these regulations could result in fines or penalties.
If needed, you may also need to obtain permits or approvals before installing a brush guard. But with proper knowledge and compliance, you can enjoy the added protection and style of a brush guard on your vehicle. So make sure to thoroughly research the rules and regulations in your area before proceeding with the installation.
Step 10: Regular Maintenance and Inspection
To ensure the longevity and functionality of your brush guard, it’s essential to regularly inspect and maintain it. Check for any loose bolts or damage caused by debris or off-road driving. Clean the brush guard with soap and water to remove any dirt or grime buildup. Inspect the mounting brackets and spacers for any signs of wear and tear, and replace them if necessary.
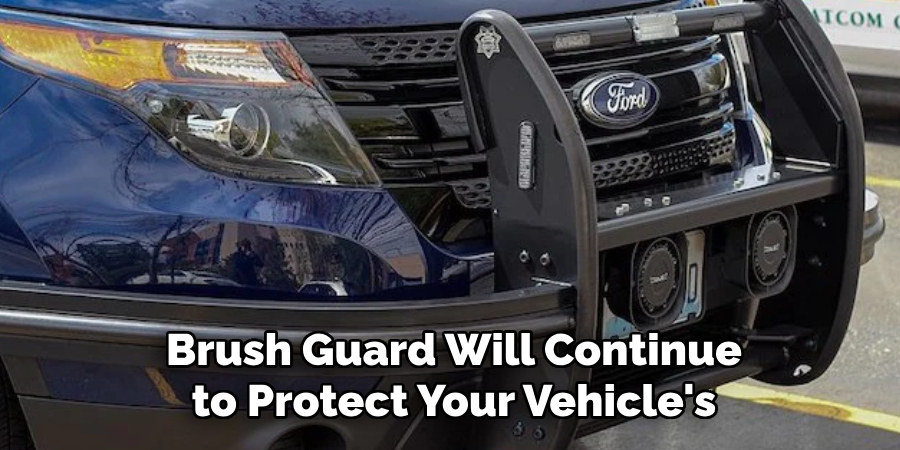
With proper maintenance, your brush guard will continue to protect your vehicle’s front end for years to come. So, it’s important to make sure that it is installed correctly and adjusted properly as needed.
Remember to always refer to the manufacturer’s instructions for specific guidance and consult a professional if needed. With these steps on how to adjust brush guard, you can enjoy the added protection and rugged look of a brush guard on your vehicle. Happy driving!
Troubleshooting
If you face any issues or have difficulty adjusting your brush guard, refer to the manufacturer’s instructions for specific troubleshooting guidance. You can also consult a professional for assistance if needed.
It’s important to address any problems with the installation or adjustments before driving to ensure the safety and functionality of your vehicle. Regularly check your brush guard during routine maintenance and make necessary adjustments as needed. With proper installation and maintenance, your brush guard should provide reliable protection for your vehicle’s front end.
So, don’t hesitate to reach out for help or guidance if you encounter any problems. Happy driving! So, make sure to regularly check and adjust your brush guard to ensure its optimal functionality and longevity.
Do You Need to Get Help From a Professional?
If you have any doubts or concerns about adjusting your brush guard, it’s always best to consult a professional for assistance. They have the experience and knowledge to properly install and adjust brush guards for various vehicles. They can also provide advice on maintenance and troubleshooting if needed.
So, don’t hesitate to seek help from a professional if you are unsure or unable to adjust your brush guard on your own. It’s better to be safe than sorry when it comes to the protection and functionality of your vehicle.
Plus, getting help from a professional can save you time and effort in the long run. So, don’t hesitate to reach out for assistance if needed.
How Much Will It Cost if You Use Professional?
The cost of getting help from a professional for adjusting your brush guard may vary depending on various factors, such as the type and design of your brush guard, the vehicle it will be installed on, and the location. On average, you can expect to pay anywhere between $50 to $200 for professional installation services.
However, this price may go up or down based on the aforementioned factors. It’s best to get a quote from different professionals in your area to compare prices and services before making a decision. Remember, it’s important to choose a reputable and experienced professional for optimal results.
So, don’t hesitate to invest in professional installation or assistance if needed. Your vehicle and its protection are worth it! Now that you know how to adjust brush guard, you can confidently install and maintain one on your vehicle.
Just remember to follow the manufacturer’s instructions and consult a professional if needed. With proper installation and adjustments, your brush guard will provide reliable protection for years to come. So, go ahead and hit the road with peace of mind knowing that your vehicle is well-protected.
Frequently Asked Questions
Q1: Can I Install a Brush Guard on My Vehicle Myself?
A: Yes, as long as you follow the manufacturer’s instructions and have the necessary tools and equipment. It’s also recommended to have an extra pair of hands to assist with the installation for better support. You can also consult a professional if needed. But remember to check for any legal compliance requirements or restrictions before installing a brush guard on your vehicle.
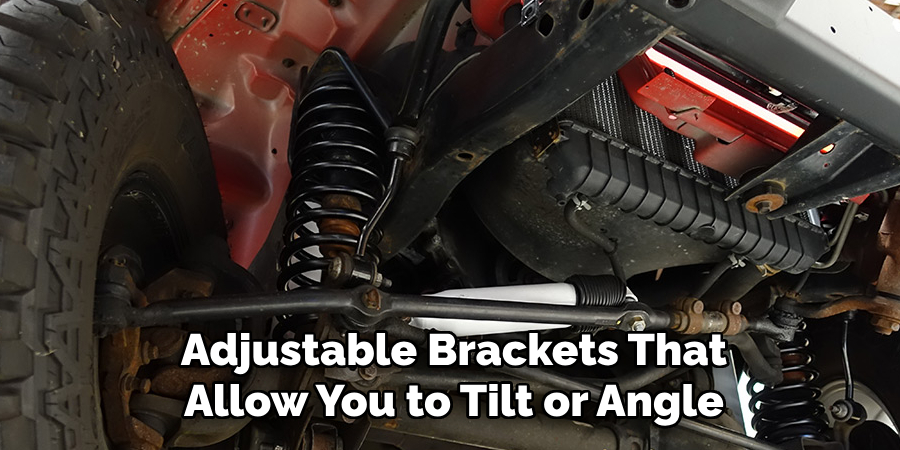
Q2: Can I Adjust the Angle of My Brush Guard?
A: Yes, most brush guards come with adjustable brackets that allow you to tilt or angle it as needed. But be cautious not to make the brush guard too high or low as it may affect its functionality. Refer to the manufacturer’s instructions for specific guidance on how to adjust your brush guard.
Q3: How Often Should I Inspect and Adjust My Brush Guard?
A: It’s recommended to inspect and maintain your brush guard during routine maintenance intervals, or at least every six months. But if you regularly drive in harsh conditions or off-road, it may be necessary to check and adjust more frequently.
Always make sure to address any issues with the installation or adjustments before driving for safety purposes. So, it’s better to be safe than sorry when it comes to maintaining your brush guard.
Q4: How Can I Tell If My Brush Guard Needs to Be Replaced?
A: If you notice significant damage, rust, or wear and tear on your brush guard, it may be time for a replacement. Also, if the brush guard is no longer securely attached to your vehicle or has dents that could potentially affect its functionality, then it’s best to get a new one. Regular maintenance and inspections can help prevent the need for a replacement, so make sure to take good care of your brush guard.
Q5: Are There Any Other Benefits of Having a Brush Guard on My Vehicle?
A: Yes, brush guards not only provide extra protection for your vehicle’s front end but can also enhance its appearance and add to its ruggedness.
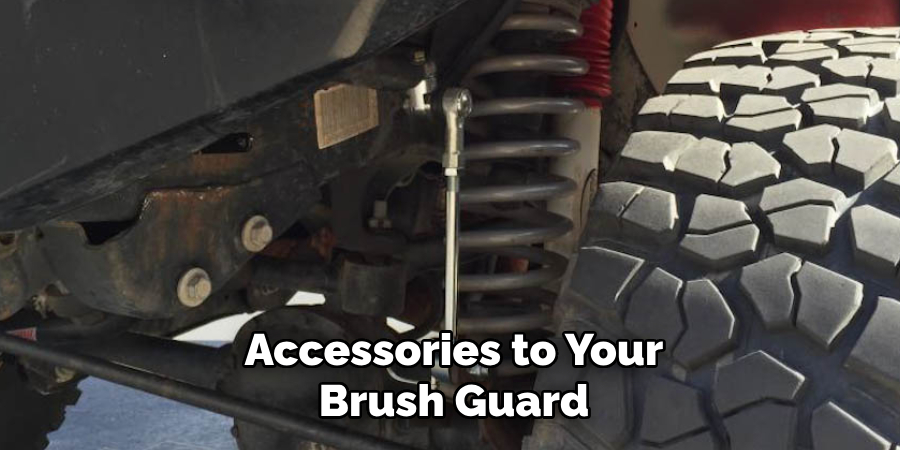
They can also act as mounting points for additional accessories such as light bars or winches. Just make sure to follow the manufacturer’s instructions and consult a professional if you plan on adding any extra accessories to your brush guard. So, aside from protection, brush guards can also add functionality and style to your vehicle.
Conclusion
In conclusion on how to adjust brush guard, properly adjusting your brush guard is a simple yet crucial part of vehicle maintenance that enhances both protection and aesthetics. It ensures your vehicle is prepared for any challenges encountered on the road less traveled.
By following the steps outlined in this guide, you’ll be able to secure your brush guard effectively and maintain the rugged functionality of your off-road vehicle. Remember to regularly check and adjust as necessary to keep your adventures safe and your vehicle in top condition.