
Are you having difficulty starting your car? Your carburetor may be the culprit. A carburetor is a mechanical device that mixes air and fuel for an internal combustion engine.

One of the fundamental checks for diagnosing engine performance issues in classic and some modern vehicles is to confirm that the carburetor, the heart of the fuel system, is receiving an adequate fuel supply. A carburetor that isn’t getting fuel can lead to various problems, including engine stalling, failure to start, or uneven running conditions.
This part of the document will guide you through the preliminary steps on how to tell if carburetor is getting fuel to operate efficiently. We’ll look at visual inspections, troubleshooting techniques, and practical tips that can be employed by both enthusiasts and seasoned mechanics alike.
How Does Carburetor Work?
Before we dive into the topic, let’s quickly go over how a carburetor works. A carburetor uses suction and pressure to deliver a precise mixture of air and fuel to the engine. It does this through a series of small passages and jets controlling the fuel entering the engine.
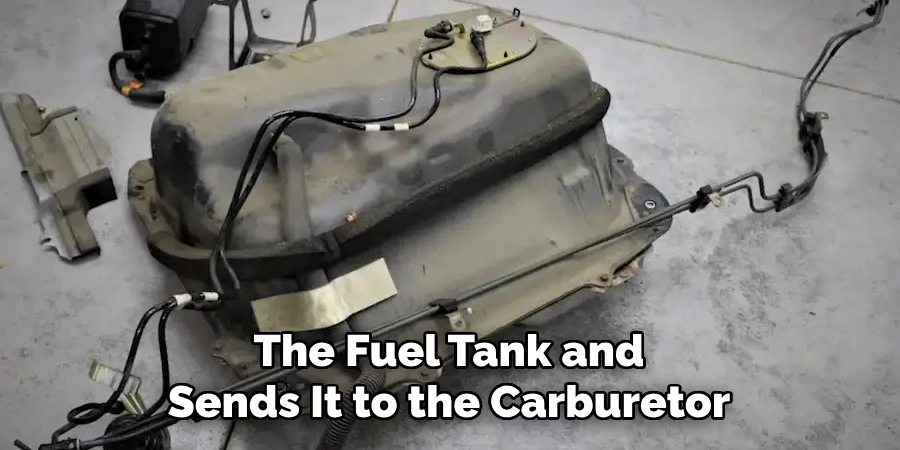
When you turn on your car, an electric pump draws gasoline from the fuel tank and sends it to the carburetor. The gasoline is then mixed with air in the carburetor’s main body, where it is converted into a fine spray and fed into the engine cylinders. This process allows for efficient combustion within the engine.
Now that we have a basic understanding of how a carburetor operates, let’s move on to how to tell if it is getting fuel.
What Tools and Materials Do You Need?
To determine if your carburetor is getting fuel, you will need the following tools and materials:
- Protective Gear: Working with fuel can be dangerous, so it’s essential to have some protective equipment like gloves, safety glasses, and a face mask.
- Essential Hand Tools: To access the carburetor and its components, you’ll need basic hand tools like screwdrivers, pliers, and a wrench set.
- Fuel Pressure Gauge: A fuel pressure gauge is crucial for testing the fuel supply to the carburetor.
- Fuel Container: You’ll need a clean and safe container to collect some fuel samples for testing.
- Carburetor Cleaner: This will be useful if the carburetor needs to be cleaned during the inspection.
- Shop Towels and Cleaning Brush: These will help clean up any dirt or debris around the carburetor for a more accurate inspection.

Once you have all the necessary tools and materials, you can inspect your carburetor for fuel supply.
10 Easy Steps on How to Tell if Carburetor is Getting Fuel
Step 1. Perform a Visual Inspection:
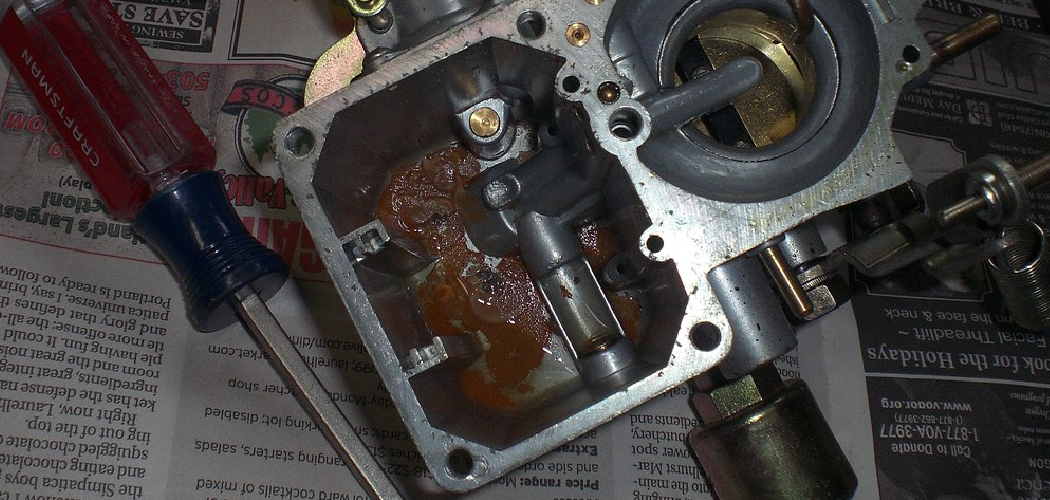
Start by visually inspecting your carburetor for any apparent signs of fuel, such as wet spots or leaks around the fuel inlet, where the fuel line connects to the carburetor. Be sure to check for any cracks or damage on the fuel line that could prevent an adequate fuel supply. If you notice any of these signs, addressing them before proceeding with further testing is essential.
Step 2. Check the Fuel Bowl:
After the initial visual inspection, the next step is to inspect the fuel bowl for the presence of gasoline. This can often be done through a sight plug or by gently removing the fuel bowl if the design allows.
A fuel bowl that is either empty or low on fuel indicates that there might be a blockage or issue within the fuel delivery system. When checking the fuel bowl, also observe for any debris or impurities that could be clogging the pathways.
Step 3: Test Fuel Pump Pressure:
Before concluding that the problem lies with the carburetor itself, it’s crucial to test the fuel pump pressure. Attach your fuel pressure gauge to the fuel line near the carburetor to measure the pressure.
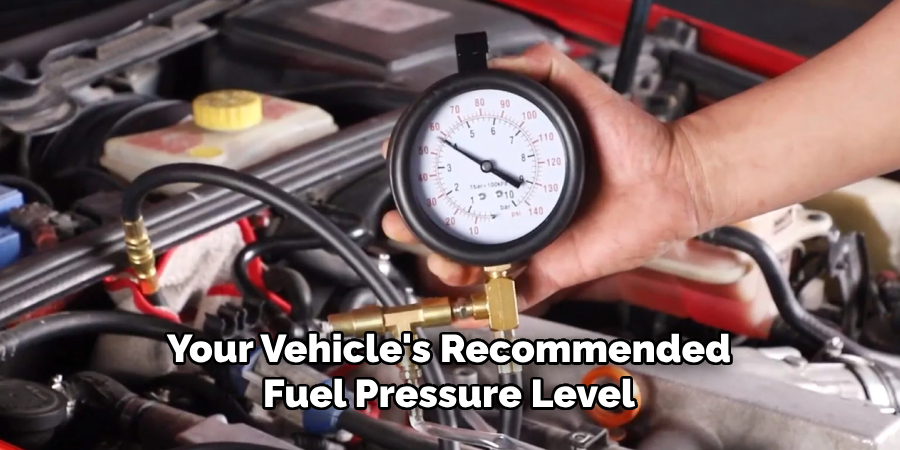
Compare the reading against your vehicle’s recommended fuel pressure level, found in the service manual. A significantly low pressure could indicate that the fuel pump is not supplying sufficient fuel to the carburetor.
Step 4: Inspect the Fuel Filter:
Another possible culprit for a carburetor not receiving fuel could be a clogged or dirty fuel filter. Locate the fuel filter, which is generally located along the fuel line between the fuel pump and carburetor.
If the filter appears dirty or clogged, replacing it is a simple and oftentimes, effective fix. A clean fuel filter ensures that only clean fuel reaches the carburetor, reducing the risk of clogs within the carburetor itself.
Step 5: Check for Proper Float Level:
The float in the carburetor controls the fuel level within the fuel bowl. If the float is set too low, it may not allow enough fuel into the bowl; if it’s set too high, it may cause flooding. Remove the air cleaner assembly with the engine off and look down into the carburetor.
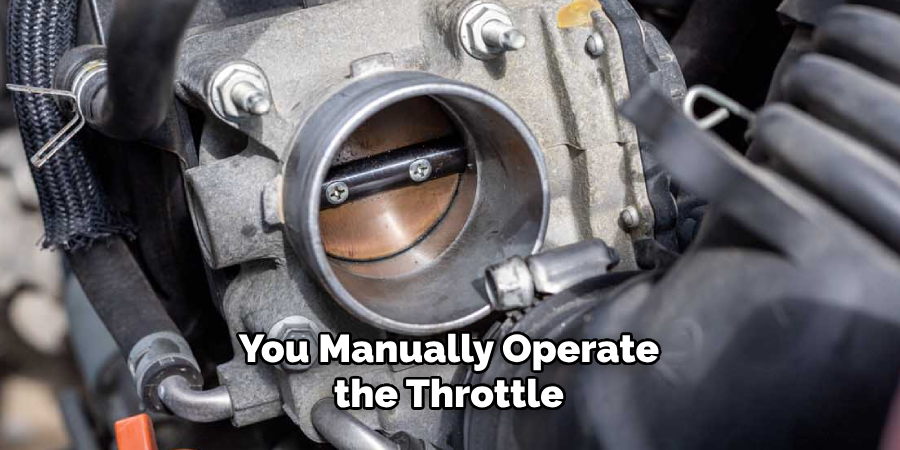
As you manually operate the throttle, watch for the fuel to squirt into the primary venturi. No squirt or a feeble one indicates a possible issue with the float level or a clogged passageway. Adjusting the float to the manufacturer’s specifications is critical for proper carburetor performance.
Step 6: Inspect the Choke Operation:
The choke mechanism of a carburetor is responsible for enriching the fuel mixture when starting a cold engine. Check if the choke plate closes completely when cold and opens fully as the engine warms up.
Improper functioning of the choke can lead to a lean mixture and insufficient fuel delivery. If the choke does not operate smoothly or seems stuck, it may require cleaning or adjustment in accordance with the manufacturer’s guidelines.
Step 7: Test the Accelerator Pump:
The accelerator pump in a carburetor is designed to provide the extra fuel needed when accelerating rapidly. To test its functionality, with the engine off and the air cleaner assembly removed, actuate the throttle linkage and observe if a fine stream of fuel is sprayed into the venturi.
If there’s no fuel spray or it appears to be dribbling, this could indicate a worn or faulty accelerator pump diaphragm or a clogged passage, which needs to be addressed to ensure responsive acceleration.
Step 8: Perform a Leak-Down Test:
A leak-down test can be an invaluable step if the carburetor still seems to be struggling with fuel delivery. This test involves adding fuel directly to the fuel bowl then monitoring whether the fuel level drops over time.
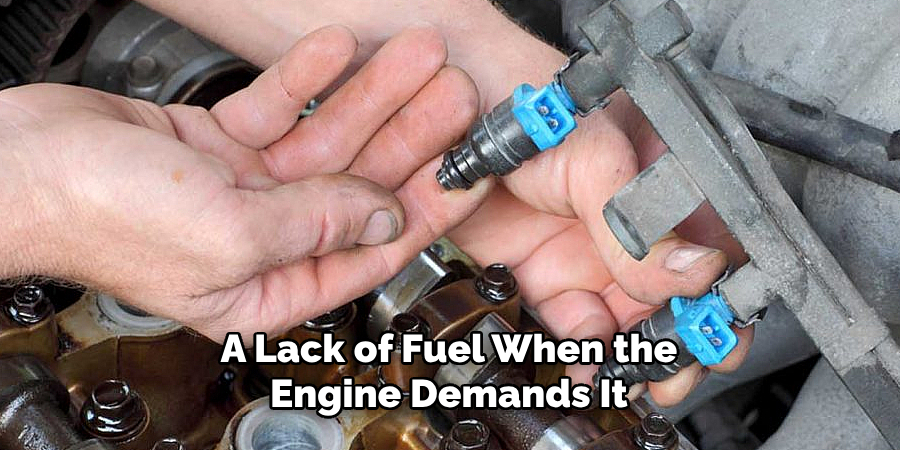
To do this, fill the fuel bowl through the vent tube or other designated fill point, then observe if the fuel level maintains or decreases. A dropping fuel level may indicate a leaking needle valve or seat, an issue that can cause fuel to drain away and result in a lack of fuel when the engine demands it.
Step 9: Inspect the Main Jets and Metering Rods:
Examine the condition of the main jets and metering rods within the carburetor, as these components control fuel flow to the engine during various operating conditions. Any blockage or damage can result in improper fuel mixture and poor engine performance.
Remove the jets and rods carefully using the appropriate tools, and clean them thoroughly with carburetor cleaner. If they appear damaged or excessively worn, they may need replacement to ensure the carburetor can deliver the correct fuel mixture.
Step 10: Conduct a Throttle Response Test:
Finally, to ensure your carburetor is getting fuel, conduct a throttle response test. With the engine running, quickly press the throttle and observe if the engine accelerates smoothly. Hesitation or stumbling indicates insufficient fuel being delivered when the engine requires it.
This could be due to various factors within the carburetor, such as clogged jets, incorrect float levels, or issues with the accelerator pump. If any abnormalities are observed during this test, it may be necessary to revisit previous steps and ensure all components are clean, properly adjusted, and fully functional.
Following these steps, you can effectively troubleshoot fuel delivery issues in a carburetor and address them accordingly.
5 Additional Tips and Tricks
- Check the Sight Glass: A carburetor’s sight glass allows you to observe the fuel level in the float bowl. If you can see fuel at the proper level, it’s a good indication that fuel is reaching the carburetor.
- Inspect the Spark Plugs: Remove the spark plugs and check their condition. A wet spark plug may indicate that fuel is in the combustion chamber, which means the carburetor has been delivering fuel.
- Perform a Fuel Pressure Test: Use a fuel pressure gauge to check the pressure in the fuel line. A reading within the manufacturer’s recommended range confirms that fuel is being pushed to the carburetor.
- Listen for a Clicking Choke: When you turn the engine on, listen for the clicking sound from the automatic choke. This can signify that fuel is being pulled into the intake manifold as the choke tries to regulate the air/fuel mixture.
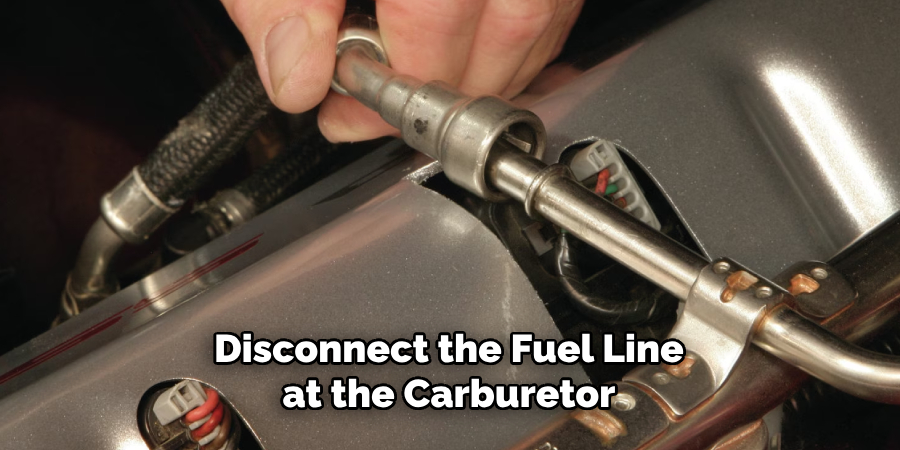
- Use a Fuel Line Clear Test: Disconnect the fuel line at the carburetor and place it into a container. Crank the engine and observe if fuel is being pumped out. No fuel flow may indicate a blockage or issue upstream from the carburetor.
With these tips and tricks, you can quickly identify issues with your carburetor and make necessary adjustments.
5 Things You Should Avoid When Determining If A Carburetor Is Getting Fuel
- Neglecting Safety Precautions: Always ensure you work in a well-ventilated area and keep open flames or sparks away from the workspace. Fuel is highly flammable, and safety should never be compromised.
- Guessing Instead of Testing: Do not simply guess whether fuel is reaching the carburetor based on engine behavior. Always perform the appropriate tests, such as checking the sight glass or conducting a fuel pressure test, for an accurate diagnosis.
- Skipping the Basics: Avoid jumping to complex conclusions or solutions. Begin with basic checks, such as ensuring there is enough fuel in the tank and that the fuel shut-off valve is open.
- Ignoring the Fuel Quality: Using old or contaminated fuel can be problematic. Pay attention to the condition of your fuel, as it can lead to false assumptions about carburetor issues.
- Overlooking the Engine’s Overall Condition: A carburetor is just part of the engine’s fuel system. Do not ignore the possibility of other issues with the engine that could affect fuel delivery, such as a faulty fuel pump or clogged fuel filters.
By avoiding these common mistakes, you can accurately determine if your carburetor is getting fuel and address any issues effectively.
What Does a Dirty Carburetor Sound Like?
A dirty carburetor can cause a variety of sounds in the engine, depending on the severity of the buildup. Some familiar sounds that may indicate a dirty carburetor include:
- Sputtering or Hesitation When Accelerating: This sound could be caused by clogged jets or passages in the carburetor, preventing enough fuel from entering the engine.
- Engine Backfiring: If the carburetor is dirty, it may not deliver the proper air/fuel mixture to the combustion chamber, causing unburnt fuel to ignite and create a backfire.
- Rough Idle or Stalling: A dirty carburetor can cause inconsistent fuel delivery, resulting in engine stalls or rough idling. A sputtering sound could accompany this as the engine struggles to maintain a steady idle speed.
- Popping or Clicking Sounds: These sounds may occur when the engine is under load, indicating that the carburetor is not delivering enough fuel for proper combustion.
If you hear any of these sounds, it’s essential to inspect and clean your carburetor to ensure proper fuel delivery and avoid potential damage to your engine. Overall, a dirty carburetor can lead to various unwanted sounds and symptoms, making it essential to regularly maintain and clean your carburetor for optimal engine performance. Remember these tips and tricks to quickly determine if your carburetor is getting fuel and address any issues effectively. So next time you hear an unusual sound from your engine, don’t ignore it – it could be a sign of a dirty carburetor.
What is a Common Carburetor Problem?
One of the most common problems with a carburetor is clogging or buildup caused by old fuel, dirt, and debris. Over time, these particles can accumulate in the jets and passages of the carburetor, hindering proper fuel delivery to the engine.
Another common issue is wear and tear on components such as gaskets, seals, and diaphragms. These parts can become damaged or worn out, causing leaks and affecting the fuel/air mixture.
Additionally, problems with the choke mechanism can occur, leading to difficulties starting the engine or stalling at idle. This could be caused by a faulty automatic choke or manual choke cable that is not adjusted correctly.
It’s important to regularly clean and maintain your carburetor to prevent these common problems and ensure optimal engine performance. If you do encounter any of these issues, it’s best to address them promptly to avoid further damage or potential safety hazards. Don’t overlook the importance of proper carburetor maintenance in keeping your engine running smoothly. So watch for these common problems and take the necessary steps to keep your carburetor in top condition.
How Do You Know if a Carburetor is Rich or Lean?
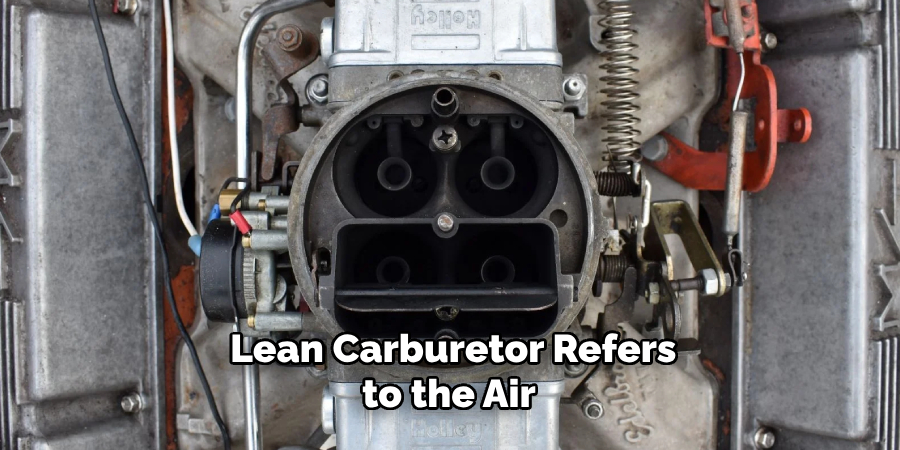
A rich or lean carburetor refers to the air/fuel mixture being either too rich (too much fuel) or too lean (not enough fuel compared to air). This can cause various issues with engine performance and requires adjustment of the carburetor for proper balance.
To determine if your carburetor is running rich or lean, you can perform a “spark plug test.” This involves removing the spark plugs and examining their condition. If the pins are black, sooty, or oily, this indicates a rich air/fuel mixture. If they are white or light tan, this indicates a lean air/fuel mixture.
Another method is to use a carburetor synchronizer tool to measure vacuum levels in each cylinder. If the readings are not balanced, this could indicate a lean or rich carburetor. Consult your vehicle’s manual for specific instructions on how to use the tool.
It’s essential to promptly address any issues with a rich or lean carburetor, as it can lead to engine damage if not addressed. Regularly checking and adjusting the carburetor will help maintain fuel delivery and improve overall engine performance. So be sure to monitor your carburetor’s air/fuel mixture and make necessary adjustments as needed.
Conclusion
In conclusion, accurately determining whether a carburetor is getting fuel involves a methodical approach that includes inspecting for visual signs, conducting several tests, and being aware of common carburetor issues. By avoiding pitfalls such as neglecting basic steps or misdiagnosing engine noises, you can effectively troubleshoot and diagnose fuel delivery problems.
Remember to consult your service manual for specific procedures related to your engine and to tackle maintenance issues regularly to prevent complications with the carburetor. Proper maintenance of your carburetor is essential not only for reliable engine performance but also for the longevity of your engine’s life.
Hopefully, the article on how to tell if carburetor is getting fuel has provided valuable insights and practical tips to keep your engine running smoothly. With the proper knowledge and tools, you can confidently troubleshoot and maintain your carburetor for optimal performance. So keep these tips in mind, and happy riding!