
Imagine you’re cruising down the highway, the wind in your hair and a playlist of your favorite tunes blaring through the speakers. Then, you hear it – that unmistakable flapping noise of a tire gone flat. What do you do if you don’t have a plug kit handy?
Whether you’re miles away from the nearest auto shop or you prefer the satisfaction of fixing things on your own, knowing how to plug a tire without a plug kit can be a game-changer. In this comprehensive guide, we’ll walk you through the step-by-step process to patch your tire with materials you may already have to get you back on the road safely and swiftly.
Can You Plug a Tire Without A Plug Kit?
Before we dive into the steps, let’s address the big question – can you plug a tire without a plug kit? The short answer is yes, it is possible. However, using a proper plug kit may not be as durable or long-lasting. Additionally, this method should only be used temporarily until you can get to a professional for a proper repair or replacement.
Assessing the Situation and Tackling the Task
Before we jump into the nitty-gritty of plugging a tire, it’s crucial to understand why this skill is valuable and the risks involved. Tire blowouts can be catastrophic, especially at high speeds or in hazardous conditions. Knowing how to manage a tire puncture on the spot can minimize these dangers.
The Importance of Tire Maintenance
Regular tire checks are as essential to your vehicle as regular health checks. Just a little knowledge and a few minutes every week can save you a lot of hassle in the long run. Properly maintained tires ensure your safety on the road and impact your car’s fuel economy and handling.
Safety First
Safety must come before all else. If you’re uncomfortable performing the following steps, don’t hesitate to call for roadside assistance or professional help. Additionally, always work on a flat, stable surface.
How to Plug a Tire Without a Plug Kit: The Ultimate DIY Guide
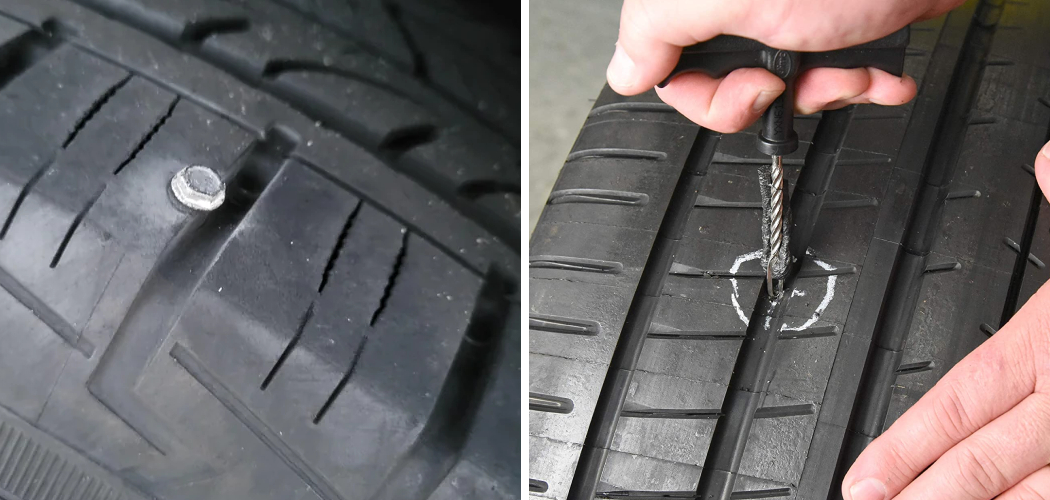
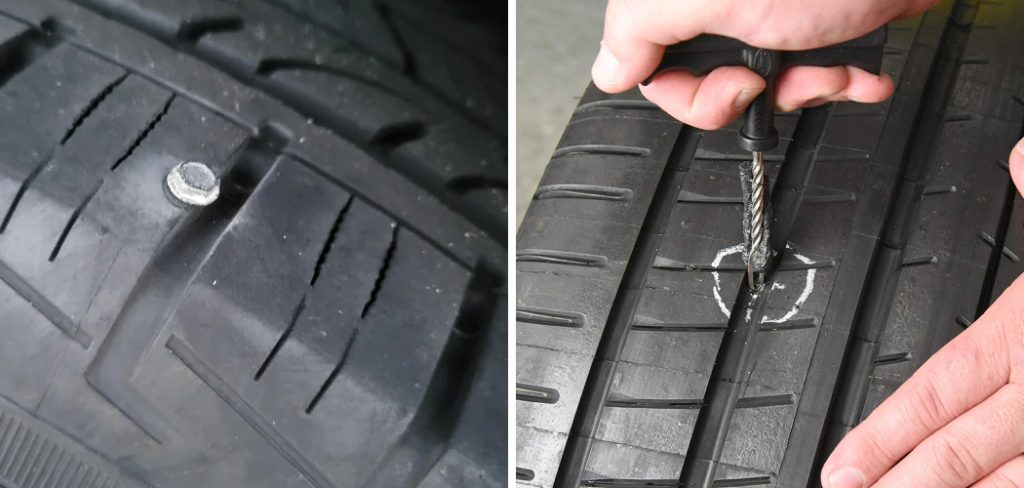
Step 1: Inspect the Tire Damage
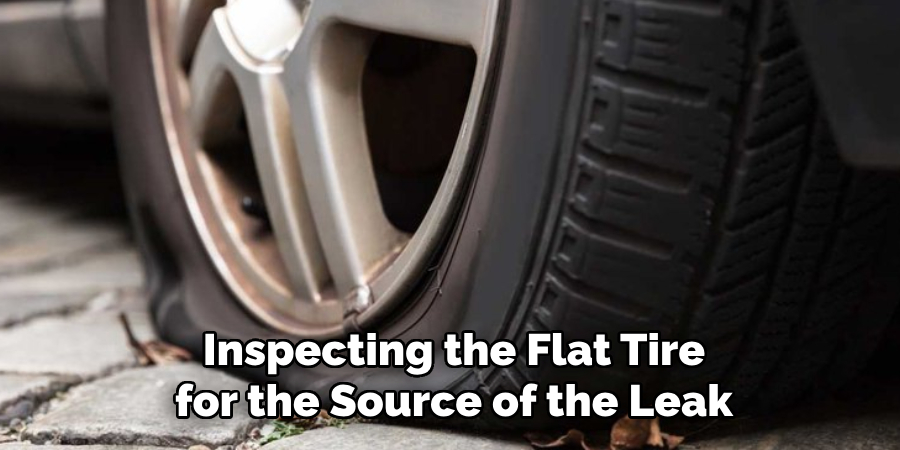
Start by visually inspecting the flat tire for the source of the leak. You might spot the culprit on the tread’s surface – it could be a nail, screw, or sharp rock. If the damage is too extensive, you must resort to a spare tire and consult a specialist.
Determining If It’s Safe to Repair
There are caveats to repairing a tire on your own. If the puncture is larger than a quarter-inch, if the sidewall is compromised, or if there’s significant tread wear, the tire may not be salvageable and will need professional replacement.
Step 2: Gather the Right Materials
Without a plug kit, you’ll need to improvise with materials that can serve the same purpose. It’s like MacGyvering your way out of a sticky situation—almost anything can be a tool if it’s used correctly!
Basic Tools and Materials
• A pair of pliers or multitool for removing the offending object
• A tire gauge to check pressure as you patch
• Sharp scissors or a sharp knife for cutting material to size
• Something to lubricate the plug material with (anything from dish soap to spit will do)
• Your patch material – a piece of sturdy fabric, rubber, or a section of an old tire can suffice
Step 3: Locate the Puncture
Identifying the exact point of the puncture can sometimes be trickier than it sounds, especially if the object has fallen out.
How to Find a Hard-to-Spot Leak
One helpful technique is to listen for the hissing sound, feel for the area that’s warm from friction, or use soapy water – apply it to the tire, and watch for bubbles.
Marking the Spot
Once you’ve found the leak, mark it with a pen or a piece of chalk. This will give you a reference point when you’re ready to patch.
Step 4: Clean and Prepare the Tire
Before applying the patch, the area around the puncture must be clean and dry.
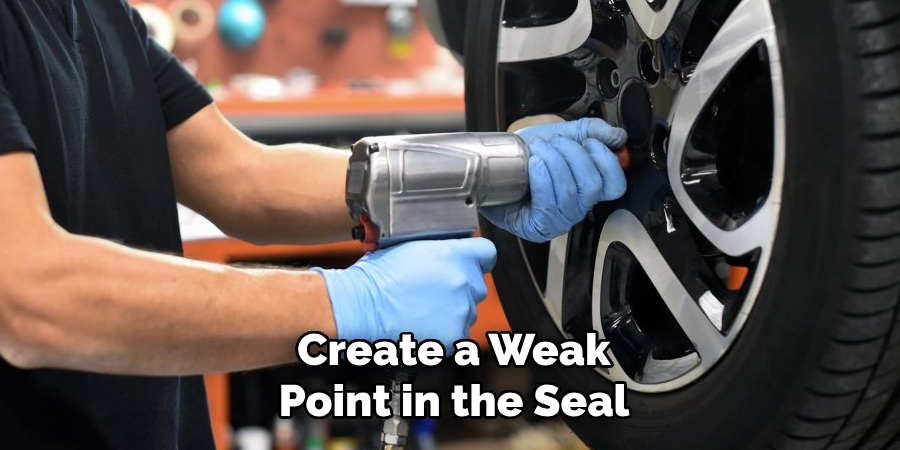
The Importance of a Clean Surface
Debris can prevent the patch from adhering properly or create a weak point in the seal. Use the pliers to remove foreign objects, then scrape the area with a knife or scissors to ensure it’s clean.
De-Greasing the Area
Wipe the surface with a bit of the lube – soap and water will suffice – to help the next material slide into place and minimize the potential for gaps in the seal.
Step 5: Apply an Alternative Plug
It’s time to plug the hole! This part of the process is where your creativity comes into play. The goal is to create a barrier between the outside air and the tire’s interior – think of it like playing a game of Tetris, but with better stakes.
Creating a Patch
Cut a strip of the patch material that’s slightly longer than the puncture. Then, thread it through the puncture, pulling it halfway back.
Securing the Patch
Pull the material so the patch is about equally distributed on each side of the tire, then cut the excess. This creates a sort of internal and external seal.
Step 6: Inflate and Test the Tire
After you’ve successfully patched the tire, it’s time to check your handiwork.
Re-Inflating the Tire
Use either a portable air compressor or an air pump to refill the tire with the appropriate pressure, as listed in your vehicle’s manual or on the side of the tire.
Test for Leaks
Now that the tire is inflated, reapply the soapy water with a sponge. If there are no more bubbles, great job – your tire is good to go!
5 Considerations Things When You Need to Plug a Tire Without A Plug Kit
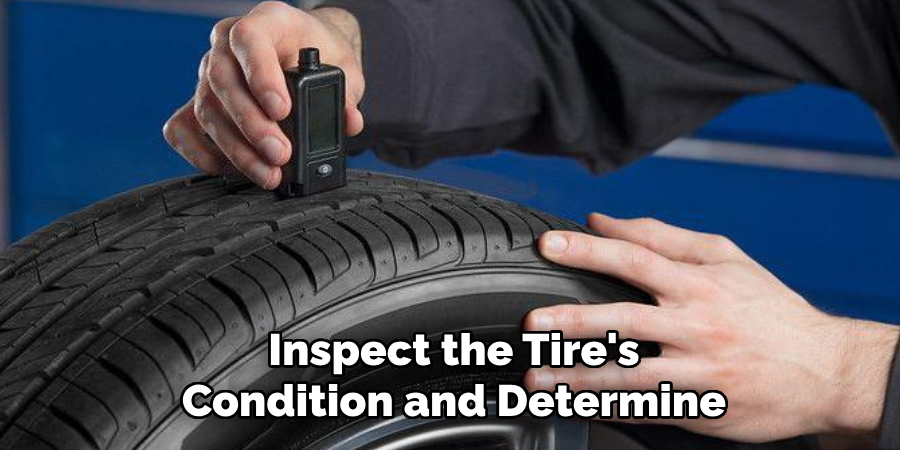
1. The Condition of the Tire
As mentioned, not all tire punctures can be repaired with improvised materials. It’s crucial to inspect the tire’s condition and determine if it’s safe to proceed with a DIY patch or if you should seek professional help.
2. The Severity of the Puncture
The size and location of the puncture will also play a vital role in deciding whether to plug or replace the tire. A larger puncture or damage to the sidewall may require professional assistance, while smaller holes on the tread can be safely plugged.
3. The Materials You Have Available
The right tools and materials are essential when attempting to plug a tire without a plug kit. If you don’t have the necessary items or are unsure if what you have will work, it may be safer and more effective to seek assistance from a professional.
4. Your Comfort Level with DIY Repairs
If you’re uncomfortable or inexperienced with performing DIY repairs on your vehicle, avoiding attempting to plug a tire without a plug kit may be best. Putting your safety at risk is not worth the potential cost savings.
5. The Importance of Safety First
Always prioritize your safety when attempting to plug a tire without a plug kit. If you’re unsure about any step in the process or feel uncomfortable, don’t hesitate to seek professional help. Your well-being should always come first.
Frequently Asked Questions About Plugging a Tire Without a Plug Kit
Q1. Is It Safe to Drive Long Distances on A Tire Plugged without A Kit?
A1. While a tire plugged as a temporary fix can often get you to a repair shop, it is not recommended for long distances or high-speed travel. Check the tire’s stability and pressure frequently, and head to a professional for a proper repair as soon as possible.
Q2. How Long Does an Improvised Tire Plug Last?
A2. The durability of an improvised plug is unpredictable, and such a repair should be considered very temporary. Regular plugs are designed to last for the life of the tire, but DIY solutions may fail quickly, so arrange for professional repair immediately.
Q3. Can I Use Any Type of Material for An Emergency Tire Plug?
A3. Not all materials are suitable as a tire plug. Ideally, the material used should be rubber or a sturdy fabric that can create a robust and flexible seal. However, in an emergency, the objective is to get the tire sealed well enough to get to a repair shop.
Q4. What Are the Risks Involved in Plugging a Tire without A Plug Kit?
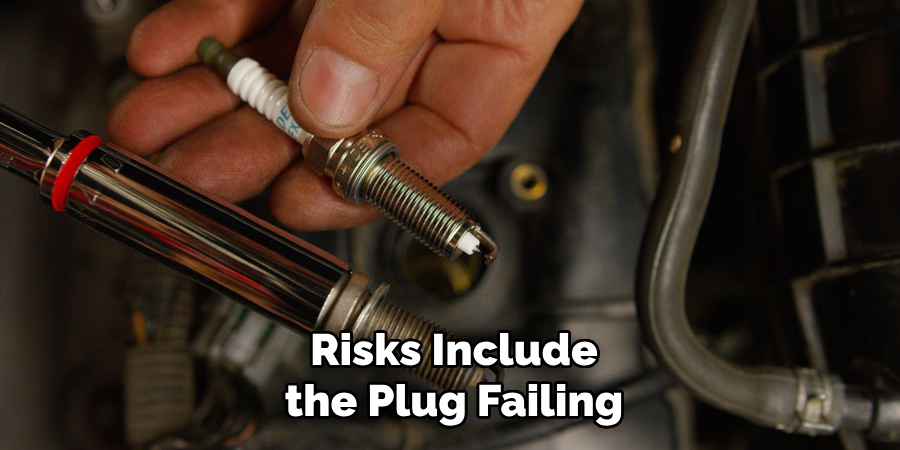
A4. Risks include the plug failing, leading to rapid air loss and potential loss of vehicle control. Additionally, improper plugging can further damage the tire, making it irreparable. Always follow safety guidelines and prioritize getting to a professional repair service.
Q5. Can Plug a Tire Void Its Warranty?
A5. Yes, DIY repairs, including tire plugging without an approved kit, can void the warranty of your tire. Always check the manufacturer’s warranty policy before proceeding with any repairs.
Q6. After Plugging the Tire, the Pressure Isn’t Holding. What Should I Do?
A6. If the tire continues to lose pressure after your repair attempt, the plug may not have sealed properly, or there may be additional damage to the tire. It’s essential to stop driving and seek professional assistance to prevent further damage or an accident.
Conclusion: Back to the Road
Knowing how to plug a tire without a plug kit is a handy DIY skill that can get you out of a jam when you least expect it. However, remember that a makeshift plug is a temporary solution. As soon as it’s safe, visit a professional who can repair the puncture correctly or advise on the tire’s condition.
With this ultimate guide, you can confidently handle a flat tire independently – no plug kit required. Share this knowledge with your fellow road warriors, and you’ll all be able to enjoy the open road without fears of being sidelined by a simple puncture. Stay safe, and keep rolling!