
Repairing a cracked intake manifold is a crucial maintenance task that helps prevent engine performance issues and potential mechanical failures. The intake manifold is responsible for distributing the air-fuel mixture to the engine’s cylinders. When it’s compromised, your engine’s efficiency can suffer dramatically, leading to increased fuel consumption and a higher risk of engine damage. Fixing cracks early can save you from costly repairs down the line.
This guide on how to fix a cracked intake manifold will walk you through the necessary steps to detect and fix it, ensuring your vehicle continues to run smoothly and efficiently.
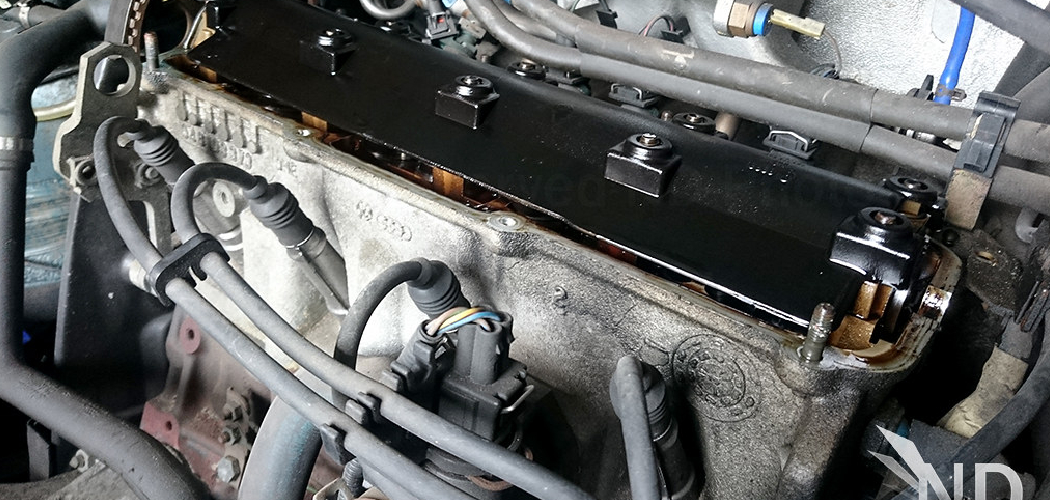
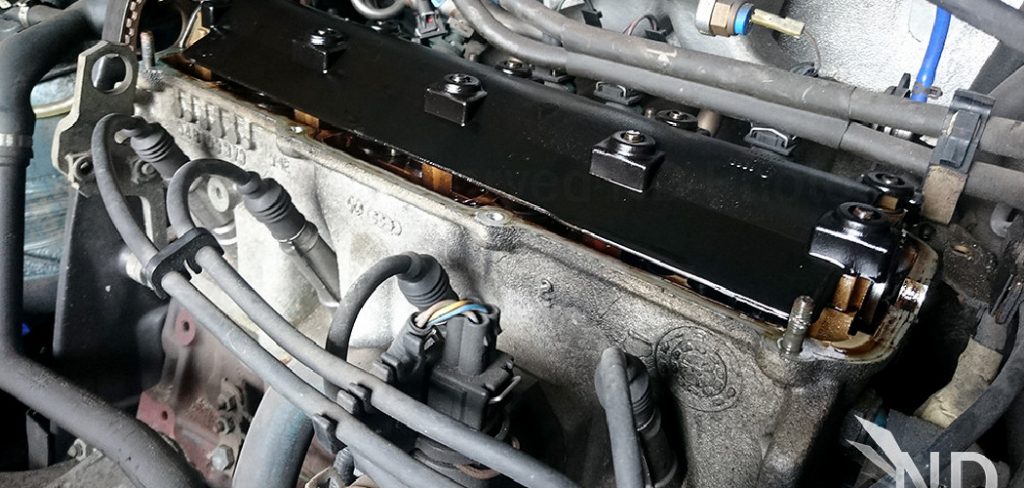
What is an Intake Manifold?
The intake manifold is a crucial component of your vehicle’s engine. It’s responsible for delivering the air-fuel mixture to the cylinders, where it is ignited to power your vehicle. The intake manifold sits on top of the engine and connects to the engine’s throttle body, which controls how much air enters the engine.
Intake manifolds can be made of different materials, including aluminum, plastic, or composite materials. They are designed to withstand high temperatures and pressures from the engine’s combustion process. However, over time, they can develop cracks due to wear and tear, thermal stress, or improper installation.
Signs of a Cracked Intake Manifold
Identifying a cracked intake manifold early on is crucial for preventing potential engine damage. Here are some signs to look out for:
Engine Misfires or Hesitation:
A cracked intake manifold can cause air leaks, leading to an incorrect air-fuel mixture ratio and resulting in engine misfires.
Decreased Engine Performance:
If your vehicle has a cracked intake manifold, it can lead to reduced power and acceleration, making it difficult to maintain high speeds or climb steep inclines.
Engine Overheating:
A cracked intake manifold can also contribute to engine overheating. When there are air leaks in the intake system, the engine will receive less fuel than needed, causing it to run hotter than usual.
Gather Your Tools and Materials
Before you begin repairing your intake manifold, make sure you have all the necessary tools and materials on hand. These include:
Safety Goggles or Glasses:
It’s essential to protect your eyes when working with any vehicle components.
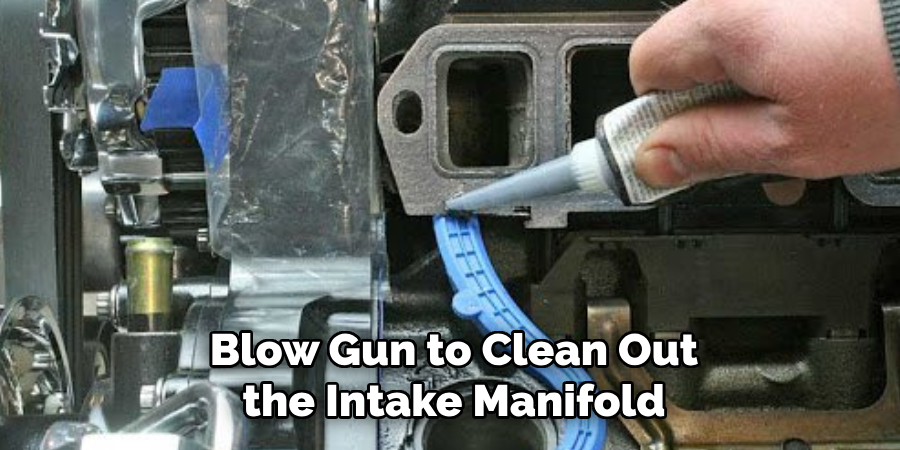
Air Compressor and Blow Gun:
You’ll need an air compressor and blow gun to clean out the intake manifold before repairing it.
Intake Manifold Gasket Set:
Make sure you have a new intake manifold gasket set on hand to replace the old one during the repair process.
Cleaning Solvent:
A cleaning solvent like acetone or brake cleaner is necessary for removing any debris and oil buildup inside the intake manifold.
Epoxy or Intake Manifold Sealant:
Depending on the severity of the crack, you may need to use epoxy or an intake manifold sealant to seal the crack and prevent further damage. Make sure to choose a product specifically designed for high-temperature engine applications.
10 Step-by-step Instructions on How to Fix a Cracked Intake Manifold
Step 1: Prepare Your Vehicle for Repairs
To ensure your safety, park your vehicle on level ground and engage the parking brake. Disconnect the negative battery cable to prevent any electrical accidents. The intake manifold can also be hot, so let it cool down before handling.
You may also want to take pictures of the intake manifold before removing it to use as a reference later. It’s handy if you’re unfamiliar with the engine layout. The intake manifold is usually located near the top of the engine.
Step 2: Remove the Intake Manifold Cover, Air Filter, and Throttle Body
Remove any components that are obstructing access to your intake manifold. This includes the air filter box, tubing, and cover. Disconnect the throttle body’s electrical connectors and remove it from the intake manifold.
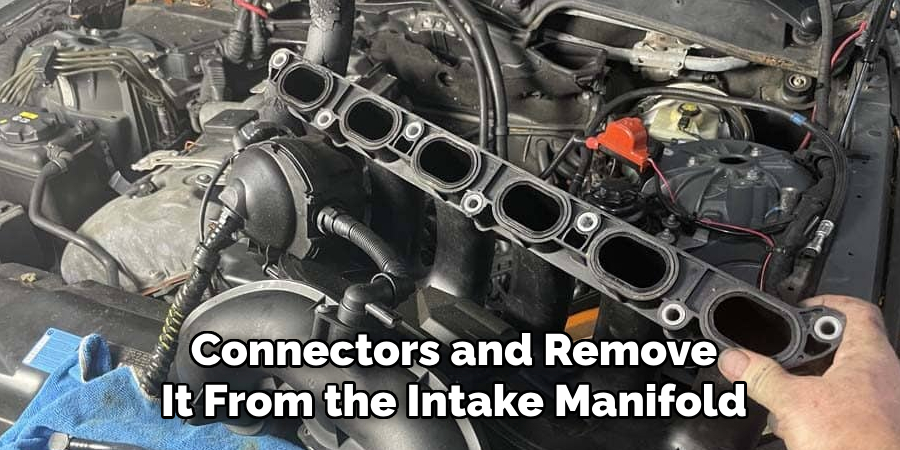
But remember to disconnect the wiring harness and vacuum lines connected to the throttle body, if any. It’s also a good idea to clean the throttle body while it’s detached. You can use a throttle body cleaner or carburetor cleaner for this. This will help ensure smooth throttle operation.
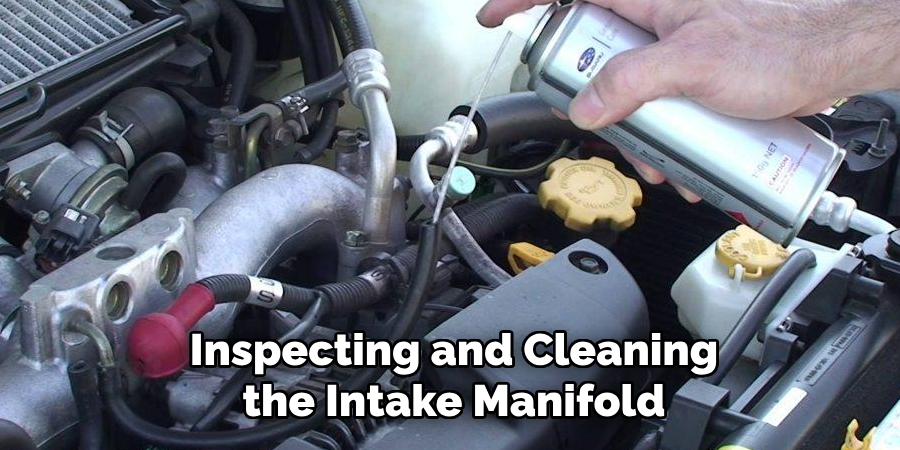
Step 3: Clean the Intake Manifold
Using your air compressor and blow gun, clean out any debris or oil buildup inside the intake manifold. Then, clean it with a cleaning solvent to remove any remaining residue. Make sure to wear gloves and work in a well-ventilated area when working with cleaning solvents.
Otherwise, you can develop skin irritation or respiratory problems. If the intake manifold has an excessive amount of buildup or damage, it may be better to replace it rather than repair it. But if you’re confident that the crack is fixable, move on to the next step. You can also check for intake manifold replacement options to see which one is more cost-effective and suitable for your vehicle.
Step 4: Locate the Crack on the Intake Manifold
Inspect the intake manifold thoroughly, looking for any visible cracks or leaks. It’s essential to identify where the crack is located so you can repair it correctly. Use a flashlight if necessary to get a better view. The crack can be on the top, bottom, or sides of the intake manifold.
Once you’ve located it, mark it with a piece of chalk or a marker. But make sure the marking won’t interfere with the repair process. You can also note the size and shape of the crack to help you when applying the sealant. The larger the crack, the more sealant you’ll need to use.
Step 5: Sand Down the Area Around the Crack
Using sandpaper, gently sand down the area surrounding the crack. This will help ensure a smooth surface for the epoxy or sealer to adhere to. Be careful not to damage the surrounding area or make the crack bigger. The goal is to create a clean and flat surface for the repair.

If the crack is on a curved surface, you can use sanding discs to help contour the shape. You can also use a wire brush to remove any remaining debris or buildup. The cleaner the surface, the better the sealant will adhere.
Step 6: Apply Epoxy or Intake Manifold Sealant
If the crack is small and not too severe, you can use epoxy or an intake manifold sealant to repair it. Follow the manufacturer’s instructions for preparing and applying the product. You may need to mix different components together before applying them to the crack using a putty knife or brush.
Make sure to cover the entire crack with a thin layer of epoxy or sealant. You can also apply a small amount inside the crack to reinforce it. But be careful not to overdo it, as excess sealant can create issues when reinstalling the intake manifold. It’s also essential to keep the sealant away from any moving parts or sensors.
Step 7: Let the Epoxy or Sealant Cure
Allow the epoxy or sealant to cure completely before moving on to the next step. This can take anywhere from 1 to 24 hours, depending on the product and the severity of the crack. Make sure to follow the recommended curing time before handling the intake manifold again.
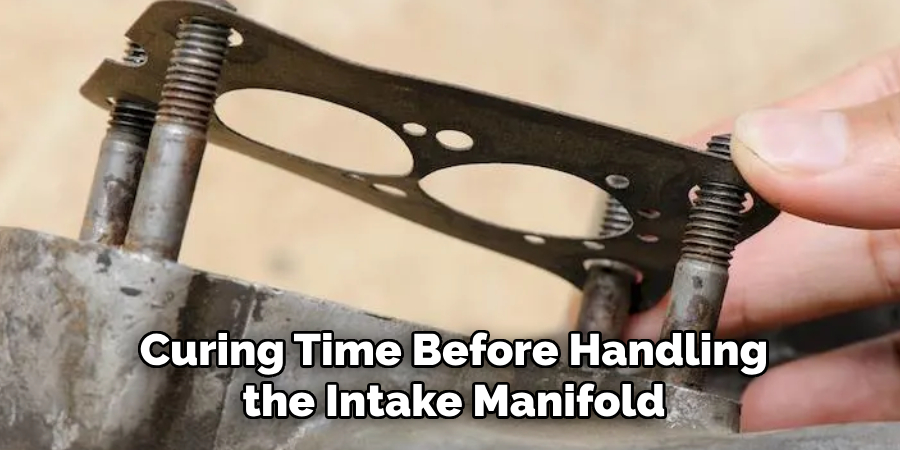
Otherwise, the repair may not hold up and can cause further damage to your engine. If you’re unsure about the curing time, it’s always better to wait longer than recommended. But if you’re in a rush, you can use a heat gun to speed up the process. You can also use a wet cloth to cover the repair and keep it moist while curing.
Step 8: Reinstall the Intake Manifold
Once the epoxy or sealant is fully cured, it’s time to reinstall the intake manifold. Make sure to align any gaskets appropriately before securing them in place. Follow any torque specifications recommended by the manufacturer to ensure a proper seal. You can also apply a small amount of gasket sealer to the new intake manifold gaskets to prevent any leaks.
Reattach all components and connections in reverse order, including the throttle body, air filter, and cover. Although, it’s always a good idea to start your engine after reinstalling the intake manifold to make sure everything is working correctly. It’s also recommended to use a scan tool to check for any potential issues with the intake manifold or other components.
Step 9: Reconnect the Battery
Reconnect the negative battery cable and make sure everything is properly tightened and secured. You can also check for any warning lights or error codes on your vehicle’s dashboard. If everything looks good, you’ve successfully repaired your intake manifold crack!
The process may seem daunting at first, but with proper preparation and the right tools, it can be a straightforward DIY project. And remember, if you’re unsure about anything during the repair process, don’t hesitate to consult a professional mechanic for assistance. The intake manifold is a critical component of your engine, so it’s essential to ensure it’s in good working condition for optimal performance.

Step 10: Perform Regular Maintenance
Performing regular maintenance on your intake manifold can help prevent cracks and other issues from occurring in the future. This includes regularly cleaning it, checking for any signs of wear or damage, and replacing worn-out gaskets. It’s also essential to keep an eye on your engine’s performance and address any issues promptly before they escalate into more significant problems.
With proper care and maintenance, your intake manifold can last for years to come. So, make sure to include it in your regular vehicle maintenance routine. By following these steps on how to fix a cracked intake manifold and taking good care of your intake manifold, you’ll ensure smooth engine operation and avoid costly repairs down the road.
Do You Need to Take Help From a Professional?
In most cases, repairing a cracked intake manifold can be done at home with the right tools and instructions. However, if you’re unsure about your DIY skills or the severity of the crack, it’s always best to seek help from a professional mechanic. They have the experience and knowledge to assess the situation properly and make any necessary repairs.
It’s also essential to note that some vehicle models may require specialized tools or equipment for intake manifold repairs, making it more challenging to do at home. So, if you’re not confident in your abilities, it’s best to leave it to the experts and avoid potentially causing further damage to your engine.
If you do decide to take your car to a mechanic, make sure to research and choose a reputable one with good reviews and ratings. This will ensure that you get a quality repair job done at a fair price.
Preventive Maintenance and Best Practices
- Regularly Inspecting and Cleaning the Intake Manifold.
- Checking for Any Signs of Wear or Damage, Such as Cracks or Leaks.
- Replacing Worn Out Gaskets and Seals Regularly.
- Properly Torqueing All Connections and Components When Reinstalling the Intake Manifold.
- Following Recommended Curing Times for Sealants and Epoxies During Repairs.
- Using a Heat Gun to Speed Up the Curing Process if Needed.
- Consulting a Professional Mechanic for Assistance if Unsure About Any Steps.
- Including Intake Manifold Maintenance in Your Regular Vehicle Maintenance Routine.
Safety Considerations and Environmental Impact
- Before starting any repairs, make sure the engine is cool to avoid potential burns.
- Wear protective gear such as gloves and safety glasses when working with chemicals or sharp tools.
- Properly dispose of any used sealants or materials according to local environmental regulations.
- Regular maintenance and proper repair techniques can help prevent harmful emissions from your vehicle.
- In the case of severe damage or extensive repairs, it may be safer and more environmentally friendly to replace the intake manifold rather than attempting a repair. So make sure to regularly check and maintain your intake manifold to avoid costly and potentially hazardous situations.
- Overall, by properly maintaining your vehicle and addressing any issues promptly, you can help reduce its environmental impact and keep yourself and others safe on the road. So, make sure to follow these best practices and safety considerations when performing intake manifold repairs or maintenance.
Real-Life Examples and Case Studies
- In some cases, intake manifold cracks can lead to coolant leaking into the engine, causing significant damage.
- A cracked intake manifold can also cause misfires and rough idling due to incorrect air-to-fuel ratios.
- In extreme cases, a cracked intake manifold can result in engine failure and costly repairs or replacement.
- Regular maintenance and inspections can help identify and prevent these issues before they escalate.
- Some manufacturers have issued recalls for faulty intake manifolds, emphasizing the importance of regularly checking this component.
- In one case study, a car owner noticed a cracked intake manifold after experiencing difficulty starting their engine. They were able to fix it by following similar steps outlined in this guide and saved hundreds of dollars on potential repairs at a mechanic.
- By regularly maintaining and inspecting your intake manifold, you can prevent these issues and save yourself time, money, and potential harm to you and your vehicle.
Frequently Asked Questions
Q: Can I Drive My Vehicle With a Cracked Intake Manifold?
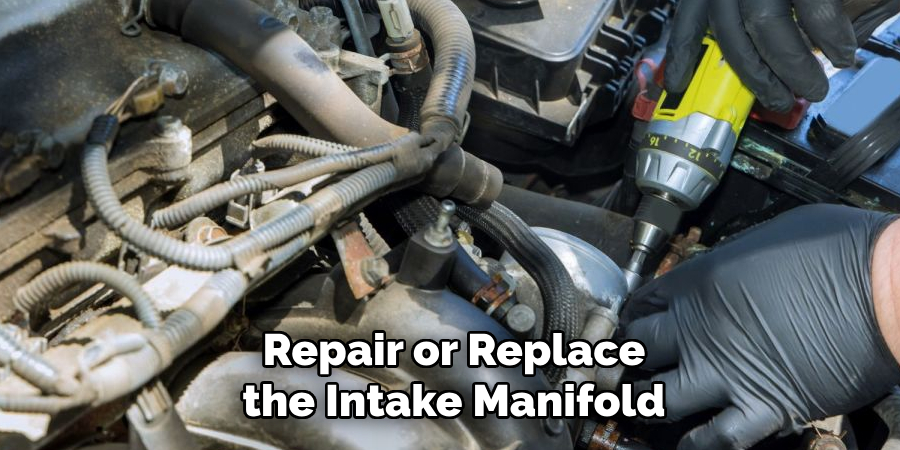
A: It’s not recommended to drive your vehicle with a cracked intake manifold as it can lead to further damage and potentially cause your engine to fail. It’s best to repair or replace the intake manifold before driving your vehicle again.
Q: How Do I Know If My Intake Manifold is Damaged?
A: Some signs of a damaged intake manifold include engine misfires, coolant leaks, excessive oil consumption, and decreased engine performance. It’s best to have it inspected by a mechanic if you suspect any issues with your intake manifold.
Q: Can I Repair a Large Crack on My Intake Manifold?
A: It’s not recommended to repair a large crack on your intake manifold, as it may not hold up and could cause further damage. In this case, it’s best to replace the entire intake manifold for a more reliable and long-lasting solution.
Q: How Often Should I Check My Intake Manifold for Cracks?
A: It’s a good idea to check your intake manifold for cracks every time you perform routine maintenance on your vehicle, such as changing the oil or air filter. You should also keep an eye out for any warning signs of a damaged intake manifold and address them promptly. Overall, it’s a good practice to inspect your intake manifold at least once a year.
Conclusion
A well-maintained intake manifold is essential for preserving your engine’s longevity and performance. By promptly addressing any cracks with a thorough inspection and repair process, you can avoid the more significant issues that might arise from a compromised manifold.
Always ensure that any fixes are performed with precision and that high-quality materials are used to restore its integrity. If unsure about any step in the repair process, seeking professional assistance is wise to ensure your vehicle operates safely and at its best. Thanks for reading this article on how to fix a cracked intake manifold.