

Are you an automotive enthusiast who is constantly tinkering with your car? Do you notice a decrease in engine performance or excessive oil consumption? It may be time to gap your piston rings.
Piston rings are essential components of an engine that help create a seal between the piston and cylinder walls. They also aid in controlling the amount of oil that enters the combustion chamber. Over time, these rings can wear out and lose their ability to seal properly, leading to decreased engine performance and increased oil consumption. As such, gaping your piston rings to ensure optimal engine performance and efficiency is crucial.
So how to gap piston rings ensure optimal engine performance? This guide will walk you through the steps to properly gap piston rings.
What are the Benefits of Gapping Piston Rings?
Before we dive into the steps, let’s first discuss why gapping piston rings is essential. As mentioned earlier, piston rings are crucial to engine performance and efficiency. By ensuring that the gaps are appropriately set, you can improve compression and prevent excessive oil consumption.
Improperly gapped rings can lead to blow-by, which occurs when combustion gases escape past the rings and into the crankcase. This can cause a decrease in power, increased oil consumption, and potential engine damage.
Gapping your piston rings also allows for better heat dissipation, which helps prevent overheating and potential engine failure.
What Will You Need?
Before you begin, make sure you have the following tools and materials:
- Feeler gauge set
- Piston ring compressor tool
- Ring gap filing tool (optional)
- Safety glasses
- Gloves (optional)
Once you have gathered all the necessary tools and materials, you can begin gapping your piston rings.
10 Easy Steps on How to Gap Piston Rings
Step 1: Prepare the Rings
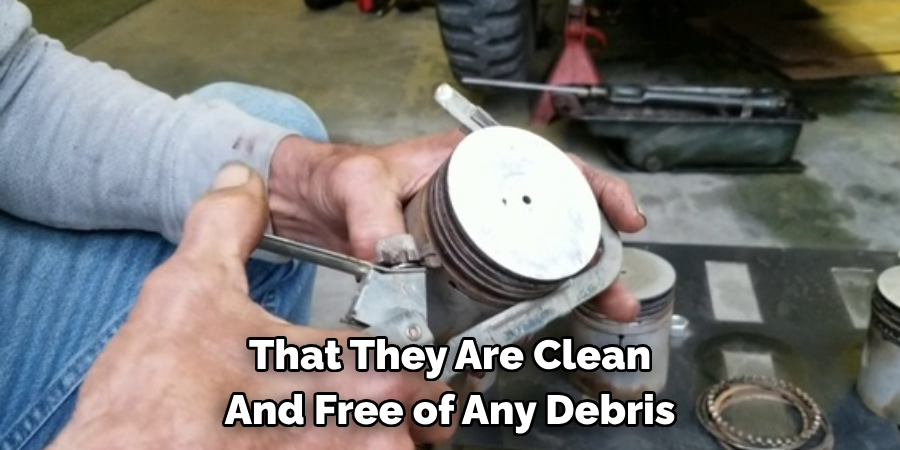
Start by removing the piston rings from their packaging. Ensure that they are clean and free of any debris or packaging materials. Carefully inspect each round for any signs of damage or defects that could affect performance. If they still need to be pre-lubricated from the factory, lightly coat them with engine oil. This protects the rings and helps in the installation process by providing a slippery surface.
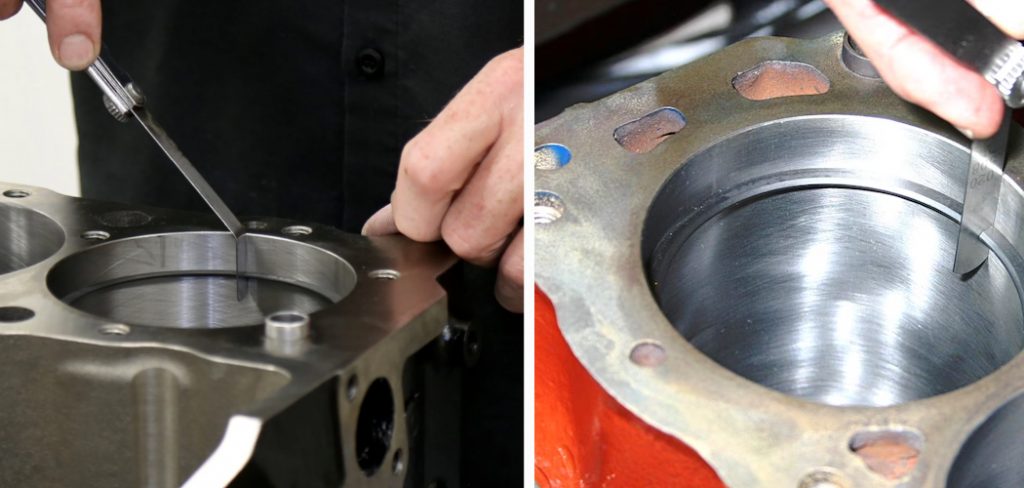
Step 2: Measure the Existing Gap
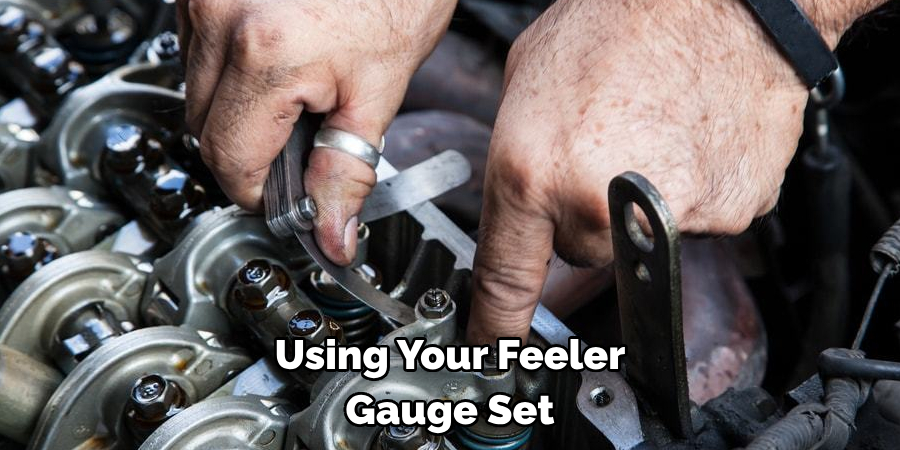
Place a piston ring into the cylinder bore, ensuring it’s level. You can use an inverted piston to push the ring approximately an inch down into the bore to achieve an accurate level. Using your feeler gauge set, measure the gap between the ends of the ring. Record this measurement as it will serve as a reference for the amount of material to remove to achieve the desired gap. This process is critical because too small of a gap can cause the ring ends to butt and damage the engine during operation, whereas too large of a gap can lead to reduced compression and oil control.
Step 3: Calculate the Required Gap
Refer to your engine manufacturer’s specifications to determine the ideal gap size for your piston rings. The required gap can vary depending on engine type and intended use. Calculate the difference between the measured gap and the desired gap provided by the manufacturer. This difference will indicate how much material needs to be removed from the ends of the piston rings to achieve optimal performance. Make sure to always round up to the nearest thousandth of an inch to prevent the gap from being too small after filing.
Step 4: File the Ring to Adjust the Gap
Once you have calculated the necessary adjustments, take the piston ring and use the ring gap filing tool to file the ends of the ring gently—file in a downward motion to avoid rough edges that can impair the ring’s performance. Check the gap with your feeler gauge to ensure you do not remove too much material. Aim for the gap to be ever so slightly more significant rather than more minor than the required specification to account for thermal expansion when the engine is running. Remember, filing evenly and patiently is crucial to avoid an uneven gap.
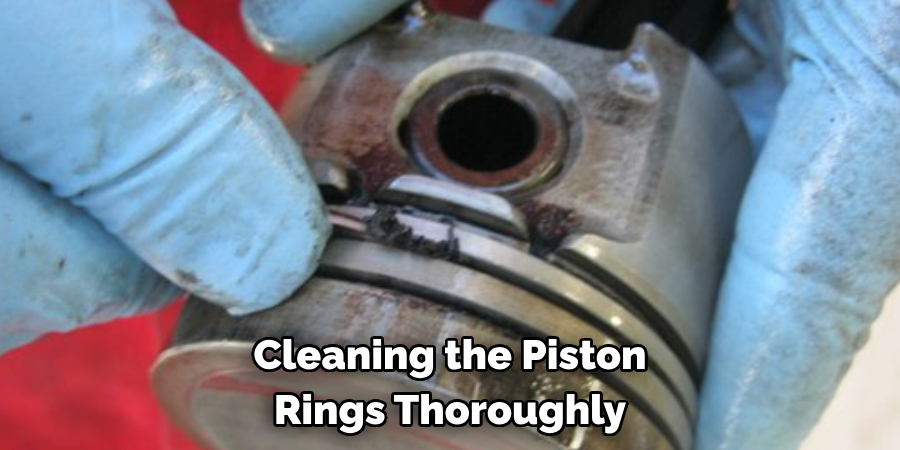
Step 5: Clean the Piston Rings
After achieving the correct gap size, cleaning the piston rings thoroughly is essential. This step removes any metal filings or debris resulting from the filing process. Use a clean, lint-free cloth and a small amount of solvent to wipe down the edges of the rings. Be sure to clean the entire surface area of each ring, as even tiny particles can affect engine performance. Once cleaned, inspect the rings again to ensure no damage occurred during the gapping process.
Step 6: Check the Ring End Gap
With the rings cleaned, place them back into the cylinder bore one at a time to verify the newly established gap. Use the inverted piston to level the ring in the bore and check the gap with the feeler gauge once more. This ensures that the filed gap meets the manufacturer’s recommended specifications. Remove the ring and adjust accordingly if the gap is not as desired. Be meticulous in this process, as the ring end gap is critical for proper engine function and longevity.
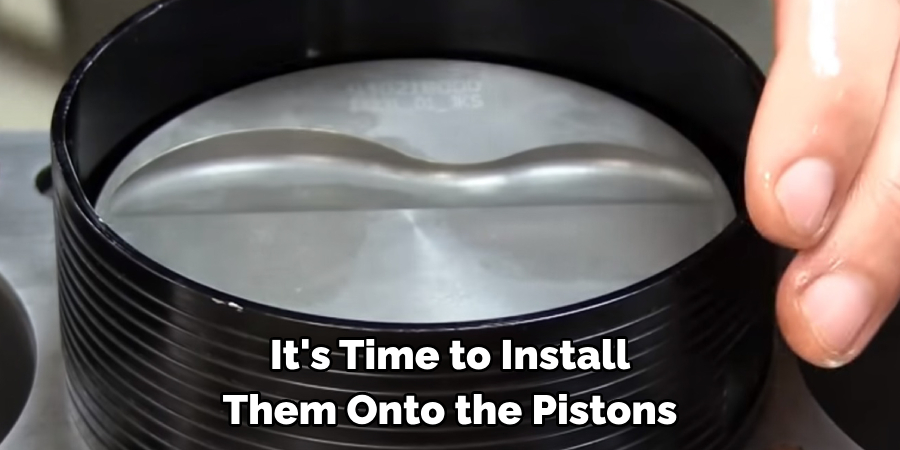
Step 7: Install the Piston Rings onto the Piston
Once all piston rings have the correct end gap, it’s time to install them onto the pistons. Begin with the oil control rings, followed by the compression rings. Use caution, and do not over-expand the rings, as this could lead to potential breakage. Also, be attentive to the ring’s orientation; many rings have a top and bottom side, which will be indicated by markings. Align these correctly according to the piston manufacturer’s instructions. Staggering the ring end gaps around the piston is recommended to prevent compression leakage.
Step 8: Compress the Rings
Before installing the piston-and-ring assembly into the cylinder bore, you must compress the piston rings. For this task, use a piston ring compressor tool, which ensures a snug and secure fit around the rings. Carefully slide the compressor over the piston and rings, tightening it gradually to compress them without causing damage. Once the rings are sufficiently compressed, verify the compressor is seated evenly around the entire circumference of the piston to avoid snagging or ring damage during installation.
Step 9: Install the Piston into the Cylinder
With the piston rings compressed, carefully align the piston-and-ring assembly with the opening of the cylinder bore. Ensure the piston ring compressor is tight and even to facilitate a smooth entry. Gently guide the piston into the cylinder, using a slight rocking motion if necessary to start. Once the piston is inserted past the compressor and into the bore, it should slide in with minimal resistance. Be vigilant not to force the piston, as this can cause ring or cylinder damage. After installation, you can remove the ring compressor tool.

Step 10: Confirm Piston and Ring Placement
After the piston is installed in the cylinder, it’s time to double-check the placement. Make sure the piston moves freely within the bore and that there is no unusual resistance, which could indicate a problem with the ring installation. Rotate the crankshaft to ensure the piston travels smoothly through its full range of motion. This final check confirms that the gapping and installation processes have been successfully completed, and your engine is one step closer to optimal performance.
By following these steps, you can safely and accurately gap your piston rings, resulting in a reliable and efficient engine.
5 Additional Tips and Tricks
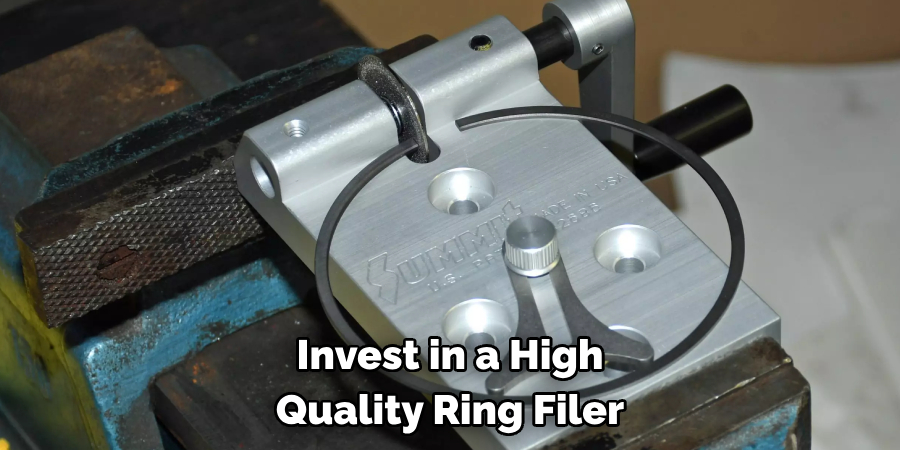
- Use Dedicated Tools: Invest in a high-quality ring filer. Dedicated tools provide more precision and reduce the risk of removing too much material or creating uneven edges compared to using an ordinary hand file.
- Maintain Consistency: Always file from the same side of the ring to ensure consistency. I was flipping the ring while filing, which can lead to an uneven gap and potentially affect engine performance.
- Go Slow: Take your time and file slowly. Removing material from the rings is an irreversible process, and any mistakes made from rushing could be costly.
- Keep It Cool: If using a mechanical ring filer, make sure to cool the rings frequently. Excessive heat from filing can alter the metal’s properties and cause damage.
- Final Inspection: After gapping, but before installation, do a final inspection of the rings under a strong light and magnifying glass to check for any microfractures or imperfections that could worsen over time.
With these additional tips, you can confidently gap your piston rings and achieve optimal engine performance.
5 Things You Should Avoid:
- Avoid Using Makeshift Tools: While using a makeshift tool or a simple hand file may be tempting, this can lead to imprecise gapping and potential damage to the piston rings. Always use the proper tool designed for ring gapping.
- Don’t Over-Expand the Rings: Over-expanding the rings when measuring or installing them can permanently deform them, affecting the seal they provide and, ultimately, the performance of the engine.
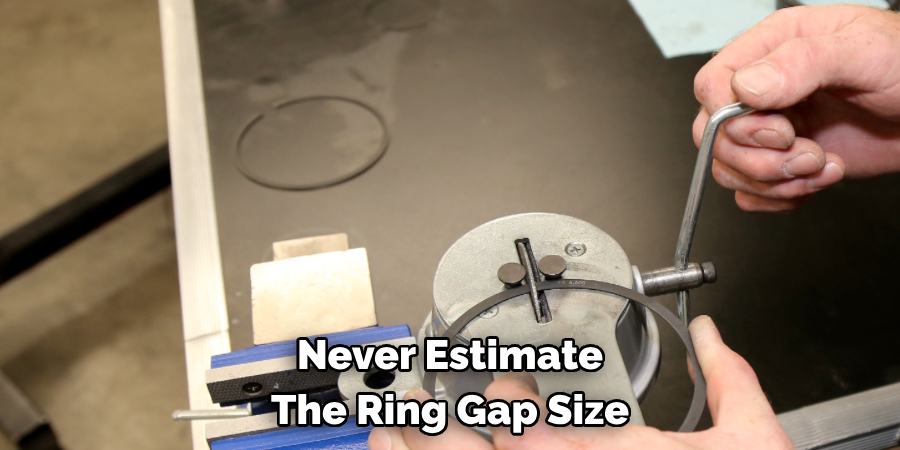
- Avoid Guesswork: Never estimate the ring gap size by eye. Always use a feeler gauge to measure the gap accurately to prevent any guesswork, which could result in engine damage or reduced performance.
- Do Not Rush the Process: Filing down piston rings is a process that requires attention to detail and patience. Rushing could lead to uneven gaps, excessive material removal, and engine failure.
- Resist the Urge to Skip Steps: It may be tempting to cut corners, especially if you’ve done this job before. However, each step, from cleaning the filings to the final inspection, is vital for the success of the ring gapping process.
By avoiding these mistakes, you can ensure a proper and precise gapping of your piston rings, resulting in a reliable and high-performing engine.
Some Frequently Asked Questions
1. Do All Piston Rings Need to Be Gapped?
Not necessarily. Some piston rings come already gapped to the appropriate specifications, eliminating this step for the installer. However, it’s always recommended to double-check the end gap of any pre-gapped rings before installation, as errors in manufacturing and handling can still occur.
Additionally, if you are using custom or aftermarket pistons and/or rings, they most likely will not come pre-gapped, requiring you to gap them yourself. Following the manufacturer’s instructions and recommendations for your specific engine build is always best.
Properly gapping piston rings is a critical step in engine assembly that should not be overlooked.
2. How Do You Check Ring Gap?
To check the ring gap, begin by inserting the ring into the cylinder bore at a depth of about an inch. This ensures that the ring is squared within the bore for an accurate measurement. Avoid measuring too close to the top, as the bore may not be perfectly cylindrical due to wear. Use a piston or ring-squaring tool to help square the ring in the bore.
Once the ring is positioned correctly, use a feeler gauge to measure the gap between the ends of the piston ring. Refer to the manufacturer’s specifications for the ideal measurement. If the gap is too small, the ring must be filed accordingly. If the gap is too large, you may need a new ring that fits within the specifications. Repeat this process for each ring to be installed on the piston.
3. What Happens if the Piston Ring Gap is Too Small?
If the piston ring gap is too small, it can lead to a series of engine problems, primarily due to the expansion of the rings when the engine reaches operating temperature. As the engine warms up, the metal of the piston rings expands, and if the initial gap needs to be set wider, there won’t be sufficient space for the expanded rings to fit within the cylinder.
This can cause the ends of the ring to butt together, which can lead to ring or cylinder damage due to the increased friction. In the worst-case scenario, the rings can even break, leading to loss of compression, reduced engine power, and potentially catastrophic engine failure. Therefore, precise gapping of piston rings is essential for engine longevity and performance.
4. Why is the 2nd Ring Gap Bigger?
The second ring gap is typically more significant because it experiences higher temperatures and pressures than the top ring. To compensate for this, the gap needs to be wider to allow for proper expansion and movement of the ring without causing damage. The exact measurement of the second ring gap varies depending on the engine design and manufacturer’s specifications.
Additionally, the second ring also acts as a scraper, removing excess oil from the cylinder walls. This activity can increase heat and friction, requiring a more significant gap for proper functioning.
However, in most cases, the second ring gap will be larger than the top ring gap. It’s essential to follow the recommended measurements for both rings to ensure optimal engine performance.
By properly gapping your piston rings, you ensure maximum performance and longevity of your engine, making this seemingly small task an essential step in any engine build or rebuild.
5. How Will You Know if the Piston Rings Are Weak?
Detecting weak piston rings is crucial as they directly affect engine performance and health. Several signs may indicate worn or weak piston rings:
- Excessive Oil Consumption: If your engine is using more oil than usual without any obvious leaks, it could be a sign that the piston rings are worn, allowing oil to pass into the combustion chamber and burn off.
- Decreased Engine Power: Worn rings fail to seal the combustion chamber effectively, leading to a loss of compression. This can manifest as a noticeable reduction in engine power and acceleration.
- Smoke from the Exhaust: Blue smoke from the exhaust is a classic symptom of oil burning in the combustion chamber, often caused by poor sealing due to weak piston rings.
- Poor Fuel Economy: Compromised ring integrity can lead to lower compression, which in turn can cause the engine to run less efficiently and consume more fuel.
- Compression Test Results: A compression test can reveal a loss of compression in the cylinders, which may indicate that the piston rings are not sealing correctly.
If you notice any of these symptoms, it’s advisable to conduct further diagnostics or consult with a professional mechanic to determine the health of your piston rings and take appropriate action.
Conclusion
Gapping piston rings is a meticulous process that requires patience and precision. It’s an integral part of ensuring your engine operates efficiently and lasts for many miles to come. Always refer to the manufacturer’s specifications for the necessary gap sizes to match your engine’s requirements.
Utilize the right tools to carefully file and check each ring, maintaining a consistent approach to avoid mishaps. Remember, this isn’t a job to rush—each ring’s gap must be verified for optimal engine performance. By avoiding common mistakes and following the recommendations outlined in this guide, anyone from a weekend DIYer to a professional mechanic can achieve the necessary precision for a successful engine build or repair.
Hopefully, this guide on how to gap piston rings, has provided you with a better understanding of the importance of adequately gapping piston rings and how to do it effectively. Happy engine building!