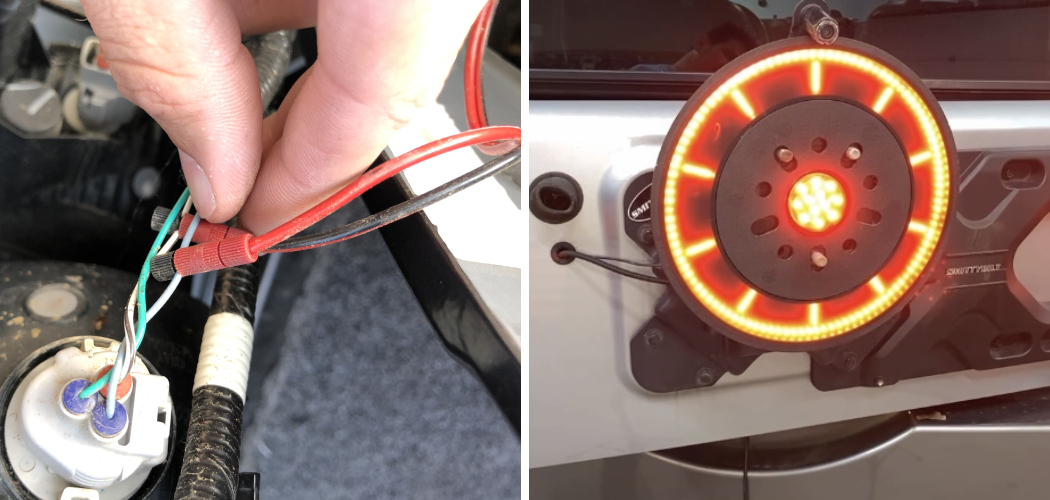
Whether you’re a seasoned driver or newly inducted into the intricate world of car ownership, there are a few things you must keep in check to ensure your safety and those around you. One such component, often overlooked, is the third brake light. This high-mounted stop lamp, situated at the uppermost point of the rear window, is a critical part of your vehicle’s signaling system. However, its positioning makes it a bit challenging to check routinely, leading many to neglect its maintenance.
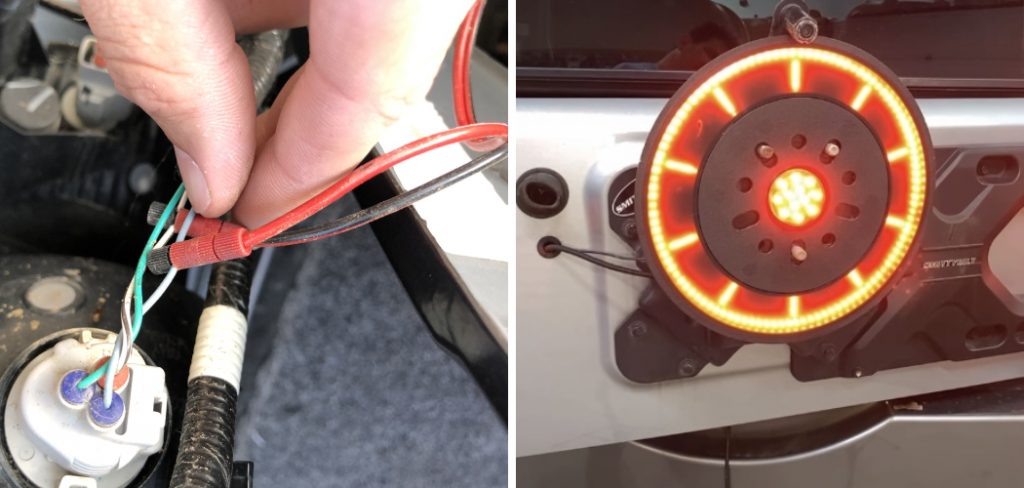
Understanding how to test third brake light is not only essential for your safety but also contributes to the overall roadworthiness of your vehicle. Let’s illuminate the process step by step, ensuring you’re equipped with the knowledge to keep your third brake light shining brightly.
Unveiling the Significance of the Third Brake Light
The addition of a third brake light, commonly referred to as the center high mount stop lamp (CHMSL), was a major safety advancement. It was first mandated in the United States in 1986, gradually becoming standard on all vehicles. The third brake light serves as a redundant indicator, especially when the driver’s view may be obstructed or when the primary brake lights are not functioning.
In those critical moments of braking, its illumination can make a substantial difference in preventing rear-end collisions.
Understanding Third Brake Light Failures
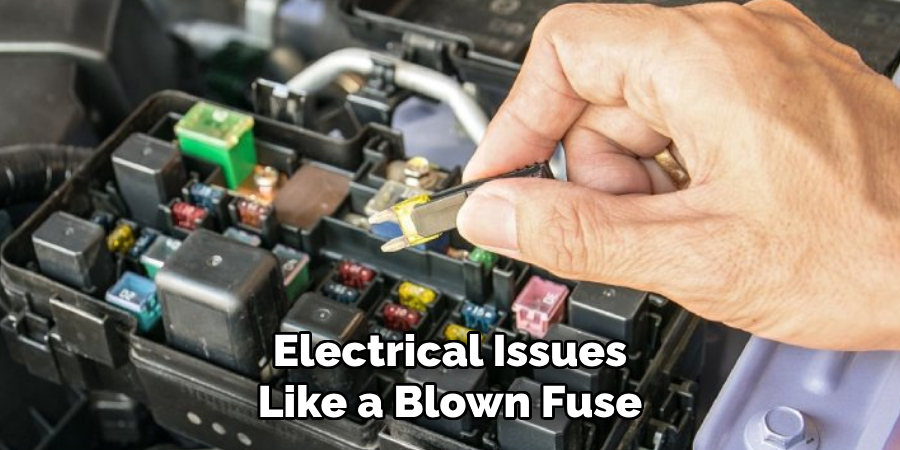
Before diving into testing methods, comprehending why and how third brake lights typically fail is a good starting point. Like all light bulbs, the ones in your car’s third brake light have a limited lifespan. They might burn out for various reasons, such as vibration, heat, or just wear and tear from regular use. Additionally, electrical issues like a blown fuse or bad wiring can also lead to a non-functioning third brake light.
Gear up for the Test
Testing your third brake light doesn’t require intricate knowledge of mechanics; it’s a simple process that can be done in a few minutes. Prepare by having a set of new bulbs on hand, the appropriate screwdrivers to remove the light casing, and a multimeter if you want to check the electrical circuits and connections thoroughly.
10 Methods How to Test Third Brake Light
Ensuring all the safety components of your vehicle are in top condition is a responsibility every car owner should take seriously. The third brake light, also known as the center high mount stop lamp, is a critical safety feature that communicates your intentions to drivers behind you. Here are ten simple methods to check if your third brake light is working properly.
1. Visual Inspection
Start with the simplest approach: perform a visual check of your third brake light. Park your car in a well-lit area, activate the brake pedal, and look for the light output through your rearview mirror.
2. Reflected Light Test
Enlist the help of a friend or use a reflective surface to see your third brake light. Have your assistant confirm the light from the third brake light’s reflection in a storefront window or a parked car’s rear bumper.
3. Use the “Brake Light” Inspection Station Indicator
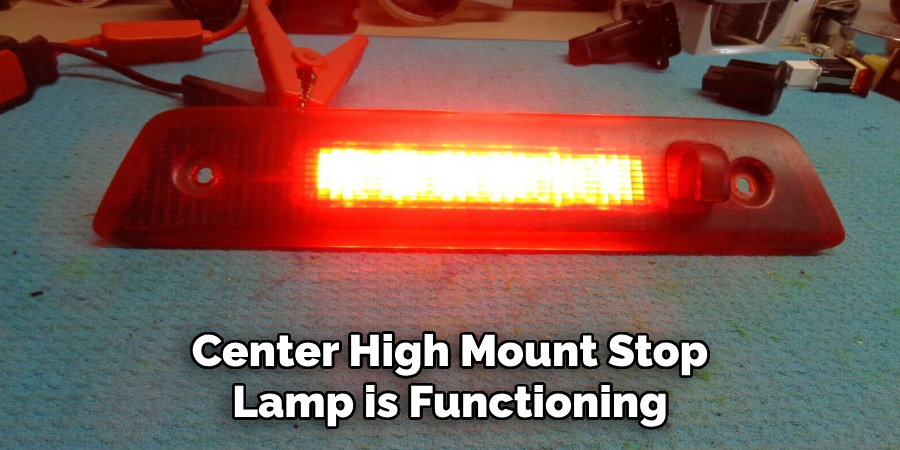
Some inspection stations have an indicator that tells you if your center high mount stop lamp is functioning. Utilize this feature during routine checks to ensure your third brake light is in good working order.
4. Diagnostic Scan Tools
If you’re technically inclined, connect a diagnostic scan tool to your OBD port. It may provide information if your third brake light has a fault code or if it’s not receiving the proper signal when the brake pedal is depressed.
5. Multimeter Testing
For a hands-on approach, use a multimeter to test the connections and power sources of the third brake light when the brake pedal is engaged. This method may help you identify any electrical issues.
6. Fuse and Bulb Check
Inspect the brake light’s fuse and the bulb to see if they are in good condition. A blown fuse or a burnt-out bulb could be the simple culprit behind your third brake light’s darkness.
7. Wiring Check
Take the time to visually inspect the wiring leading to your third brake light. Ensure the wiring is not frayed, cut, or pinched, and is properly connected. An issue with the wiring could be causing an electrical interruption.
8. Brake Pedal Switch Inspection
The brake pedal switch is what activates your vehicle’s brake lights. If you find your third brake light isn’t working, the brake pedal switch could be the issue. Look for any signs of damage or wear and tear.
9. LED Light Testing
LEDs have a longer lifespan than traditional bulbs, but they can still fail. If you have an LED third brake light, specific LED testing equipment can be used to determine if the light array is functioning correctly.
10. Professional Inspection
If all else fails, consider taking your vehicle to a trusted mechanic for a professional inspection. They have the expertise and equipment to diagnose and fix any third brake light issues safely and efficiently.

Testing your third brake light regularly is as important as knowing whether your turn signals work. It’s a quick and easy way to ensure the safety of you and your passengers, as well as those with whom you share the road. With these ten methods in your testing toolkit, you can catch and rectify any third brake light issues before they become a safety hazard.
Things to Consider Before Performing a Third Brake Light Test
When planning to test your third brake light, there are several factors that you should consider to ensure a safe and accurate inspection. First, determine the type of bulb your vehicle uses, as halogen, incandescent, and LED lights may require different testing approaches. Also, consider the weather conditions; performing the test in good weather can provide better visibility and safety.
Additionally, always ensure your vehicle is parked and secured before beginning any tests to avoid any unintended movement. Finally, remember to consult your vehicle’s manual for any specific procedures or precautions related to your particular make and model. By taking these factors into account, you can conduct a comprehensive and safe third brake light test.
However, if you’re unsure or uncomfortable with performing the test yourself, don’t hesitate to seek professional assistance. Your safety and that of others on the road is always a top priority. Lastly, remember that testing your third brake light should be a regular part of your vehicle maintenance routine, ensuring that this crucial safety feature is always in optimal working condition.
So take the time to gear up and perform regular tests to keep yourself and others safe on the road. Thus, by following these simple methods and considering important factors before performing a third brake light test, you can ensure the safety of your vehicle and its passengers. So don’t wait until it’s too late – make testing your third brake light a regular habit for a safer driving experience.
Common Issues and Solutions
When troubleshooting the third brake light, certain issues crop up more frequently. Identifying and addressing these can often lead to a quick resolution.
Common Issue: Burnt-out Bulb
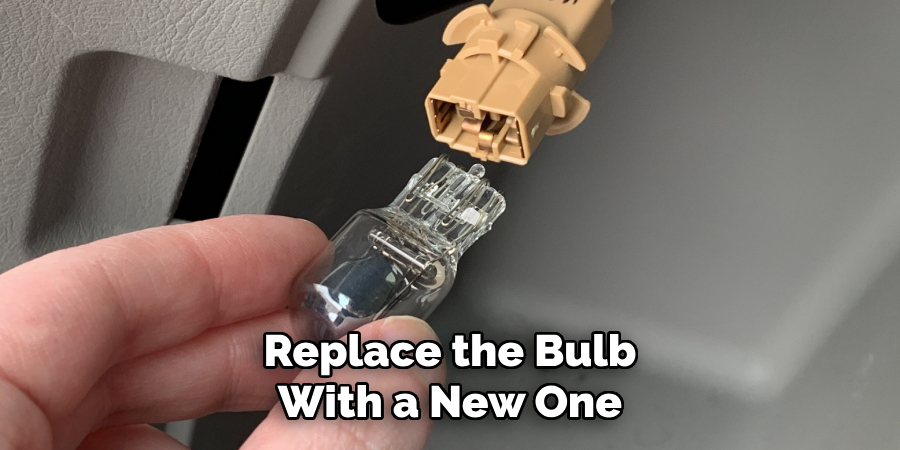
Solution: Replace the bulb with a new one that matches the voltage and wattage specifications for your vehicle. This is typically the most common and simplest fix.
Common Issue: Faulty Wiring
Solution: Carefully check the brake light’s wiring for any apparent wear, damage, or disconnections. Repair or replace the wiring harness if you find damage.
Common Issue: Blown Fuse
Solution: Locate the fuse box and find the fuse that corresponds to the brake lights. If it’s blown, replacing it with a fuse of the same amperage might resolve the problem.
Common Issue: Malfunctioning Brake Pedal Switch
Solution: If the brake pedal switch is faulty, the third brake light won’t receive the signal to turn on. Inspect the switch for corrosion or damage and consider replacing it if defective.
Common Issue: Bad Ground Connection
Solution: A poor ground connection can cause intermittent or no operation of the brake light. Inspect the grounding point for corrosion or damage, clean it thoroughly, and ensure it has a strong connection.
Common Issue: LED Failures
Solution: LEDs might fail if the individual diodes or circuits are damaged. Often, you’ll need to replace the entire LED array or the unit since fixing individual LEDs is not usually practical.
By understanding these common issues and solutions, drivers can ensure their third brake light remains operational, contributing to their safety and the safety of others on the road.
Conclusion
Ensuring your car’s third brake light is functioning properly is a small yet crucial step in your vehicle maintenance routine. It’s a reflection of your commitment to safety on the road. Regularly test your third brake light and promptly address any issues that arise.
Remember that your third brake light isn’t just for you; it’s a signal to drivers behind you. In the event of an emergency stop, it could be the crucial signal that prevents an accident. Take the time to ensure it’s working every time you set out on the road.
By understanding and following the simple yet important testing procedures laid out in this guide on how to test third brake light, you can enjoy peace of mind, knowing your third brake light is in top working condition. Safe travels!

