An overheating engine is the stuff of nightmares for any driver. Just behind the scenes of your car’s engine, a network of components work tirelessly to keep temperatures within a safe range. The radiator and its associated hoses are chief among them, playing a crucial role in the cooling process.
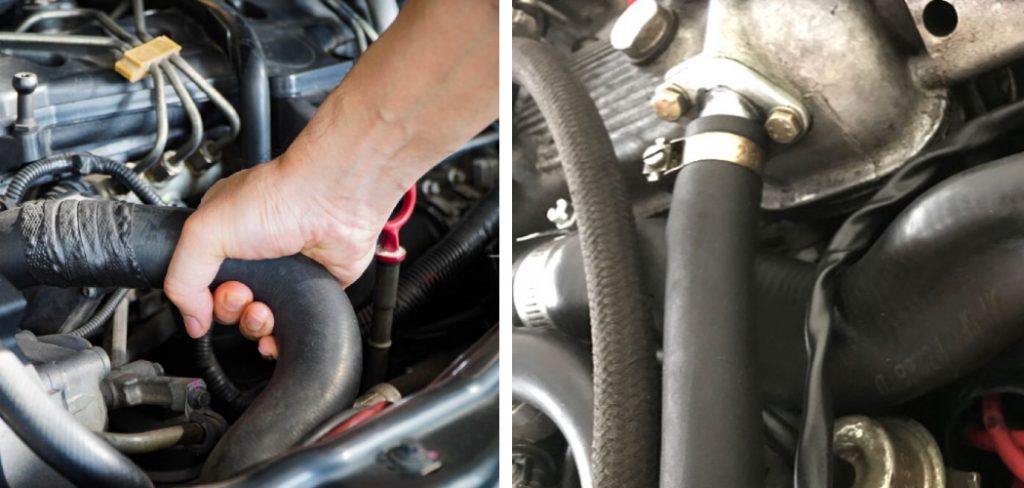
However, in the unfortunate event that one of these hoses collapses, panic is a common response, but not the solution. In this post, we will explore how to fix a collapsed radiator hose, ensuring your vehicle stays on the road and not on the side of it.
What Is a Collapsed Radiator Hose?
A radiator hose is designed to contain and transport the coolant, which absorbs heat from the engine and releases it through the radiator. A collapsed hose occurs when the hose, usually made of a flexible rubber compound, loses its structure and flattens on itself, impeding the flow of coolant. This can lead to severe engine issues if not addressed promptly.
Signs and Symptoms of a Collapsed Radiator Hose
Knowing what to look out for can save you from a catastrophic engine failure. Here are the key indicators of a collapsed radiator hose:
Overheating
One of the most common symptoms of a collapsed hose is engine overheating. The malfunctioning hose prevents the rapid movement of coolant, which is critical in shuffling heat away from the engine.
Loss of Coolant
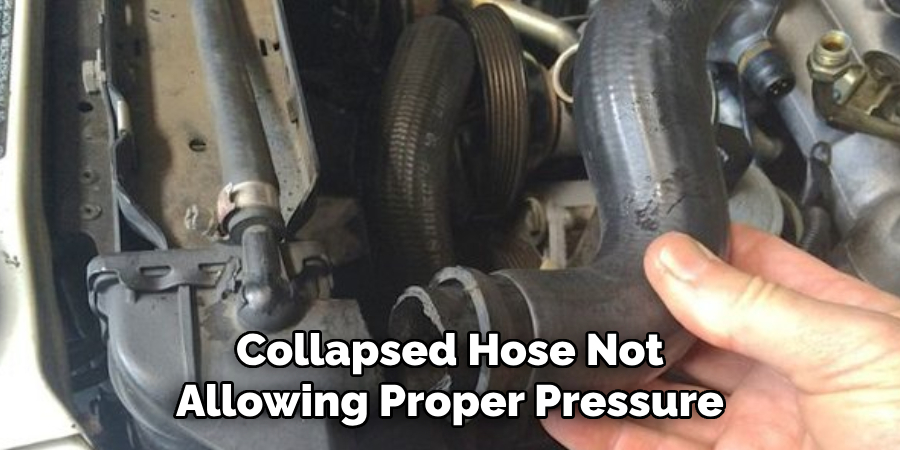
If you find that your coolant levels are consistently dropping without an apparent leak, it could be due to a collapsed hose not allowing proper pressure to be maintained within the cooling system.
Engine Performance Issues
A collapsing hose can lead to inconsistent coolant flow, contributing to poor engine performance. This might manifest as a misfire or reduced acceleration.
Causes of a Collapsed Radiator Hose
Understanding why your hose might have collapsed can guide you in taking preventive measures.
Age and Wear
Over time, rubber can deteriorate, especially if it has been exposed to extreme temperatures or chemicals in motor environments, such as oil leaks.
Incorrect Coolant Level
An engine with the wrong level of coolant can be susceptible to a collapsing hose. When coolant levels are low, the system struggles to maintain pressure, leading to possible collapse.
Blockage or Restriction
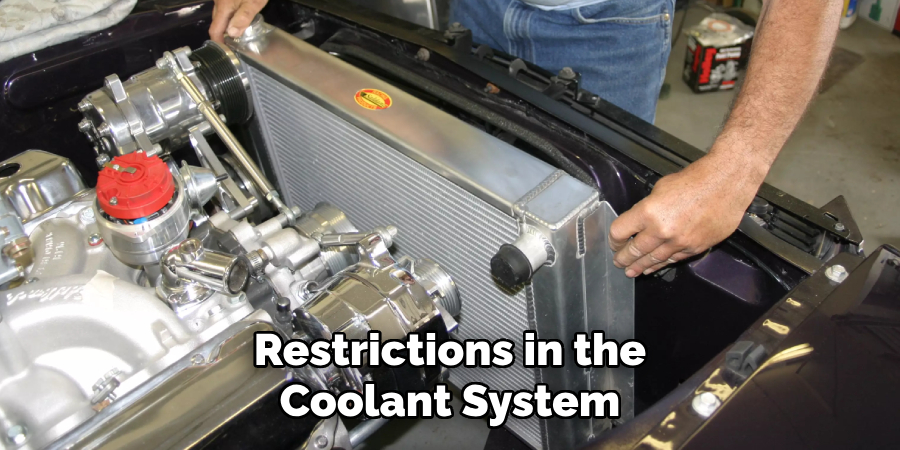
Physical blockages or restrictions in the coolant system can cause uneven pressure, which could result in a collapsed hose as the system tries to normalize the flow.
10 Steps How to Fix a Collapsed Radiator Hose
If you’re a car buff or experience occasional car troubles, you know a collapsed radiator hose can spell disaster. But fear not! Here are 10 steps to fix it and get back on the road.
1. Identify the Issue
First things first—do a visual check of the hoses. A collapsed hose will look pinched or flattened when coolant isn’t flowing. It’s usually easy to spot in the crowded engine bay. Note which hose or hoses are affected.
2. Cool the Engine Down
Safety is paramount. Only start working on the engine when it’s cool to the touch to avoid any burns from hot coolant. Once the engine is cool, you can open the hood and start checking for coolant leaks.
3. Open the Hood
Locate your vehicle’s hood release and open it to access the engine compartment. Once opened, ensure that the hood is securely propped up with the support rod or latch. This will allow you to safely work underneath the hood without it accidentally falling on you.
4. Remove the Collapsed Hose
Depending on the design, you might need to use pliers to loosen the clamps securing the hose. Wiggle the hose to break the seal, then gently pull it from the radiator and the engine or water pump.
5. Check for Cracks and Wear
While the hose is off, inspect it for any cracks, leaks, or weak spots that could have caused the collapse. This is also a great time to inspect the connection points for similar wear.
6. Replace the Hose
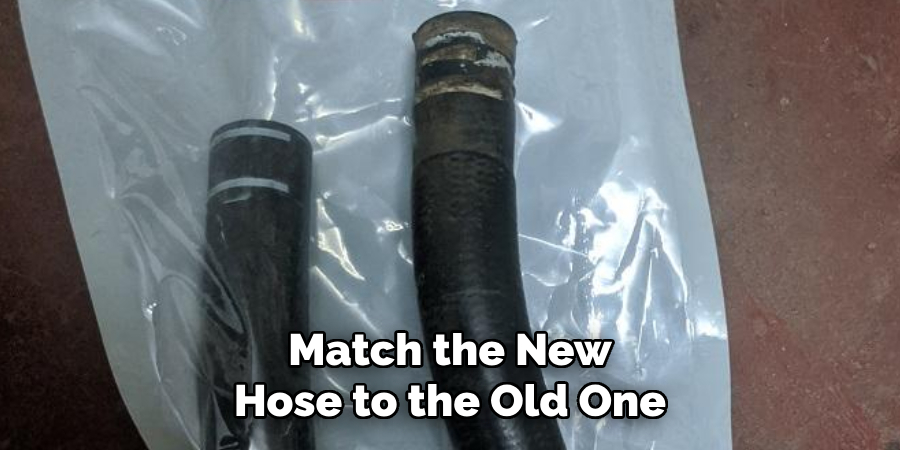
If you suspect damage or the hose looks worn, it’s best to replace it with a new one from an auto parts store. Match the new hose to the old one for correct length and diameter.
7. Apply Lubrication
Before reinstalling the hose, apply a small amount of coolant-compatible lubricant to the connections. This will make it easier to slide the hose on and off next time.
8. Reconnect and Tighten the Hose
Slide the new hose onto the radiator and the engine or water pump until it’s fully seated. Tighten the clamps with the pliers to ensure a snug fit. Next, reattach any brackets or clips that were removed earlier to hold the hose in place. Make sure they are securely fastened and won’t come loose while driving.
9. Refill with Coolant
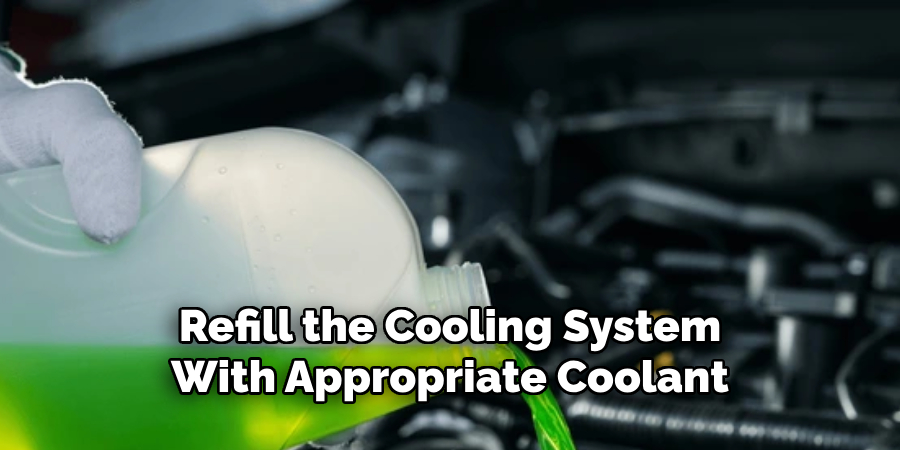
Check the manufacturer’s recommendations for the right type of coolant for your car. Fill the radiator and any overflow reservoir to the appropriate levels. Make sure to do this step when the engine is cool, never try to remove the radiator cap while the engine is hot.
10. Bleed the Cooling System
Start the engine and let it run with the heat on to full for the recommended time. Look for any additional leaks around the new hose. Shut the engine off, let it cool, check the coolant level, and top off if necessary.
Remember that proper maintenance can prevent a collapsed hose, so it’s worth a quick check whenever you pop the hood.
Preventative Measures to Avoid Future Collapsed Hoses
An ounce of prevention is worth a pound of cure. Here’s how to prevent future occurrences:
Regular Inspection
In addition to your normal maintenance schedule, perform a visual inspection of your radiator hoses. Look for signs of wear, including cracks, bulges, and softened spots. If you see any red flags, it’s time to replace them.
Ensuring the longevity of your car’s cooling system can be as simple as being proactive. Regular visual checks, keeping your coolant levels in check, and using the right materials go a long way in protecting your engine against the heat of the road.
Being prepared to handle a collapsed radiator hose is as important as knowing how to change a tire. Both can be the difference between a minor inconvenience and a major headache. With this guide in hand, you’re equipped to not only respond to a radiator hose collapse but also to potentially diagnose and prevent it.
It’s automotive knowledge that every car owner should have in their repertoire. Remember, in the intricate dance of the engine, every component has its role, and knowing how to keep them in tune will keep your vehicle running smoothly.
Testing the Repaired Radiator Hose
After the replacement and bleeding procedures, the final step is to test the repaired cooling system. Start the engine and let it reach normal operating temperature while keeping an eye on the temperature gauge to ensure it stays within the normal range.
Visually inspect the installed hose for any sign of leakage or abnormal swelling as the system pressurizes. It’s also wise to take a short test drive, then reinspect the hose and coolant levels again once the engine has cooled down.
Consistent temperature readings and the absence of leaks indicate a successful hose repair. Remember that ongoing vigilance is key; make periodic checks part of your routine maintenance to catch any future issues early.
However, with proper maintenance and repair, you should be back on the road without any further concerns. So, always take good care of your car by following these simple steps to avoid potential problems down the road.
Conclusion
As we’ve navigated the troublesome waters of radiator hose collapses, it’s clear that this seemingly small issue can have significant ramifications for your vehicle’s health. The key to averting disaster is vigilance. Regular checks of your hoses’ condition and ensuring they’re properly secured can save you a world of trouble down the line.
Should you find a collapsed hose, don’t delay – it’s time to roll up your sleeves and either fix it yourself or seek professional help. Remember, the integrity of your cooling system is paramount to your car’s performance and, ultimately, your safety. Thanks for reading, and we hope this has given you some inspiration on how to fix a collapsed radiator hose!

About
JeepFixes Team is a skilled author for Jeep Fixes, bringing 6 years of expertise in crafting a wide range of jeep fixes. With a strong background in jeep fixes work, JeepFixes Team’s knowledge spans various types of fixtures, from decorative pieces to functional hardware, blending precision with creativity. His passion for jeep fixes and design has made him a trusted resource in the industry.
Professional Focus:
Expert in Jeep Fixes : JeepFixes Team aesthetic specializes in creating durable and innovative jeep fixes, offering both appeal and functionality. His work reflects a deep understanding of jeep fixes techniques and materials.
Sustainability Advocate : He is dedicated to using sustainable practices, ensuring that every fixture is crafted with eco-friendly methods while maintaining high-quality standards.
In his writing for jeep fixes, JeepFixes Team provides valuable insights into the latest trends, techniques, and practical advice for those passionate about jeep fixes, whether they are professionals or DIY enthusiasts. His focus on combining artistry with engineering helps others discover the true potential of jeep in design.
