

Off-road enthusiasts, adventure seekers, and car enthusiasts alike love the look, feel, and experience of customizing their vehicles. One of the ways to make your vehicle stand out is by installing rock lights.
Rock lights not only enhance the look of your vehicle but also make it safer to drive at night by illuminating your surroundings. Installing rock lights can be intimidating, but it doesn’t have to be. In this Ultimate Guide on how to wire rock lights to a switch, we’ll walk you through the whole process so you can confidently transform your ride.

Can You Wire Rock Lights to A Switch?
Adding rock lights to your vehicle can not only enhance its aesthetic appeal but also improve visibility during off-roading. However, to maximize efficiency, you need to have a solid wiring setup that allows you to control the lights conveniently. This is where a switch comes into play. By wiring your rock lights to a switch, you can save yourself the hassle of fiddling with multiple switches, which can be confusing and overwhelming.
Instead, a single switch can power your entire rock light setup, letting you customize the lighting according to your preferences. While the process of wiring rock lights to a switch may seem daunting, it is a relatively straightforward process that skilled DIYers can accomplish with ease.
Why Should You Wire Rock Lights to A Switch?
Rock lights are a great addition to any off-road or regular vehicle, providing much-needed illumination in dark, tough-to-navigate terrain. However, wiring rock lights to a switch is a crucial step many vehicle owners overlook. When wired to a switch instead of being constantly powered, rock lights can be turned on and off at will. This is more convenient and energy-efficient, as the lights won’t drain the battery when not in use.
Furthermore, with a switch, you can choose not to have the rock lights on when you have other lights on or in certain situations where you don’t want to draw too much attention. Wiring rock lights to a switch, therefore, is an essential step that maximizes their utility and ensures long-lasting performance.
The Ultimate Guide on How to Wire Rock Lights to a Switch
Before diving into wiring the rock lights, ensure you have the necessary tools and materials. Here’s what you’ll need:
- Rock lights
- Rocker switch
- Electrical wire
- Electrical connectors
- Wire strippers
- Crimping tool
- Electrical tape
Step 1: Plan the Wiring Path
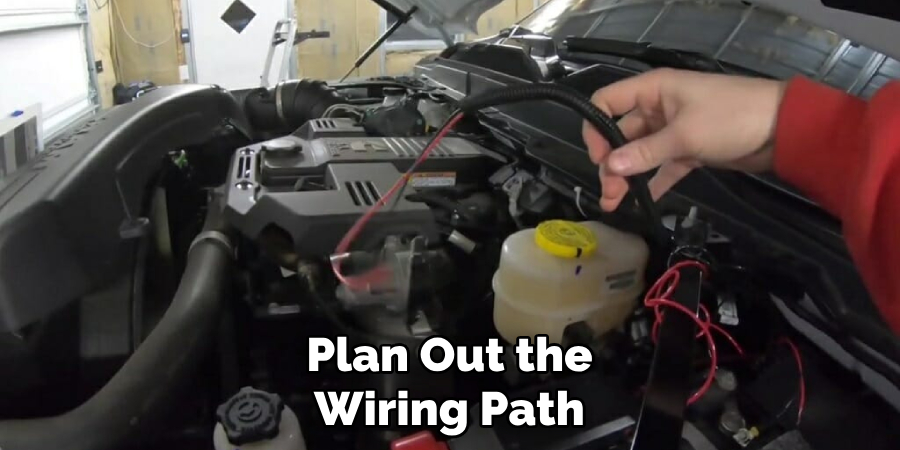
The first step in wiring rock lights to a switch is to plan out the wiring path. You need to decide where to place the lights and determine the most efficient way to run the wire from the lights to the switch. Make sure to avoid any moving parts or areas of high heat. Once you have determined the path, identify the areas where you need to drill holes to run the wires through.
Step 2: Mount the Rock Lights
After laying out the wiring path, the next step is to mount the rock lights. Make sure to use appropriate hardware and ensure the lights are securely mounted. Once the lights are in place, run the wiring through the previously identified holes.
Step 3: Wiring Rock Lights to a Switch
The next step is to connect the wiring to a switch. First, connect the positive wire from the rock lights to the positive terminal of the switch. Next, connect the negative wire from the rock lights directly to the battery negative terminal. This will protect the switch and avoid any damage to the electrical system. Then, connect the positive wire from the switch to the positive battery terminal. Finally, connect the negative terminal from the switch to the ground.
Step 4: Test the System
Once you’ve completed wiring the rock lights to the switch, it’s important to test the system. Turn on the vehicle and switch on the rock lights. Make sure all the lights are working correctly. If everything is working, you’re good to go. If there are any issues, double-check the connections and wiring.
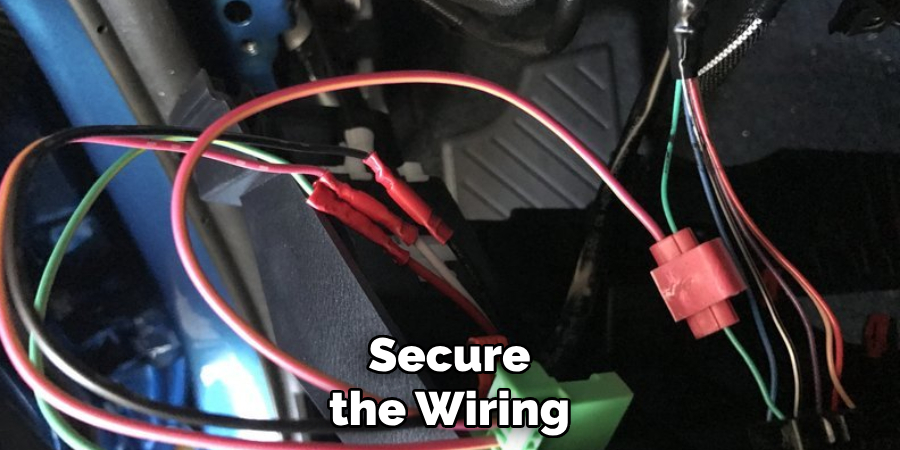
Step 5: Secure the Wiring
After testing the system, secure the wiring to avoid any potential damage. Use cable ties or electrical tape to keep the wires in place and prevent them from getting tangled or caught on anything.
Step 6: Hide Excess Wiring
If you have any excess wiring, make sure to hide it for a cleaner look. You can tuck the extra wiring under the vehicle or use cable ties to keep it in place.
Step 7: Enjoy Your Newly Wired Rock Lights
Congratulations, you’ve successfully wired your rock lights to a switch! Now is the time to sit back and enjoy your newly illuminated ride. Whether you’re hitting off-road trails or cruising around town at night, your rock lights will add an extra touch of style and safety to your vehicle.
5 Considerations Things When You Need to Wire Rock Lights to A Switch
1. Type of Rock Lights
Before wiring rock lights to a switch, it is important to consider the type of rock lights you have. There are two main types of rock lights: plug-and-play and hardwired. Plug-and-play rock lights come with a pre-installed connector that can be easily plugged into a switch or controller. Hardwired rock lights require more extensive wiring as they do not come with a connector.
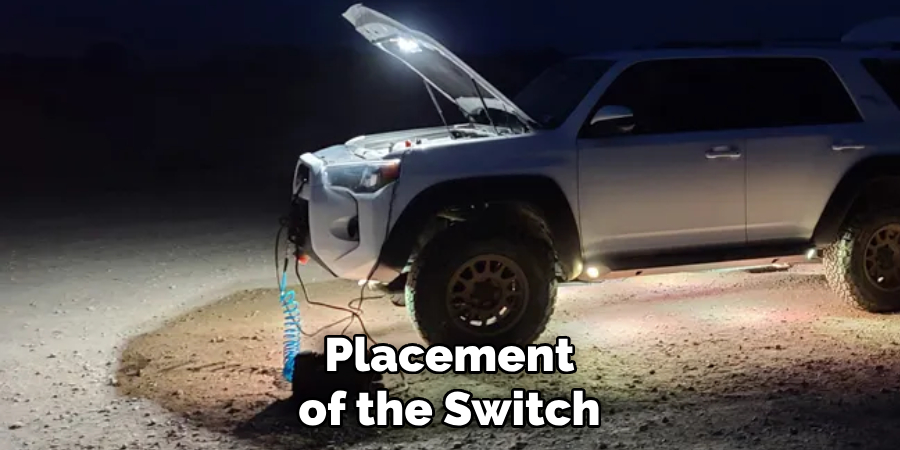
2. Switch Placement
When deciding where to wire your rock lights, consider the placement of the switch. You want to choose a location that is easily accessible while driving but also discreet enough not to be a distraction. Popular locations for switches include the dashboard, center console, or A-pillar.
3. Wiring Harness
A wiring harness is necessary when connecting multiple rock lights to one switch. This will make the installation process easier and neater as all wires will be organized in one harness. Make sure to choose a wiring harness that is compatible with your specific type of rock lights.
4. Power Source
It is important to determine where you will be getting power from for your rock lights before wiring them to a switch. The most common options are tapping into an existing fuse box or using an add-a-circuit adapter. It is recommended to consult a professional if you are unsure about how to properly tap into your vehicle’s electrical system.
5. Fuse Size
Lastly, it is crucial to consider the fuse size needed for your rock lights when wiring them to a switch. The fuse protects your vehicle’s electrical system from any potential damage caused by overloading the circuit. Refer to the manufacturer’s instructions or consult a professional for guidance on choosing the correct fuse size for your specific type of rock lights and switch setup.
Benefits of Wire Rock Lights to A Switch
Wire rock lights are a wonderful investment for homeowners, especially when they can be connected to a switch. Not only do these lights add an aesthetic appeal to your outdoor living space, but they also provide safety and functionality. With wire rock lights installed, you can illuminate walkways, steps, and other hard-to-see areas, reducing the risk of accidental injury.
Meanwhile, the ability to activate the lights with a switch adds an extra layer of convenience. No longer will you need to navigate through the dark to find your way around. With wire rock lights connected to a switch, your outdoor living space will be beautiful, functional, and safe.
4 Common Mistakes People Make When Trying to Wire Rock Lights to A Switch
1. Not Using the Correct Wiring Gauge
One of the most common mistakes people make when trying to wire rock lights to a switch is not using the correct wiring gauge. Rock lights typically require a thicker gauge wire, such as 16 or 18 AWG, to handle the high current draw. Using a thinner wire can lead to overheating and potentially cause a fire.

2. Not Properly Grounding the Lights
Proper grounding is essential when wiring rock lights to a switch. The ground wire should be connected directly to a clean metal surface on the vehicle’s frame or chassis. If the ground connection is not secure, it can cause the lights to flicker or not work at all.
3. Overloading the Switch
Another mistake people make is overloading the switch by connecting too many rock lights to it. Each switch has a maximum amperage rating that should not be exceeded. Exceeding this rating can cause damage to the switch and potentially lead to electrical issues.
4. Not Using Waterproof Connections
Rock lights are often exposed to water and mud while off-roading, so it is important to use waterproof connections when wiring them to a switch. This will prevent any corrosion or short circuits from occurring. Heat shrink tubing or waterproof connectors should be used for all connections to ensure their longevity and durability in harsh conditions.
Conclusion
Wiring rock lights to a switch might sound like a daunting task, but by following the steps in this Ultimate Guide, you’ll be able to successfully wire your rock lights with confidence. Now that you know how to wire rock lights to a switch, you can transform your vehicle and drive safely at night. Get started, and enjoy your newly installed rock lights!

About
JeepFixes Team is a skilled author for Jeep Fixes, bringing 6 years of expertise in crafting a wide range of jeep fixes. With a strong background in jeep fixes work, JeepFixes Team’s knowledge spans various types of fixtures, from decorative pieces to functional hardware, blending precision with creativity. His passion for jeep fixes and design has made him a trusted resource in the industry.
Professional Focus:
Expert in Jeep Fixes : JeepFixes Team aesthetic specializes in creating durable and innovative jeep fixes, offering both appeal and functionality. His work reflects a deep understanding of jeep fixes techniques and materials.
Sustainability Advocate : He is dedicated to using sustainable practices, ensuring that every fixture is crafted with eco-friendly methods while maintaining high-quality standards.
In his writing for jeep fixes, JeepFixes Team provides valuable insights into the latest trends, techniques, and practical advice for those passionate about jeep fixes, whether they are professionals or DIY enthusiasts. His focus on combining artistry with engineering helps others discover the true potential of jeep in design.