

Towing is a necessary task for many vehicle owners, whether for hauling boats, trailers, or other cargo. However, correctly wiring up a vehicle to safely and legally tow can seem daunting if this is your first time doing it. Where do you even start? What parts will you need? How do you connect everything without causing yourself headaches down the road?
In this blog post, I will break down how to wire a tow hitch into simple, easy-to-follow steps. By the end, you’ll understand what’s involved and feel confident about taking on the project yourself.
So whether you’re wiring up a truck, SUV, or car to tow for the first time or need to upgrade an existing setup, following this guide is the perfect way to get the job done efficiently and correctly.
What Will You Need?
Before you get started, make sure you have all the necessary tools and supplies at hand. These include:
- Tow hitch receiver
- Trailer wiring harness
- Vehicle-specific tow hitch wiring kit (if available)
- Wire cutters/strippers
- Electrical tape or heat shrink tubing
- Socket set and ratchet
Once you have all of these items ready, it’s time to begin the wiring process.
10 Easy Steps on How to Wire a Tow Hitch
Step 1: Determine Your Wiring
The first step towards wiring your tow hitch is to identify the type of wiring system your vehicle uses. Cars and trucks can have either a 3-wire system or a 2-wire system.
- A 3-wire System has separate brake and turn signal wires, typically found on import cars.
- A 2-wire System, standard on domestic vehicles, uses the same wire for both.
To determine the system your vehicle uses, turn on the hazard lights and check the brake lights. If they flash together, you have a 2-wire system. If only the hazard lights flash, then you have a 3-wire system. Once you’ve determined your system, you can purchase the correct trailer wiring harness.
Step 2: Access the Vehicle’s Tail Light Wiring
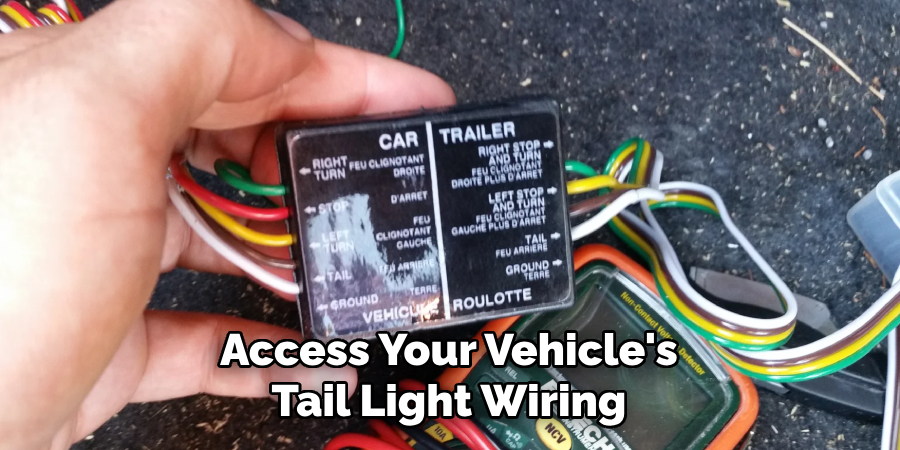
Now that you’ve identified your wiring system and bought the correct trailer wiring harness, the next step is to access your vehicle’s tail light wiring. This usually involves removing the tail light assembly.
Depending on your vehicle, you might need to remove some screws or bolts to do this. Once the screws are out, gently pull out the tail light. Behind it, you’ll find a bundle of wires. These are the wires you’ll be connecting your trailer wiring harness to. Be careful not to damage the cables or the tail light assembly.
Some vehicles might have the wiring accessible in the trunk or beneath the car. Consult your vehicle’s manual for precise details.
Step 3: Prepare the Wires
Unpack your trailer wiring harness and lay it out. You’ll notice four wires – red, brown, yellow, and green. The colors may vary depending on the manufacturer, but these are the standard colors for most harnesses.
Next, use your wire cutters/strippers to strip about half an inch of insulation from the end of each wire. Be careful not to strip too much, or you may expose the metal.
Step 4: Connect the Wires
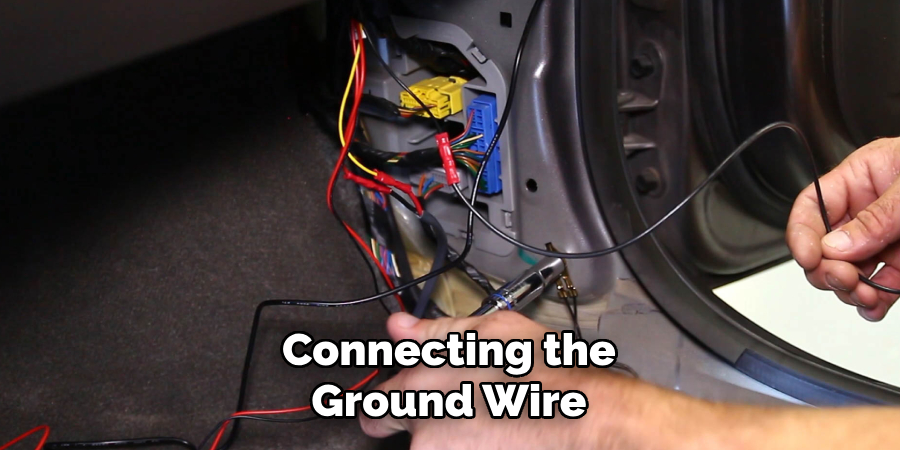
Start by connecting the ground wire (usually white) from your trailer wiring harness to the metal body of your vehicle. This can typically be done by screwing it onto a metal part of the frame.
Next, connect the remaining wires according to the manufacturer’s instructions using the connectors provided in your wiring kit. In general, color coordination between the vehicle’s tail light wiring and the wiring harness should be followed: red to red, brown to brown, etc. Ensure all connections are secure.
Step 5: Test the Connections
Once all the wires have been connected, verifying everything is working as it should before reassembling the tail light is essential. To test your connections, plug the trailer connector into the tow hitch and ask a helper to check the trailer lights while you operate the brakes, turn signals, and headlights from inside the vehicle. If all lights correspond correctly to your actions, your wiring job succeeds.
If any lights are not working correctly, you should review your connections and make sure each wire is properly connected. After successful testing, you can restore your tail light assembly.
Step 6: Secure the Wiring
Once you’ve tested the connections and ensured everything is working correctly, your next task is to secure the wiring. Keeping the wiring clear of moving parts or scorching surfaces that could cause damage is crucial.
Use cable ties or clips to secure the wiring along the vehicle’s frame, ensuring it’s not hanging loose, which could potentially lead to it being caught and torn off while towing.

Ensure the wiring harness is long enough to reach the trailer’s connection point but not so long that it drags on the ground. As a side note, always leave a little slack in the wiring near the trailer hitch to accommodate turning.
Step 7: Protect Your Wiring Harness
The final step involves safeguarding your wiring harness from the elements to ensure its longevity. Use electrical tape or heat shrink tubing to cover any exposed wires and connectors, providing additional protection against water, dirt, and corrosion.
Wrap the trailer plug with a plastic bag or specially designed cover when not in use to prevent water and debris from entering. Investing a little time in this step can save you from future electrical issues and extend the life and reliability of your tow hitch wiring.
Step 8: Regularly Inspect and Maintain Your Wiring
To ensure that your tow hitch wiring remains in optimal condition, it is essential to conduct regular inspections and maintenance. Check for any signs of wear and tear, corrosion, or loose connections. If you notice anything unusual, such as flickering trailer lights or an intermittent connection, take the time to investigate and fix the issue.
This proactive approach will help to prevent more significant, more costly problems down the line. Also, remember to clean the connector pins regularly to avoid the build-up of dirt and rust, which can hamper the connection. A well-maintained wiring system will ensure the safety and efficiency of your towing activities.
Step 9: Follow Proper Towing Guidelines
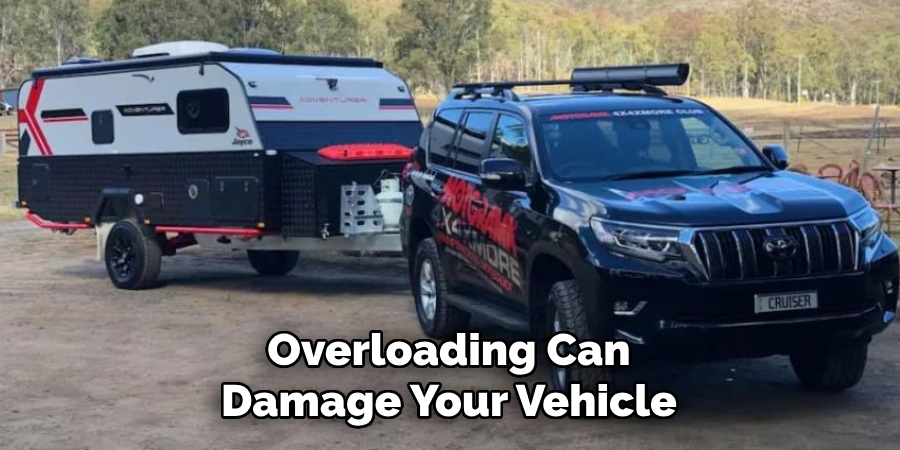
After successfully wiring your tow hitch, following proper towing guidelines is essential to ensure your safety and the longevity of your system. Always check your vehicle’s towing capacity before hitching a trailer; overloading can damage your vehicle and pose a severe safety risk.
Furthermore, ensure the load on your trailer is evenly distributed to maintain stability while driving. Regularly check your lights and wiring system for any defects, and watch your trailer while driving.
Step 10: Enjoy Your Towing Experience
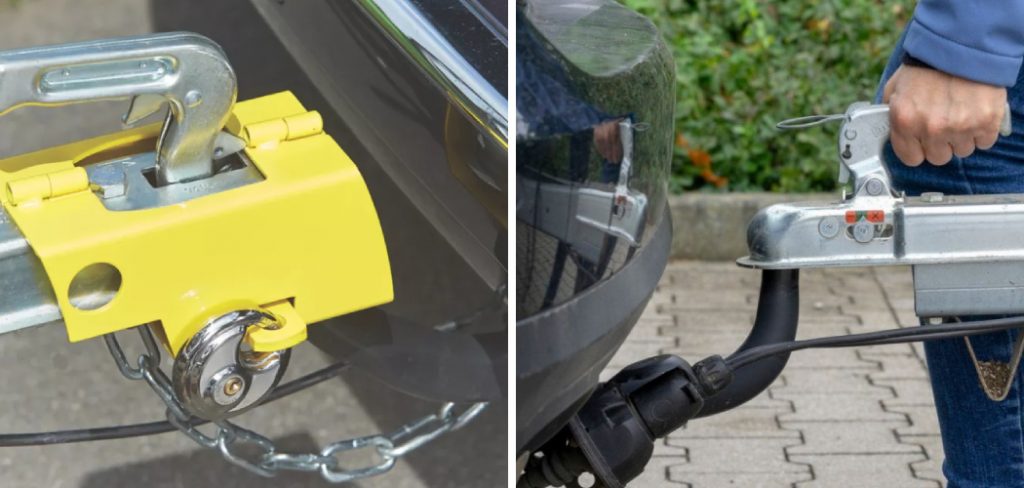
With your tow hitch correctly wired and all safety checks in place, it’s time to enjoy your towing experience. Whether hauling a boat for a weekend getaway, moving heavy equipment for a project, or pulling a caravan for a cross-country adventure, your well-prepared towing setup will ensure a hassle-free journey. If you’re new to towing, practice driving with a trailer beforehand and take extra precautions while turning or braking.
Following these steps and using proper equipment can easily wire a tow hitch to your vehicle.
5 Additional Tips and Tricks
- Use Quality Equipment: Always choose quality over price when buying a wiring harness and other towing equipment. It ensures longevity and the safety of your vehicle and the load you are towing.
- Keep Spare Bulbs Handy: Trailer lights can go out unexpectedly, and it’s a safety risk to tow without fully functional lights. Always carry a few spare bulbs in your glove box.
- Winter Care: Cold, wet seasons can be hard on your wiring. During winter months, rinse off any salt or chemical de-icers that could corrode your wiring and connectors.
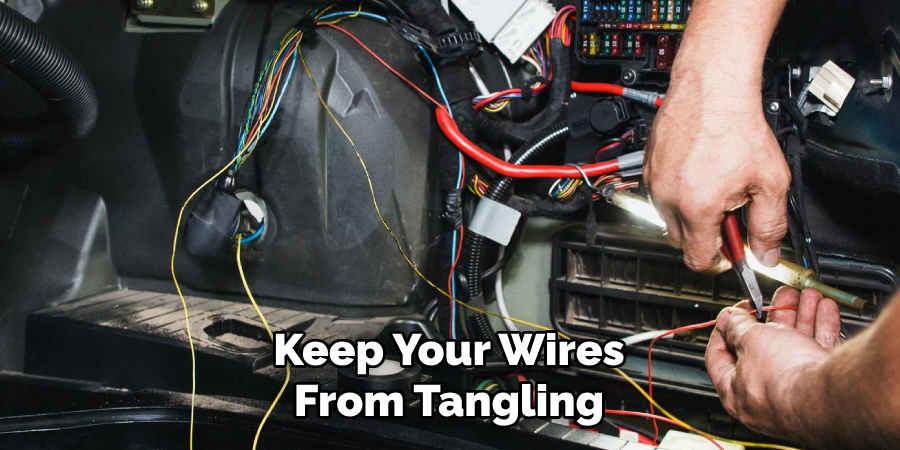
- Prevent Wire Tangles: To keep your wires from tangling, roll them up and secure them with a twist tie when not used.
- Consult a Professional if Needed: If you need clarification on any steps in the process or are experiencing consistent issues, feel free to consult a professional. Investing in professional help is better than damaging your vehicle or trailer.
With these tips and tricks in mind, you can confidently wire a tow hitch to your vehicle and enjoy all the benefits of towing without any worries.
5 Things You Should Avoid
- Ignoring the User Manual: Every vehicle and tow hitch system has a user manual. Ignoring this manual is a common mistake that can lead to severe problems. Always refer to your vehicle and tow hitch manual before starting wiring.
- Incorrect Wiring: Incorrect wiring can lead to blown fuses, damaged equipment, or worse, a vehicle fire. Ensure you follow the color-coded wiring diagram closely and verify all connections before finalizing the wiring.
- Overloading Your Vehicle: Towing more weight than your vehicle can safely handle is extremely risky. Always check your vehicle’s towing capacity and do not exceed it.
- Neglecting Regular Maintenance: Failing to maintain and inspect your wiring regularly can lead to unexpected breakdowns and costly repairs. Make it a habit to check your wiring system regularly for any signs of wear and tear, corrosion, or loose connections.
- Bypassing Safety Precautions: Skimping on safety practices, such as not testing the connections thoroughly, ignoring the use of safety chains, or neglecting to distribute the load evenly on your trailer, can result in serious accidents. Always prioritize safety when towing.
Conclusion
In conclusion, whether you’re a seasoned DIY enthusiast or a first-time hitch-wirer, it’s important to remember the critical steps in wiring a tow hitch. From safety precautions to choosing the right materials and tools, this process requires patience and attention to detail. But with the help of this blog post on how to wire a tow hitch, you’ll be able to tackle any towing job that comes your way confidently.
So go ahead and take on that adventure – with your newly wired tow hitch, you’ll be unstoppable! And remember, if you ever find yourself stuck or unsure during the wiring process, plenty of resources are available to guide you through it. Whether it’s online tutorials or seeking advice from experienced professionals, never hesitate to ask for help. Now, get out there and hit the road – nothing is holding you back!
Remember always to stay safe and follow these steps carefully for a successful tow hitch wiring experience. Happy towing!

About
JeepFixes Team is a skilled author for Jeep Fixes, bringing 6 years of expertise in crafting a wide range of jeep fixes. With a strong background in jeep fixes work, JeepFixes Team’s knowledge spans various types of fixtures, from decorative pieces to functional hardware, blending precision with creativity. His passion for jeep fixes and design has made him a trusted resource in the industry.
Professional Focus:
Expert in Jeep Fixes : JeepFixes Team aesthetic specializes in creating durable and innovative jeep fixes, offering both appeal and functionality. His work reflects a deep understanding of jeep fixes techniques and materials.
Sustainability Advocate : He is dedicated to using sustainable practices, ensuring that every fixture is crafted with eco-friendly methods while maintaining high-quality standards.
In his writing for jeep fixes, JeepFixes Team provides valuable insights into the latest trends, techniques, and practical advice for those passionate about jeep fixes, whether they are professionals or DIY enthusiasts. His focus on combining artistry with engineering helps others discover the true potential of jeep in design.