

The High Energy Ignition (HEI) distributor represents a quantum leap in automotive technology, especially when compared to its predecessor, the points-based ignition system. Its integrated design and fewer moving parts translate to a robustness that greatly reduces the maintenance burden and delivers a powerful spark, resulting in improved engine efficiency and performance.
For automotive enthusiasts, mechanics, and do-it-yourselfers looking to upgrade their ignition system, mastering how to wire a HEI distributor is invaluable. This article serves as a comprehensive guide to wiring HEI distributors across various applications, ensuring those undertaking this task have a clear roadmap to follow.
Understanding the HEI Distributor Components
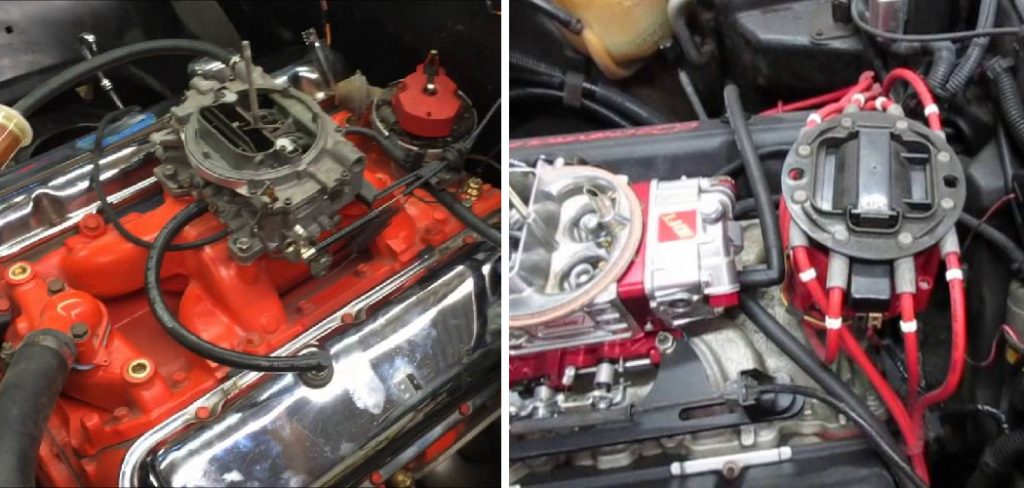
An HEI distributor comprises several key components that work together to deliver a high-energy spark to ignite the air-fuel mixture in the engine’s combustion chambers. Here’s a breakdown of its essential parts:
- Housing and Shaft: The housing protects the distributor’s internal components and supports the shaft, which rotates inside the engine. This rotation is synchronized with the engine’s camshaft and determines the timing of the spark delivery.
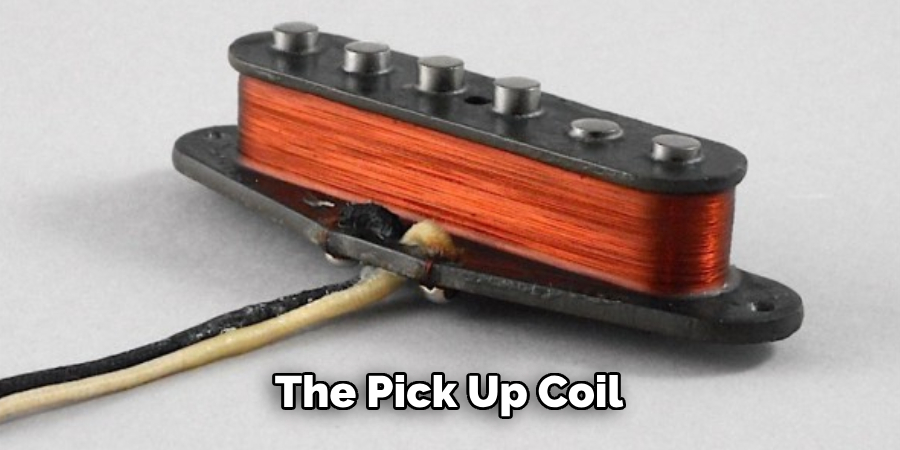
- Pick-up Coil and Reluctor Wheel: The pick-up coil, situated within the distributor, senses the rotation of the reluctor wheel (also known as the armature) attached to the shaft. This interaction triggers the electronic control module at precise intervals.
- Module and Control Unit: The module, or ignition control unit, functions as the brain of the HEI system. It receives the signal from the pick-up coil and determines when to switch the coil’s primary current off, thus controlling the ignition timing.
- Coil: The ignition coil within the HEI distributor transforms the vehicle’s 12 volts to the thousands of volts necessary to produce a spark capable of igniting the gasoline vapor.
- Ignition Wires: These wires carry the high voltage from the HEI distributor’s coil to the spark plugs.
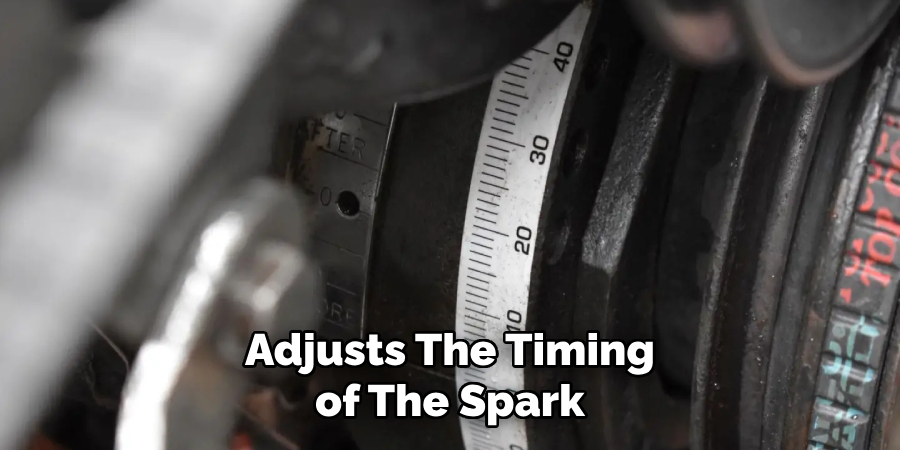
- Vacuum Advance (if Applicable): A vacuum advance mechanism adjusts the timing of the spark based on the engine load, which can improve fuel efficiency and performance.
Each part is integral to the HEI system’s operation, ensuring a vigorous spark for combustion at the right time. Understanding the roles of these components will enable you to handle wiring and troubleshooting tasks more effectively, particularly when fine-tuning for optimal engine performance.
Identifying Your HEI Distributor Model
Accurately identifying your HEI distributor model is a critical step in the hiring process. Variations exist between different models and manufacturers, which can significantly impact the connection and performance of your vehicle’s ignition system.
It’s imperative to match your distributor to specific wiring diagrams and installation procedures tailored to your model to avoid errors that could lead to poor engine performance or damage to the ignition system.
To determine your HEI distributor model, inspect the distributor’s housing for any manufacturer markings that may indicate the model number or specifications. If markings are present, these can generally be cross-referenced with information available on the manufacturer’s website or through technical support channels.
Similarly, technical diagrams provided by the manufacturer can offer insights into the distinctive features of particular models, which can be helpful if physical markings are eroded or unclear.
Additionally, referencing your engine’s specifications or checking the Vehicle Identification Number (VIN) may yield clues about the original distributor model installed by the manufacturer.
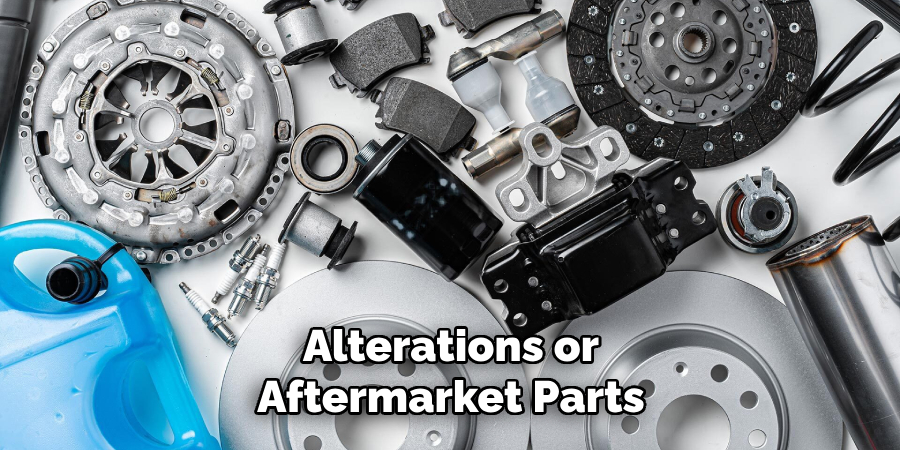
Such specifics could be critical, especially when alterations or aftermarket parts are involved. Emphasizing the importance of this step helps ensure that your wiring project aligns correctly with the intended design and functionality, avoiding the pitfalls of improper timing or connection issues unique to your distributor model.
Gathering Tools and Materials
Before diving into the wiring of your HEI distributor, ensure that you have the following essential tools and materials at the ready:
- Wrenches and Screwdrivers: Necessary for the installation and securing of the HEI distributor, ensure you have a set of standard and Phillips head screwdrivers along with wrenches that match the sizes of your distributor’s fasteners.
- Crimping Tool and Wire Connectors: A quality crimping tool is crucial for making secure wire connections. Paired with appropriate wire connectors, these ensure reliable electrical contact and durability in the harsh environment of an engine bay.
- Voltmeter and Test Light: Use a voltmeter to verify the presence of electrical power and troubleshoot potential issues. A test light is invaluable for confirming power at various points in the ignition system.
- Specific Items Based on Your HEI Model:
- Vacuum Advance Tools: Depending on your model, you may need a vacuum gauge and hand pump to adjust and test the vacuum advance system, providing optimal timing adjustments for engine load conditions.
It’s important to have the correct specifications for these tools to match your HEI model needs, ensuring a smooth and successful installation process.
Choosing Your Wiring Configuration
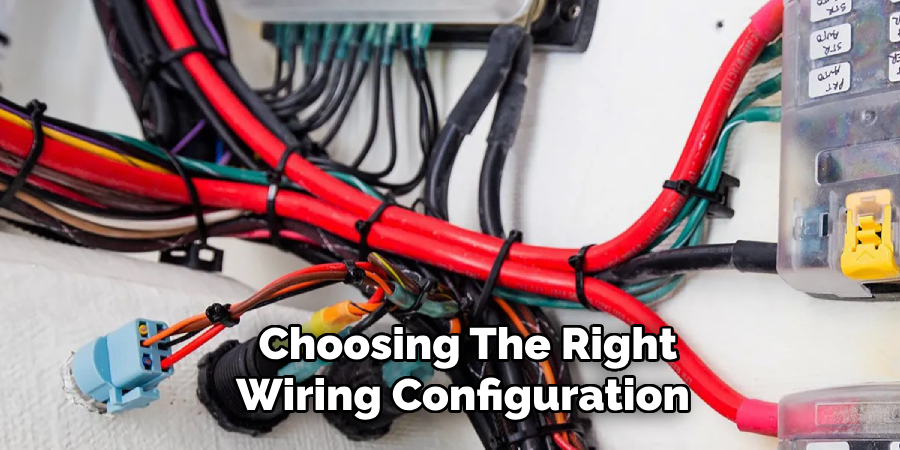
Choosing the right wiring configuration for your HEI distributor is essential for optimal engine performance. The configuration will vary based on your engine and the desired setup. Here are some of the different configurations to consider:
Standard 12-Volt Systems with Ballast Resistor Bypass
For a standard 12-volt system, bypassing the ballast resistor is common when installing an HEI distributor. This allows for a full 12-volt supply directly from the ignition switch to the distributor, ensuring that the ignition coil receives adequate power for a strong spark. Here is a basic diagram for this setup:
“`
[+12V Ignition Switch] —> [HEI Distributor]
“`
Systems with Aftermarket Coils or Electronic Ignitions
If you’re upgrading to an aftermarket coil or using an electronic ignition module, ensure the components are compatible with an HEI setup. These systems often require a specific wiring method to handle the increased energy without damaging the HEI module or the coil. Manufacturer guidelines will provide a detailed schematic, like the one below:
“`
[+12V Ignition Switch] —> [Electronic Ignition Module] —> [Aftermarket HEI Coil] —> [HEI Distributor]
“`
Applications Requiring Tachometer Hookup

An HEI distributor typically includes a tach output terminal for vehicles requiring a tachometer hookup. When wiring the distributor, ensure the tachometer is connected to this point to get an accurate read on engine RPMs. A simplified configuration might look something like this:
“`
[HEI Distributor Tach Output] —> [Tachometer]
“`
Considerations for Specific Engine Models or Modifications
Some engines may require a unique approach due to design or previous modifications. For example, engines with a high compression ratio might benefit from a different timing curve, which can be adjusted with modifications to the vacuum advance or weights within the distributor. Each special case should be evaluated to ensure proper ignition timing and spark delivery for the specific engine model.
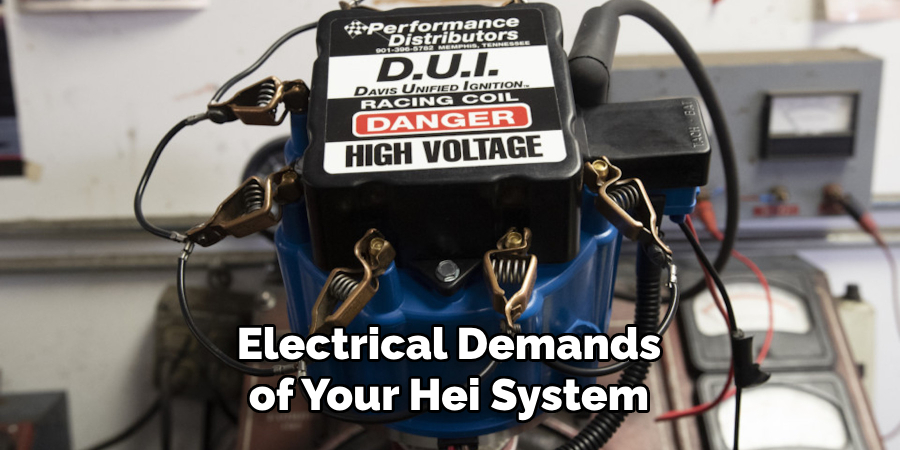
When choosing a wiring configuration, consider factors such as the electrical demands of your HEI system, the type of coil you’re using, and additional features like tachometer connectivity. Always follow manufacturer specifications and consult with a professional if you’re uncertain about your setup. Clear wiring diagrams and setup instructions are vital to ensure that your vehicle’s distributor is properly configured and fully operational.
Safety Precautions and Considerations
Prioritizing safety when wiring an HEI distributor is crucial, as the electrical tasks at hand present several hazards that can result in personal injury or vehicle damage if not properly managed. Electrical shock is a significant risk, making proper grounding an essential consideration during installation. Ensuring all engine components have a clean and secure ground connection helps prevent electrical shorts and potential fires.
Before beginning any work, always disconnect the battery to eliminate the risk of electrical shock and inadvertent engine cranking, which can cause moving parts to engage unexpectedly. Double-check each connection for correctness; a misstep in wiring can lead to short circuits or the potential for damaging sensitive ignition components.
Pay careful attention to the insulation of the wires. Cracked or worn insulation could lead to arcs or shorts. In a combustible environment like an engine compartment, this has the potential to ignite fuels, solvents, or other flammables present. Heat-resistant sleeving might be necessary in areas where wires are exposed to high temperatures.
By following these precautions and consistently double-checking your work, you ensure your safety and the reliability and longevity of your HEI distributor’s performance.
How to Wire a HEI Distributor A Comprehensive Guide
Wiring an HEI distributor doesn’t need to be a daunting task. You can complete the installation efficiently and safely by following a systematic approach. Here’s a comprehensive guide that will walk you through the process step-by-step, including directions for wire connections, terminal identifications, and color coding.
Visual aids in the form of photos or diagrams will enhance your understanding, and you will find troubleshooting tips throughout these instructions. Always remember that the specific details for your setup may vary based on your chosen configuration and vehicle.
1. Preparing the Workspace and Gathering Tools
Start by ensuring your workspace is clean, well-lit, and organized. Lay out all the tools and materials you’ll need within easy reach. This step helps prevent any unnecessary interruptions once you begin wiring.
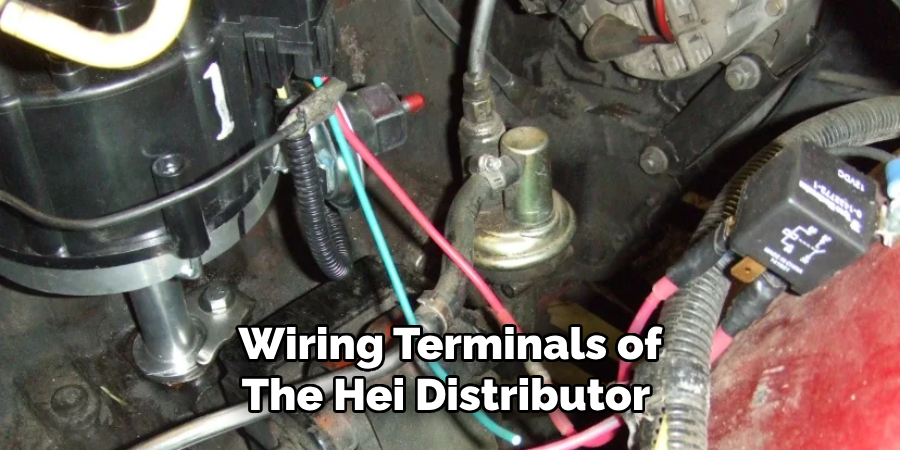
2. Identifying Wiring Terminals and Color Codes
Familiarize yourself with the wiring terminals of the HEI distributor, which often include the BAT terminal for battery voltage and the TACH terminal for tachometer connections. You should also become comfortable with the color coding of the wires you’ll use per your vehicle’s wiring diagram.
3. Disconnecting the Battery
Safety first. Always disconnect your vehicle’s battery before starting any electrical work to avoid any risk of shock or accidental engine cranking. This is a crucial step that should never be overlooked.
4. Routing the Wires
Plan the route of your wires from the ignition switch to the HEI distributor. It’s generally best to avoid areas of high heat or moving parts that could damage the wires. Use loom clamps or cable ties to secure the wires along the way.
5. Connecting the Ignition Switch Wire to the BAT Terminal
Connect a new 12-gauge wire to the BAT terminal of the distributor. Ensure that this wire is live only when the ignition is on. Crimp and solder the connector to ensure a sturdy connection.
6. Wiring the Tachometer (If applicable)
If your setup includes a tachometer, connect the tach wire to the TACH terminal on the distributor. Consult your tachometer’s manufacturer instructions for appropriate wire color usage and terminal connections.
7. Securing and Insulating All Connections
Once all wires are connected, ensure they are tightly secured and apply heat shrink tubing to insulate the connections. Proper insulation is key to preventing shorts and electrical fires.
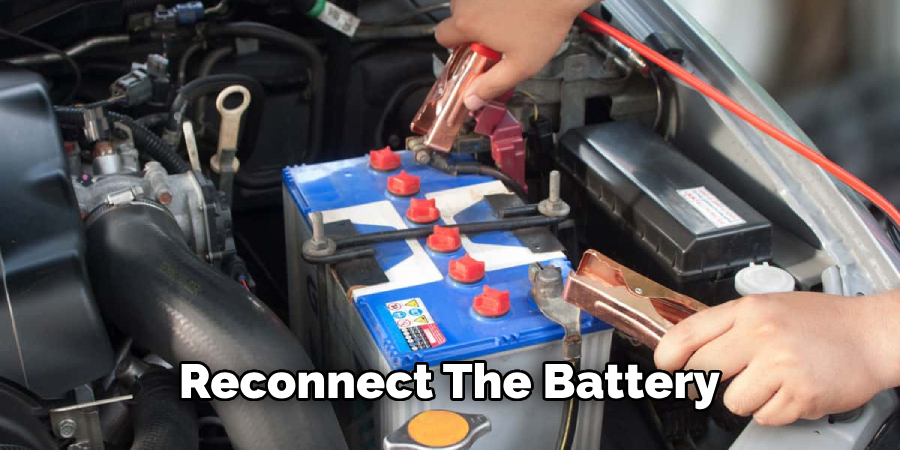
8. Reconnecting the Battery and Testing the System
After double-checking that all connections are secure and correct, reconnect the battery and test the ignition system to ensure it’s operational. This test should be carried out before fully reassembling any components removed to access the distributor.
9. Troubleshooting
Finally, if the system is not functioning as expected, review each connection for proper seating and engagement. For example, a weak spark might indicate a poor BAT connection, while a non-responsive tachometer suggests a flaw in the TACH wire setup.
Throughout this guide, we’ve strived to provide clear and concise steps to help you confidently wire your HEI distributor. Always refer to the specific instructions for your configuration to ensure optimal functionality. Remember, high-quality photos or diagrams are extremely beneficial for visual assistance during this process and can be included in this section to complement written instructions.
Helpful Tip: Labeling each wire as you connect them can save you a significant amount of time when it comes to troubleshooting any issues. Use this step-by-step guide as a checklist to mark your progress and verify each step has been completed correctly.
That’s it! You’ve now learned how to wire a HEI distributor safely and efficiently. By following these steps and taking the necessary precautions, you can ensure a successful installation that will provide reliable performance for your vehicle. Happy wiring! End of Document
Testing and Verification
Before starting the engine, it’s critical to test the HEI distributor to ensure that all connections are secure and functioning properly. Begin by confirming that all wiring is grounded appropriately to prevent voltage leaks that could lead to erratic engine behavior or electrical damage. For a thorough verification, follow these steps:
- Ensure Proper Grounding: Ensure the distributor is correctly grounded to the engine block. A bad ground can result in a weak spark or no spark at all.
- Inspect All Connections: Visually inspect wiring connections for tightness and make sure terminal ends are not corroded.
- Voltage Check at the BAT Terminal: With the battery reconnected, use a voltmeter or test light to check for proper voltage at the BAT terminal. This should match your vehicle’s battery voltage when the ignition is in the “On” position.
- Test the Ignition Circuit Continuity: With the ignition switch in the “Start” position, check that voltage is present at the distributor end of the ignition switch wire.
- Probe the TACH Terminal: If a tachometer is installed, carefully probe the TACH terminal with your testing equipment to ensure it receives a signal.
- Interpreting Test Results: Confirm that the readings obtained align with the expected values—typically, battery voltage at the BAT terminal when ignition is on and a responsive signal at the TACH terminal when probed.
- Address Any Discrepancies: Should the test reveal any voltage disparities or a lack of continuity, you must backtrack and re-examine the wiring connections for any faults or loose connections.
It’s essential to rectify any issues uncovered during testing before you start the engine. Proper testing and verification prevent damage to the new ignition setup and safeguard against potential safety hazards.
Starting and Checking Engine Performance
Once testing and verification are complete and all discrepancies have been addressed, it’s time to safely start the engine with the newly wired HEI distributor. Follow these steps to observe initial engine performance:
- Ensure the work area is clear of tools and loose wiring.
- Start the engine and allow it to idle.
- Listen for smooth and consistent firing from the engine. Any unusual sounds might indicate a misfire or incorrect wiring.
- Observe the engine’s responsiveness to throttle adjustments.
- If equipped, use a timing light to check and adjust ignition timing (this falls outside the scope of this guide and should be done according to the manufacturer’s specifications).
- Should any issues arise, shut off the engine immediately to avoid potential damage and diagnose the cause.
Remember, safety is paramount when working with engine components. Taking your time to ensure precision during initial start-up can be crucial for long-term performance.
Fine-Tuning and Adjustments
After starting your engine with the newly installed HEI distributor, small fine-tuning adjustments may be required to optimize your engine’s performance. Properly adjusting the timing and, if applicable, the vacuum advance mechanism guarantees robust engine efficiency and power. Here are a few steps to fine-tune your HEI distributor:
- Initial Timing Adjustment: Check the initial ignition timing using a timing light. Loosen the distributor hold-down clamp slightly—enough to turn the distributor. To advance the timing, rotate the distributor counter-clockwise; to retard it clockwise. Make minor adjustments and recheck the timing until it aligns with the engine specifications.
- Vacuum Advance Tuning: Connect a vacuum gauge to a manifold vacuum source if your system has a vacuum advance. At idle, the vacuum gauge should read steadily. Adjust the vacuum advance to ensure the engine RPM increases slightly, indicating an optimized advance for the given engine load.
- Listening to The Engine: A well-tuned engine will run smoothly and responsively. Pay attention to engine idling and acceleration—strange noises or stuttering can indicate incorrect timing.
- Preventing Over-adjustment: Minor adjustments are usually sufficient for optimal performance. Excessive adjustment can lead to poor engine performance and potential damage. In all cases, adjustments should fall within the ranges specified by the engine manufacturer.
- Confirmation With Road Test: A road test can confirm that the engine performs well under load. Suboptimal performance, such as pinging or knocking, can be a sign of needing to re-adjust.
Caution: Always adjust incrementally, rechecking the engine’s response after each change. If you’re unsure of the correct specifications, or if the engine doesn’t respond as expected, consult a professional mechanic or refer to the manufacturer’s instructions to prevent accidental damage to your engine.
Troubleshooting and Common Issues
Post-installation of an HEI distributor, various issues can manifest, impacting engine function. A frequent issue is the absence of a spark, often due to loose or corroded connections, which can be resolved by checking and tightening all contacts. Engine misfires may occur if the distributor is improperly phased or if the spark plug gaps are incorrect. Poor performance might stem from incorrect timing settings; recheck with a timing light and adjust accordingly.
If problems persist after verifying grounds and consulting manufacturer resources, it’s crucial to seek assistance from a professional mechanic to ensure your engine’s integrity and safety.
Conclusion and Final Notes
In summing up this guide, understanding how to wire a HEI distributor is pivotal in enhancing engine performance. We have outlined methods, including “how to time an engine without timing marks,” which, while intricate, can be accomplished precisely using proper tools and patience. Prioritizing safety, thorough testing and correct adherence to guidelines cannot be overstressed.
Although this resource provides comprehensive steps, the value of professional expertise cannot be undervalued – especially when unexpected issues arise. Whether you’re a seasoned mechanic or an enthusiast, remember that consulting with a professional is a mark of wisdom, not a skill deficiency. Above all, maintain safety practices and follow proper procedures to ensure that your efforts improve your engine’s health and longevity without compromising your well-being or the engine’s integrity.

About
JeepFixes Team is a skilled author for Jeep Fixes, bringing 6 years of expertise in crafting a wide range of jeep fixes. With a strong background in jeep fixes work, JeepFixes Team’s knowledge spans various types of fixtures, from decorative pieces to functional hardware, blending precision with creativity. His passion for jeep fixes and design has made him a trusted resource in the industry.
Professional Focus:
Expert in Jeep Fixes : JeepFixes Team aesthetic specializes in creating durable and innovative jeep fixes, offering both appeal and functionality. His work reflects a deep understanding of jeep fixes techniques and materials.
Sustainability Advocate : He is dedicated to using sustainable practices, ensuring that every fixture is crafted with eco-friendly methods while maintaining high-quality standards.
In his writing for jeep fixes, JeepFixes Team provides valuable insights into the latest trends, techniques, and practical advice for those passionate about jeep fixes, whether they are professionals or DIY enthusiasts. His focus on combining artistry with engineering helps others discover the true potential of jeep in design.