
Are you experiencing problems with your car’s fuel pump? Do you suspect the mechanical fuel pump may be faulty and need testing? In this guide, we will discuss how to test mechanical fuel pump to identify and troubleshoot any issues.

Testing a mechanical fuel pump, an essential component of many older vehicles is critical for ensuring your engine receives the right amount of fuel. A poorly performing fuel pump can decrease fuel efficiency, power loss, and even complete engine shutdown.
This guide will walk you through a simple, step-by-step process to test your mechanical fuel pump accurately and safely. Whether you’re a seasoned mechanic or a curious car owner, understanding this procedure can help maintain your vehicle’s performance and prolong its lifespan.
What Are the Importance of Mechanical Fuel Pumps?
The mechanical fuel pump delivers adequate fuel from the gas tank to the engine. This process ensures that your car’s engine runs smoothly and efficiently.
Without a properly functioning fuel pump, the engine may not receive enough or consistent fuel, leading to various issues such as stalling, poor acceleration, and even engine failure. Therefore, it is essential to regularly test and maintain your mechanical fuel pump to avoid potential problems.
The mechanical fuel pump also helps maintain proper pressure levels within the fuel system. This ensures that the engine receives a steady and consistent fuel flow, preventing any potential damage or wear on other components. Regular testing of the mechanical fuel pump can help identify any issues early on and avoid costly repairs in the future.
What Tools and Materials Do You Need?
Before starting the testing process, gathering all the necessary tools and materials is essential. Here’s a list of what you’ll need:
- Fuel pressure gauge
- Wrench set
- Rubber hose (approximately 2 feet)
- Clean rags or towels
- Safety glasses
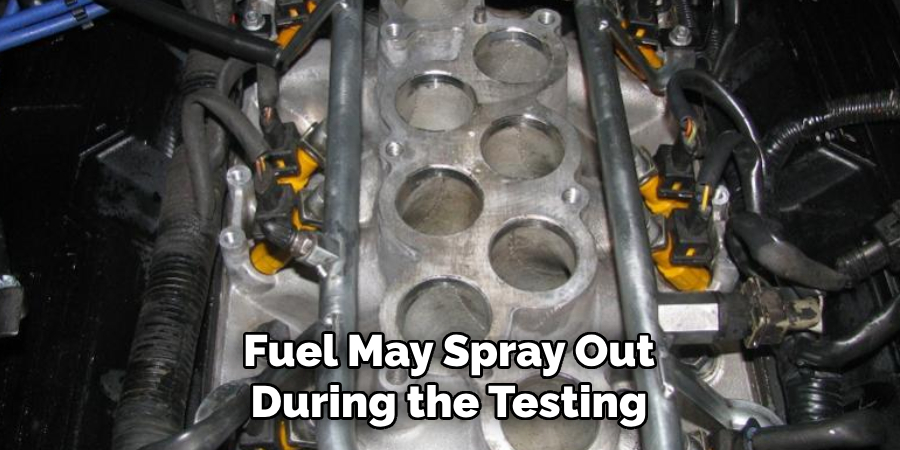
It is crucial to have safety glasses on hand as fuel may spray out during the testing process, and it is essential to protect your eyes. Additionally, ensure the vehicle’s engine is excellent before beginning the procedure to avoid any potential injuries from hot components.
10 Easy Steps on How to Test Mechanical Fuel Pump
Step 1. Secure the Vehicle:
Begin by ensuring the car is in park (or in gear if it’s a manual) and the parking brake is applied. Place wheel chocks around the wheels to prevent the vehicle from moving. Additionally, ensure the engine is cool before proceeding with the testing process.
Step 2. Locate the Fuel Pump:
The fuel pump on most older cars is typically found on the side of the engine block; it is operated by a lever driven by the camshaft. Consult your vehicle’s service manual for the exact location and any vehicle-specific procedures. Once located, clear the area of any debris or obstructions to ensure you have full access to the fuel pump for testing.
Step 3. Disconnect the Fuel Outlet Line:
Carefully disconnect the fuel outlet line from the fuel pump to the carburetor. Use a wrench to loosen the fittings and then slowly remove the line. Be prepared with a rag to catch any fuel that may drip out. It is essential to perform this step cautiously to prevent any fuel spillage that could pose a fire hazard.
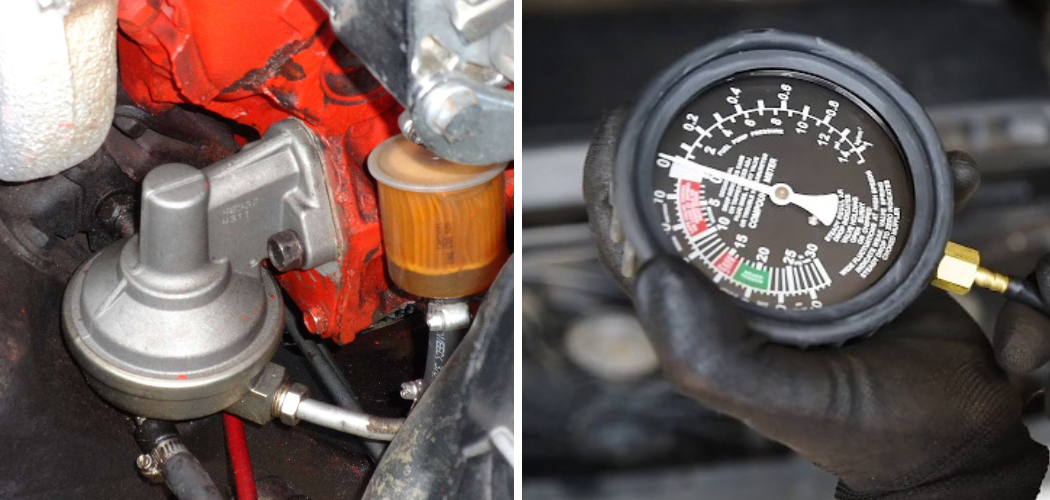
Step 4. Attach the Fuel Pressure Gauge:
With the fuel outlet line disconnected, connect the fuel pressure gauge to the outlet where the line was removed. If necessary, utilize the rubber hose to aid in connecting the gauge securely to the fuel pump.
Ensure that all connections are tight and secure to prevent any fuel leaks during the testing process. This step is crucial as an accurate reading of the fuel pressure is essential in determining the health of the mechanical fuel pump.
Step 5. Observe Initial Fuel Pressure:
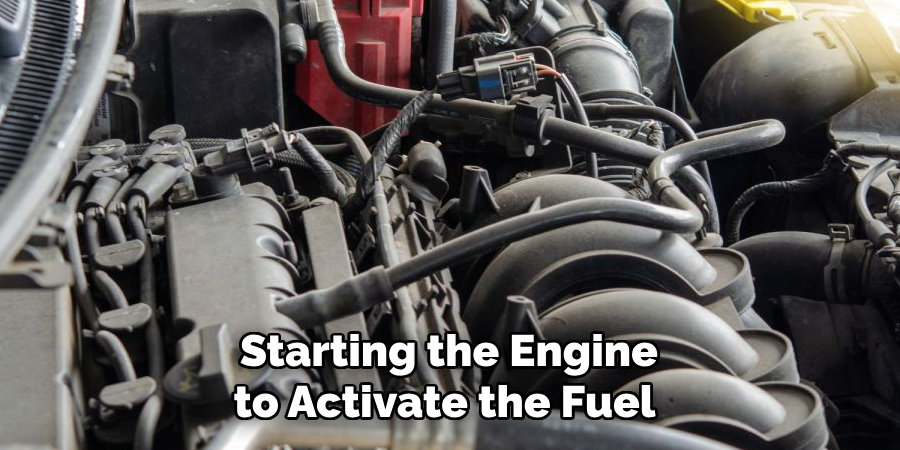
Turn the ignition to the “on” position without starting the engine to activate the fuel pump. Observe the fuel pressure gauge; a functioning mechanical fuel pump should typically register a pressure reading in accordance with the vehicle manufacturer’s specifications.
Note the initial pressure reading, as it is vital for diagnosing the state of the fuel pump. If no pressure or insufficient pressure is indicated, this suggests a problem with the pump’s ability to provide fuel.
Step 6. Conduct a Full-System Pressure Test:
After recording the initial pressure, start the engine and let it idle. Watch the pressure gauge while the engine is running; it should maintain a steady pressure that meets the vehicle manufacturer’s recommended specifications.
A significant drop in pressure or fluctuating readings could indicate a problem with the fuel pump’s diaphragm or an internal leak. Record the pressure reading while the engine is idling for future reference. If the pressure is not maintained at the recommended level, further investigation into the fuel pump and related systems may be required.
Step 7. Check for Leaks and Sounds:
While the engine idles, visually inspect the fuel pump and related connections for any signs of fuel leakage. Any leaks can not only affect the performance of the pump but also pose a safety risk.
Additionally, listen for any unusual noises coming from the pump, such as rattling or clicking sounds, which can indicate internal wear or failure. Document any leaks or sounds as they will be useful for any necessary diagnosis or repair.
Step 8. Perform a Fuel Suction Test:
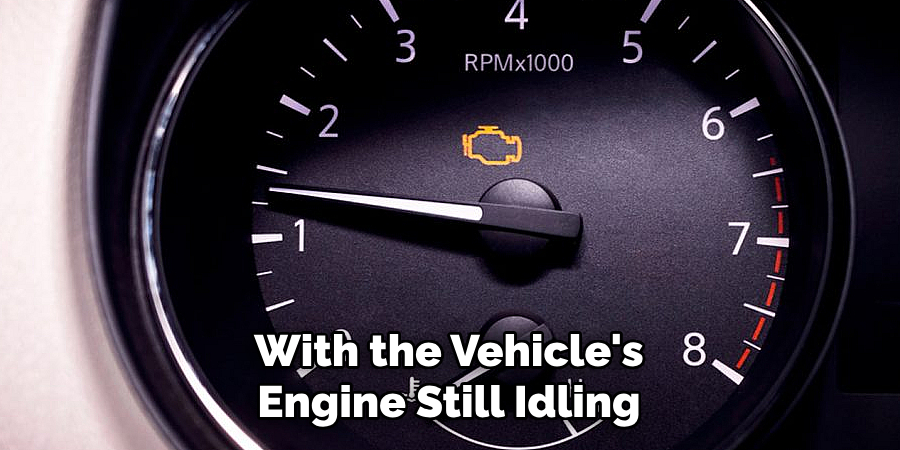
With the vehicle’s engine still idling, proceed to test the suction side of the fuel pump. To do this, temporarily disconnect the fuel inlet hose that runs from the gas tank to the pump. Place the end of a transparent tube in a container of fuel and connect the other end to the fuel pump inlet.
Watch for a consistent flow of fuel into the pump. A healthy mechanical fuel pump should draw fuel through the tube without hesitation or interruption. If the fuel flow is weak or non-existent, there might be an issue with the pump’s suction capability, pointing towards a weakened diaphragm or a blockage within the pump itself. After completing this test, ensure all connections are re-secured.
Step 9. Reconnect the Fuel Outlet Line:
Once all the tests have been completed, it’s time to reconnect the fuel outlet line. Carefully reattach the line that runs from the fuel pump to the carburetor. Use the wrench to ensure the fittings are tightened properly.
Double-check to make sure there are no leaks at the connection point. It’s crucial to maintain the integrity of the fuel system to prevent any future issues related to fuel delivery.
Step 10. Final Inspection and Clean Up:
After reconnecting the fuel outlet line, perform a final inspection to ensure that no tools or rags are left in the engine bay. Remove the wheel chocks and clear the workspace of any spills with the rags or towels. Dispose of any waste materials according to local environmental regulations.
Start the engine once more and observe the fuel pressure gauge to confirm that the fuel system maintains proper pressure during operation. This concludes the testing of the mechanical fuel pump. If any issues persist, consult with a professional mechanic for further assistance.
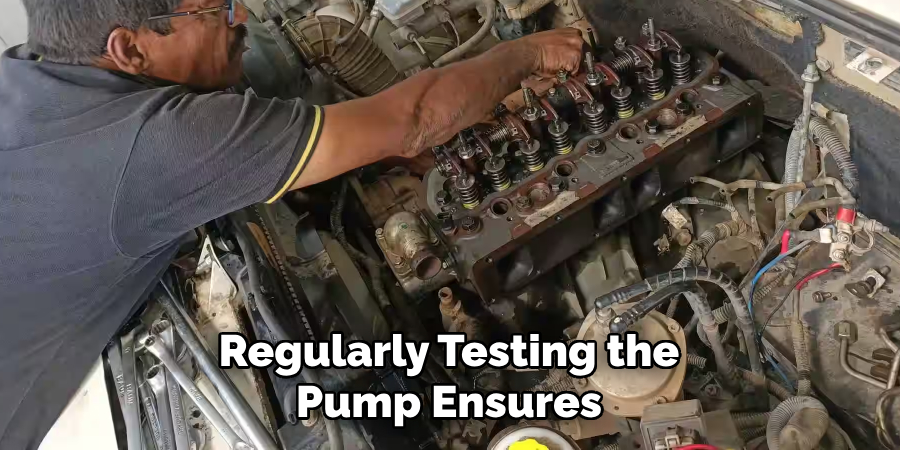
With proper maintenance and care, a mechanical fuel pump can last for many years. Regularly testing the pump ensures that it continues to function correctly and provides adequate fuel delivery to the engine.
5 Additional Tips and Tricks
Tip 1: Listen for the Clicking Sound of the Pump
Before conducting any intrusive tests, listen closely to the sound of the fuel pump when the engine is turned on. A healthy mechanical fuel pump should emit a clear clicking sound which indicates that the internal components are functioning properly. Absence of this sound could suggest a malfunctioning pump.
Tip 2: Utilize a Fuel Pressure Regulator
A fuel pressure regulator can be utilized in conjunction with a fuel pressure gauge to regulate the proper amount of fuel that should be supplied to the carburetor. This ensures that the correct amount of fuel is being delivered, and any fluctuations or irregularities in the supply can be easily identified.
Tip 3: Test the Fuel Pressure After a Long Period of Inactivity
If a vehicle has been sitting for an extended period, it’s essential to test the fuel pump before attempting to start the engine. Stagnant fuel can lead to clogging and blockages within the pump, resulting in decreased fuel pressure and engine performance.
Tip 4: Consult with Manufacturer Specifications
Before performing any tests, be sure to consult with the manufacturer’s specifications for the vehicle’s fuel system. This will provide valuable information on recommended pressure levels and other specific details that may vary from vehicle to vehicle.
Tip 5: Seek Professional Assistance If Necessary
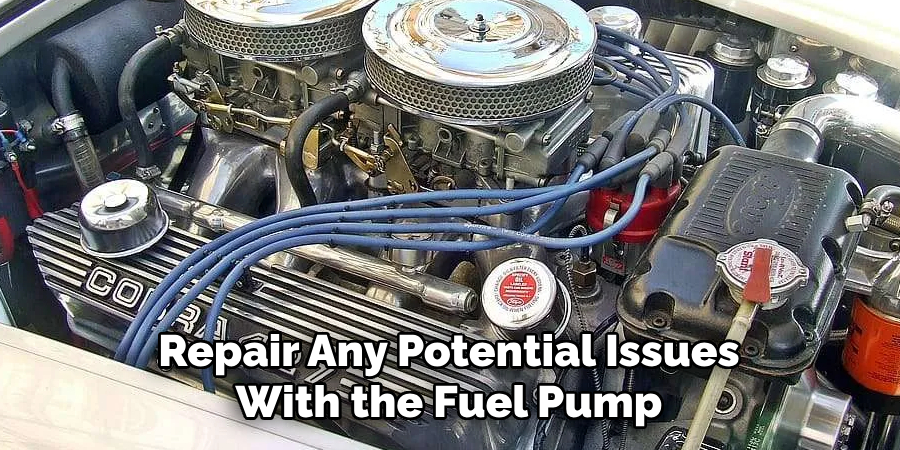
If you encounter any issues or are unsure about conducting a mechanical fuel pump test, it’s always best to seek professional assistance. A trained mechanic will have the necessary tools and knowledge to properly diagnose and repair any potential issues with the fuel pump.
Neglecting proper maintenance of the fuel pump can result in expensive repairs or even pose a safety risk, so it’s always better to be safe than sorry when it comes to vehicle maintenance.
With these additional tips and tricks, you can confidently perform a thorough test on your mechanical fuel pump to ensure its proper functionality.
6 Things You Should Avoid When Testing a Mechanical Fuel Pump
Avoidance 1: Do Not Test Without Proper Safety Gear:
Working with fuel systems can be hazardous, and it’s essential to wear safety glasses and gloves to protect your eyes and skin from fuel splashes or spills.
Avoidance 2: Never Ignore Leak Signs:
Even the smallest fuel leak can escalate into a serious issue. If you notice any leaks during your testing, address them immediately instead of proceeding with the test.
Avoidance 3: Avoid Using Damaged Equipment:
Ensure the equipment, such as pressure gauges and hoses, are in good working condition. Using damaged tools could give false readings or even cause safety hazards.
Avoidance 4: Don’t Skip Steps for Convenience:
Each step in testing a mechanical fuel pump is designed to diagnose specific issues. Skipping steps could lead to misdiagnosis or incomplete testing of the fuel pump.
Avoidance 5: Avoid Testing in Poorly Ventilated Areas:
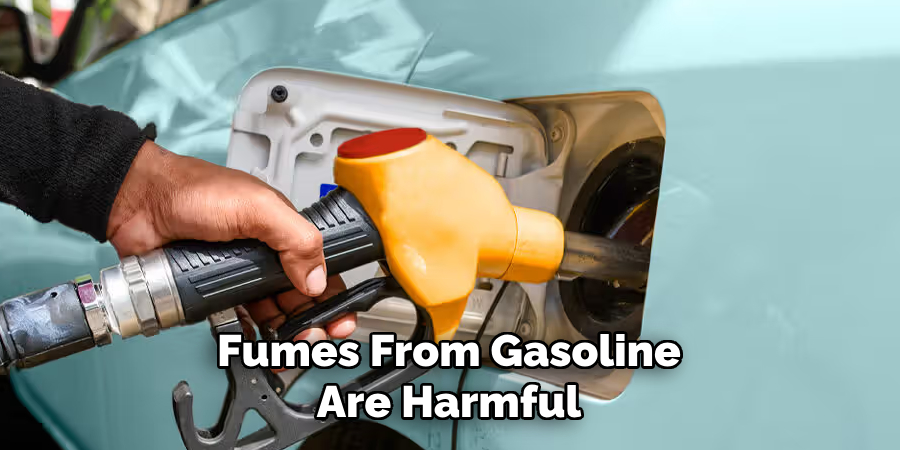
Fumes from gasoline are harmful and highly flammable. Always perform fuel pump tests in well-ventilated areas, preferably outdoors, to reduce the risk of inhalation and fire.
Avoidance 6: Never Start the Engine If Fuel Pressure is Too Low:
Starting the engine with inadequate fuel pressure can cause severe damage to the engine. Always ensure proper fuel pressure levels before attempting to start the vehicle.
By avoiding these common mistakes, you can ensure a safe and accurate test of your mechanical fuel pump. Remember to always prioritize safety and follow the proper steps for optimal results.
How Does Mechanical Fuel Pump Work?
A mechanical fuel pump operates through a series of mechanical mechanisms and components to deliver fuel from the gas tank to the engine’s carburetor. Here is a breakdown of how each part works in sync with one another:
- Fuel Tank: The fuel tank holds gasoline, which is pumped out by the fuel pump during operation.
- Inlet Valve: This valve opens to allow fuel into the pump from the gas tank.
- Vane: The vane is located inside the pump and rotates as it comes into contact with a lobe on the engine’s camshaft.
- Lever Arm and Spring: The lever arm and spring work together to transfer motion from the rotating vane to the diaphragm.
- Diaphragm: The diaphragm moves up and down in response to the vane’s rotation, creating a pressure difference that forces fuel from the pump into the carburetor.
- Outlet Valve: This valve opens to allow fuel out of the pump and into the engine’s carburetor.
- Fuel Line: The fuel line connects the pump to the engine’s carburetor, delivering fuel to the correct location.
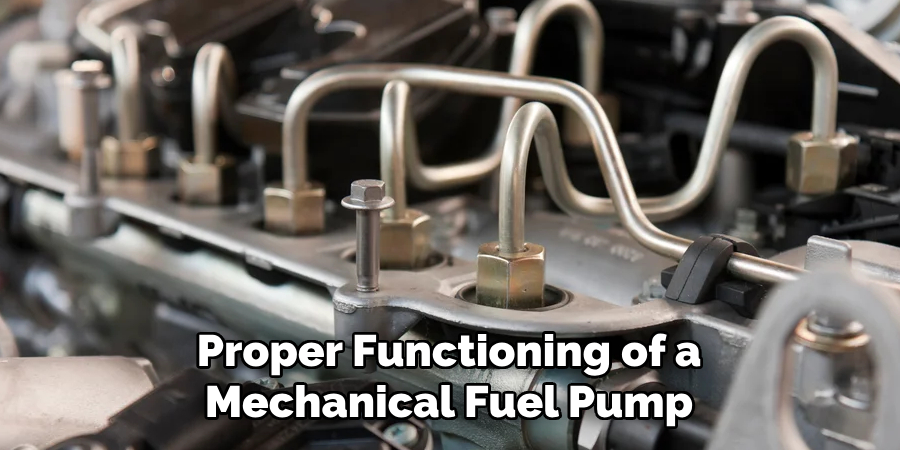
Understanding how each component works is essential in identifying and troubleshooting any potential issues with a mechanical fuel pump. Regular testing and maintenance can ensure that all these parts are functioning correctly for optimal engine performance.
Keep these tips and tricks in mind when conducting a test on your mechanical fuel pump, and remember to always practice safety precautions.
Why Do Mechanical Fuel Pumps Fail?
There are several reasons why a mechanical fuel pump may fail. Here are some of the most common causes:
- Worn or Damaged Parts: Over time, the constant motion and strain on the mechanical components can cause wear and tear, resulting in decreased performance or complete failure.
- Dirt or Debris Buildup: Dirt, debris, and rust particles can accumulate in the fuel tank and clog the pump’s internal components, leading to decreased fuel pressure or blockages.
- Stagnant Fuel: As mentioned earlier, stagnant fuel can cause clogs and blockages within the fuel pump, resulting in reduced performance or failure.
- Electrical Issues: In some cases, electrical issues such as a faulty wiring connection or a blown fuse can prevent the fuel pump from functioning correctly.
- Age: As with any mechanical part, age can also play a factor in fuel pump failure. Older pumps may become less efficient or start to deteriorate over time.
By understanding these common causes of failure, you can take proactive measures to maintain and troubleshoot your mechanical fuel pump for optimal performance and longevity. Remember, regular testing and proper maintenance can go a long way in preventing potential issues with your vehicle’s fuel system.
Does a Mechanical Fuel Pump Need Vacuum?
Yes, a mechanical fuel pump typically requires vacuum pressure to function correctly. This vacuum is created by the engine’s camshaft and helps pull fuel from the gas tank into the pump through the inlet valve.
Without proper vacuum pressure, the fuel pump may not be able to draw enough fuel, resulting in decreased performance or failure. It’s important to ensure that all components of the fuel system, including the vacuum lines and valves, are in good working condition for the proper functioning of a mechanical fuel pump.
Overall, understanding the proper techniques and safety precautions when testing a mechanical fuel pump is crucial for maintaining your vehicle’s fuel system and ensuring optimal engine performance.
Conclusion
How to test mechanical fuel pump effectively requires diligence, attention to safety, and a thorough understanding of the pump’s operation and potential failure points. By avoiding the stated common pitfalls and adhering to a structured testing regimen, you can accurately diagnose issues and maintain the integrity of your vehicle’s fuel system.
Remember, proper safety gear is imperative, leaks must be addressed promptly, reliable equipment is essential, skipping steps is counter-productive, and testing should always occur in well-ventilated areas to prevent exposure to dangerous fumes.
Understanding how each component of the fuel pump works, the common causes of failure, and the necessity of vacuum pressure will arm you with the knowledge required to ensure your mechanical fuel pump operates efficiently and safely. Always prioritize proper maintenance and immediately address any signs of wear and tear or damage to prevent more significant problems down the road.