

Your car’s radiator cap is often an overlooked hero in the engine’s cooling system. Responsible for maintaining the right pressure in your coolant system, the radiator cap ensures your engine doesn’t overheat – something every driver dreads.
Like every component, your radiator cap can wear out, and knowing how to detect issues early on can save you from major repairs down the line. This in-depth guide is designed for vehicle maintenance beginners and DIY enthusiasts who want to learn how to tell if you have a bad radiator cap.
The Importance of a Healthy Radiator Cap
Before we dive into the signs of a problematic radiator cap, let’s take a moment to appreciate its vital role in your vehicle’s performance. The radiator cap is a small yet pivotal part of your car’s cooling system. It keeps the coolant under pressure to raise the boiling point, preventing it from turning to steam, which keeps your engine cool and running smoothly.
When the radiator cap is functioning correctly, it maintains the pressure level in the cooling system and allows excess pressure to vent into the overflow reservoir. As the engine cools, the cap lets coolant flow back in, ensuring enough to keep your engine at the optimal temperature.
Any malfunctions in the cap can disrupt this delicate balance, leading to potentially catastrophic consequences such as an overheated engine or a cracked cylinder head.
Signs of a Bad Radiator Cap
The tricky part about diagnosing a bad radiator cap is that the symptoms often overlap with other issues. Here are the most common signs to watch out for:
Coolant Leaks
If you find small puddles of brightly colored liquid—usually green, orange, or pink—under your car, it’s a telltale sign that your coolant is leaking.
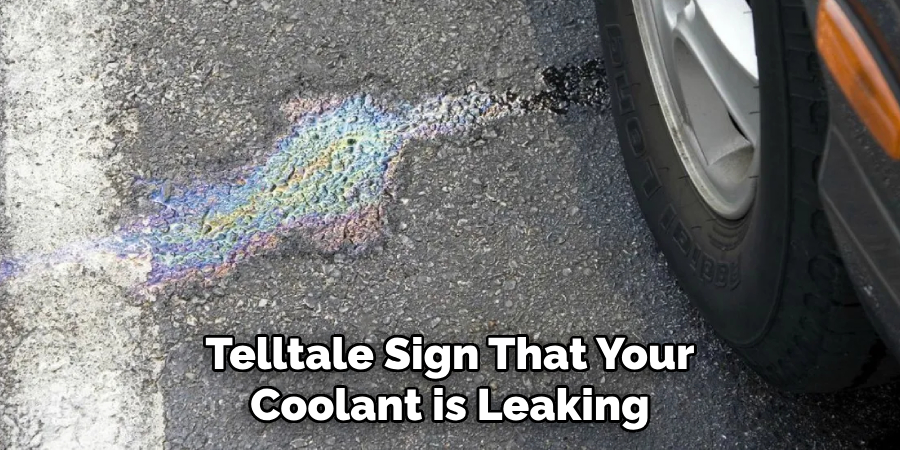
Observe your vehicle after it’s been parked for a while, especially if you’ve just run the AC. Coolant can leak from various places, but it’s often the cap’s O-ring that’s the culprit.
Overheating Engine
An engine that consistently runs hot, especially during idling or short trips, might have a radiator cap that’s not holding the correct pressure. Over time, the increased pressure can cause coolant to boil prematurely, reducing its effectiveness in cooling the engine.
Low Coolant Levels
Frequent top-ups of your coolant reservoir, especially if there aren’t any obvious leaks in the hoses or radiator, can indicate that the cap isn’t sealing the radiator properly. It’s best to keep an eye on the gallons you’ve had to use over time.
Checking the Radiator Cap
Now that you know the warning signs, it’s time to check your radiator cap for any issues. It’s a straightforward process, but you’ll need to proceed cautiously as you’ll be working with a hot engine and pressurized coolant.
Safety Precautions
Ensure the engine is cool enough to touch and the system is depressurized before removing the cap. Always use thick gloves and eye protection, as hot coolant can cause severe burns if it spurts out of the cap unexpectedly.
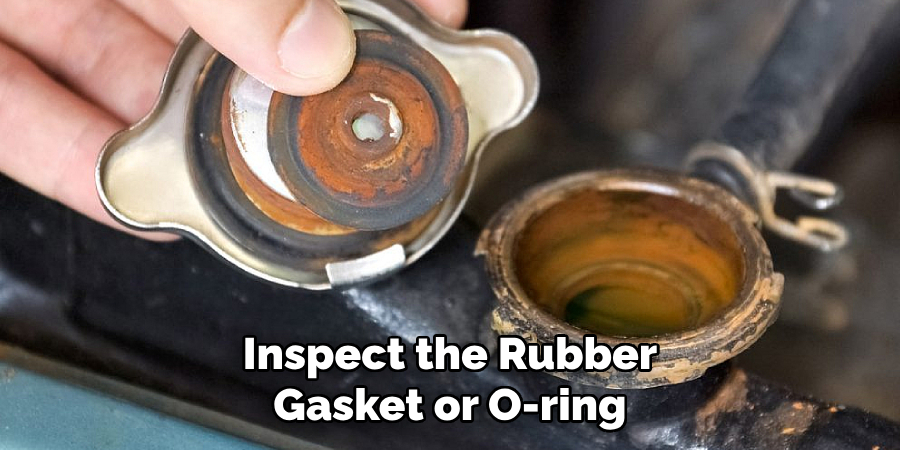
Visual Inspection
Begin by looking at the cap for any visible signs of damage, such as cracks in the plastic or rust on the metal parts. You should also inspect the rubber gasket or O-ring. It should be pliable and not brittle, as a failing seal can cause leaks and pressure loss.
Pressure Testing
If the visible inspection doesn’t reveal any issues, it’s time to perform a pressure test. This involves using a radiator cap tester rented or purchased from an auto parts store. It will help you determine whether the cap is maintaining the correct pressure level.
Remember, the correct pressure level depends on the recommendations for your vehicle, which you can find in your owner’s manual or through your vehicle manufacturer.
How to Tell if You Have a Bad Radiator Cap: A Beginner’s Guide
If your inspection or pressure test indicates a faulty radiator cap, you’ll need to replace it. Here’s a step-by-step guide to ensure you do it right:
1. Gather the Necessary Tools and Materials:
You’ll need a new radiator cap (make sure it matches your vehicle’s specifications), gloves, eye protection, and possibly pliers. If you’re doing a full coolant flush, you’ll also need new coolant and a drain pan.
2. Prepare the Engine:
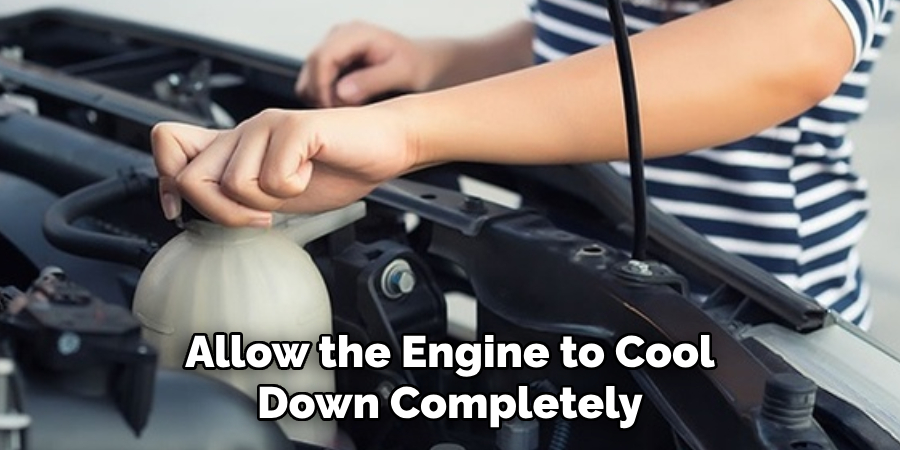
Allow the engine to cool down completely before starting any work. Then, ensure all pressure is released from the cooling system by gently pushing down on the cap and turning it counterclockwise until it clicks.
3. Remove the Old Cap:
If necessary, turn the cap counterclockwise using your gloves and pliers until it’s loose enough to remove it. If you remove the cap for a coolant flush, drain the old coolant into a pan. If not, you can simply remove the cap and proceed to the next step.
4. Install the New Cap:
Clean any debris or corrosion from the radiator’s fill neck before installing the new cap. Then, press it on top of the opening firmly while turning clockwise until it clicks into place. Check for a secure fit by gently trying to twist the cap.
5. Refill the Coolant:
If you removed the old coolant, refill the radiator with a mix of new coolant and distilled water according to your vehicle’s specifications. Be careful not to overfill, as this can cause problems in itself.
6. Test Run:
Start the engine and allow it to run for a few minutes while keeping an eye on the temperature gauge. If everything looks normal, you’re good to go! If not, you may need to seek professional help.
7. Seek Professional Help:
If you still experience issues with your cooling system after replacing the radiator cap, it’s best to seek professional help. A mechanic can diagnose any underlying problems and make necessary repairs or replacements.
Keep in mind that regular maintenance of your vehicle’s cooling system is essential to prevent any major issues. This includes checking the condition of your radiator cap periodically and replacing it when necessary.
By watching for the signs and following this beginner’s guide, you can ensure a healthy and well-functioning cooling system for your vehicle.
4 Common Mistakes People Make When Trying to Fix a Bad Radiator Cap
Although replacing a radiator cap might seem like a simple task, there are several mistakes that people commonly make when trying to fix one. Here are four common errors to watch out for:
1. Using the Wrong Cap:
Each vehicle has specific requirements for its radiator cap, such as pressure levels and fitment. Installing the wrong cap can cause major damage to your cooling system, so always double-check the specifications before purchasing.
2. Reusing an Old Cap:
Even if your old radiator cap looks fine, its pressure levels and seal may have become compromised over time. It’s best to replace it with a new one to ensure optimal performance.
3. Not Checking for Other Issues:
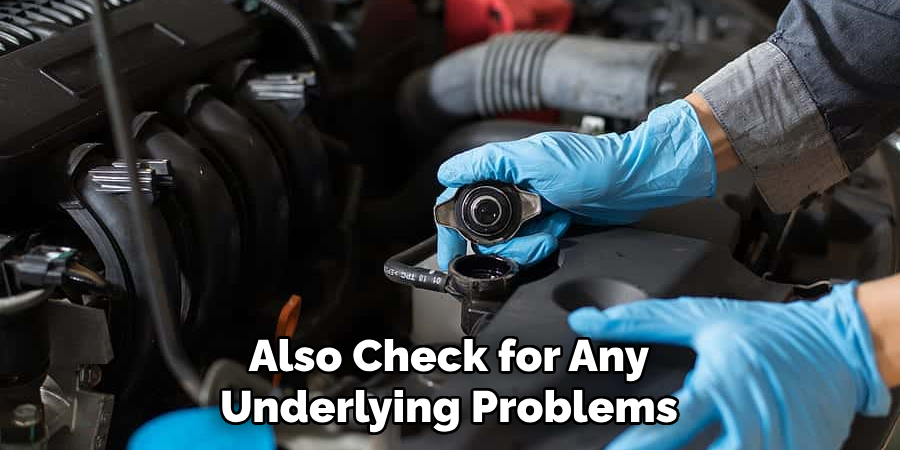
Replacing a faulty radiator cap may temporarily fix the immediate issue, but it’s important to also check for any underlying problems that may have caused the cap to fail. This could include leaks in the hoses or radiator, a damaged head gasket, or a malfunctioning thermostat.
4. Not Following Safety Precautions:
Working with hot engines and pressurized coolant can be dangerous if proper safety precautions are not taken. Always wear appropriate protective gear and allow the engine to cool down before attempting any repairs or replacements. So, it’s best to follow these precautions carefully.
Frequently Asked Questions
What Is a Radiator Cap and Why Is It Important?
A radiator cap is a small component in your vehicle’s cooling system that maintains pressure and seals the coolant from the outside atmosphere. It is crucial as it maintains the boiling point of the coolant higher, preventing your engine from overheating and keeping the system at the proper pressure level.
How Often Should a Radiator Cap Be Replaced?
While radiator caps don’t have a universal replacement time, it is usually recommended to inspect your radiator cap every time you get your vehicle serviced and replace it approximately every five years or as recommended by your vehicle’s manufacturer.
Can I Drive My Car With A Bad Radiator Cap?
Driving with a faulty radiator cap is possible, but it is not advisable. A bad cap can lead to a loss of coolant, overheating, and increased engine wear over time. It’s better to replace a defective cap as soon as it’s identified.
How Do I Choose the Right Radiator Cap for My Vehicle?
It is essential to use a radiator cap that matches your vehicle’s specifications. You can find the right specifications in your owner’s manual or by contacting the manufacturer. Make sure to check the pressure rating and the size to ensure proper fitment.
Conclusion
The radiator cap might be small, but it plays a huge role in the health of your vehicle’s cooling system. Being vigilant about its condition and functionality can save you from a bigger, more expensive problem. Remember, vehicle maintenance is all about preventive care, and when it comes to your car’s radiator cap, a little attention today can prevent a world of trouble tomorrow.
Make these checks a part of your regular maintenance routine, and you’ll ensure your engine stays cool as a cucumber. Thanks for reading our post about how to tell if you have a bad radiator cap.

About
JeepFixes Team is a skilled author for Jeep Fixes, bringing 6 years of expertise in crafting a wide range of jeep fixes. With a strong background in jeep fixes work, JeepFixes Team’s knowledge spans various types of fixtures, from decorative pieces to functional hardware, blending precision with creativity. His passion for jeep fixes and design has made him a trusted resource in the industry.
Professional Focus:
Expert in Jeep Fixes : JeepFixes Team aesthetic specializes in creating durable and innovative jeep fixes, offering both appeal and functionality. His work reflects a deep understanding of jeep fixes techniques and materials.
Sustainability Advocate : He is dedicated to using sustainable practices, ensuring that every fixture is crafted with eco-friendly methods while maintaining high-quality standards.
In his writing for jeep fixes, JeepFixes Team provides valuable insights into the latest trends, techniques, and practical advice for those passionate about jeep fixes, whether they are professionals or DIY enthusiasts. His focus on combining artistry with engineering helps others discover the true potential of jeep in design.