

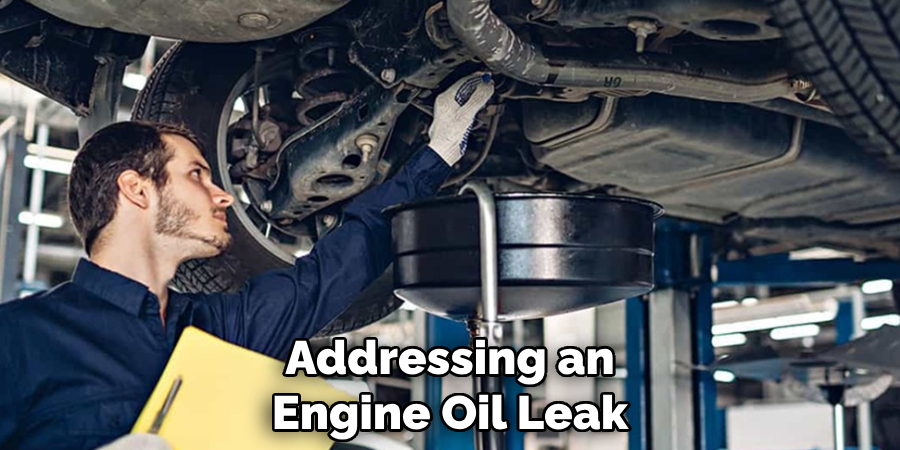
Are you experiencing an engine oil leak? Don’t worry. This is a common problem that can be easily fixed. In this guide, we will discuss the causes of engine oil leaks and provide you with step-by-step instructions on how to stop engine oil leak.
Engine oil leaks are more than just a nuisance; they can lead to significant engine damage if not addressed promptly. Fortunately, with some knowledge and the right approach, stopping an engine oil leak can be a straightforward process. This guide aims to provide you with a comprehensive overview of identifying the source of an engine oil leak, choosing the correct treatment, and applying a solution to prevent further damage to your vehicle.
Whether you’re a seasoned mechanic or a first-time car owner, understanding how to stop an engine oil leak is an essential skill that can save you time and money and ensure the longevity of your engine.
What are the Causes of Engine Oil Leaks?
There are several possible causes of engine oil leaks, including worn out seals or gaskets, damaged oil pan, loose valve cover bolts, and even a leaking oil filter. As engines age and accumulate mileage, the constant exposure to heat and pressure can cause these components to deteriorate over time.
Using low-quality or incorrect engine oil can also contribute to oil leaks. Using the wrong grade or viscosity of engine oil can cause excess pressure and lead to seal failure, resulting in a leak. It’s essential to check your vehicle’s owner’s manual for the recommended type and grade of engine oil before each oil change.
Overall, understanding the potential causes of engine oil leaks can help you narrow down the source of the problem and determine the appropriate solution.
What will You Need?
Before you begin, make sure you have the following items:
- A clean workspace
- Protective gloves and eyewear
- A set of wrenches and sockets
- New gaskets or seals (depending on the source of the leak)
- Engine oil (if needed)
Once you have these items, you’re ready to get started!
10 Easy Steps on How to Stop Engine Oil Leak
Step 1. Identify the Source of the Leak:
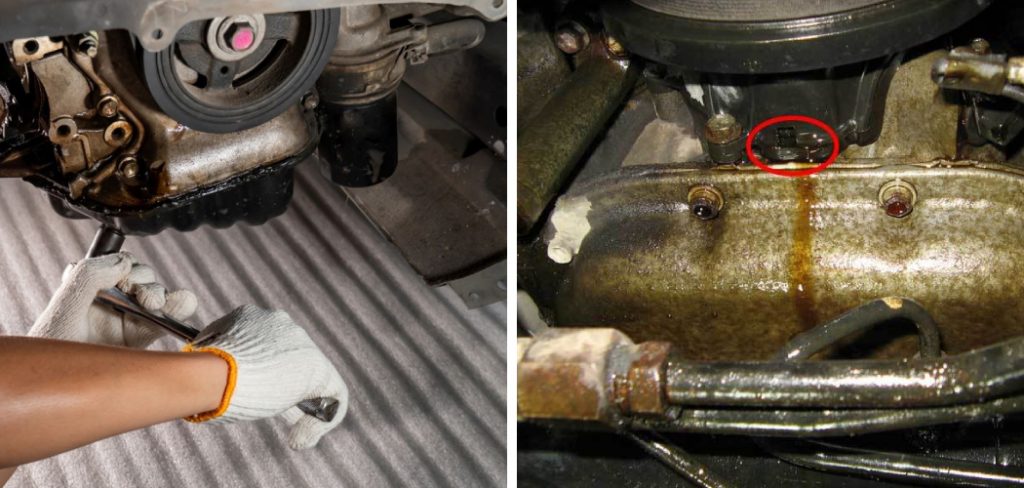
The first step in addressing an engine oil leak is to pinpoint exactly where it originated. Start by cleaning the engine and the surrounding area thoroughly. This allows you to observe the leak more clearly without the ambiguity caused by dirt and grime. After cleaning, run the engine for a few minutes—this will help the oil to warm up and start leaking, making it easier to identify the leak’s origin.
Inspect the most common places for leaks, such as around the oil pan, valve cover gaskets, oil filter, and oil filler cap. Remember to check the crankshaft seals at both ends of the engine and the timing cover seal. Sometimes, the leak might be small or seeping from a less obvious place, so take your time during this inspection.
Step 2. Tighten Loose Parts:
After identifying the source of the leak, inspect any bolts or fasteners associated with the leaking component—for example, the valve cover bolts or the oil pan bolts. Over time, these can become loose due to the engine’s vibration. Use a wrench or socket set to carefully tighten these parts; however, be cautious not to over-tighten, as this could strip the threads or damage the component. It’s crucial to consult your vehicle’s service manual for the correct torque specifications. Sometimes, simply tightening these parts can effectively stop the oil leak.
Step 3. Replace Damaged Seals and Gaskets:
If tightening the bolts does not stop the oil leak, the next step is to closely inspect the seals and gaskets. These components are typically made from rubber or other materials that can degrade over time, leading to leaks. Remove the leaking component, such as the valve cover or oil pan, and replace the old seal or gasket with a new one. Make sure to clean the mating surfaces thoroughly before installation to ensure a proper seal. This step requires precision and patience, but replacing worn out seals and gaskets is often a surefire way to stop engine oil leaks.
Step 4. Use a Leak Stop Additive:
Consider using a leak stop additive—a chemical solution designed to seal small leaks within the engine. These additives can be particularly useful for leaks that are hard to locate or for older vehicles where replacing seals and gaskets might not be cost-effective. Simply pour the recommended amount of the additive into your engine oil according to the product’s instructions.

While not a permanent solution, leak stop additives can provide a temporary fix and extend the time between more substantial repairs. Remember, selecting a high-quality additive compatible with your vehicle’s engine oil is essential, and consult your mechanic to ensure it’s a suitable option for your situation.
Step 5. Check and Replace the Oil Filter:
Sometimes, the culprit behind an oil leak can be as simple as a faulty or improperly installed oil filter. Check the oil filter for any signs of damage or wear, such as cracks or a loose fit. If the oil filter is not seated correctly or is due for a replacement, the oil may leak around the filter area. To address this, first remove the old oil filter—using an oil filter wrench can make this easier.
Before installing a new filter, apply a thin layer of engine oil to the rubber gasket on the new filter; this helps ensure a proper seal. Screw the new filter into place, following the manufacturer’s recommended torque specifications. This step is often overlooked but is a simple and cost-effective fix for some oil leaks.
Step 6. Replace the Oil Pan Drain Plug Washer:
A common yet often overlooked cause of engine oil leaks is a worn or damaged oil pan drain plug washer. This washer is designed to seal the connection between the oil pan and the drain plug, preventing oil from leaking out. Over time, the washer can deteriorate or become damaged, leading to a leak. To replace it, first remove the drain plug from the oil pan and take off the old washer.
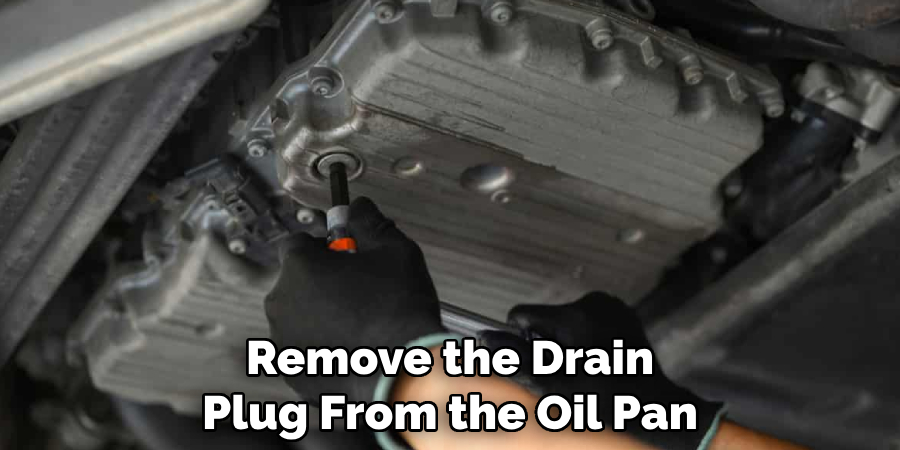
Clean the plug and the surrounding area on the pan thoroughly. Then, place a new washer on the plug before reinserting it into the oil pan. Tighten the plug to the manufacturer’s recommended torque specification to ensure a proper seal. This simple step can often resolve minor oil leaks and prevent future occurrences.
Step 7. Inspect and Replace Crankshaft Seals:
The crankshaft seals, located at the front and rear ends of the engine, can also be a source of oil leaks if they become worn or damaged. These seals are critical for maintaining the oil inside the engine and preventing it from leaking out around the crankshaft. To inspect the seals, you may need to remove certain components, such as the timing belt or chain and the crankshaft pulley.
If you observe any signs of wear, cracking, or oil seepage, it’s time to replace the seals. Carefully remove the old seals, ensuring that they do not damage the crankshaft surface. Install the new seals, making sure they are correctly seated. This repair might be more complex and require specific tools or expertise, so consider consulting a professional if unsure.
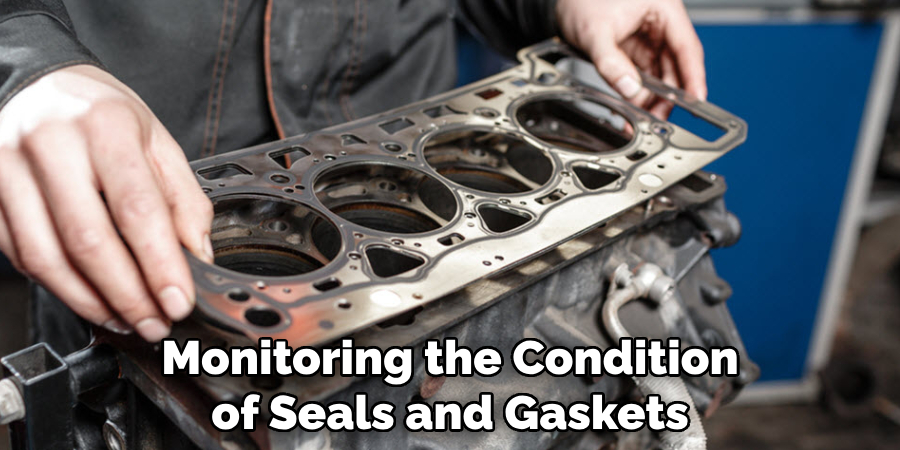
Step 8. Perform Regular Maintenance and Checks:
To prevent future oil leaks, it is essential to adopt a routine of regular maintenance and inspections of your vehicle’s engine. This includes regularly checking the oil level, monitoring the condition of seals and gaskets, and replacing them before they fail. Also, change the engine oil and filter at the intervals recommended by your vehicle’s manufacturer.
Staying proactive with maintenance can help identify potential issues early on, reducing the likelihood of oil leaks and extending your engine’s lifespan. Remember, preventative care is key to keeping your vehicle running smoothly and avoiding costly repairs down the line.
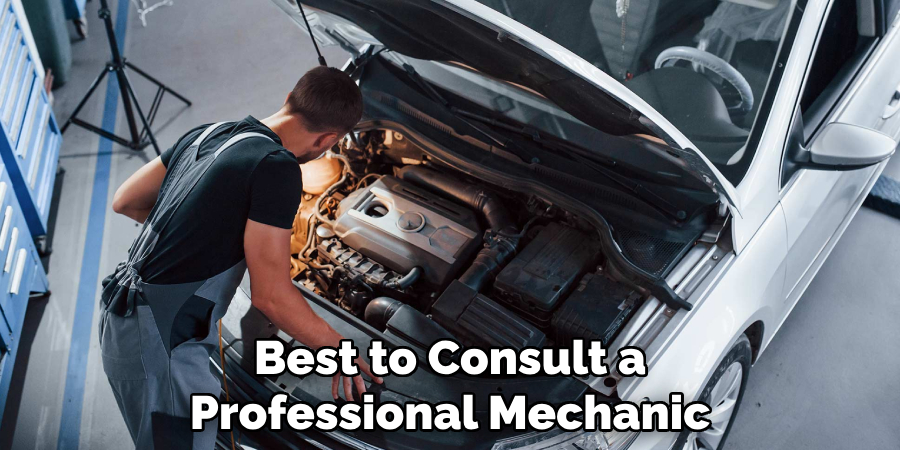
Step 9. Consult a Professional Mechanic:
If you have followed the previous steps and your vehicle is still experiencing oil leaks, it may be time to consult a professional mechanic. Persistent oil leaks can signal a more serious underlying issue within the engine, requiring specialized diagnostic tools and expertise to identify and repair it accurately.
A professional mechanic can comprehensively evaluate your vehicle’s engine, pinpointing the exact source of the leak and suggesting the most effective repair options. Remember, timely intervention by a professional can prevent minor leaks from evolving into major repairs, ultimately saving you time and money in the long run.
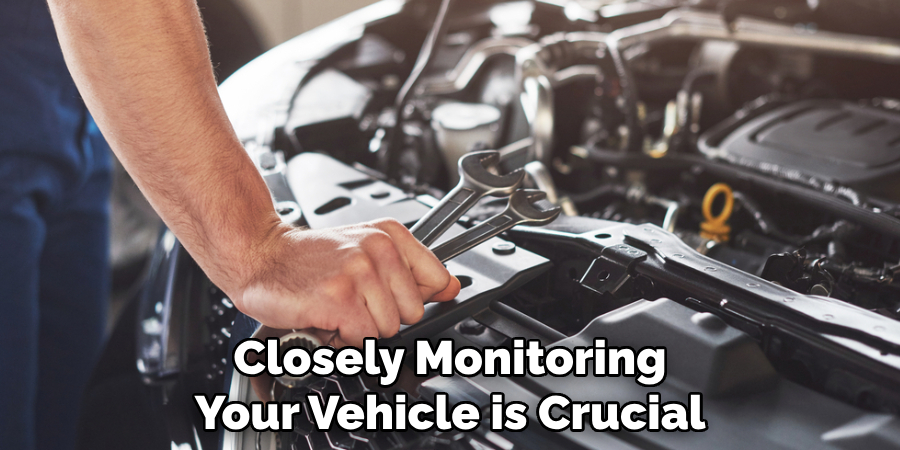
Step 10. Monitor Your Vehicle Post-Repair:
After addressing the oil leak and conducting the necessary repairs, closely monitoring your vehicle is crucial. Keep an eye out for any signs of new or recurring leaks, and pay attention to your vehicle’s performance. Regularly checking the oil level and inspecting the areas previously repaired can help ensure that the issue has been effectively resolved. It’s also a good idea to place a piece of cardboard under the engine when parked overnight; this can help spot leaks that may not be otherwise noticeable.
If you observe oil drops or a decrease in oil levels shortly after repairs, it may indicate that there is an additional issue that requires attention. Staying vigilant post-repair can help catch any unforeseen problems early, ensuring your vehicle remains in top condition.
By following these steps, you can effectively address and prevent oil leaks in your vehicle. Whether it’s a simple fix or a more complex repair, staying proactive with maintenance and regularly monitoring your vehicle can help extend its lifespan and save you time and money in the long run.
5 Additional Tips and Tricks
- Regular Maintenance Checks: Maintaining your vehicle’s maintenance schedule is crucial. Regularly checking the oil level and changing the oil and filter can prevent leaks from developing.
- Use High-Quality Oil: Investing in high-quality engine oil can significantly reduce the risk of leaks. Higher-quality oils often contain additives that can rejuvenate seals and reduce wear.
- Replace the Oil Filter: An old or overused oil filter can cause pressure build-ups in the system, leading to leaks. Ensure the oil filter is replaced regularly to maintain healthy engine oil circulation.
- Check and Tighten the Oil Pan Drain Plug: A loose oil pan drain plug can be a source of leaks. Make sure it’s properly tightened during oil changes. If the plug’s threads are worn out, consider replacing it.
- Upgrade or Replace Worn Seals and Gaskets: Seals and gaskets can become worn and leak over time. Inspecting and replacing any faulty seals and gaskets can prevent oil leaks and protect your engine’s performance.
With these additional tips and tricks, you can effectively stop engine oil leaks and keep your vehicle running smoothly. Regular maintenance checks, using high-quality oil, replacing the oil filter, checking and tightening the oil pan drain plug, and upgrading or replacing worn seals and gaskets are all essential steps in preventing leaks.
5 Things You Should Avoid
- Ignoring the Problem: One of the biggest mistakes is ignoring oil leaks when they first appear. What might seem like a minor issue can quickly escalate into a major one, potentially leading to engine failure.
- Using Cheap Oil: Saving a few dollars on cheaper engine oil can cost you much more down the line. Low-quality oils may not adequately protect your engine, leading to quicker wear and potential leaks.
- Overfilling the Engine Oil: Adding too much oil to your engine can create excessive pressure within the system, leading to leaks through the seals and gaskets. Always ensure you fill the oil to the manufacturer’s recommended level.
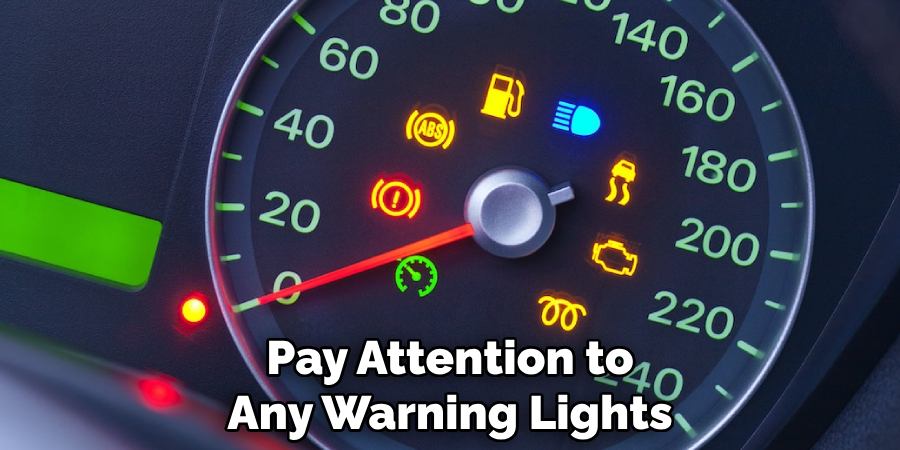
- Neglecting Engine Warning Signs: It’s vital to pay attention to any warning lights or unusual sounds coming from your engine, as these can be early indicators of a leak or other issues. Delaying a check-up can worsen the problem.
- Skipping Regular Inspections: Regular vehicle inspections by a professional can catch potential issues before they become significant problems. Skipping these inspections can mean missing early signs of wear or damage that could lead to oil leaks.
By avoiding these common mistakes, you can save yourself time, money, and potentially expensive repairs.
Is Stop Leak Safe for Cars?
Stop leak products are designed to temporarily seal leaks in a vehicle’s engine or cooling system. While they may provide a quick fix, they are not a long-term solution and should not be used as a replacement for proper maintenance. Additionally, some stop-leak products can potentially cause harm to your car’s engine, especially if used continuously over time.
It is always best to address any leaks with proper repairs and maintenance rather than relying on a temporary fix. So, it is advisable to use stop leak products only as a short-term solution and not as a permanent fix for engine oil leaks. It is essential to maintain your vehicle regularly and address any potential issues promptly to avoid more significant problems in the future.
What Are the Advantages and Disadvantages of Stop Leak?
Advantages of using stop leak products include:
- Quick and easy fix for minor leaks
- Temporary solution to prevent further damage
- It can be used in emergency situations
Disadvantages of using stop leak products include:
- Not a permanent solution to the problem
- It can potentially cause harm to the engine or cooling system if used continuously
- It may not work for larger or more severe leaks
- It can be expensive in the long run if continuously used as a replacement for proper maintenance and repairs.
Overall, while stop leak products can provide a quick fix, they should not be relied upon as a permanent solution to engine oil leaks. Regular maintenance and prompt repairs are the best ways to prevent and address leaks and ensure your vehicle’s optimal performance.
Can You Stop Leak in With Coolant?
Some stop-leak products can be added directly to the coolant, while others may need to be added through the radiator or overflow tank. It is essential to carefully read and follow the instructions on the product label before adding it to your vehicle’s cooling system. Adding too many stop leaks or using the wrong type can cause damage to your engine or cooling system. It is always best to consult a professional mechanic for advice on using stop-leak products in your specific vehicle.
In conclusion, while a stop leak can provide a temporary fix for engine oil leaks, it is not a long-term solution and should not be used as a replacement for proper maintenance and repairs. It is essential to regularly check and maintain your vehicle to prevent leaks and address any potential issues promptly. Always follow the manufacturer’s recommendations and consult a professional mechanic for advice on using stop-leak products in your vehicle.
Conclusion
How to stop engine oil leak is an essential aspect of vehicle maintenance that can save you from facing costly repairs and engine damage down the line. You can significantly reduce the risk of leaks by adhering to a proactive maintenance schedule, using high-quality oils and replacement parts, and avoiding common mistakes that lead to engine oil leaks.
While stop-leak products offer a temporary solution, they should not be seen as a substitute for addressing the underlying issues causing the leaks. Regular inspections, timely repairs, and taking preventative measures will ensure that your vehicle remains in top condition, safeguarding its performance and longevity.
Always consult a professional mechanic for the best approaches to maintaining your vehicle and dealing with engine oil leaks effectively.

Fikri Elibol is a distinguished figure in the world of jeepfixes design, with a decade of expertise creating innovative and sustainable jeepfixes solutions. His professional focus lies in merging traditional craftsmanship with modern manufacturing techniques, fostering designs that are both practical and environmentally conscious. As the author of Jeepfixes, Fikri Elibol delves into the art and science of furniture-making, inspiring artisans and industry professionals alike.
Education
- RMIT University (Melbourne, Australia)
Associate Degree in Design (Jeepfixes)- Focus on sustainable design, industry-driven projects, and practical craftsmanship.
- Gained hands-on experience with traditional and digital manufacturing tools, such as CAD and CNC software.
- Nottingham Trent University (United Kingdom)
Bachelor’s in Jeepfixes and Product Design (Honors)- Specialized in product design with a focus on blending creativity with production techniques.
- Participated in industry projects, working with companies like John Lewis and Vitsoe to gain real-world insights.
Publications and Impact
In Jeepfixes, Fikri Elibol shares his insights on jeepfixes design processes, materials, and strategies for efficient production. His writing bridges the gap between artisan knowledge and modern industry needs, making it a must-read for both budding designers and seasoned professionals.