
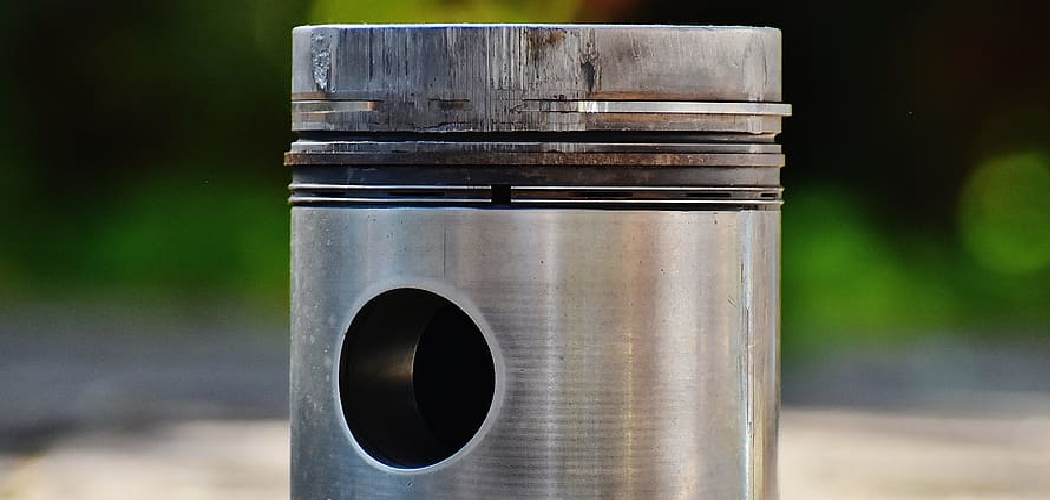
Setting the rings on a piston is a critical step in ensuring the proper operation of an internal combustion engine. This process involves the precise placement of piston rings into grooves on the outer diameter of a piston. The rings serve several vital functions: they seal the combustion chamber, regulate oil consumption, and transfer heat from the piston to the cylinder wall.
Mastery of this skill is essential for both professional mechanics and enthusiasts aiming to maintain or rebuild an engine to achieve peak performance and longevity. This guide on how to set rings on a piston will walk you through the essentials of this detailed process step by step.
Function and Importance of Piston Rings
Piston rings are typically made of cast iron, which is a very hard, durable material. They fit into machined grooves on the outer wall of the piston and must be installed in a specific order and orientation to function correctly. The three most common types of piston rings are compression rings, oil control rings, and oil scraper rings.
Compression rings are responsible for sealing the combustion chamber. The pressure created by the expanding gases during combustion forces these rings against the cylinder wall, creating a seal that prevents blow-by of exhaust gases and loss of compression.
Oil control rings, also known as oil control bands or simply oil rings, regulate oil consumption and prevent excessive amounts of oil from entering the combustion chamber. They act as a barrier between the oil in the crankcase and the combustion chamber, keeping oil from being burned along with fuel.
The final type of piston ring is the oil scraper ring, which removes excess oil from the cylinder wall. This prevents excessive lubrication and accumulation of carbon deposits, which can negatively impact engine performance.
Types of Piston Rings
As mentioned earlier, there are three types of piston rings: compression rings, oil control rings, and oil scraper rings. Compression rings are further divided into top compression and second compression rings. The top compression ring is responsible for sealing the combustion chamber, while the second compression ring serves as a backup if the top ring fails.
Oil control rings consist of two parts: an expander ring and a spacer. The expander ring helps to hold the oil control rings in place, while the spacer allows for flexibility and movement of the two oil control rings.
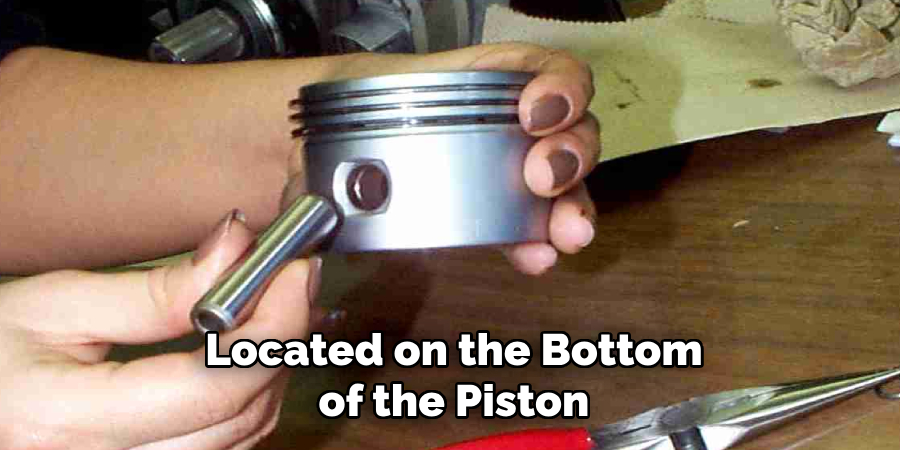
Oil scraper rings are typically located on the bottom of the piston and serve to remove excess oil from the cylinder wall.
Necessary Tools and Materials
Piston Ring Compressor
A piston ring compressor is an essential tool for setting rings on a piston. It holds the rings in place, creating enough pressure to allow easy installation without damaging them.
Ring Expander
A ring expander is used to reduce the size of the compression and oil control rings, making it easier to install them onto the piston.
Feeler Gauge
A feeler gauge is used to measure the gap between the piston ring and the cylinder wall. This step is crucial in ensuring the proper installation and function of the rings.
Clean Cloth
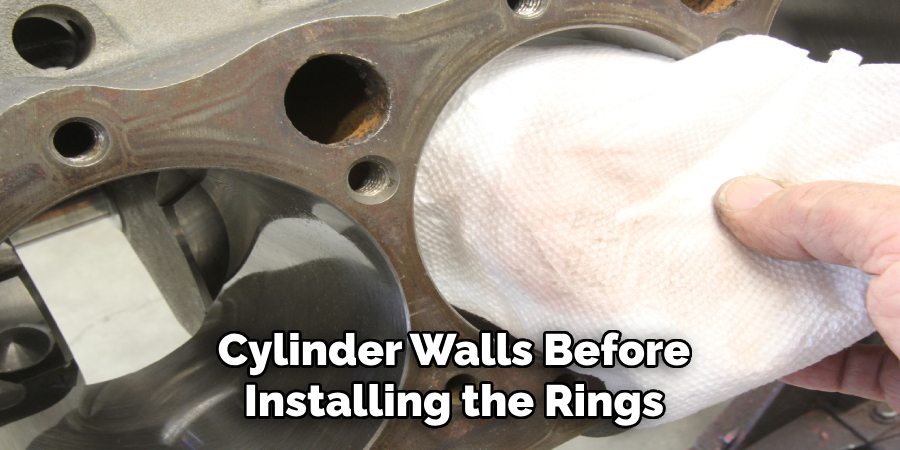
A clean cloth should be used to wipe down the piston, rings, and cylinder walls before installing the rings.
11 Step-by-step Guidelines on How to Set Rings on a Piston
Step 1: Preparing Piston Rings and Pistons
Before starting the process of setting rings on a piston, ensure that you have all the necessary tools and equipment. You will need new piston rings, a ring compressor tool, a torque wrench, and specific lubricants recommended for your engine. The first step is to clean the pistons and rings thoroughly.
Ensure that the pistons are free of any debris, oil, or grease. It is also crucial to check the ring end gaps and ensure that they are within the manufacturer’s specifications. You can do this by inserting the ring into the cylinder bore and using a feeler gauge to measure the gap.
Step 2: Identify Ring Orientation
Before installing the rings, identify which ring is the top compression ring, second compression ring, oil control ring, and scraper ring. The manufacturer’s instructions will specify which ring goes in each groove on the piston. Typically, the top compression ring has a slightly different design than the second compression ring, making it easy to differentiate.
You can also check the markings on the rings to determine their specific orientation. But be careful not to mix up the rings as they are specific to each cylinder and cannot be interchanged. If installed incorrectly, they can cause severe damage to the engine.
Step 3: Lubricate the Rings and Piston
Prior to installing the rings onto the piston, make sure to lubricate the rings and the piston. This will help prevent any damage to the rings during installation and ensure proper seating on the piston. You can use a specific lubricant or engine oil recommended by the manufacturer.
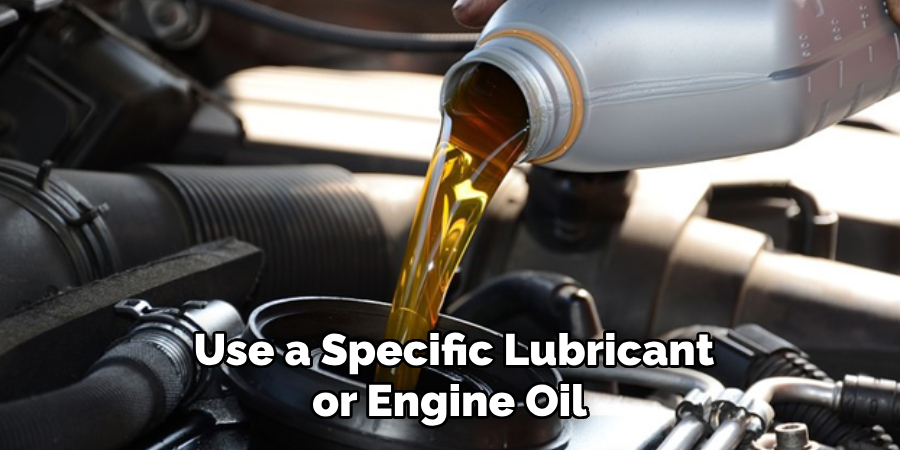
But be sure to use only a small amount of lubricant to avoid any excess getting into the combustion chamber. The lubrication will also aid in the smooth movement of the rings during operation. It is essential to note that some rings may come pre-lubricated and do not require any additional lubrication. But always double-check the manufacturer’s instructions to be sure.
Step 4: Install the Oil Scraper Ring
Start by installing the oil scraper ring on the bottom of the piston. These rings are typically made up of three pieces, including two thin steel rails and a flexible spring expander in between. Take extra care not to damage the flexible spring expander as it is delicate and can easily become distorted if handled roughly.
Gently expand the rings using a ring spreader tool, then slide them into the groove on the piston. The expander ring should be on the bottom, followed by the two steel rails. If the rings are too tight, you can use a feeler gauge to expand them slightly. Although it may seem like a simple step, installing the oil scraper ring correctly is crucial as it ensures proper oil control and prevents excessive lubrication.
Step 5: Install Oil Control Rings
Next, install the oil control rings onto the middle groove on the piston. These rings are also made up of two pieces: an expander ring and a spacer. Take note of the orientation of the rings and ensure that they are installed correctly. The expander ring should be on top, followed by the spacer and then the oil control ring.
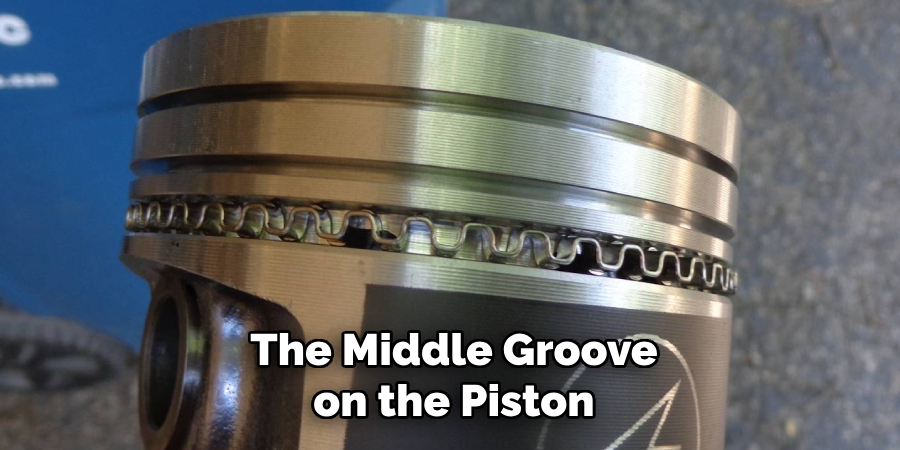
If the oil control rings are not installed correctly, they will not function properly and can cause engine damage. You can use a ring expander tool to reduce the size of the rings and make them easier to install. The oil control rings are responsible for controlling the amount of oil that reaches the combustion chamber and preventing it from leaking into the crankcase.
Step 6: Install Second Compression Ring
Install the second compression ring onto the top groove on the piston. This ring is typically identical to the top compression ring but has a slightly different design. Ensure that the markings on the ring are facing upwards and the beveled edge is facing downwards towards the oil control rings. But double-check the manufacturer’s instructions to be sure.
The second compression ring serves as a backup in case the top compression ring fails. It is crucial to install it correctly to avoid any issues during engine operation. But be careful not to overstretch the rings when installing them onto the piston, as it can damage them.
Step 7: Install Top Compression Ring
The final step is to install the top compression ring onto the top groove on the piston. This ring is responsible for sealing the combustion chamber, so it is essential to install it correctly. The markings on the ring should be facing upwards, and the beveled edge should be facing downwards towards the oil control rings. Again, double-check the manufacturer’s instructions for specific orientation.
Although it may seem simple, installing the top compression ring incorrectly can cause significant damage to the engine. It is crucial to double-check and ensure it is correctly installed. The top compression ring also undergoes the most pressure and wear, so it is essential to use high-quality rings and follow the manufacturer’s specifications.
Step 8: Use the Ring Compressor Tool
Now that all the ring grooves have been filled, it is time to use the ring compressor tool. This tool will help compress the rings and make it easier to install the piston into the cylinder bore. Place the ring compressor tool over the piston and align it with the groove on the top of the piston.
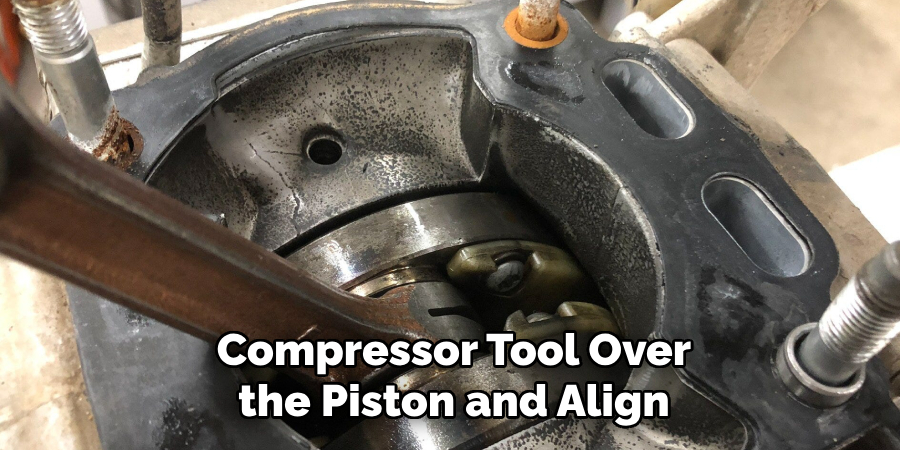
Slowly tighten the compressor tool using a ratchet or wrench until it is snug against the piston. Be careful not to over-tighten, as it can damage the rings. But make sure the compressor is tight enough to keep the rings in place.
Step 9: Insert Piston into Cylinder Bore
With the rings compressed, carefully insert the piston into the cylinder bore. Take note of any orientation marks on the piston and ensure it is installed correctly. Gently tap the top of the piston with a rubber mallet or wooden dowel to push it down into the bore.
Continue tapping until the piston is fully seated in the cylinder. Once in place, slowly remove the ring compressor tool, being careful not to disturb the rings. If done correctly, the rings should now be fully seated and ready for engine operation.
Step 10: Torque Down Connecting Rod Bolts
Finally, once all pistons have been installed, torque down the connecting rod bolts to the manufacturer’s specifications. This is crucial as it ensures proper alignment and stability of the pistons within the engine. Failure to torque down these bolts correctly can result in severe engine damage.
Once all connecting rod bolts have been torqued, you are now ready to continue with the rest of the assembly process. The installation of piston rings may seem daunting, but by following these steps and referring to the manufacturer’s instructions, you can ensure a smooth and successful installation process.
Step 11: Additional Considerations
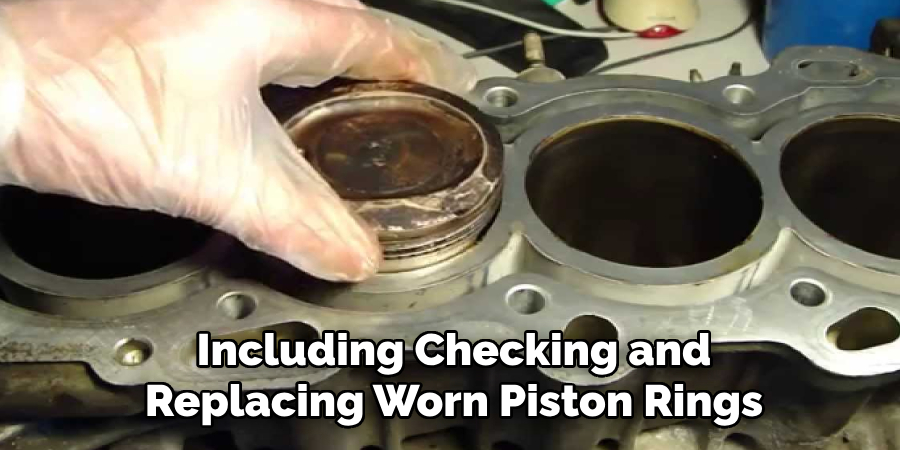
Proper installation of piston rings is crucial for the overall performance and longevity of an engine. It is essential to follow the manufacturer’s instructions and specifications carefully to avoid any issues or damage.
Additionally, regular maintenance, including checking and replacing worn piston rings, is necessary for optimal engine functioning. With proper care and installation, your engine can continue running smoothly and efficiently for years to come.
So, always pay attention to the condition of your piston rings and make any necessary repairs or replacements as needed. This will ensure that your engine continues to perform at its best and avoid any unexpected breakdowns.
Moreover, proper lubrication and installation of piston rings are just two aspects of engine assembly. It is crucial to follow all steps and instructions on how to set rings on a piston carefully to ensure a successful and reliable engine build. Happy building!
Tips for Troubleshooting and Adjustment
- If the Rings Are Not Fitting Correctly Into the Piston Groove, Check for Any Damage or Distortion on the Ring Itself. Replace if Necessary.
- Ensure That All Rings Are Installed in the Correct Orientation as Indicated by the Manufacturer.
- Use a Feeler Gauge to Check for Proper Ring End Gap Before Installation. Adjust if Needed.
- If You Encounter Excessive Oil Consumption After Installing New Rings, Check for Any Leaks or Issues With Other Engine Components.
- If You Notice Poor Engine Performance After Installing New Rings, Double-check the Ring Installation and Make Sure They Are Seated Properly. Also, Check for Any Issues With Fuel Delivery or Ignition Timing.
- If You Experience Excessive Blow-by (Compressed Gases Escaping Past the Rings Into the Crankcase), Check for Proper Ring Installation and Make Sure They Are Seated Correctly. If Issues Persist, Consult a Mechanic for Further Diagnosis.
- Always Refer to the Manufacturer’s Instructions and Specifications for Proper Ring Installation and Adjustment. Improper Installation Can Result in Severe Engine Damage.
- Regularly Inspect and Maintain Your Piston Rings to Ensure Optimal Engine Performance and Longevity. Replacement May Be Necessary as the Rings Wear Down Over Time.
- When in Doubt, Consult a Professional Mechanic for Guidance and Assistance With Piston Ring Installation and Adjustment. Proper Installation is Crucial for the Overall Health of Your Engine. So, Do Not Hesitate to Seek Help if Needed.
Post-Installation Inspection and Testing
After installing new piston rings, it is essential to conduct a thorough inspection and testing process to ensure everything is functioning correctly. This includes checking for any leaks, abnormal noises, or vibrations during operation.
A compression test is also recommended to verify the effectiveness of the new rings in sealing the combustion chamber. If any issues are found, refer back to the troubleshooting tips or consult a mechanic for further assistance.
Regular maintenance and inspection of your engine will help identify and address any potential issues before they become major problems. With proper installation and maintenance, your engine can continue running smoothly and efficiently for years to come. So, take the time to install and maintain piston rings carefully to ensure optimal engine performance. Your vehicle will thank you!
Frequently Asked Questions
Q1: What Are the Signs of Worn Piston Rings?
A1: Some common signs of worn piston rings include excessive oil consumption, decreased engine performance, and blue or grey smoke coming from the exhaust. It is essential to regularly inspect and maintain your piston rings to avoid these issues.
Q2: Can I Reuse Old Piston Rings?
A2: It is not recommended to reuse old piston rings as they may have become worn or damaged over time. Always use new piston rings for optimal engine performance. The cost of replacing them is worth the potential damage and expenses that could result from using old rings.
Q3: Is it Necessary to Gap Piston Rings Before Installation?
A3: Yes, it is crucial to check and adjust the gap of piston rings before installation to ensure proper compression and sealing of the combustion chamber. Refer to the manufacturer’s instructions for specific gap measurements.
Q4: Why is Proper Piston Ring Installation Important?
A4: Proper piston ring installation is crucial as it ensures optimal engine performance, efficiency, and longevity. Improper installation can lead to issues such as oil consumption, decreased engine power, and even severe engine damage. Always follow the manufacturer’s instructions and specifications for best results.
Conclusion
Ensuring that the piston rings are correctly set is paramount for engine efficiency and durability. This guide aims to provide you with a foundational understanding of the process, from the importance of aligning the ring gaps to ensuring each ring is seated in its respective groove. Remember that patience and attention to detail are crucial to successfully set piston rings.
With practice and adherence to these steps, you can attain an airtight seal and optimize your engine’s performance. Whether you’re a seasoned mechanic or a passionate DIY-er, perfecting this process is a rewarding endeavor that contributes to the long-term health of your engine. Thanks for reading this article on how to set rings on a piston.