

Are you looking to set a points gap for your upcoming race event but need help knowing where to start? Look no further. In this guide, we will explain everything you need to know about setting points gap and how it can impact your race.
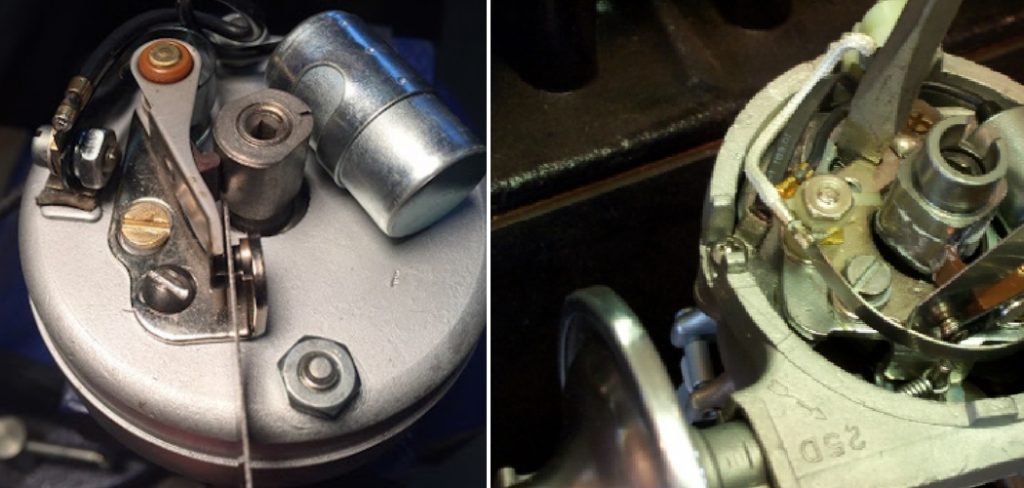
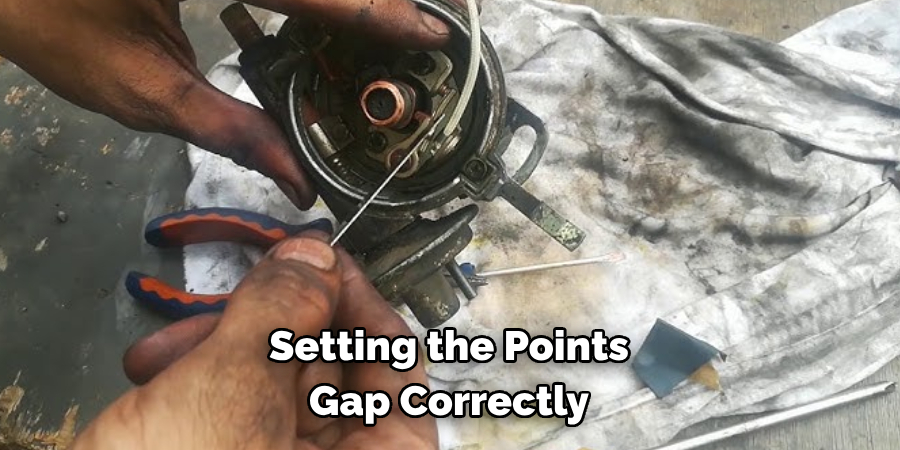
Setting the points gap correctly is a critical maintenance step for vintage cars with traditional ignition systems. The points gap, the distance between the contact points in the distributor when they’re fully open, is essential for proper engine timing and performance. Incorrect points gap can lead to a range of engine problems, from misfiring to poor fuel economy.
In this guide on how to set points gap, we’ll discuss the importance of setting the points gap correctly and outline the steps needed to achieve this fundamental aspect of classic car maintenance.
Why is It Important to Set Points Gap Correctly?
Setting the points gap correctly ensures that the ignition system provides enough current to create a spark at the right time. If the points gap is too large, there will be sufficient current flow and strong sparks, resulting in misfiring or engine stalling. On the other hand, if the gap is too small, there will be excessive current flow, causing the points to burn out quickly and potentially damaging other components of the ignition system.
It’s also worth noting that setting the points gap correctly is crucial for maintaining proper engine timing. The distance between the contact points determines when the spark plug fires and an incorrect points gap can throw off this timing, resulting in poor performance and potential damage to the engine.
What Will You Need?
Before we dive into the steps on how to set points gap, let’s first gather all the necessary tools and materials you will need for this task. These include:
- A set of feeler gauges
- A distributor wrench or screwdriver (depending on your car’s make and model)
- A timing light (optional but recommended)
- Cleaning cloth or paper towels
- A small flathead screwdriver (for adjustment)
10 Easy Steps on How to Set Points Gap
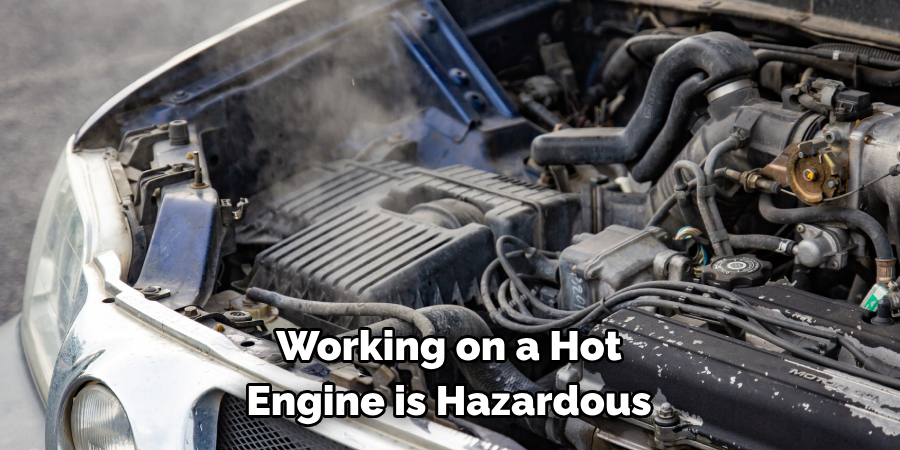
Step 1: Preparation
Before you start setting the points gap, you need to make sure your car’s engine is turned off and cold. Working on a hot engine is hazardous; it can cause burns or lead to other injuries. Give your engine sufficient time to cool down completely if it has been running. Once the engine is cold, identify the distributor cap, which is often easily recognizable and generally located near the front of the engine. Carefully remove the distributor cap to expose the points. Most distributor caps will either clip off or will need to be unscrewed with a distributor wrench or screwdriver.
Step 2: Inspecting the Points
Inspect the contact points for any signs of wear, pitting, or corrosion. If the points are burnt or excessively worn, they will need to be replaced before you can continue with the gap adjustment. Use your cleaning cloth or paper towels to clean the points of any dirt or grime buildup gently. This step is crucial as it ensures a clean contact surface for setting the gap accurately.
Step 3: Rotating the Engine
Rotate the engine manually to align the points. This is typically done by turning the crankshaft pulley using a wrench or socket. Rotate the engine in the average direction of rotation until the high point, or lobe, on the distributor cam is directly under the points. This position is where the gap will be the widest and is the correct spot for setting the points gap. It’s essential to ensure the engine is in the proper position to prevent inaccurate gap settings.
Step 4: Measuring the Gap
Now that the engine is positioned correctly take your set of feeler gauges to measure the current gap between the points. The correct gap size can typically be found in your vehicle’s service manual. Select the appropriate gauge and slide it between the points. The gauge should fit snugly but not so tight that it cannot be moved without force. If the gauge does not fit or fits too loosely, then an adjustment of the points gap is required.
Step 5: Adjusting the Gap
To adjust the points gap, you will need to loosen the points fixing screw slightly with a flathead screwdriver or a wrench. Once loosened, you can increase or decrease the gap by moving the points closer or further away from the distributor cam. Use your feeler gauge to check the gap after each adjustment until the gauge fits appropriately. When the correct gap is achieved, tighten the fixing screw securely to ensure the points stay in position. Avoid over-tightening, which may cause the points to move out of the desired gap setting.
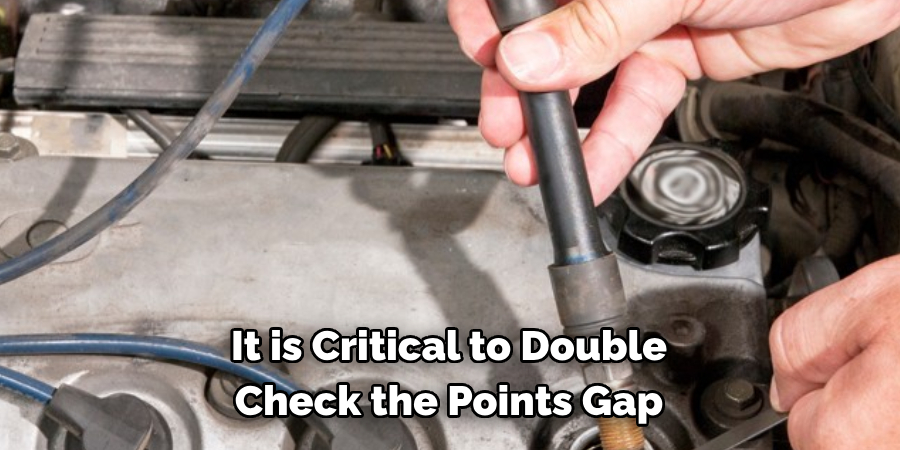
Step 6: Double-Check the Gap
After tightening the fixing screw, it is critical to double-check the points gap. This ensures that no movement occurs during the tightening process. Reinsert the feeler gauge to verify that the gap is still at the correct setting. If any adjustments are necessary, repeat the previous steps until the desired gap is maintained, even after the fixing screw is tightened.
Step 7: Recheck Timing (If Applicable)
Once the points gap is set correctly, it’s advisable to recheck the engine’s ignition timing, especially if the points were significantly out of adjustment. Using a timing light, follow your vehicle’s service manual to ensure the timing is aligned with the manufacturer’s specifications. If the timing is off, you may need to adjust the distributor’s position slightly.
Loosen the distributor hold-down bolt and turn the distributor housing left or suitable to achieve the correct timing mark alignment, then retighten the bolt. This precision ensures your engine operates efficiently and prolongs the lifespan of the ignition components.
Step 8: Check for Smooth Operation
Once you’re satisfied with the points gap and ignition timing, manually rotate the engine through several revolutions. This process helps to confirm that the points open and close smoothly without sticking or binding. While rotating the engine, observe the movement of the points to ensure they follow the contour of the distributor cam accurately. Any irregularities in movement may indicate that further adjustments are needed or that there could be other underlying issues with the distributor mechanism.
Step 9: Reassemble and Start the Engine
After ensuring the points gap and ignition timing are set correctly and that the points operate smoothly, it’s time to reassemble the distributor cap. Place the lid back onto the distributor and secure it with clips or screws as necessary. Once the distributor cap is firmly in place, you can start the engine.

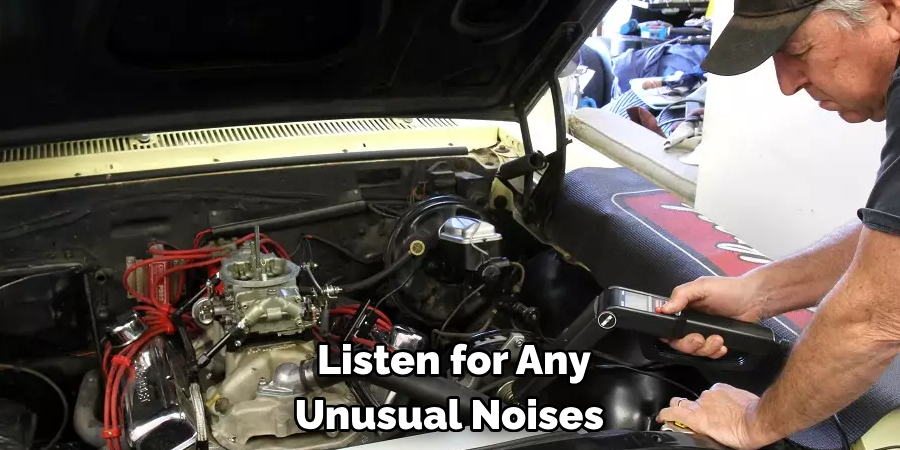
Listen for any unusual noises and observe the engine’s behavior. A well-set points gap should result in a smooth-running engine without misfires or stuttering. If the engine does not behave as expected, double-check your work to ensure everything is set according to specifications.
Step 10: Final Inspection and Test Drive
Conduct a final inspection to ensure all tools and materials are removed from the engine area. Close the hood of your vehicle and take it for a test drive. Pay attention to the engine’s performance under various conditions, such as acceleration, idling, and cruising. The vehicle should run smoother and with improved response following a correct points gap adjustment. If you notice any abnormalities in performance, it may be necessary to revisit the points gap and ignition timing. Remember, regular maintenance of your vehicle’s ignition system is critical to reliable performance and longevity.
By following these steps, you can successfully adjust the points gap on your vehicle’s distributor and maintain its optimal performance. Remember to always consult your vehicle’s service manual for specific instructions and specifications for your particular make and model.
5 Additional Tips and Tricks
- Ensure a Clean Contact: Before setting the points gap, clean the contact points using a points file or emery paper to remove any corrosion or deposit, as this can affect the gap measurement and engine performance.
- Utilize Feeler Gauges: Always use a proper set of feeler gauges when measuring the points gap. Select the appropriate gauge thickness according to the manufacturer’s specification and ensure it slides between the points with a slight drag.
- Check for Pitting: Inspect the points for any signs of pitting or uneven wear. If the contact surfaces are uneven, they may need to be replaced to maintain accurate timing and system efficiency.
- Be Mindful of the Cam: As you adjust the points gap, pay attention to the distributor cam. Ensure that the points are sitting on the highest part of the cam lobe when checking and setting the gap to achieve the most accurate setting.
- Double-Check Your Work: After setting the points gap, rotate the engine manually and recheck the gap a few times to ensure consistency. Changes in the gap size as the engine turns can suggest issues with the distributor shaft or the points’ assembly that may need attention.
With these additional tips and tricks, you can ensure that your points gap is accurately set to optimize engine performance.
5 Things You Should Avoid When Setting Points Gap
- Ignoring Manufacturer Specifications: Do not set the points gap based on guesswork or hearsay. Always adhere to the manufacturer’s specified measurements to prevent engine misfires or performance issues.
- Skipping Inspection Steps: Never overlook the condition of the points and distributor. Failing to inspect for wear, pitting, or corrosion can result in an incorrect points gap and lead to engine problems.
- Using Improper Tools: Avoid using makeshift tools or inaccurate methods to gauge the points gap. This could lead to incorrect adjustments and potential engine damage.
- Forgetting to Tighten Lock Screws: After setting the points gap, ensure that the lock screws are secure. A common oversight is leaving these screws loose, which can cause the points to shift and the gap to change.
- Neglecting Engine Rotation Checks: After an adjustment, some might need to rotate the engine to check the gap across multiple cam lobes. Consistent gaps across all lobes are vital for even engine performance and ignition timing.
By avoiding these mistakes, you can ensure that your points gap is set accurately and avoid potential engine issues.
Some Frequently Asked Questions
1. What Happens if the Point Gap is Too Small?
If the point gap is set too small, the contact points will not open enough to adequately break the electric circuit, leading to several engine issues. This can cause the ignition coil to not release its stored energy fully, resulting in a weak spark at the spark plug. A weak spark leads to incomplete combustion of the air-fuel mixture, which can manifest as rough idling, misfiring, or a significant loss in engine power.
Additionally, a too-small points gap can cause the points to overheat and wear out more quickly due to the increased electrical arcing, resulting in more frequent maintenance needs and potential engine damage if left unaddressed.
2. What Are the Symptoms of Bad Points Gap?
A poorly adjusted points gap can lead to a multitude of symptoms that can affect your engine’s performance and reliability. Key indications include:
- Engine Misfires and Rough Running: When the points gap is incorrect, it may cause the engine to misfire or run erratically due to improper ignition timing.
- Hard Starting: The engine may be rugged to start if the points do not open and close at the correct times to generate a vital spark.
- Poor Fuel Economy: An incorrect points gap may lead to inefficient combustion, thus driving down fuel economy as the engine compensates for the weak spark.
- Decreased Engine Power: The vehicle may experience a notable loss of power because of suboptimal combustion, especially under load or acceleration.
- Increased Emissions: Bad points gap alignment can result in incomplete combustion, which can increase the emissions of harmful pollutants from the engine.
Noticing these symptoms warrants a check of the ignition system, including an evaluation and adjustment of the points gap to restore proper engine function.

3. How Does a Points Distributor Work?
A points distributor, also known as a mechanical or breaker-point ignition system, is an essential component of the engine’s ignition system. It works by opening and closing the contact points to create an electrical circuit that charges the ignition coil. When these points open, they interrupt the circuit and cause a high-voltage spark in the coil that ignites the air-fuel mixture in the engine’s cylinders. This spark occurs at precise intervals, controlled by the camshaft and distributor rotor, to match the engine’s firing order and maintain smooth operation.
With regular maintenance and proper adjustment of the points gap, a points distributor can provide reliable ignition for many years. Overall, understanding how a points distributor works and how to set its points gap properly is crucial for maintaining a well-functioning engine. By following these steps and avoiding common mistakes, you can ensure that your points gap is set accurately to optimize your vehicle’s performance.
4. How Do You Adjust Timing?
Adjusting the timing of a vehicle’s engine is a critical aspect of maintaining optimal performance. It involves changing the ignition timing, which determines when the spark plug fires in relation to the position of the piston within the cylinder.
To adjust the timing, you will need a timing light and a basic understanding of your vehicle’s specifications. Here are the general steps for adjusting engine timing:
- Warm Up the Engine: Make sure your engine is at operating temperature before adjusting the timing.
- Find the Timing Marks: Locate the marks on your vehicle’s crankshaft pulley and the timing cover. The crankshaft mark should align with the appropriate degree mark on the timing cover.
- Connect the Timing Light: Connect one lead of the timing light to the battery’s positive terminal and the other lead to the #1 spark plug wire.
- Set the Light: Shine the timing light at the marks on the crankshaft pulley and timing cover, making sure they are aligned.
- Check Specifications: Refer to your vehicle’s manual for its specific timing specifications. Adjust as necessary using a wrench or distributor adjustment screw.
- Recheck the Timing: After making adjustments, recheck the timing marks to ensure they are still aligned.
- Disconnect the Light: Once you have achieved proper timing, disconnect the timing light and secure any loose parts.
By following these steps and consulting your vehicle’s manual for specific instructions, you can successfully adjust your engine’s timing for optimal performance.
Conclusion
Regular maintenance of the ignition system is a critical factor in the longevity and performance of your engine. Understanding how to set points gap correctly is paramount in this process.
By carefully following the outlined steps and avoiding common pitfalls, you can achieve accurate points gap settings that will optimize your engine’s performance and prevent potential issues. Remember to always refer to your vehicle’s manual for specific instructions and specifications, and seek professional assistance if needed. With proper maintenance, your points distributor can provide reliable ignition for many miles to come.
So, it is crucial to regularly check and adjust the points gap as part of your routine engine maintenance to ensure smooth operation and prevent potential engine damage. Keep your engine running smoothly by regularly checking the points gap and addressing any issues promptly. Your vehicle will thank you with better performance, improved fuel economy, and reduced emissions.