Setting the ride height on coilovers is a crucial step in customizing your vehicle’s suspension, whether for performance, comfort, or aesthetics. Properly adjusted coilovers can dramatically improve your car’s handling characteristics and ensure a safe ride quality.

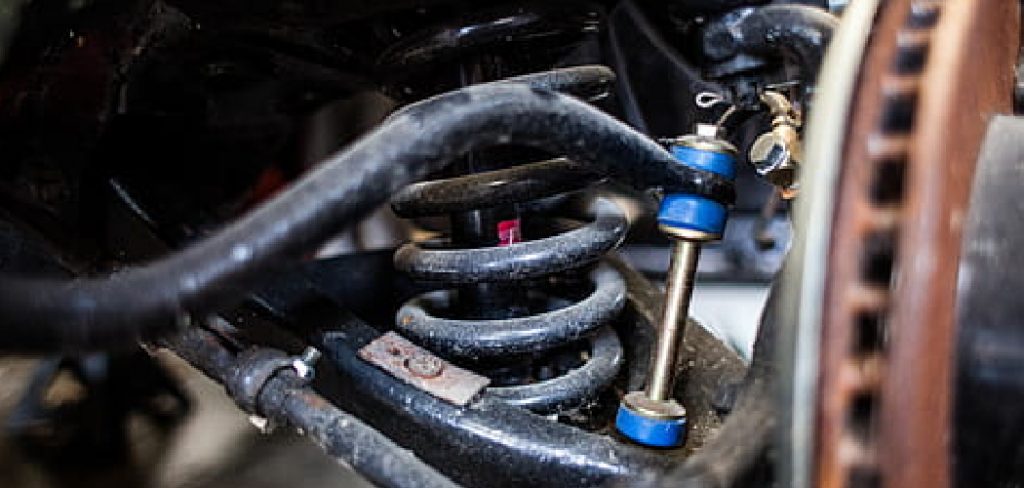
Coilover ride height is typically measured from the center of the wheel hub to the top of the fender and can be adjusted by altering the length of the Coilover shock body. This guide will walk you through the steps on how to set coilover ride height.
This introduction will guide you through the essential considerations when setting your coilover ride height, from the initial assessment of your vehicle’s needs to the precise adjustments required to achieve the perfect balance. With careful execution, you’ll be well on your way to a ride that’s tailored just for you.
What Will You Need?
Before starting, you’ll need a few essential tools and equipment to set your coilover ride height properly. These include:
- A jack and jack stands or a lift (to raise the car safely)
- A wheel chock (to secure the wheels in place)
- An adjustable wrench or spanner (specifically for coil-overs)
- A tape measure or ruler (to accurately measure ride height)
- A notepad and pen (to record your adjustments)
- A friend to assist you (for safety and ease of adjustments)
Once you have all the necessary tools and equipment ready, it’s time to start setting your coilover ride height.
10 Easy Steps on How to Set Coilover Ride Height
Step 1: Assess Your Vehicle’s Needs
Before you begin adjusting anything, it’s crucial to assess your vehicle’s current suspension setup thoroughly. Start with a visual inspection to check for any signs of wear or damage to suspension components. Look for uneven tire wear, which can indicate camber, caster, or toe alignment issues and might necessitate further suspension tuning post-ride height adjustment.
Pay particular attention to the coilovers themselves, as well as the surrounding suspension parts, for any signs of wear, such as bushing degradation or leaking fluids. Once you’ve established a clear understanding of your vehicle’s baseline status, you can set the ride height confidently.
Step 2: Lift the Vehicle

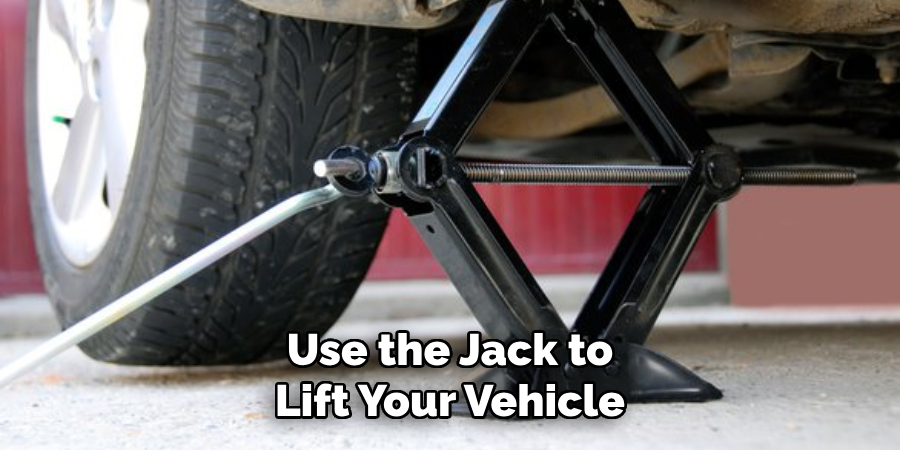
Use the jack to lift your vehicle off the ground and secure it on jack stands, ensuring it’s stable before any work is done. Make sure to follow the manufacturer’s recommendations for jack and jack stand placement to prevent any damage to the vehicle or injury to yourself. Once the car is lifted, place the wheel chocks behind the wheels, still in contact with the ground to prevent the car from rolling.
Step 3: Measure the Current Ride Height
With the vehicle lifted, take your tape measure or ruler and measure the distance from the center of the wheel hub to the top of the fender at each wheel location. Record these measurements in your notepad accurately. These initial readings are crucial as they serve as your baseline that you will reference after adjusting the coilovers.
Step 4: Adjust Coilover Length
Commence with the coilover adjustments by loosening the locking collars on the coilover with your adjustable wrench. Turning the lower spring perch collar will adjust the height. To lower the ride height, turn the collar clockwise; to raise it, turn it counterclockwise.
After making the necessary adjustment, retighten the locking collar against the lower spring perch to secure it in place. Remember to make adjustments in small increments and frequently measure to keep the changes precise and even across all coilovers.
Step 5: Verify Adjustments and Symmetry
After adjusting the height of each coilover, it is imperative to check that the vehicle sits evenly on all sides. Measure the distance from the wheel hub to the top of the fender again to ensure symmetry between the left and right sides of the vehicle, as well as front to back. Any significant differences should be corrected by returning to Step 4 and fine-tuning the respective coilover lengths.
Step 6: Settle the Suspension

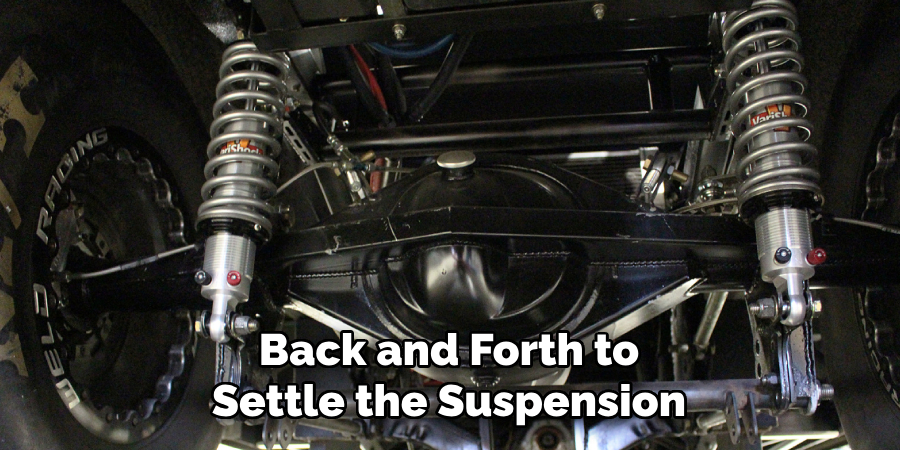
Before finalizing the adjustments, lower the vehicle back onto its wheels and take it for a short drive or roll it back and forth to settle the suspension. This will ensure that the coilovers are seated correctly and the adjustments are reflected accurately when the car is in motion. After driving, lift the vehicle again and recheck the ride height to see if any further adjustments are needed.
Step 7: Check for Clearance
With the ride height set at your preference, you must ensure adequate clearance for all components. Check the space around the tires, ensuring no contact with the fender lining or suspension parts.
Also, check for sufficient support under the vehicle to avoid bottoming out on speed bumps or uneven roads. It’s vital to maintain enough support to prevent damage while driving.
Step 8: Final Adjustments
If, after re-measuring the suspension, it’s determined that further fine-tuning is required, make the final adjustments to the coilovers by repeating the steps previously outlined.
It’s important to ensure that any changes made are consistent and symmetrical between the corresponding corners of the car. Achieving a balanced ride height is crucial for your vehicle’s handling and safety.
Step 9: Align the Wheels

Once the desired ride height is established and clearance checks are complete, it’s critical to have a professional wheel alignment performed. This will ensure that your vehicle’s wheels are perfectly set to the manufacturer’s specifications, which will help avoid uneven tire wear and ensure that your car drives straight and handles predictably.
Step 10: Test Drive and Reassess
After all adjustments and alignments, take your vehicle for an extended test drive. This will help you assess the new driving characteristics and identify any issues that may require further adjustment.
It’s essential to monitor the car’s performance over various road conditions and speeds to evaluate the impact of the new settings fully. If any adjustments are necessary, repeat the relevant steps to fine-tune your setup.
Remember to record all final ride height measurements and settings for future reference. A well-documented process will make it much easier to understand your vehicle’s setup and make informed adjustments as needed.
5 Additional Tips and Tricks
- Start With Manufacturer’s Recommendations: Most coilover manufacturers provide a recommended starting point for ride height. Begin with these settings to ensure a safe baseline before making further adjustments.
- Measure From Fixed Points: To ensure accuracy, measure ride height from consistent, fixed points on the chassis to the ground. This will help you maintain precision when making adjustments.
- Corner Balancing for Performance: For those looking to optimize their vehicle for performance driving, consider corner balancing. This process involves adjusting the coilovers to ensure each corner of the car supports an equal amount of weight.
- Check Tire Clearance: Always ensure adequate clearance between the tires and the body of the car, especially after changing the ride height. This will prevent tire rub and possible damage while driving.
- Test Drive and Re-evaluate: After adjustments, take your vehicle for a test drive to see how it handles the new settings. Pay attention to steering response, suspension compression, and overall ride comfort. Make further modifications as needed.

With these additional tips and tricks, you can fine-tune your coilover ride height to suit your specific driving needs.
5 Things You Should Avoid
- Ignoring Manufacturer’s Specifications: Disregarding the specifications provided by the coilover manufacturer can lead to poor performance or even damage to your vehicle. Stick to the guidelines for safe and optimal results.
- Neglecting Regular Maintenance: Failing to inspect and maintain your coilovers can result in unreliable performance and quicker wear. Regular checks are essential to ensure that all components are in good condition.
- Over-lowering for Aesthetics: Dropping the ride height too low for appearance can significantly impact the vehicles’ suspension geometry and aerodynamics, potentially leading to reduced performance and safety issues.
- Skipping Professional Assistance: While DIY adjustments can be rewarding, certain aspects of setting up coilovers, such as corner balancing, often require the precision and expertise of a professional to achieve the best outcome.
- Overlooking Impact on Other Components: Changing the ride height without considering its effect on other vehicle components, such as the drivetrain angles and suspension arms, can lead to premature wear or failure of these parts.
By avoiding these common mistakes, you can ensure that your coilover ride height is set correctly and safely for optimal performance and longevity of your vehicle.
Conclusion
In conclusion, setting the ride height on coilovers balances functionality, performance, and aesthetics. Adhering to the manufacturer’s guidelines, using precise measurement techniques, and understanding the implications of ride height adjustments on the vehicle’s dynamics are crucial for achieving optimal results.
Regular maintenance, attention to safety and clearance, and the willingness to tweak settings after real-world testing further refine the process. By combining explicit knowledge with hands-on experience—and avoiding the pitfalls that can compromise vehicle performance—owners can enjoy a ride that suits their individual preferences while maintaining the integrity and performance of their vehicle.
Hopefully, the article on how to set coilover ride height has provided valuable information and tips for those looking to upgrade their suspension system. Now go out there and enjoy your new and improved ride!

About
JeepFixes Team is a skilled author for Jeep Fixes, bringing 6 years of expertise in crafting a wide range of jeep fixes. With a strong background in jeep fixes work, JeepFixes Team’s knowledge spans various types of fixtures, from decorative pieces to functional hardware, blending precision with creativity. His passion for jeep fixes and design has made him a trusted resource in the industry.
Professional Focus:
Expert in Jeep Fixes : JeepFixes Team aesthetic specializes in creating durable and innovative jeep fixes, offering both appeal and functionality. His work reflects a deep understanding of jeep fixes techniques and materials.
Sustainability Advocate : He is dedicated to using sustainable practices, ensuring that every fixture is crafted with eco-friendly methods while maintaining high-quality standards.
In his writing for jeep fixes, JeepFixes Team provides valuable insights into the latest trends, techniques, and practical advice for those passionate about jeep fixes, whether they are professionals or DIY enthusiasts. His focus on combining artistry with engineering helps others discover the true potential of jeep in design.
