
Sealing a sunroof permanently is a task that car owners may consider for various reasons, including persistent leaks, increased noise levels, or simply the desire for a more solid roof structure. Sunroofs, while offering a pleasant way to enjoy natural light and fresh air, can also become sources of frustration when they malfunction.

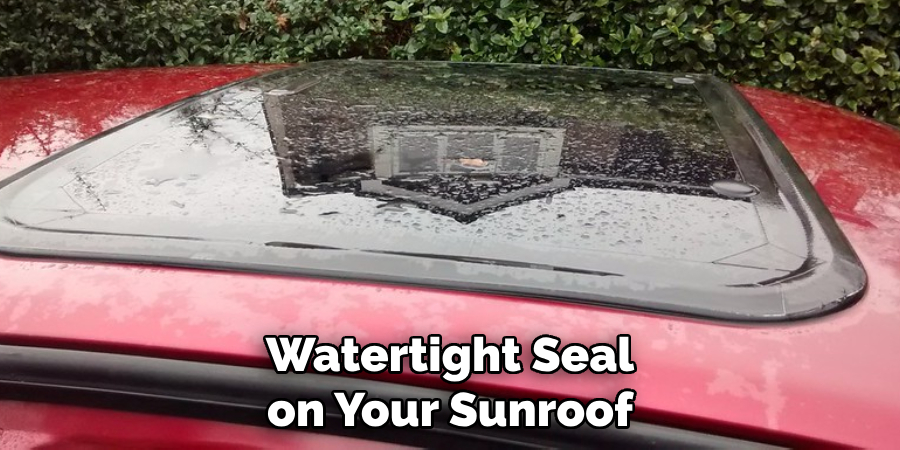
This guide on how to seal sunroof permanently, will walk you through the necessary steps to ensure a watertight and secure seal on your sunroof, eliminating any potential for leaks and creating a more insulated cabin. We’ll cover the tools required, the preparations needed, the sealing process itself, and the vital aftercare steps to ensure a long-lasting solution.
Before you start, it’s crucial to weigh the benefits of a DIY approach against professional aid, both in terms of cost and quality assurance.
What is the Importance of a Permanent Seal?
A permanent seal on your sunroof offers several key benefits, making it a worthwhile investment for any car owner. These include:
- Eliminating Leaks: The most significant advantage of permanently sealing your sunroof is eliminating any potential for leaks. This not only prevents water from entering the cabin but also protects your car’s interior from damage caused by leaks.
- Reducing Noise Levels: A tightly sealed sunroof can significantly reduce noise levels, making for a quieter and more comfortable driving experience. This is especially beneficial for those driving on highways or in noisy urban areas.
- Enhancing Safety: A properly sealed sunroof adds an extra layer of security to your car, preventing any potential break-ins through the sunroof. It also ensures that the sunroof remains locked and closed while driving, minimizing the risk of accidents.
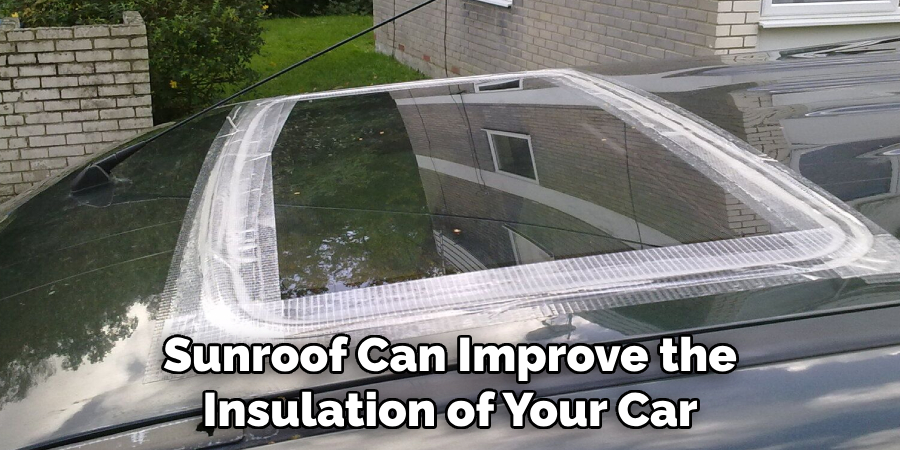
- Creating a More Insulated Cabin: A permanent seal on your sunroof can improve the insulation of your car, keeping it cooler in hot and warmer in cold weather. This can increase fuel efficiency and overall comfort for you and your passengers.
What Tools and Materials Do You Need?
Before starting the sealing process, gather all the necessary tools and materials. These include:
- Silicone Sealant: This is the primary material used to seal your sunroof permanently. Make sure to choose a high-quality silicone sealant for maximum effectiveness.
- Scraper or Putty Knife: You will need a scraper or putty knife to remove any existing sealants or debris from the sunroof.
- Rubbing Alcohol: This is used to clean and prepare the surface of the sunroof before applying the sealant.
- Masking Tape: Masking tape will come in handy when outlining the area that needs to be sealed, creating clean lines, and preventing any excess sealant from spreading.
- Caulk Gun: A caulk gun is used to apply the silicone sealant evenly and precisely.
- Cleaning Supplies: Have a clean cloth or paper towels to remove any excess sealant or debris.
Once you have the necessary tools and materials, you can begin sealing.
10 Easy Steps on How to Seal Sunroof Permanently
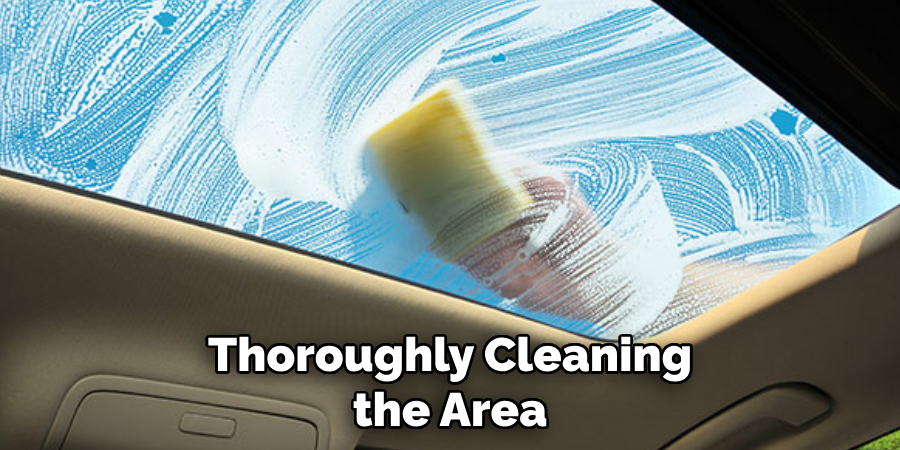
Step 1: Clean the Sunroof Area
The initial step in permanently sealing your sunroof is thoroughly cleaning the area. Begin by removing any old sealant, grime, or debris using the scraper or putty knife. Be careful not to scratch or damage the sunroof or the surface of the surrounding car. Next, use rubbing alcohol on a clean cloth to wipe down the sunroof edges where the sealant will be applied. This will ensure strong adhesion of the new sealant and help achieve a watertight seal. Allow the surface to dry completely before proceeding to the next step.
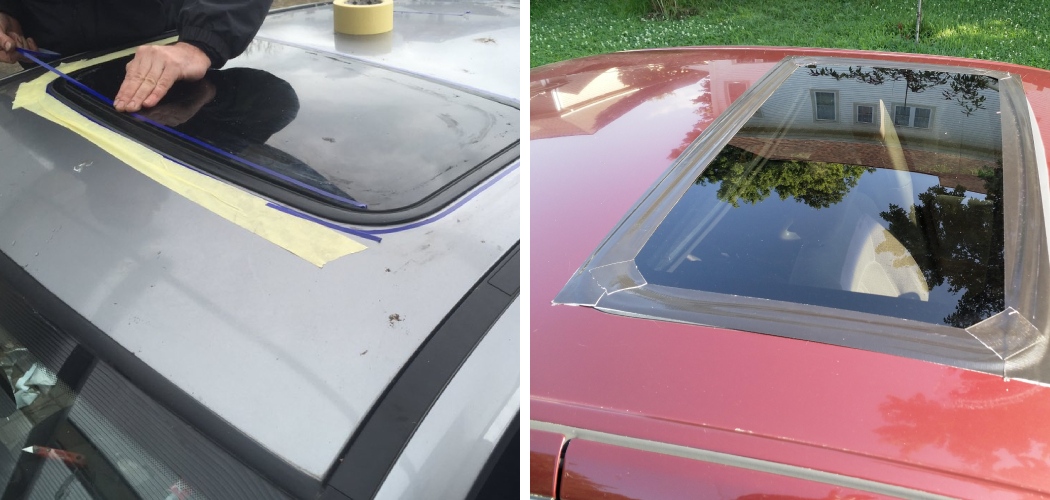
Step 2: Apply Masking Tape for Precision
Before applying the sealant, use masking tape to outline the perimeter of the sunroof. This step helps achieve a neat and professional-looking seal by creating straight, clean lines and protecting the rest of the car’s roof from accidental sealant application. Ensure that the tape is positioned precisely where you want the edge of the sealant to be, and press it down firmly to avoid any bleeding or leaking of the sealant beneath the tape.
Step 3: Prepare the Silicone Sealant
For a durable and solid seal, preparing your silicone sealant is crucial. Cut the tip of the sealant tube at a 45-degree angle, ensuring that the opening is not too wide—about 1/8 inch will suffice for better control. Then, place the tube into the caulk gun. Practice dispensing the sealant on a piece of cardboard to get a feel for the flow and to ensure a smooth application. Remember to have paper towels or a cloth nearby to clean up any accidental spills or drips quickly.
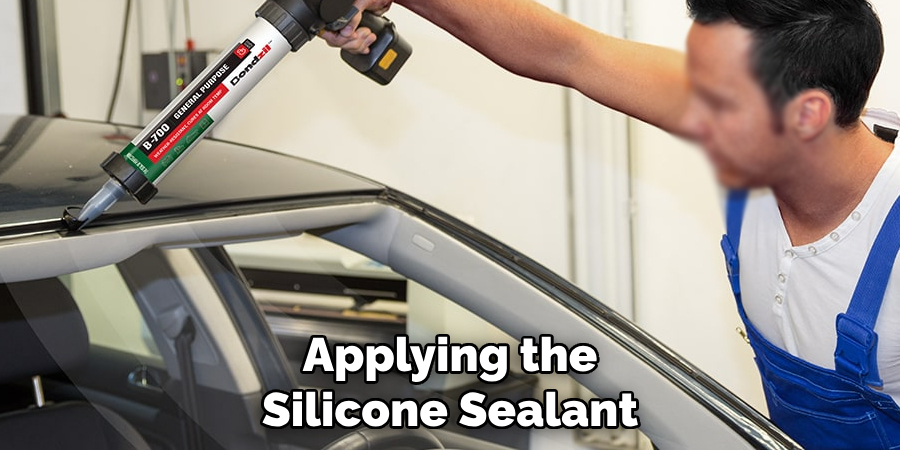
Step 4: Apply the Silicone Sealant to the Sunroof
Now that the sealant is prepared and the area is taped off begin applying the silicone sealant. Start at one corner of the sunroof and slowly work your way around the perimeter. Hold the caulk gun at a 45-degree angle and maintain a steady pressure to ensure an even bead of sealant is applied. Be sure to fill any gaps or spaces to prevent future leaks thoroughly. Use your finger or a caulking tool dipped in soapy water to smooth out the sealant before it begins to set. When you reach the starting point, overlap the end of the sealant slightly to ensure complete coverage.
Step 5: Remove the Masking Tape
After applying the silicone sealant, carefully remove the masking tape while the sealant is still wet. This step should be done precisely and gently to avoid disturbing the freshly applied sealant. Pull the tape away slowly at a 45-degree angle to the sealed area to ensure a clean line. If any sealant has bled through onto the tape, wipe it off immediately with a cloth before it can set. This will help to achieve a neatly finished edge around your sunroof.
Step 6: Inspect and Touch Up the Sealant
Once the masking tape is removed, inspect the sealant line around the sunroof for any irregularities or missed spots. If you find any areas that need touching up, now is the time to address them. Apply additional sealant as needed, and use your finger or caulking tool to smooth it into the existing bead. This touch-up must be done before the sealant dries to ensure a seamless and uniform appearance. Allow the sealant to cure according to the manufacturer’s instructions—cure times may vary based on temperature and humidity levels.
Step 7: Let the Sealant Cure
After touching up any areas, the critical step of allowing the sealant to cure appropriately begins. It’s important not to rush this part of the process to ensure the longevity of your seal. Refrain from using or washing your car during this time, as moisture or pressure can affect the sealant’s sealing process. Usually, the sealant will require at least 24 hours to cure completely, but check the manufacturer’s recommendations, as some products may require a longer curing time, especially in cooler or more humid climates.
Step 8: Check for Leaks
Once the sealant has cured, verifying that your efforts have resulted in a watertight seal is essential. Gently pour water over the sunroof and observe if there are any signs of leaking inside the vehicle. It’s important to do this test slowly and carefully not to disturb the sealant. If any leaks are detected, mark the areas and wait for the car to dry before applying sealant. If the seal is intact, then you can have peace of mind knowing that your sunroof is well-protected against the elements.
Step 9: Apply a Finishing Coat (If Required)
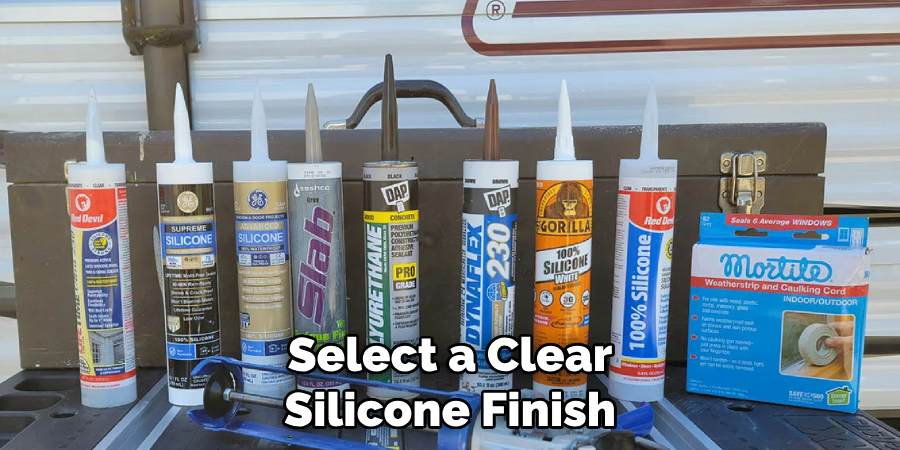
For added protection and longevity of your seal, consider applying a finishing coat over the cured sealant. Select a clear silicone finish or a paintable sealant to match the car’s exterior color. Carefully apply a thin layer over the cured sealant, ensuring it does not disturb the primary seal. This finishing coat can provide additional UV protection and resistance to harsh weather conditions. Allow this layer to cure fully, per the manufacturer’s directions, before exposing the sunroof to the elements or car washes.
Step 10: Perform Regular Maintenance Checks
After the sealant and any finishing coats have entirely cured, establish a routine for periodic inspections of your sunroof. Regular checks for cracks, wear, or any signs of potential leakage can prevent problems before they start. Keeping the sunroof and its seals clean from debris will also help preserve the integrity of your work. If maintenance is required, address it promptly to uphold the quality of the seal and ensure your sunroof remains permanently sealed and protected.
By following these steps and applying and maintaining a sealant on your sunroof correctly, you can ensure that your car remains protected from potential leaks and damage.
5 Additional Tips and Tricks
- Use High-Quality Sealant: Choose a silicone-based sealant designed specifically for automotive use. This type of sealant offers flexibility, durability, and strong adhesion to glass and car body materials, ensuring a lasting seal.
- Prepare the Surface Thoroughly: Before applying any sealant, ensure the sunroof and surrounding areas are clean and dry. Use a glass cleaner for the sunroof and alcohol wipes for the metal surfaces to remove any grease, dirt, or old sealant residues.
- Apply Sealant Evenly: When applying the sealant, hold the tube at a 45-degree angle and apply it evenly around the perimeter of the sunroof, ensuring there are no gaps or air bubbles that could lead to leaks.
- Pressure Test: After the sealant has cured, consider conducting a pressure test by using water or air pressure around the sealed area to check for leaks. This can help ensure the sealant has fully bonded to the surfaces.
- Check and Maintain Regularly: Even the best sealing jobs can degrade over time. Regularly inspect the sealant for signs of wear or damage, and reapply as necessary to maintain a permanent, watertight seal on your sunroof.
With these additional tips and tricks, you can ensure a long-lasting seal for your sunroof. Always use high-quality products and adequately prepare the surface before applying any sealant. Conducting regular maintenance checks can also prevent future leaks.
6 Things You Should Avoid When Sealing a Sunroof Permanently
- Neglecting the Weather: Avoid attempting the sealing process during extreme weather conditions. High humidity or temperatures can affect the setting time and adhesion of the sealant.
- Skipping the Instructions: Don’t ignore the manufacturer’s instructions for the sealant you’re using. Every product is different; not following specific directions can lead to a faulty seal.
- Using the Wrong Tools: Refrain from using makeshift tools that are unsuitable for applying sealant. Always use the recommended tools, such as a caulking gun or spatula, to ensure an even application.
- Rushing the Curing Process: It’s crucial not to rush the process. Give the sealant ample time to dry and set completely before testing or using the car, as premature exposure to the elements can weaken the seal.
- Making a Sealant Mess: Be careful to apply sealant appropriately. Over-application can make a mess and obstruct the sunroof’s mechanism. A smooth, well-applied bead is all that is needed.
- Ignoring Rust and Damage: If your car’s sunroof has rust or visible damage, it’s important to address these issues before attempting to seal it permanently. Ignoring rust can lead to further injury and weaken the sealant’s effectiveness.
By avoiding these common mistakes, you can ensure a successful and long-lasting seal for your sunroof.
Do Sunroofs Leak Over Time?
While an adequately sealed sunroof can provide years of use without any leaks, it is possible for them to leak over time. This can happen due to wear and tear on the sealant, changes in weather conditions, or damage to the sunroof itself.
Regular maintenance checks and prompt repairs when needed can help prevent leaks from occurring. Additionally, using high-quality sealants and following proper sealing techniques can also help prolong the lifespan of the seal and prevent leaks.
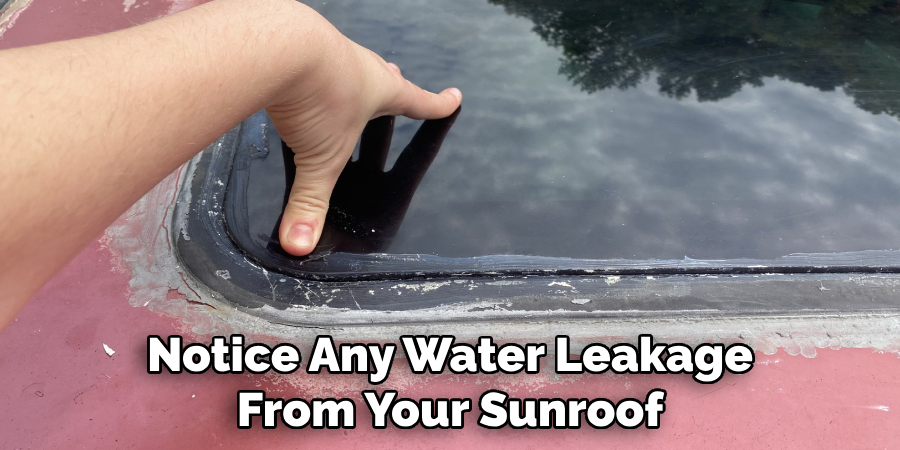
If you do notice any water leakage from your sunroof, it’s essential to address it as soon as possible. Ignoring a small leak can lead to more significant issues down the road, such as mold growth or damage to your car’s interior.
Overall, while sunroofs can potentially develop leaks over time, proper maintenance and sealing can help prevent this from happening. By following the tips and tricks outlined in this document, you can ensure a watertight seal for your sunroof that will last for years to come. So make sure to take the time and effort to seal your sunroof correctly to avoid any future problems.
Can Rain Damage Sunroof?
Rain itself does not typically damage a sunroof, as they are designed to withstand exposure to the elements. However, if a sunroof is not correctly sealed or maintained, rainwater can leak through and cause damage.
For instance, if water leaks into the interior of your car through the sunroof, it can lead to mold growth or damage to upholstery and other materials. Additionally, if water enters the sunroof mechanism, it can cause rust and eventually lead to malfunctions.
To prevent rain from damaging your sunroof, ensure that it is properly sealed and regularly maintained. If you do notice any leaks or damage, address them promptly to avoid further issues. Properly sealing your sunroof can also help protect against potential future storm damage. Overall
What is the Difference Between a Sunroof and a Moonroof?
Both a sunroof and a moonroof refer to the opening in the roof of a car that allows for natural light and air to enter. However, there are some critical differences between the two.
A sunroof is typically made of glass or metal and can be opened manually or electronically. It usually slides open on top of the roof, providing ventilation and sunlight. A moonroof, on the other hand, is made of tinted glass and is typically operated electronically. It usually slides open between the vehicle’s roof and headliner.
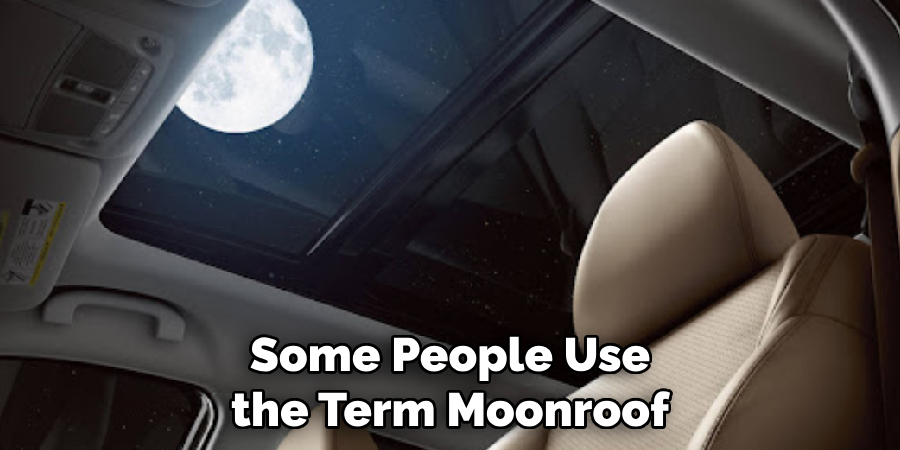
Another key difference is that a sunroof can be removable, while a moonroof is permanently attached to the car’s structure. Additionally, some people use the term “moonroof” to describe any type of opening in a car’s roof, while “sunroof” is used more specifically to describe the manually-operated type.
In summary, while both terms are often used interchangeably, there are some notable differences between a sunroof and a moonroof in terms of operation and materials. Understanding these differences can help you choose the right type of opening for your vehicle.
Conclusion
In conclusion, how to seal sunroof permanently is a task that can significantly enhance the comfort and longevity of your vehicle.
By following proper preparation, using high-quality sealants, adhering to the application instructions, and avoiding common pitfalls, you can achieve a durable and permanent seal that stands the test of time. Remember, maintenance doesn’t end with the application—regular inspections for wear and timely reseals are essential to uphold the integrity of the seal.
Whether to counteract potential leaks or simply secure your sunroof against the elements, the key to success lies in meticulous attention to detail and ongoing care. Keep these guidelines in mind to enjoy a leak-free sunroof for the duration of your car’s lifespan.