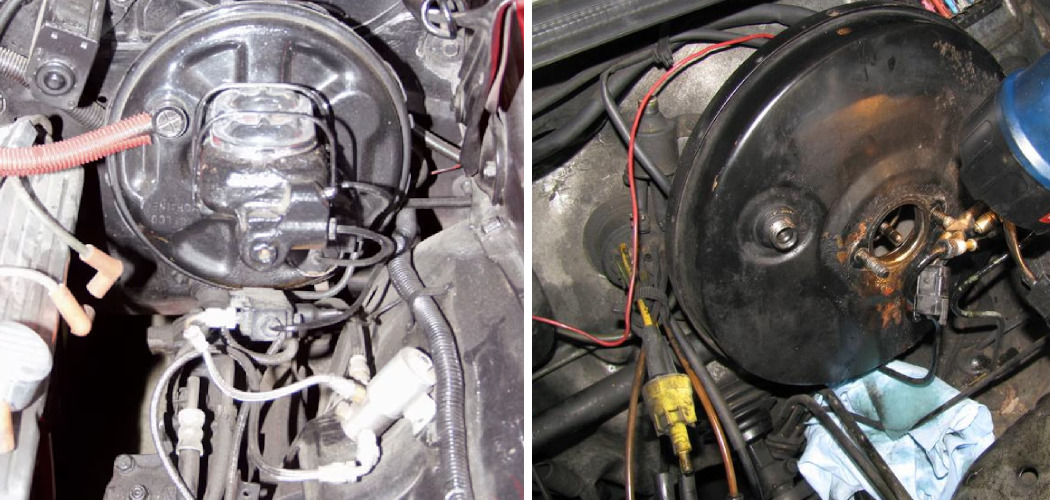
The brake booster plays a pivotal role in ensuring efficient and responsive braking in your vehicle, making its proper functioning essential for safety on the road. If you’ve noticed a decline in brake performance or a hissing sound when applying the brakes, it may be time to replace the brake booster. Learning how to replace a brake booster is a valuable skill for any car enthusiast or DIY mechanic.
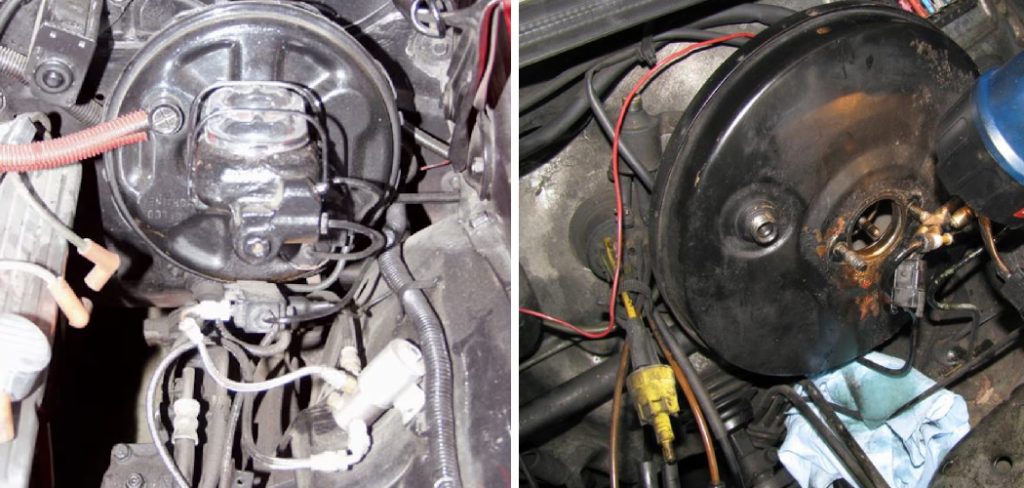
In this comprehensive guide, we will walk you through the step-by-step process of removing the old brake booster and installing a new one. From understanding the components of the brake booster system to mastering the technique of safely and effectively completing the replacement, this tutorial aims to empower you with the knowledge and confidence needed to tackle this critical automotive task. Get ready to enhance your mechanical skills and ensure your vehicle’s braking system is operating at its best.
Signs that Indicate the Need for Brake Booster Replacement
Before you undertake the task of learning how to replace a brake booster, it’s essential to recognize the signs that suggest a replacement is necessary. One clear indicator is an increased effort required to press the brake pedal, often described as a “hard pedal.” You may also experience a longer stopping distance, as the brake booster is responsible for amplifying the force you apply to the pedal.
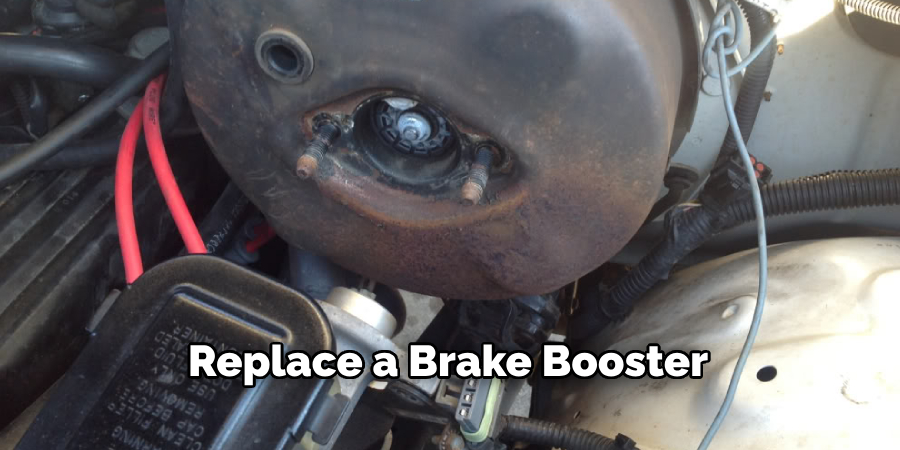
Another symptom to be aware of is a hissing noise coming from the brake pedal area when it is depressed, pointing to a possible vacuum leak in the booster. Additionally, if the engine stumbles or stalls when you apply the brakes, it’s a sign that the brake booster could be drawing an excessive vacuum from the engine. Paying attention to these signs can prevent brake failure and maintain optimal vehicle safety.
Gathering Materials and Tools
Before starting the process of how to replace a brake booster, it is important to gather all the necessary materials and tools to ensure a smooth and safe replacement procedure. You will need the following:
- New Brake Booster: Make sure it is the correct model for your vehicle.
- Socket Set: To unscrew bolts and nuts.
- Wrench Set: For additional leverage on tight connectors.
- Screwdrivers: Both flathead and Phillips head may be needed.
- Pliers: Useful for removing clips or pins.
- Brake Fluid: Top up the system after installation.
- Car Manual: For specific guidance related to your vehicle model.
- Safety Equipment: Gloves and safety glasses for personal protection.
Having these tools and materials ready will help streamline the process of replacing your brake booster, reducing downtime and ensuring you can address any unforeseen challenges during the task.
Locating and Accessing the Brake Booster
Follow these steps to access the brake booster:
- Dismantle Appropriate Components: In some vehicles, you may need to remove components such as the air cleaner assembly, strut tower brace, or other obstructions for better accessibility.
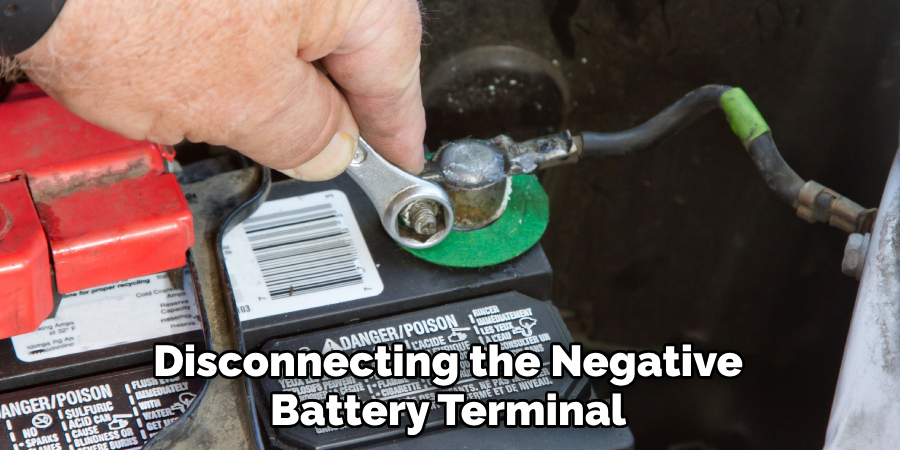
- Disconnect the Negative Battery Cable: This is a critical safety step to prevent electrical shorts and accidental engagement of the engine or other components.
- Master Cylinder Detachment: Before you can remove the brake booster, you have to detach the master cylinder. It’s usually secured to the brake booster with two nuts. Carefully unbolt these without disconnecting the brake lines to avoid having to bleed the brakes later on.
- Vacuum Hose Removal: Detach the vacuum hose from the brake booster. Be sure to inspect it for signs of wear or damage and consider replacing it if necessary.
- Check for Additional Retainers: Some models might have additional clips or retainers that need to be removed before the brake booster can be accessed.
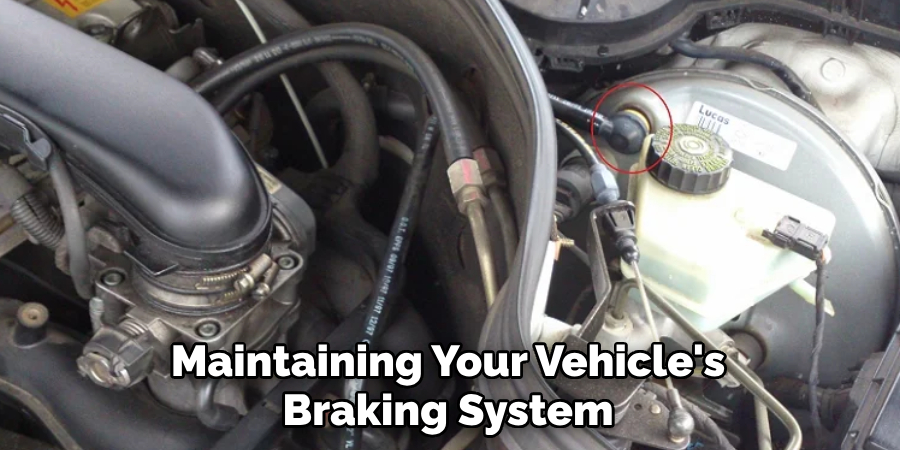
10 Methods How to Replace a Brake Booster
1. Gather Necessary Tools and Materials
Before beginning the process of replacing a brake booster, it is important to gather all the necessary tools and materials. This includes a new brake booster, a wrench set, a socket set, pliers, brake fluid, and any other specific tools recommended by your vehicle’s manufacturer.
2. Disconnect the Negative Battery Cable
To ensure safety during the replacement process, it is important to disconnect the negative battery cable before starting any work on the brakes. This will prevent any electrical accidents from occurring.
3. Remove the Master Cylinder
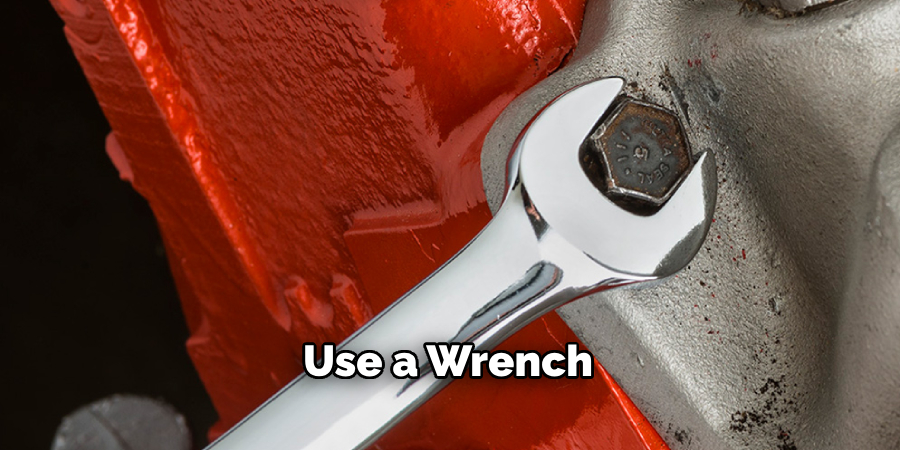
The master cylinder is connected to the brake booster and needs to be removed before replacing the booster. Use a wrench or socket set to loosen and remove the bolts holding it in place.
4. Disconnect Vacuum Lines and Brake Pedal Linkage
The brake booster is connected to vacuum lines that supply power assist to the brakes. These need to be disconnected along with the brake pedal linkage before removing the old booster.
5. Remove Old Brake Booster
Using pliers or a wrench, remove any remaining bolts or clips holding the old brake booster in place. Carefully remove it from its position in the engine compartment. However, be aware that brake booster systems vary between vehicles, so it is best to consult your vehicle’s manual for specific instructions.
6. Clean Mounting Surface
Before installing the new brake booster, clean any debris or rust from the mounting surface where it will be placed. Additionally, ensure that the seal between the booster and firewall is clean.
7. Install New Brake Booster
Carefully place the new brake booster in its designated spot and secure it with bolts or clips. However, be cautious not to damage any gaskets or seals during installation. While the booster is similar to the old one, it may require slight adjustments for proper fit.
8. Reconnect Vacuum Lines and Pedal Linkage
Reattach all vacuum lines and re-connect the pedal linkage to ensure proper function of the brakes. If any parts are damaged, it is recommended to replace them before continuing. Additionally, it is crucial to check for any leaks in the vacuum lines before proceeding.
9. Reinstall Master Cylinder
Place back and secure master cylinder onto new brake booster using bolts or clips. While doing so, make sure all connections are tight and secure. To prevent damage to the master cylinder, do not allow it to hang by the brake lines.
10. Refill Brake Fluid
Once everything is securely in place, refill your vehicle’s brake fluid reservoir with fresh fluid according to manufacturer’s recommendations.
Safety Precautions Before Replacing a Brake Booster
Safety should always be your top priority when performing any vehicle maintenance, especially when learning how to replace a brake booster. Before you begin, ensure the vehicle is parked on a level surface and the ignition is turned off.
Engage the parking brake and chock the wheels to prevent the vehicle from moving. It’s important to wear safety glasses to protect your eyes from any debris and to utilize mechanic gloves to safeguard your hands from sharp edges and contaminants.
Disconnecting the negative battery terminal is crucial to prevent electrical short circuits and to ensure your work environment remains safe throughout the replacement process.
Always double-check that you have the correct tools and replacement parts specific to your vehicle’s make and model, and keep a fire extinguisher within reach in case of emergencies. By following these safety precautions, you’ll create a secure workspace as you learn how to replace a brake booster.
Final Adjustments and Inspection
Before you conclude the replacement process of the brake booster, several final adjustments and inspections are necessary to ensure that everything is functioning correctly. These steps are crucial to maintain the integrity of your braking system and to guarantee the safety of the vehicle operation.
- Check the Pedal Feel: Once everything is connected, gently press the brake pedal to feel for consistency and ensure that it does not feel spongy or slack, which could indicate air in the brake lines or improper installation.
- Brake Pedal Adjustment: If necessary, adjust the brake pedal linkage to the manufacturer’s recommended specifications to ensure the proper distance and pressure is applied when the brake pedal is engaged.
- Visual Inspection: Perform a visual inspection to confirm all nuts, bolts, and connections are secure and that the new brake booster is sitting flush against the firewall.
- Vacuum Leak Test: With the engine running, check for vacuum leaks which can compromise the power assist function. Listen for any hissing sounds and use your hand to feel for air escaping around the connections.
- Bleed the Brakes: If the brake lines were disconnected at any point, or if air has entered the system, you must bleed the brakes to remove any air pockets from the lines, which can negatively impact braking performance.
Conclusion
In conclusion, learning how to replace a brake booster may seem like a daunting task, but with the right knowledge and tools, it can be easily accomplished. By following these steps, you can confidently tackle this repair on your own and save money on expensive mechanic fees.
Remember to always prioritize safety and check for any potential warning signs before attempting to replace a brake booster. Take your time and be patient as you follow each step carefully. And don’t forget to share your experience with others who may also need to learn this skill. With determination and a little bit of elbow grease, you’ll have your vehicle running smoothly in no time!

