Have you ever gotten into your vehicle only to discover that the battery is dead? The radio doesn’t turn on, and the engine won’t start, no matter how many times you turn the key. It’s frustrating to find yourself in, but replacing a worn-out battery terminal clamp is an easy DIY fix that could have your vehicle up and running again in just a few minutes. Over time, cables’ constant connection and disconnection causes terminal clamps to loosen and corrode.
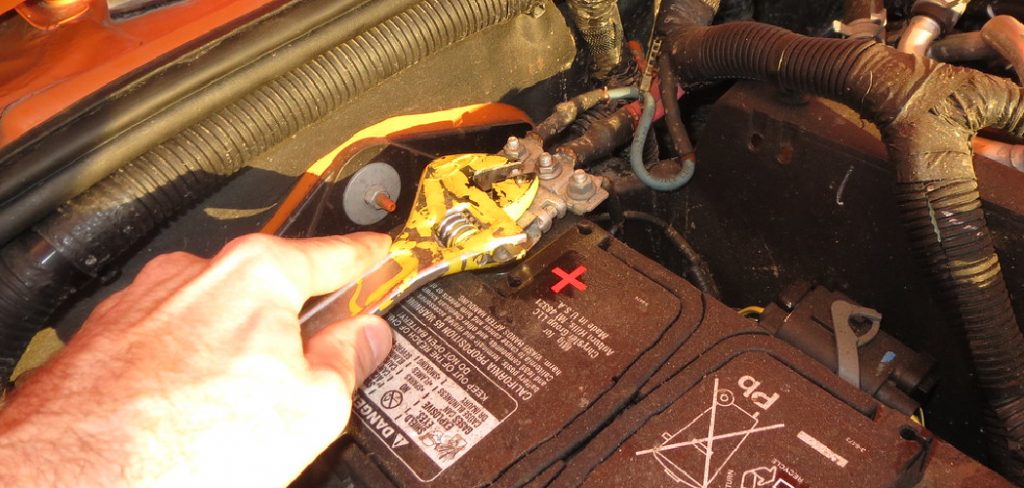
This interrupts the flow of electricity from the battery to the rest of the vehicle’s electrical system. In this guide, I’ll walk you through the simple steps to remove your old clamp and how to replace a battery terminal clamp. Following these instructions could save a costly repair bill and be back on the road quickly.
Necessary Items
Before starting the process, it is essential to have all the necessary items ready. You will need a new battery terminal clamp, a combination wrench or socket set, and some sandpaper or a wire brush for cleaning.
- New battery terminal clamp
- Combination wrench or socket set
- Sandpaper or wire brush
10 Steps on How to Replace a Battery Terminal Clamp
Step 1: Disconnect the Battery
The first step is disconnecting the negative battery cable, followed by the positive line. This is important for your safety and to prevent any electrical mishaps during the process. Use a combination wrench or socket set to loosen and remove the nuts holding the cables in place.
Step 2: Remove the Old Clamp
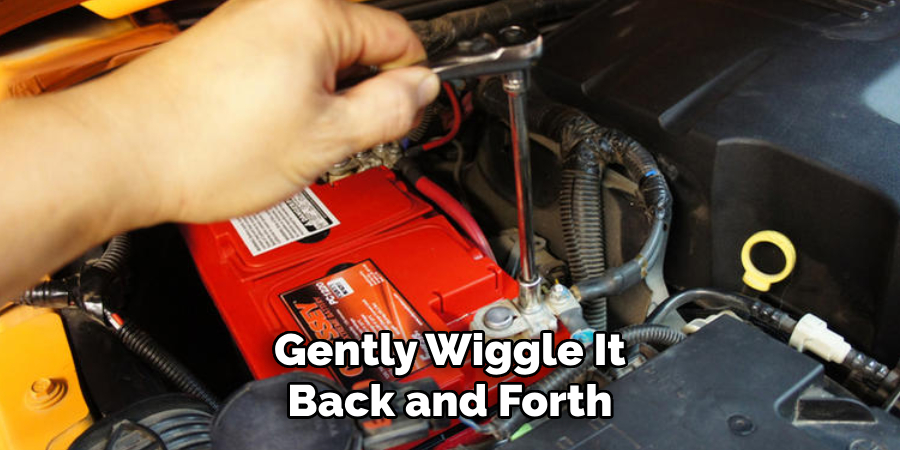
Once the cables are disconnected, you can remove the old clamp from the battery terminal. If it is corrupted, gently wiggle it back and forth until it comes loose. Be careful not to damage the cables during this process.
Step 3: Clean the Battery Terminal
With the old clamp removed, use sandpaper or a wire brush to clean any corrosion or buildup from the battery terminal. This will ensure a better connection with the new clamp. Wipe away any debris with a clean cloth.
Step 4: Prepare the New Clamp
Before installing the new clamp, ensure it is the correct size and type for your vehicle’s battery. Some clamps may require additional adapters or shims to fit correctly. You can also apply a thin layer of anti-corrosion gel or petroleum jelly to the inside of the clamp to prevent future corrosion.
Step 5: Position the New Clamp
Place the new clamp onto the battery terminal, ensuring it is snug and secure. The positive clamp should go on first, followed by the negative clamp. Make sure the cables are positioned correctly and not twisted or crossed.
Step 6: Tighten the Nuts
Use your combination wrench or socket set to tighten the nuts on the new clamp. Be careful not to overtighten, as this could damage the clamp or battery terminal. The clamps should be secure enough not to move them by hand.
Step 7: Reconnect the Cables
Now, it’s time to reconnect the cables to the new clamp. Start with the positive cable, followed by the opposing line. Make sure they are securely attached and not loose or wobbly. Tighten the nuts if necessary.
Step 8: Test the Connection
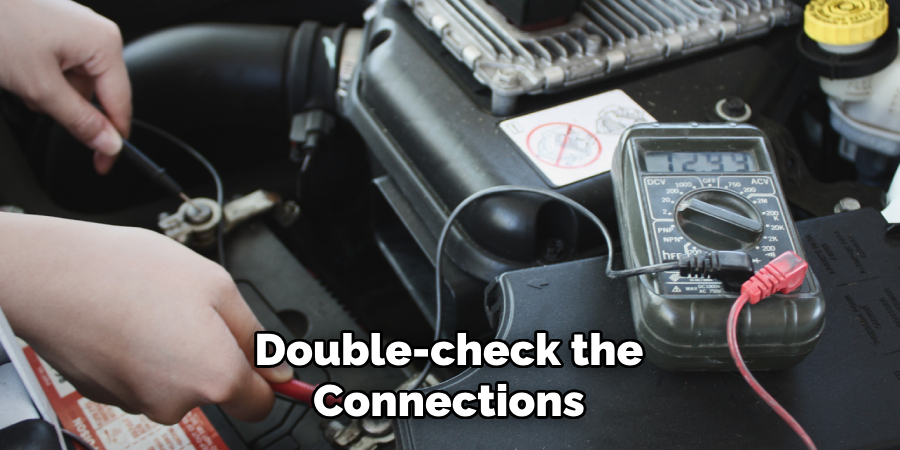
Once everything is connected, test it quickly by turning on your vehicle’s headlights. You have successfully replaced the battery terminal clamp if they turn on and stay on without flickering. If not, double-check the connections and tighten them as needed.
Step 9: Clean Up
Before closing your vehicle’s hood, clean up any tools or debris from the battery area. This will prevent any damage to your engine or electrical system. Dispose of the old clamp properly.
Step 10: Restart Your Vehicle
It’s time to start your vehicle and ensure everything works correctly. If your engine starts up without any issues, congratulations, you have successfully replaced your battery terminal clamp!
Replacing a battery terminal clamp is a simple and inexpensive DIY task that can save you from being stranded with a dead battery. Following these ten steps, you can easily replace your old clamp and ensure proper electrical connections in your vehicle. Remember to regularly check your clamps for signs of wear or corrosion and replace them as needed to prevent future issues.
8 Things to Avoid When Replacing a Battery Terminal Clamp
1. Touching the Positive and Negative Terminals at the Same Time
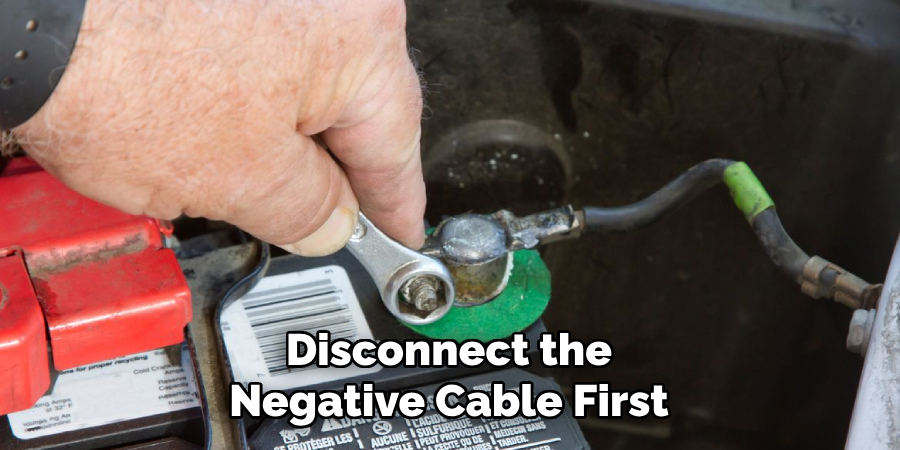
Remember to disconnect the negative cable first when replacing the battery terminal clamp. Touching both terminals at the same time could result in an electrical shock.
2. Using Incorrect Tools
Using incorrect tools, such as pliers or screwdrivers, can damage the terminal, cables, or battery. Always use a combination wrench or socket set designed explicitly for battery terminals.
3. Not Cleaning the Battery Terminal
Neglecting to clean the battery terminal before installing the new clamp can result in a poor connection and potential electrical issues down the road. Take time to clean and prepare the airport properly for better performance.
4. Overtightening the Nuts
As mentioned earlier, overtightening the nuts on the battery terminal clamp can cause damage. Be careful to tighten them enough that they are secure but not too tight.
5. Using Excessive Anti-Corrosion Gel
While using a small amount of anti-corrosion gel is recommended, too much can attract more dirt and debris, causing further corrosion. A thin layer is all that is needed for proper protection.
6. Ignoring Signs of Wear on the Clamp
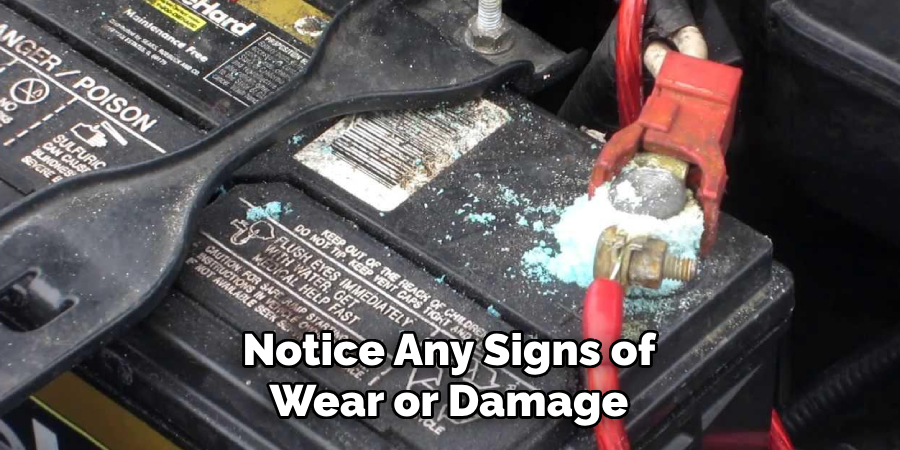
If you notice any signs of wear or damage on your battery terminal clamp, do not ignore them. It is essential to replace a worn-out clamp to prevent any potential electrical issues in the future.
7. Replacing Only One Clamp
It is recommended to replace both the positive and negative clamps at the same time. This ensures a balanced and proper connection and prevents any potential issues with the opposite clamp.
8. Not Securing Cables Correctly
Properly position and secure the cables on the new clamp before tightening them down. Twisted or crossed cables can result in poor electrical connections and potential issues.
5 Additional Tips for Maintaining Your Battery Terminal Clamps
1. Regularly Check for Corrosion
To prevent any significant issues, regularly check your battery terminal clamps for signs of corrosion. If you notice any buildup or decay, clean it immediately to maintain a good connection.
2. Keep the Area Clean and Dry
Moisture and dirt can lead to corrosion on your battery terminal clamps. Keep the area around your battery clean and dry to prevent any potential issues.
3. Tighten Nuts Periodically
Over time, the nuts on your battery terminal clamps may loosen due to vibrations from driving. It is essential to check and tighten them periodically to ensure a secure connection.
4. Replace Old Clamps
If your battery terminal clamps show signs of wear or have been replaced multiple times, it may be time to invest in new ones. This will ensure a proper and long-lasting connection for your vehicle’s electrical system.
5. Use Battery Terminal Protectors
Battery terminal protectors can provide an extra layer of protection against corrosion and prolong the life of your battery terminal clamps. They are inexpensive and easy to apply, making them a worthwhile investment.
By following these extra tips, you can maintain the longevity and proper functioning of your battery terminal clamps, ultimately saving you time and money in the long run.
Frequently Asked Questions About Battery Terminal Clamps
How Often Should I Replace My Battery Terminal Clamps?
Inspecting your battery and clamps every 3-6 months for signs of wear or corrosion is recommended. It is best to replace the clamps immediately if any issues are noticed.
Can I Replace the Clamps Myself?
Replacing a battery terminal clamp is a simple and inexpensive DIY task that can be done at home with the proper tools and precautions. However, if you are unsure or uncomfortable with the process, it is best to seek professional help.
What Causes Corrosion on Battery Terminal Clamps?
A buildup of battery acid, dirt, and other debris typically causes corrosion on battery terminal clamps. It can also be accelerated by weather conditions such as high humidity or extreme temperatures.
Can I Drive My Vehicle Without Replacing a Worn-out Clamp?
Driving your vehicle with a worn-out clamp is not recommended, as it can result in poor electrical connections and potential issues while on the road. It is best to replace the clamp as soon as possible to safely and adequately function your vehicle’s electrical system.
Overall, regular maintenance and prompt replacement of worn-out clamps can save you time, money, and potential headaches in the future. Always take safety precautions when working with batteries, and if unsure or uncomfortable with the process, seek professional help.
Conclusion
In conclusion, replacing a battery terminal clamp may seem daunting and complicated at first, but it is relatively easy and essential to do. By following these simple steps on how to replace a battery terminal clamp, you can ensure that your vehicle’s battery is connected correctly and functioning efficiently. As we all know, a functioning car battery is crucial for the overall performance of our vehicles.
Don’t let a faulty or worn-out terminal clamp hold you back from getting where you need to go. You can easily replace this critical component in minutes with the right tools and knowledge. So what are you waiting for? Give your car the TLC it deserves by replacing its battery terminal clamp today! Remember, always prioritize safety when working on any part of your vehicle.

About
JeepFixes Team is a skilled author for Jeep Fixes, bringing 6 years of expertise in crafting a wide range of jeep fixes. With a strong background in jeep fixes work, JeepFixes Team’s knowledge spans various types of fixtures, from decorative pieces to functional hardware, blending precision with creativity. His passion for jeep fixes and design has made him a trusted resource in the industry.
Professional Focus:
Expert in Jeep Fixes : JeepFixes Team aesthetic specializes in creating durable and innovative jeep fixes, offering both appeal and functionality. His work reflects a deep understanding of jeep fixes techniques and materials.
Sustainability Advocate : He is dedicated to using sustainable practices, ensuring that every fixture is crafted with eco-friendly methods while maintaining high-quality standards.
In his writing for jeep fixes, JeepFixes Team provides valuable insights into the latest trends, techniques, and practical advice for those passionate about jeep fixes, whether they are professionals or DIY enthusiasts. His focus on combining artistry with engineering helps others discover the true potential of jeep in design.
